Tuesday, 21 February 2023

Find beauty in the Everyday - Kim Arnold - Mood Board Inspiration


Hi everyone! Some inspiration using the beautiful February moodboard.


I was totally inspired by the colour palette of the moodboard – but I did add some gold in which I felt worked well with the sunrise image. I pulled a heap of papers and embellishments in the colours and then selected my Dusty Attic chipboard and coloured it to match. I will take you through what chipboard I used and what techniques I applied.


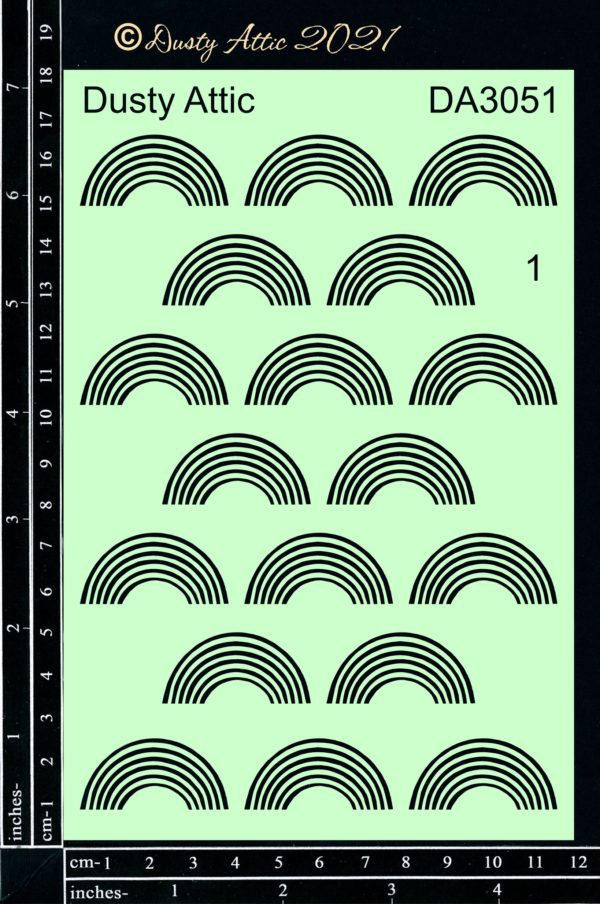
I started with the background so that it could dry. I used a heavy weight mixed media cardstock and painted it with blue watercolour. Once that was dry, I used the Rainbow stencil and inked with oxide inks and a sponge over the watercolour.


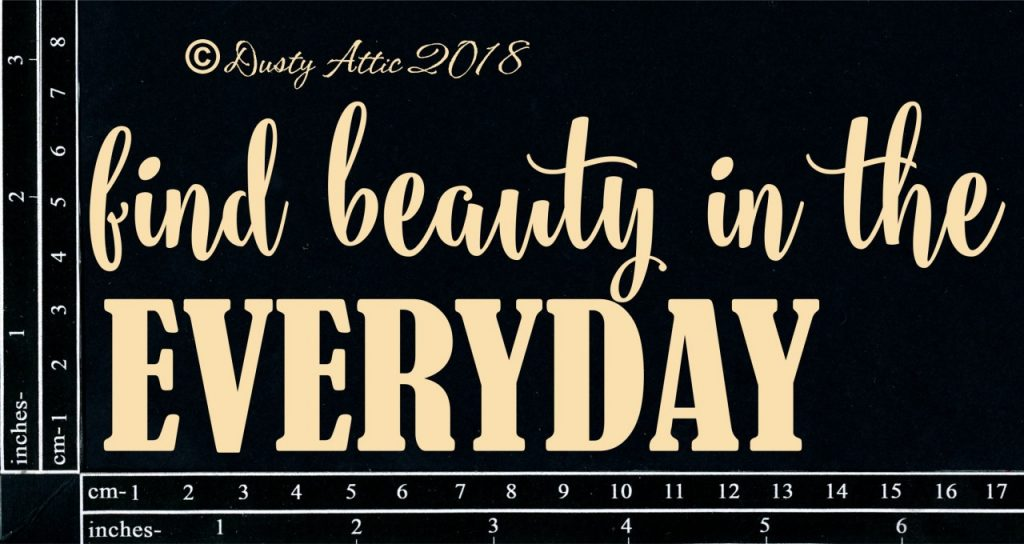
With the title, I coloured the cursive part of the title in matt blue wax and then added an opal wax over it to give it some shine.


For the word “EVERYDAY” I used a plum wax, and once that was dry, I dabbed gold wax on the bottom half of the letters to give an ombre effect.


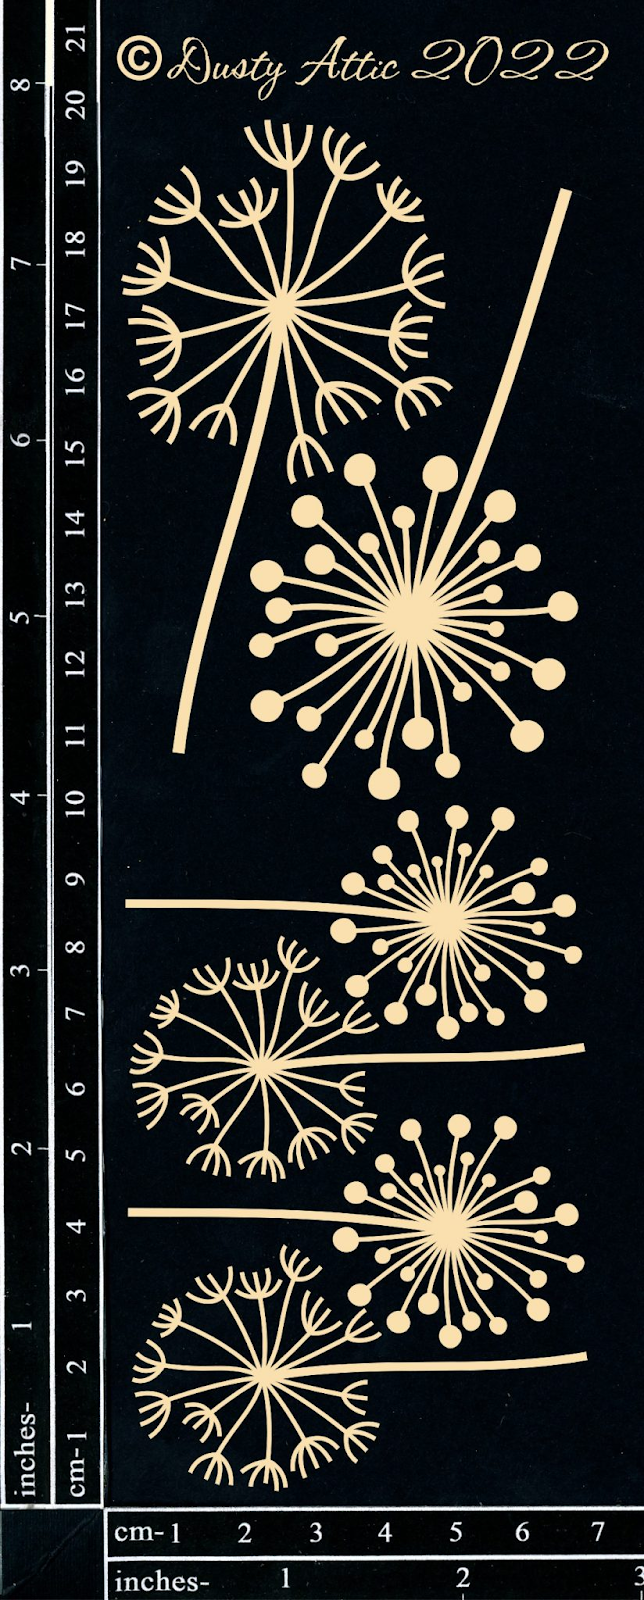
I then painted the dandelions with gold ink. I use Kuretake Brilliant Gold Mica Ink which works so well on raw chipboard to give an incredible gold finish in one coat. I used one large and two small dandelions.


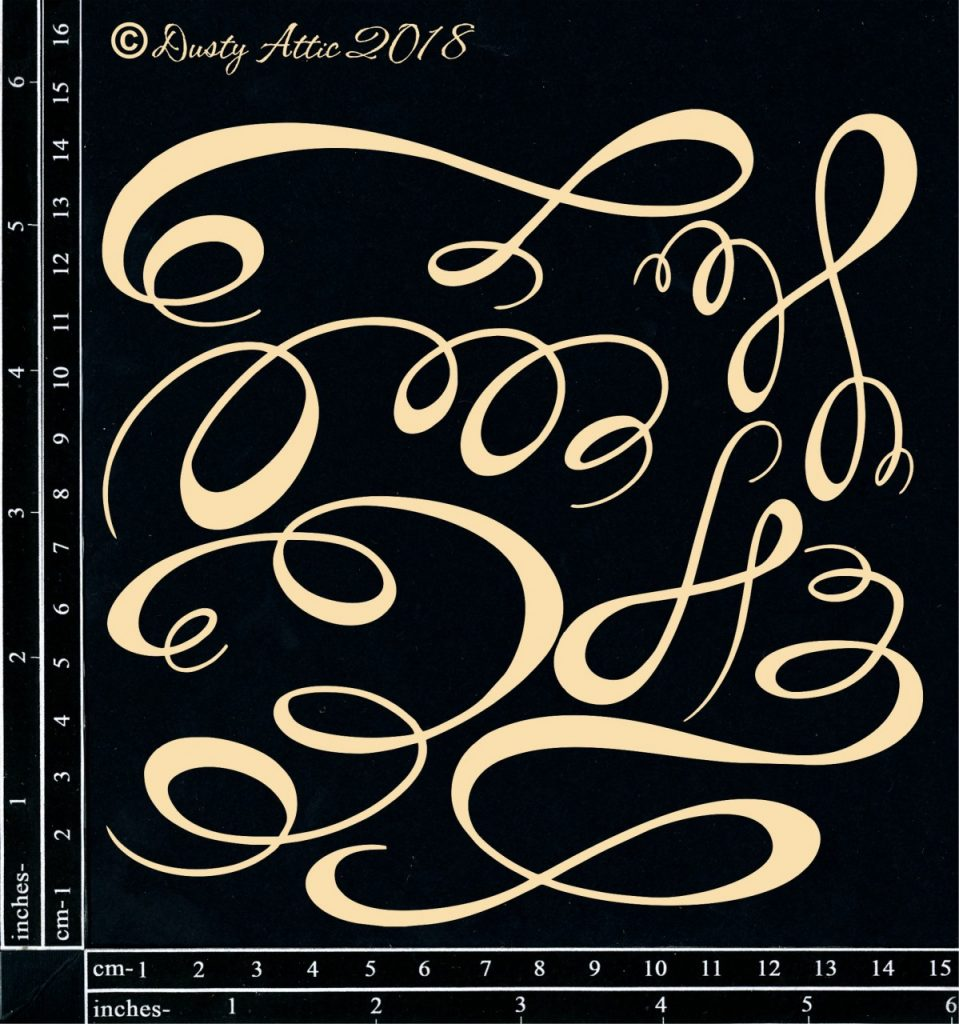
For the Scrolls, I wanted to do another ombre effect, but in purple, so I used three different purple waxes to go from a light to dark purple.


I then layered the chipboard under and on top of the various elements that I used on the layout.


There is a process video if you would like to see exactly how I made this layout: 

https://www.youtube.com/watch?v=ofedKMvhvnE

I hope you have a chance to get some creative time in soon.

Happy scrapping
Kim x


Dusty attic products:

Find Beauty In The Everyday – Dusty Attic – Australian owned and operated Laser Cutting business

Dandelions – Dusty Attic – Australian owned and operated Laser Cutting business

Scroll Set #2 – Dusty Attic – Australian owned and operated Laser Cutting business

Rainbow #1 Stencil – Dusty Attic – Australian owned and operated Laser Cutting business

Sunday, 19 February 2023

Love LIFE - Adri Du Preez - Mood Board Inspiration

Hello everyone.

Here is my layout inspired by the February mood board which features beautiful Dusty Attic chipboard pieces.

 For this layout, I used pattern paper from the 49 and Market Blossom collection.

This is my granddaughter Mila on her fourth birthday.

Here is the mood board.


And here is my layout.


All the chippies were first covered in white gesso.

All the chipboard pieces are painted with Americana Acrylic paint in Poodleskirt Pink, 
Orchid, Pansy Lavender, Whispering Turquoise, and Mint Julep Green.
The Foliage Cluster #2 was snipped in pieces and tucked into the flower clusters.


The two Mini Tabs were dry brushed with Poodleskirt Pink and Orchid.


For the ombre effect on the title, I used Orchid, Pansy Lavender, and White Wash.


Dusty Attic products used.


 I hope you find time to play along with this mood board.  Share your projects on 
our Facebook Page here. for your chance to win a 
$50 (AUD) credit for two lucky winners to the Dusty Attic online shop so you can choose 
your very own chippies you would like to use.

Thank you for visiting the blog today.

Happy crafting!


Appreciate the little things - Heather Woodall - Mood Board Inspiration

 Good morning

For my project this time I have used the mood board as inspiration, although, mine is slightly darker than the mood board.


I have used these beautiful papers from Denise Boddey Designs that work really well with these industrial cog chipboard pieces from Dusty Attic

I started by figuring out the base papers and fussy cut elements - I do love to fussy cut.

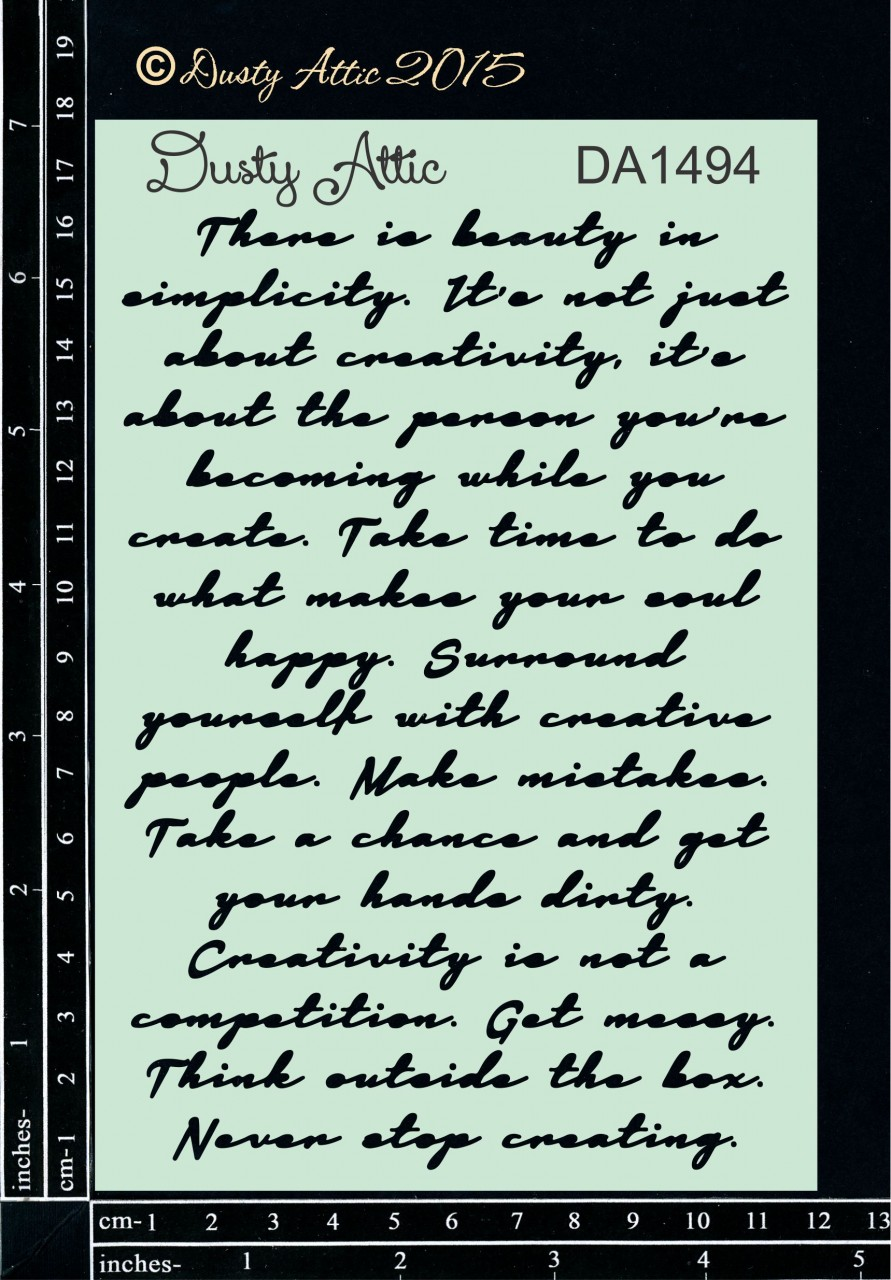
I then used the Dusty Attic DA1494 Creative Script Stencil, some texture paste and some Lindy's sprays to add some texture on the right-hand side.


I also used the same Lindy's sprays to spray/paint over all the cog chipboard pieces, and then finished some of them off with Prima Antique Gold wax and teal wax.


The title DA3345 Appreciate the Little Things, I painted in black, then used some Prima silver wax to blend up from the bottom, and then finished it off with a layer of glossy accents


I really enjoyed creating this layout and creating a feminine steampunk page. I hope I've inspired you to look at your fussy cut flowers and cog chipboard pieces and turn them into something girly.

Heather


Saturday, 18 February 2023

#beautiful - Michelle Van Oudtshoorn

Hello Dusty FANattics

I am sharing a layout inspired off the colours of the February moodboard

This is the layout I created with the moodboard
This layout has been created with Mintay paper range. I started with the ornate pendant (DA1366) and first cut of the chain part of the pendant, which I coloured with a Posco blue pen and the rest of pendant with a Posco pink pen. First I matted the photo, and then created the flower clusters - all added with foam tape and added the chain cut pieces to the photo.

The leaves (DA0508) were painted with a mix of blue, pink and purple posco pens and tucked under the flower clusters.
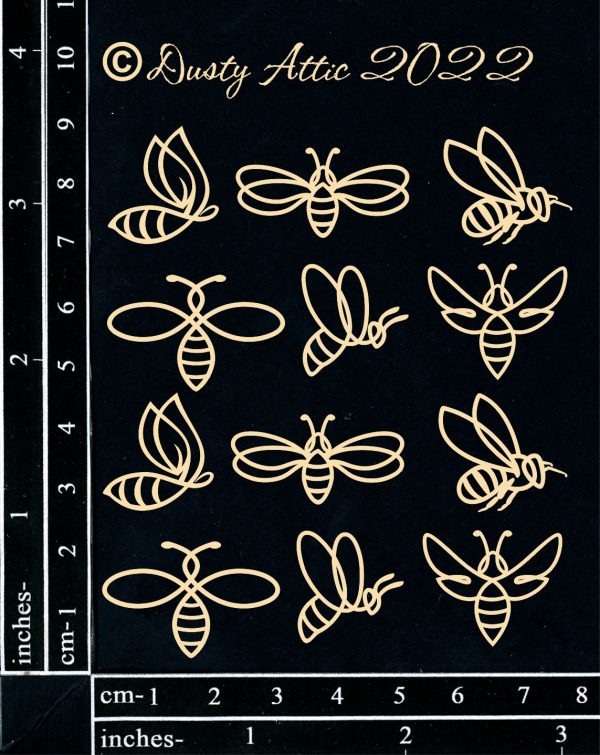
Love the cute little bees (DA3314) - also using the Posco acrylic pens to colour the bees and added to the flower clusters 
The hashtag title "beautiful" (DA1597) was added to the layout, and I then added some bling to the page,
Why not enter the moodboard challenge by using the moodboard as inspiration, using dusty attic chipboard on your project and enter your project on the Dusty FANattics Facebook page and you could win one of two AUD$50 worth of  gorgeous Dusty Attic chipboard.

These are the Dusty Attic products I have used:


Friday, 17 February 2023

Memorable Moments - Miss Carrie (with Youtube Video)


Hello everyone!

Miss. Carrie here on the blog today with a lovely vacation layout I created using a mix of chipboard elements. I am new to the team, and I have truly enjoyed creating with the chipboard pieces and stencils.


The background was created using image transfers and stenciling.

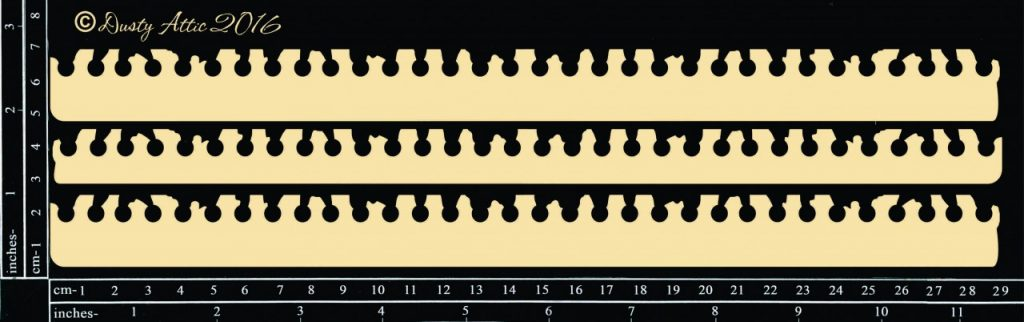
I wanted to create a softer feel so I chose to use a grey paste with the Creative Script stencil After the paste had dried, I added a mix of ephemera and pattern papers to the centre of the page and created a grounding strip with the notebook edge border.


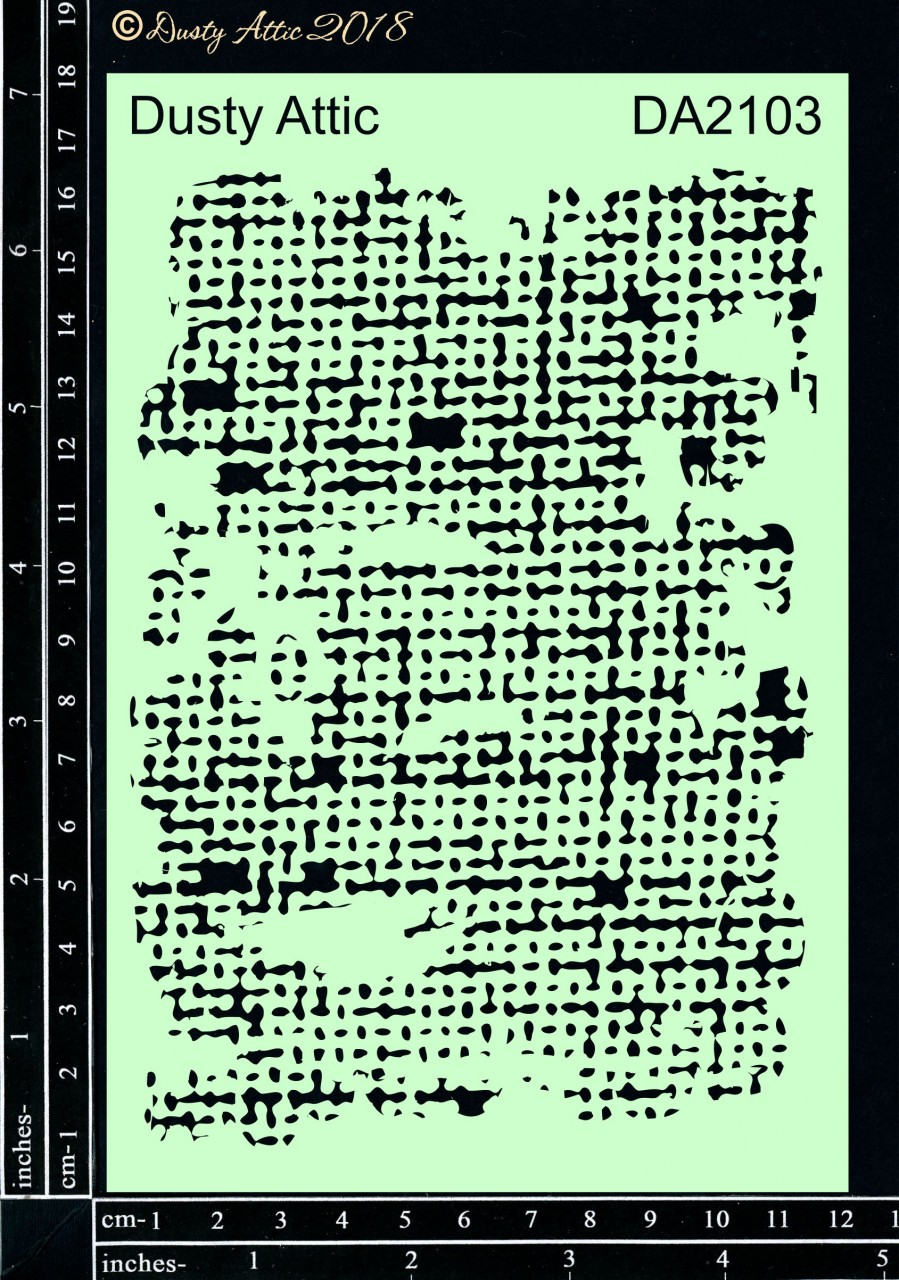
To bring some more texture to the page, I used the Burlap stencil on the notebook border and shaded it with black soot ink. I trimmed it down to fit and layered the photo on top.


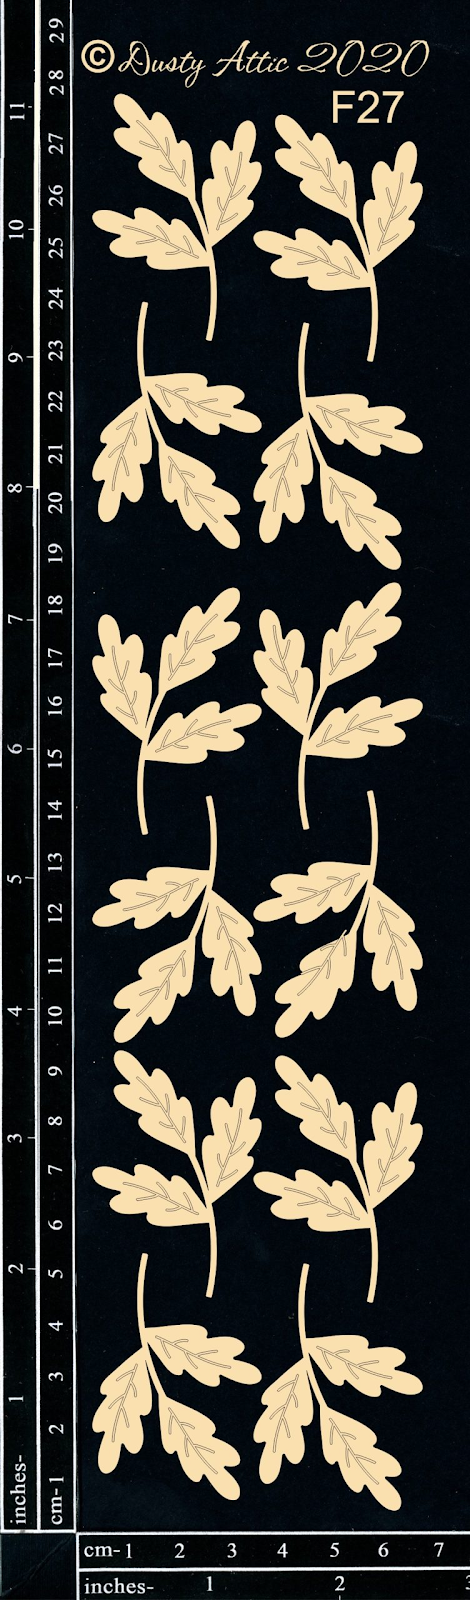
Behind the photo, I tucked some foliage #27 that I shaded in soft espresso ink. These created a nice neutral frame and separated the photo from the floral pattern in the background.

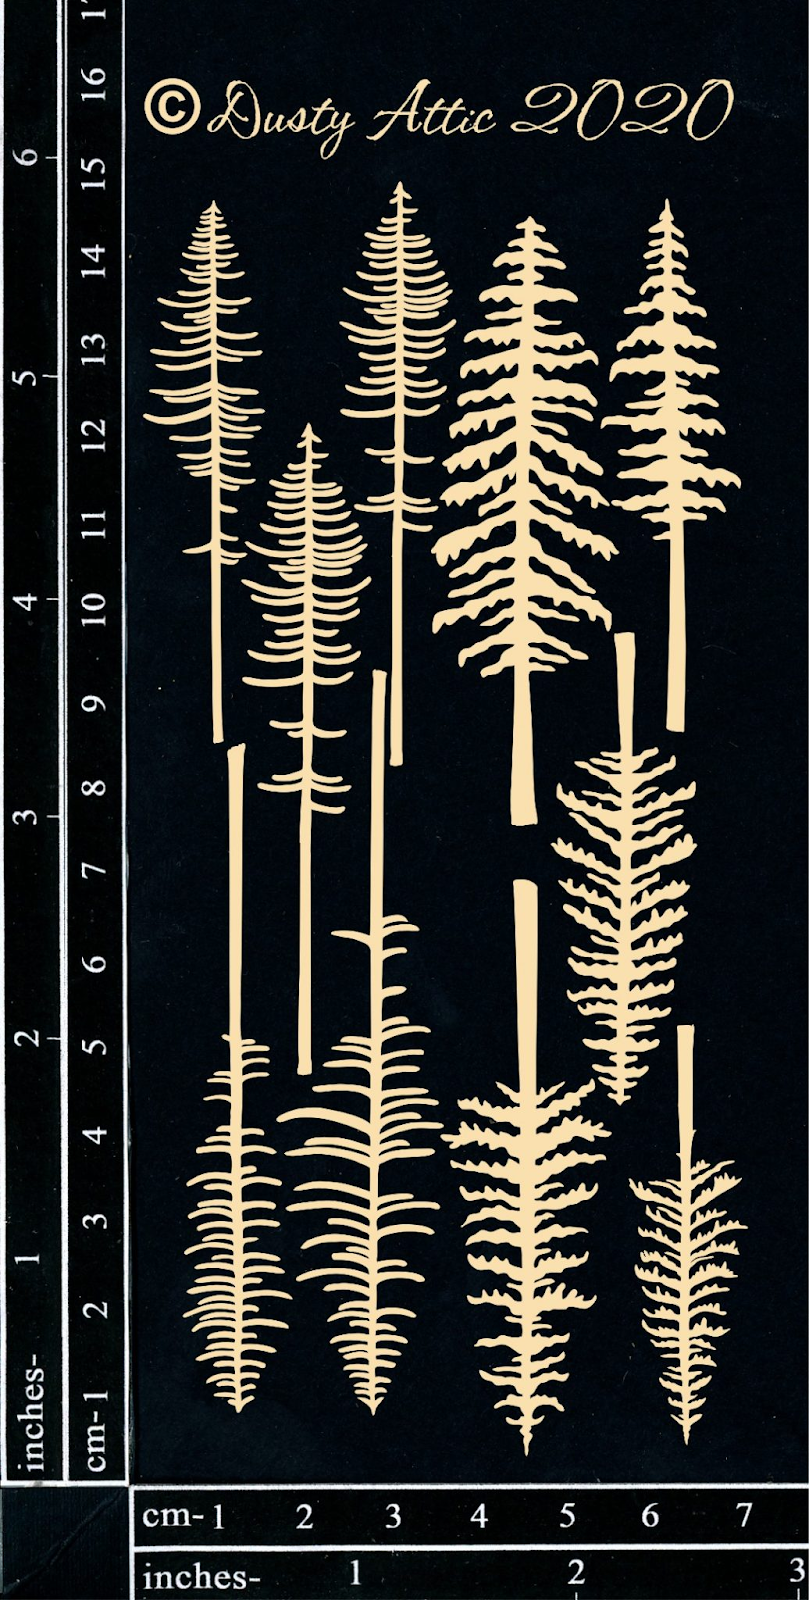
Around the photo, I added a few more horizontal pieces of ephemera and layered some pine trees to match the theme of the photo.


The pine trees are shaded with a variety of green distress sprays and a brush of espresso ink I layered three of the pieces on the right side of the photo and a single tree on the left.


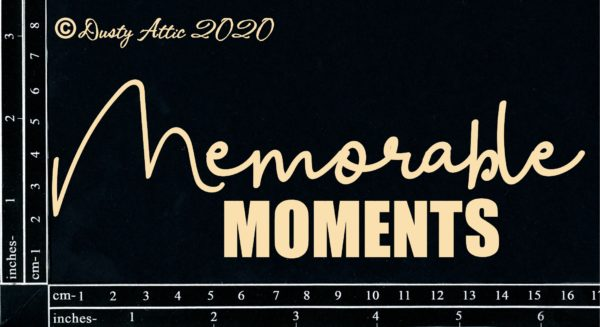
At the base of the page, I adhered the memorable moments title


This piece was prepped with white gesso, then sprayed with uncharted mariner ink, and distressed with black soot.


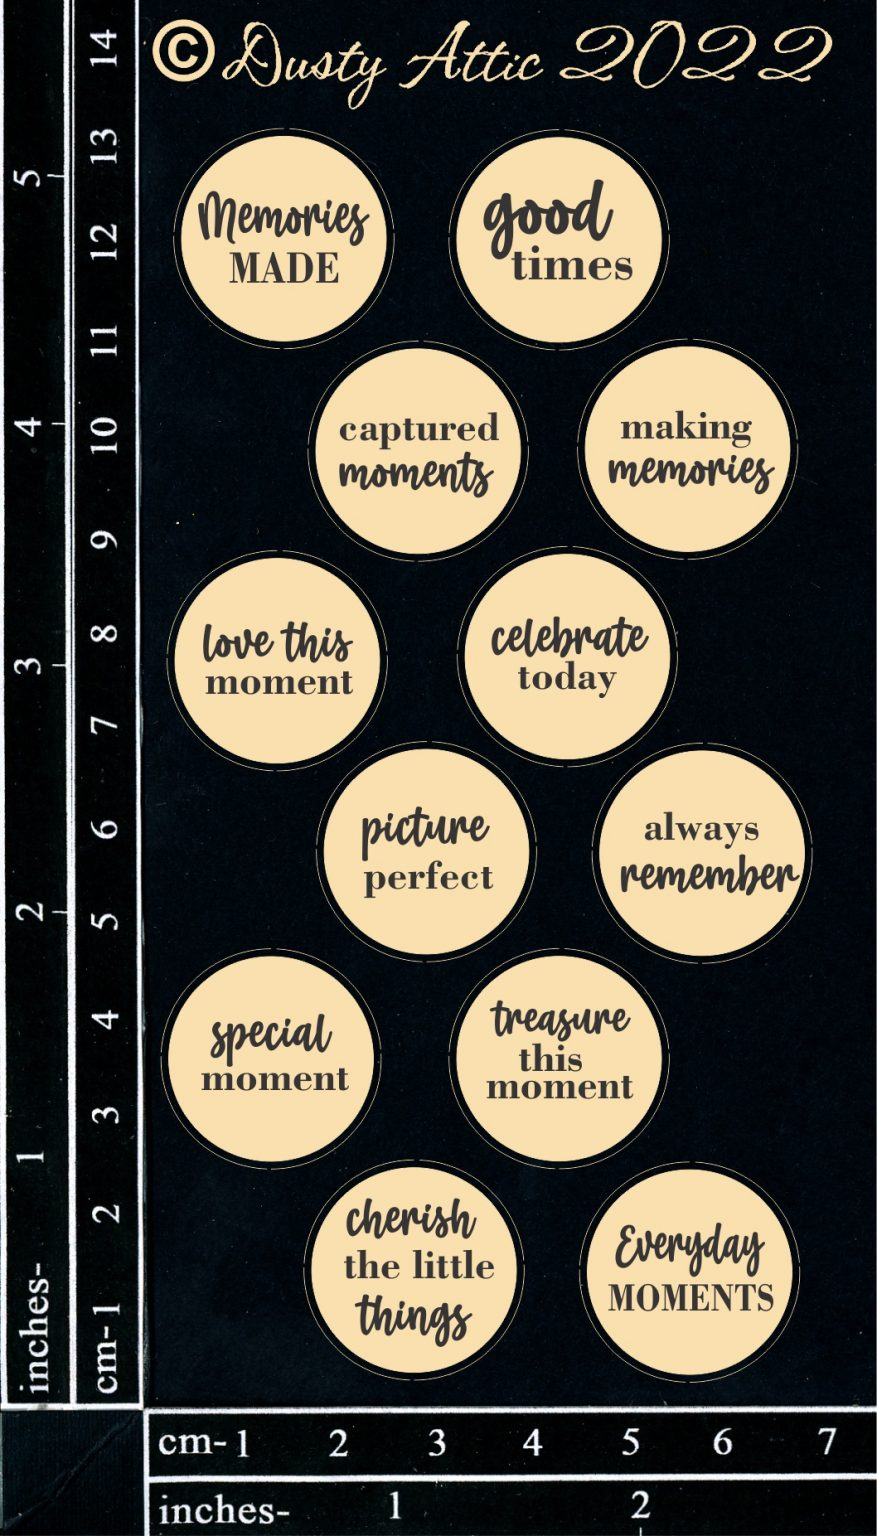
To match the blue in the title and border, I brought in a small circle phrase at the top. I tucked some twine behind this and added a few little arrows off to the left.


This little addition at the top of the page was a great way to finish off the project. If you are interested, I have a process video on https://www.youtube.com/@MissCarriesCreations


I hope that today's project inspired you to create something new.

If you have any questions, please leave me a comment.