Wednesday 30 September 2020

Art Journal - Kristy Abela

Hey Dusty Attic Fans, 

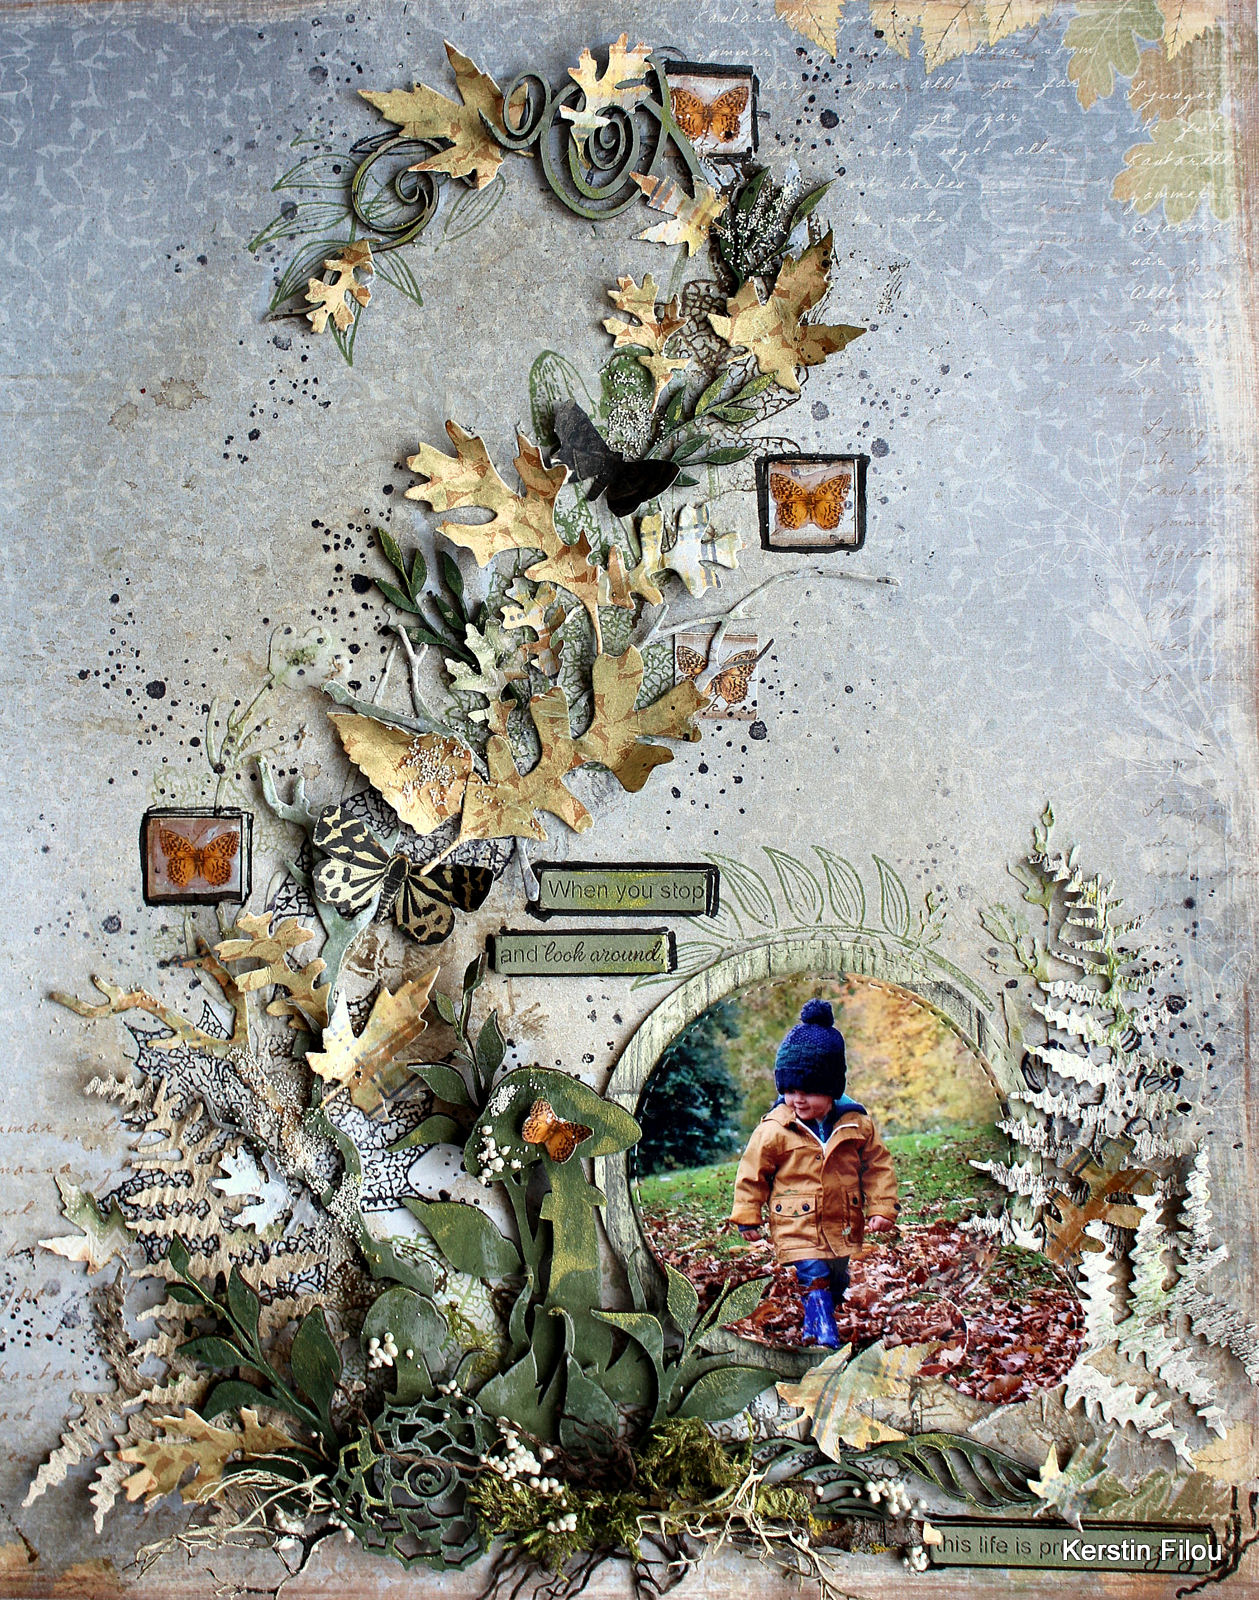
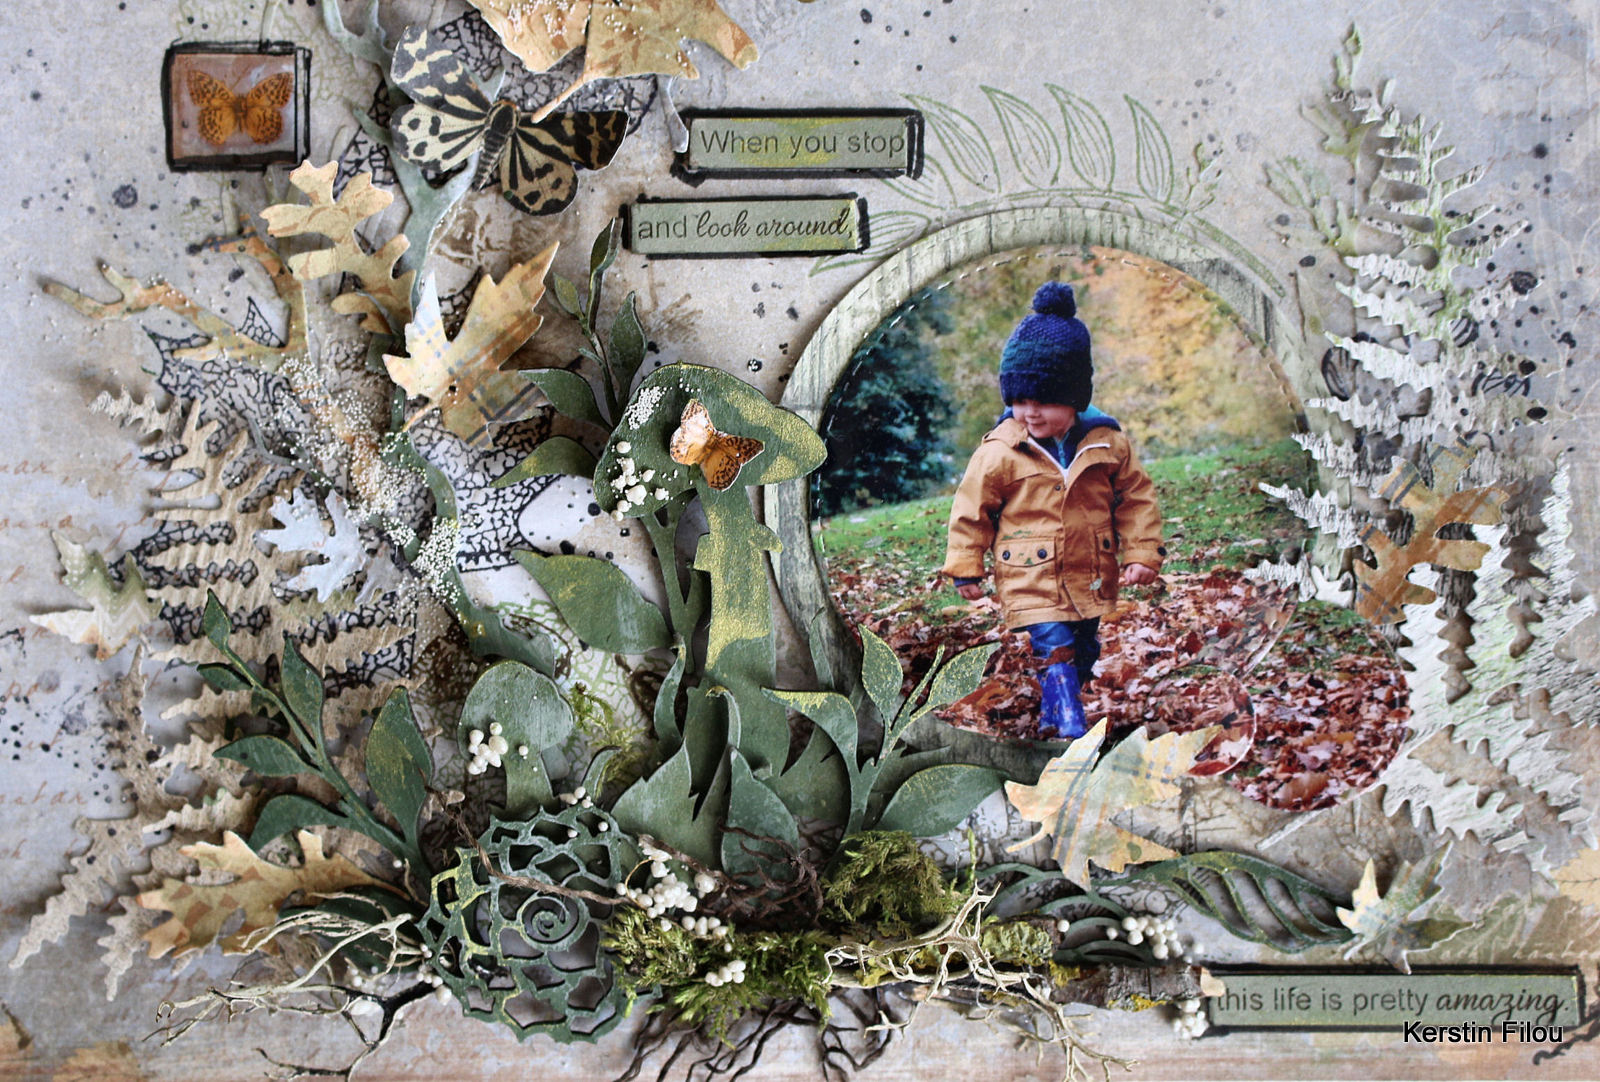
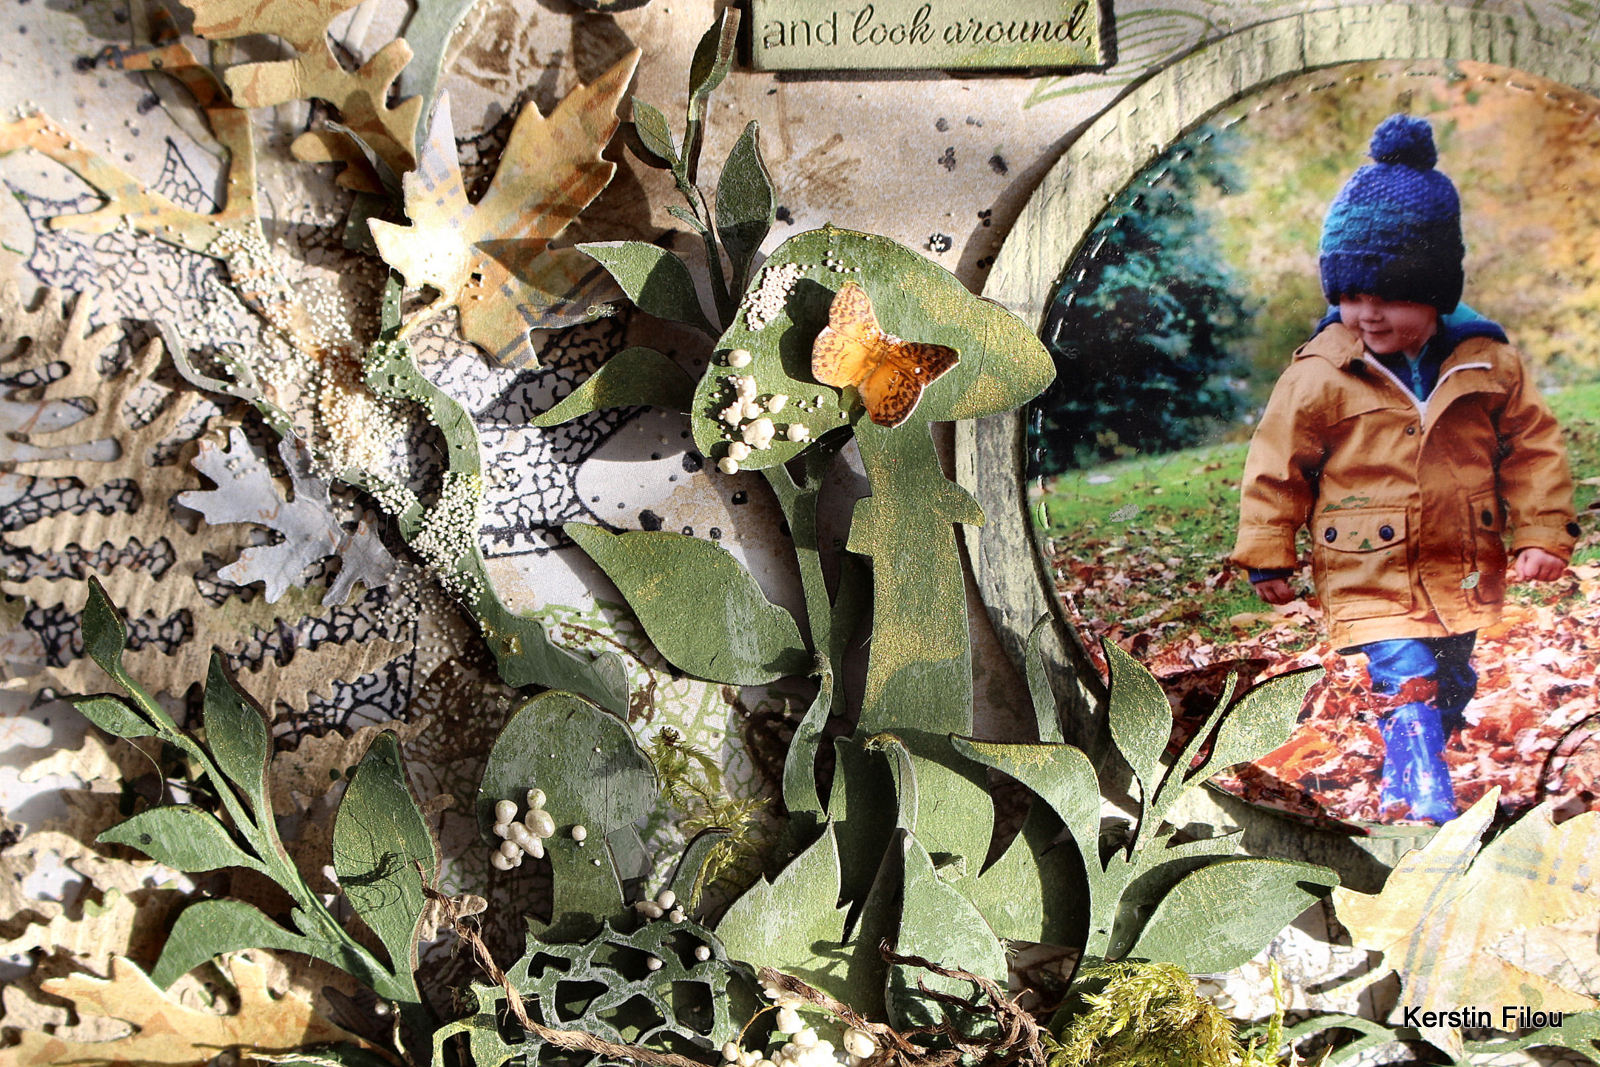
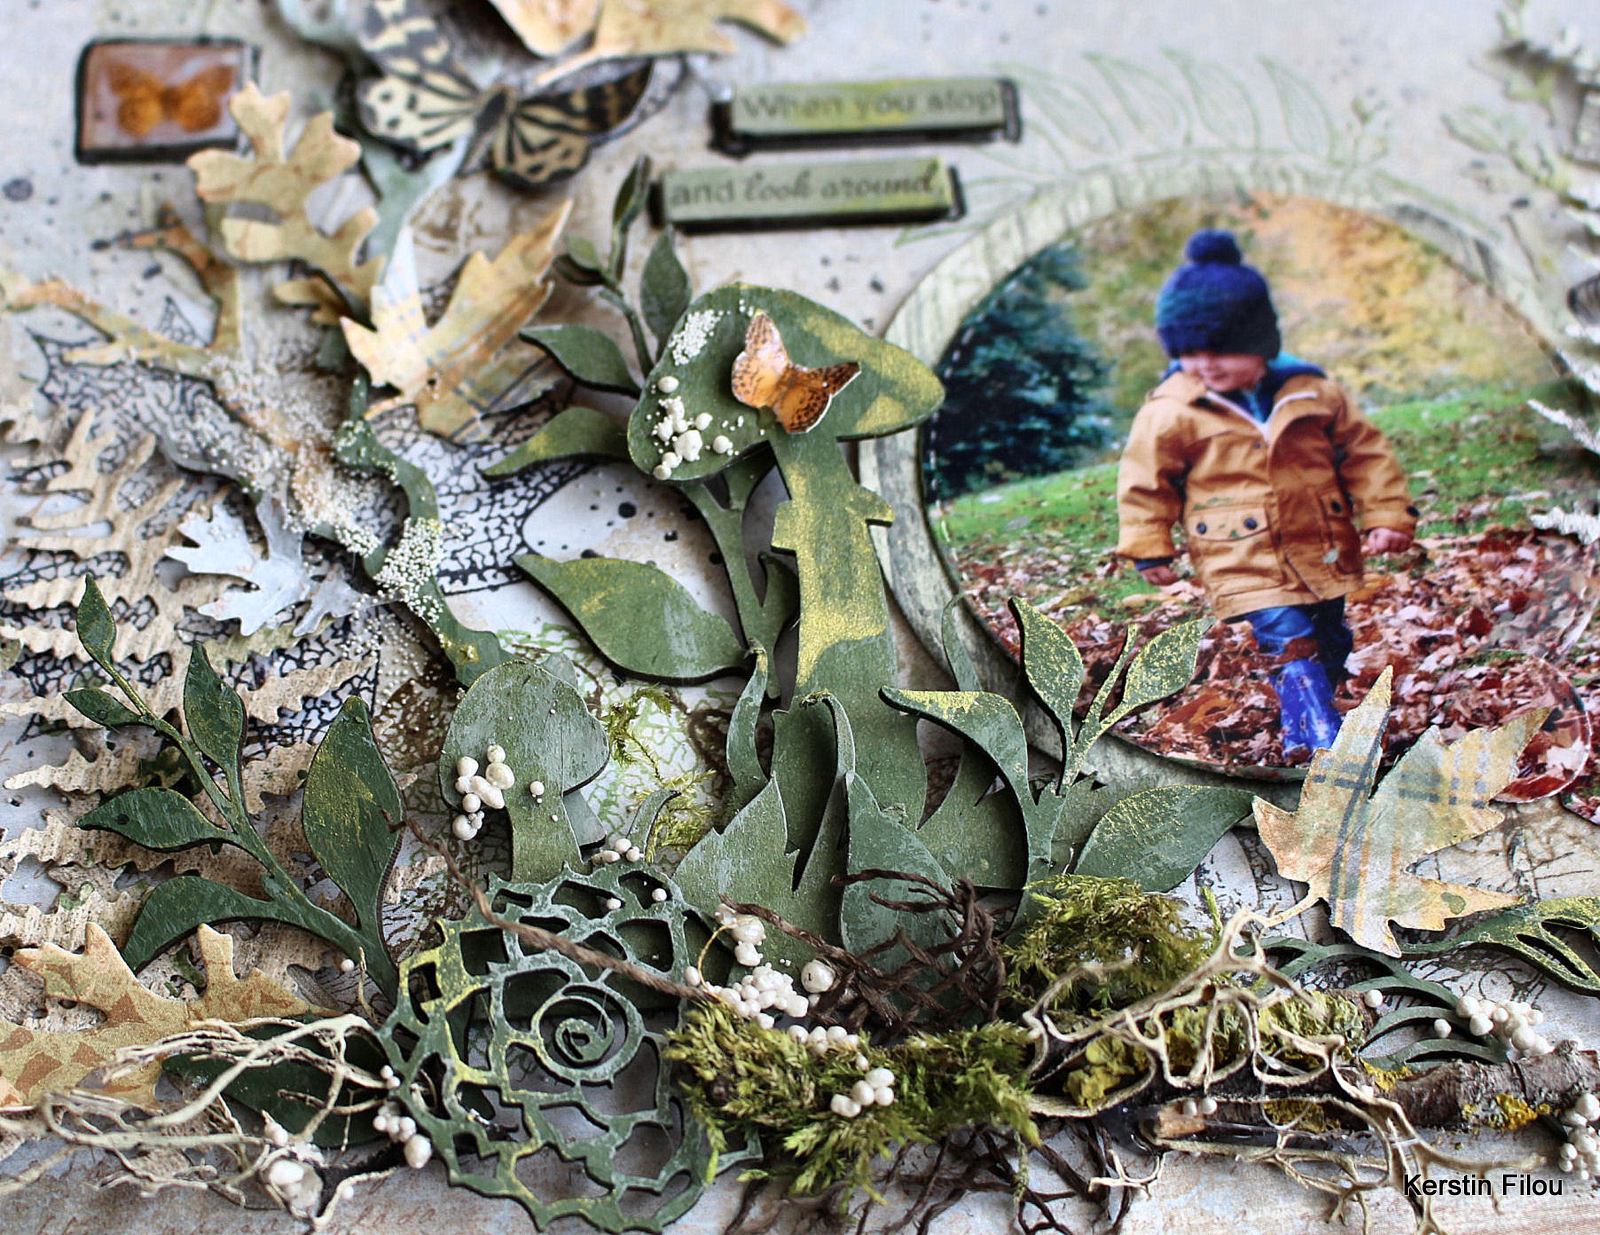
I took to the craft room for an art journal session and my chip boards. Why use chip boards? Why not! By the time I build up all the texture in my page and my layers I love having a focal point that pops, literally!

 
 I recently did a class that featured tags and had forgotten just how well the old scrappers tool can compliment a good ole art journal page.  Here I have added an enamel embossed mini word to my tag to compliment the stamped word. 

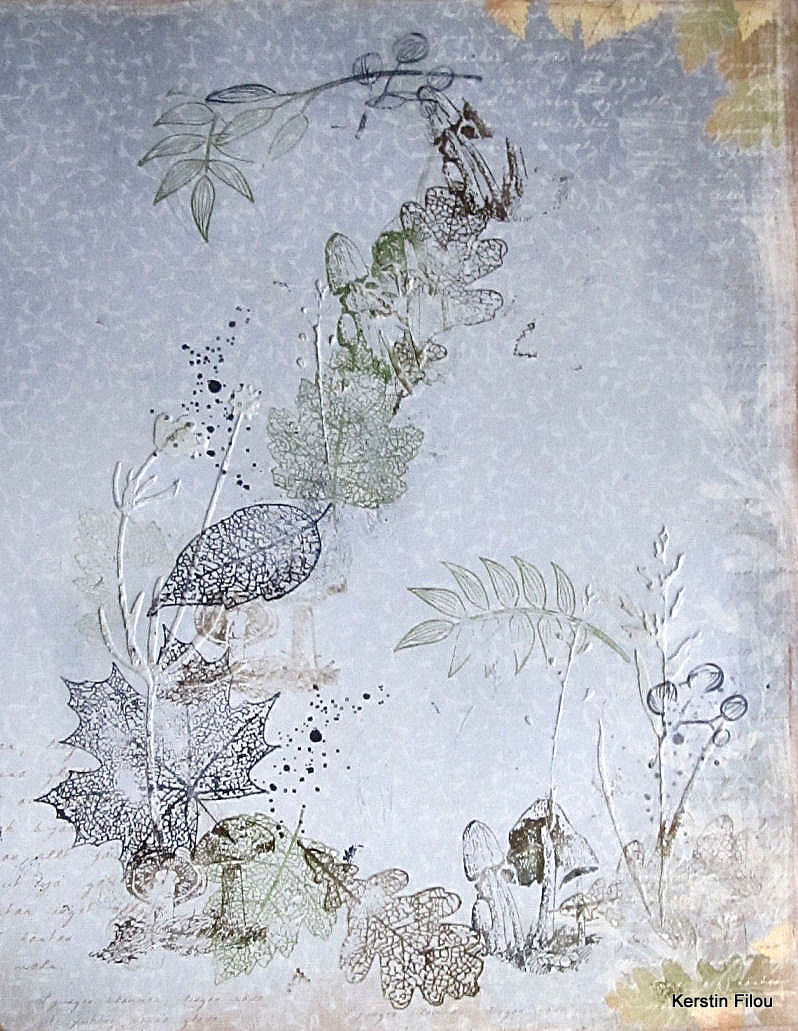
In the background I started with layers my favourite chalk based paints with a brayer. I then used an old store card to create some vertical and horizontal lines. Along those lines I used a fine tip applicator with white acrylic to add some random scribble text. 

I used some gel prints I made during a play session on tissue paper. Tissue paper is AMAZING. I use matt gel medium underneath and then place the tissue on top. It becomes completely transparent when you add a top layer of gel medium. Works as a substitute for stamping or stenciling on your journal pages when trying to 'flatten' the layers. 

I used some scraps that were lying around on my desk. I always keep offcuts when I create. When paper is already torn it takes some of the thinking out of what to create with and becomes more of a puzzle.. Like "Where does this go?" rather than "How does this go with..."

 
Thanks for looking and I hope that you have been inspired to try a few new things and use our favourite Dusty Attic Chipboards as the focal point. For other art journal ideas check out out my blog at Abela Artistry


 Chipboard used


Tuesday 29 September 2020

When you stop and look around... - Kerstin Filou

 Hello creative friends!

Autumn has arrived and the leaves are slowly falling from the trees.

 A wonderful season that inspired me to create a leaf whirl with punched out motifs and chipboards.

 I selected the format 24 x 30 cm.


Tips & Tricks

Firstly I draw a curved line with a pencil, then I chose a wildflower stencil for the background. 

 Along the drawn lines  now stamped with waterproof ink pad  and matching autumn stamps (Stampers Anonymous)


Now I punched out a lot of leaves and branches, together with some matching chipboards and butterflies this resulted in a 3d living leaf whirl 


some close up's


 Dusty Attic chipboards

 and stencils 


Toadstool Border

 Foliage #19

Tea Leaves small

Quoted Sentiments #2

Blooms #3

Wildflowers #2 Stencil


 Happy crafting!

Thanks for your visit!


Monday 28 September 2020

Freedom is a state of mind - Patricia Basson

It is nearly the end of September and here is my interpretation of the beautiful Dusty Attic moodboard
I used two sheets of Bella Times paper by Mintay Papers, distressed the one and aligned them on each other.
The image was found on Pinterest.
I wanted to convey the misty and mysterious mood of the moodboard, therefore I did not add too many different elements. 


To enter for your chance to win one of two amazing Dusty Attic prize packs just add your take of the challenge into the comments section on the Dusty FANattics Facebook page HERE


I took several of the Christmas Trees, wet them in water and separated the layers. I curled the edges and dried them with my Heatgun for extra dimension. I painted all with clear Gesso and once dry I sprayed Lindy's Stampgang Sprays, Ethereal Emerald and Long Jon's Silver Moonshadow Mist, and Dark Chocolate Starburst Spray. I added Clear Rock Candy crackle paint on top. Sadly the photos don't show the true depth that my 'Tree  Forrest' gives to the page....


The Juliette Balcony and Driftnet were inked with Hickory Smoke Distress Ink and embossed with Baked Texture embossing powder, Ancient Amber and Dirty Sand. I adhered a piece of Tim Holtz Frosted Film behind the window and if you look closely you will see the silhouette of a Christmas Tree behind it as well.


The Foliage chipboards are inked with Evergreen Bough and Rusty Hinge Distress Inks and a little spray of Lindy's Cowabunga Copper Starburst. I also embossed them with Clear UTEE. I stiffened the gauze with some Tokreen, and sprayed with Lindy's Bodacious Blush spray.


These and many more are available at the Dusty Attic on-line store.


Thank you for taking the time to enjoy my post....


There is a way that nature speaks, 
that land speaks. 
Most of the time we are simply not patient enough, 
quiet enough 
to pay attention to the story.
 ~Linda Hogan~

Saturday 26 September 2020

Believe - Kristy Abela - Mood Board inspiration

         Hey, Hey! Welcome to another month of challenges! I was so excited to tackle this one, I am a neutral girl through and through and I struggle with 'pop's of colour. So I knew that this one was going to be FUN!


I scoured my stash to find some foliage to compliment the mood board. Dusty attic have an epic range of leaves & foliage so I'm sure you will find some to suit you. As always I lay out my elements and try to visualise where the layout will go.

 
After applying clear gesso on the background I used a 12 x 12 Stencil of a tree and white crackle paste. I wanted to fade out some of the background and emphasise the tree. 

 
After applying some water colour to the background with Sprays I used a wipe to remove the colour from the paste and leave it in the cracks. I added some definition with a water colour pencil and then spritzed it to soften the edges.

 
I did have to wait for this one to dry overnight... Wink. Once that was done I tried something a little different... I used washi tape to attach my fabric to the layout. Like with my other project this month I dipped into my old scrapbooking stash and pulled out a few forgotten gems.

Next I covered my Broken Bits with white gesso and my title 'Believe'. I applied some cappuccino paint to the foliage and rubbed a little gold wax on the tips to add a bit of a highlight.


I stuck down the tags, added some fibres and then positioned my photo and arranged the Broken Bits to frame where it was going to be mounted.

I stuck down my foliage and decided I wanted to highlight it a touch. I added some glitter with glossy accents to the berries on the branch.

 
I added some flowers, cabochons and art stones to finish off along with another Scrappers favourite... Enamel dots. It was great to get some extra uses for what I used to just use on a traditional page in my mixed media.

 
I used my distress inkpad to add some highlights to my flowers. I am a super messy scrapper and I  lightly rubbed the pad direct to the flower. I like that it is irregular and I never know how it will turn out.


Thanks for looking and don't forget to pop your entries in to win one of two awesome prize packs, just add to the comments section in the Dusty FANattics facebook page   HERE   .


Friday 25 September 2020

It's a boy - Adri Du Preez - Mood Board Inspiration

Hello everyone!

This is my layout inspired by the September mood board using some stunning Dusty Attic chippies.  I added a few colours to suit my photos. This is a
 photo of my daughter and her husband's 
maternity shoot.

They are expecting their first baby at the beginning of October and it is a boy. With this layout I want to celebrate this miracle. 
There is no bigger miracle than the miracle of life!

This little boy is coming into the world where he is already so loved, and we cannot wait to meet him and welcome him into our hearts.  We wonder what 
he will look like.  What his soft baby head will smell like.  What the colour of his eyes will be.  We are counting the days and soon we will never remember 
life without him. 

Here is the mood board.


and here is my layout.


I painted the foliage with acrylic paint and the toadstools with Versa Magic in 
Wheat and edged with Brilliance Chocolate ink. The Wood Slices were coloured with Brilliance Chocolate ink.


The title was heat embossed with Ranger white embossing powder.


I used the small frame of the Floral Frame Set and heat embossed the frame with Iced Enamels Relique Powder in Turquoise.


some close ups.


I am proud to say that I made this nest myself.


These are the Dusty Attic chipboard pieces that I have used.


Thank you for visiting my blog.  I hope you find some time to play along 
with this beautiful mood board. 

Happy crafting.