Showing posts with label Miss Carrie. Show all posts

Sunday, 16 July 2023

It's always Coffee time - Miss Carrie


Greetings, crafting friends! It's Miss Carrie, and I'm excited to share a new card making project with you featuring items in the Dusty Attic Shop.  This mixed-media coffee card is such a captivating design that you can recreate with a few of the items in your collection. 


One of my favorite things to do is to create cards, especially when the subject involves coffee. If you're a fellow coffee enthusiast, you'll be thrilled to hear about Dusty Attic's fantastic chipboard designs, such as this Cup of Coffee piece.


In this design, I wanted the coffee image to stand out, so I coated it with blue mist and then layered a black chunky embossing powder over the top. This layering technique allows flecks of blue that come through the powder.


To add more visual interest to the background, I used a combination of ink, paste, and paint. The soft blue effect was created by using the "smooshing" method. This technique involves laying rows of distress oxide ink onto a surface and then pressing the paper into the ink. This results in the creation of multiple layers of color for a unique look.

After the ink had dried, I use the Chicken Wire stencil to add some texture. It's safe to say that this stencil is among my top picks from the Dusty Attic collection. To add some depth to the card, I used texture paste and randomly layered script throughout, then filled in the spaces with coffee ring images.


I chose a sticker with the phrase "It's always time for coffee" and decided to incorporate industrial items such as cogs and chains to represent clock components.  The Industrial Mixed Chipboard collection is a blend of frames, cogs, light bulbs, and background pieces that allowed me to incorporate an industrial theme that I just love.

To create the industrial-chic look on the chipboard pieces, I first shaded them with a few layers of acrylic paint. To enhance the industrial vibe, I embellished the cogs with copper and blue embossing powders.


Once all the chipboard pieces were in place, I added some florals and oak leaves to counterbalance the rugged look. These gave it a softer, more natural feel. The coppery centers in the florals complement the copper cogs beautifully.

I hope today's project inspired you to try something new!


ITEMS USED WITH LINKS
DA Custom Mixed Chipboard Industrial https://dustyattic.com.au/product/custom-mixed-chipboard-dacc03-industrial-2/
DA Cup of Coffee 1 https://dustyattic.com.au/product/cup-of-coffee-1/
DA Chicken Wire Stencil https://dustyattic.com.au/product/chicken-wire-stencil/
DA Glass Stains Stencil https://dustyattic.com.au/product/glass-stains-stencil/
DA Creative Script Stencil https://dustyattic.com.au/product/creative-script-stencil/

Wednesday, 17 May 2023

Just a little Adventure - Miss Carrie - Sketch Inspiration

 Greetings, crafting friends! It's Miss Carrie, and I'm excited to share a new scrapbook project with you. Check out this charming outdoor layout that I designed for the May Sketch Challenge hosted in the Dusty Fanattic group.


The layout features my son teaching his younger cousin how to fish and this month's sketch enables me to showcase several photos of this cherished memory.

The May sketch is not only designed with plenty of photo space but is also filled with numerous layers and icons. You can create these layers with pattern paper, stencils, or chipboard, just like I did.


I added some visual interest to my page by using a perforated mesh background in shades of blue and brown. I painted the chipboard with acrylic paint, cut it into pieces, and tucked it behind a larger photo mat.


Perforated Mesh

Dusty Attic offers a fantastic selection of outdoor and fishing-themed decor. In this design, I incorporated the fishing hooks, along with some beautifully layered botanicals.


To give the fish hooks a shiny appearance, I painted the chipboard with Pops of Color and Nuvo Dots. Prior to applying these embellishing paints, I mixed in an acrylic extender to prevent the paint from drying too quickly.

Once the paint had dried, I used a sanding block to distress the edges and added a touch of white paint at the base of each lure using a dry brush technique. I attached each one to the page with a little loop of hemp twine and a metallic safety pen.


In each of the embellishment clusters, I included additional fishing hooks, themed die cuts, and chipboard botanicals. The various layers on this piece come together to give it a delightful outdoor vibe.

To complete the design, I added a simple chipboard title at the bottom of the page. "Just a Little Adventure" was the perfect way to capture the essence of that day.


This was coated in white acrylic and layered with a simple die-cut phrase. For a step-by-step demonstration of how the page was created, feel free to check out the process video on my YouTube channel.

I hope today's project inspired you to try something new!


Thursday, 27 April 2023

The Simple life - Miss Carrie


Hello, crafting friends. It's Miss Carrie here with another scrapbook project for you to try. Today, I am working with a ren fest photo and chose to create a more fanciful scene with floral layers, bits of chipboard, transfers and texture paste.


I started by building background layers with stencils and floral chipboard pieces. I wanted to bring out the red hair in both our children., so I created a soft pattern in the background with the chicken wire stencil and mahogany ink. Over the top, I added a textured pattern using the distressed grid stencil. I mix opaque grit paste with walnut ink to create this lovely design.


After adding a few layers of ephemera paper, I added some chipboard elements from the wildflower 3 pack pack. I gave these a soft coat of white paint to help them stand out over the neutral papers.


 I did cut these chipboard pieces apart so that I could continue the stem potion below the photo. This also reduced some of the bulk on the page.

Behind the photo, I added layers of bookplate ephemera, floral rub on transfers, acetate leaves, and elements from the creative layers 9 collection. I shaded the chicken wire and flora pieces with a mix of blue distress oxide sprays to match the soft blue in the rub-on transfers.


I layered these items with small tea leaves, botanical leaves, and the flowerposie. To bring some more colour to the page, I painted the posies with distress oxide sprays. After prepping them with white gesso, I poured some ink into the paint palette and added a few layers of colour.

The title on this page also came from the creative layers collection. To make the phrase stand out, I painted this with a soft white, then added a coat of dark brown. Before the paint had a chance to dry, I wiped off the dark brown so that it only stayed within the letters on the chipboard.


I chose to keep the title simple and layered it over a few chipboard phrases with a little blue heart. I brought a few more phrases with a little adventure chipboard phrase with a little adventure chipboard phrase and a circular phrase from the designer disc 10 collection.

The word disc was painted in a soft white and then layered with a chipboard frame to help it stand out more again the botanical pieces. The script letters on the disc are beautifully designed and create a lovely statement piece on the page.


Throughout the page, I tucked more leaves and floral bits and added some texture with twine. I tucked the story behind the photo in a little pocket and topped it off with a tab. 


I hope this project inspired you to try something new. 

I cant wait to see what you create 

Botanic Mix 6 https://dustyattic.com.au/product/botanic-mix-6/ 

Designer Disc 10 https://dustyattic.com.au/product/designer-disc-10-words/ 

Chicken Wire Stencil https://dustyattic.com.au/product/chicken-wire-stencil/ 
Flower Posie https://dustyattic.com.au/product/flower-posie-4/ 

Wildflower 3 https://dustyattic.com.au/products.php/?product=Wildflower-%233 

Creative Layers 9 https://dustyattic.com.au/product/creative-layers-9/

Distress Grid Stencil https://dustyattic.com.au/product/distressed-grid-stencil/  


Friday, 17 March 2023

LIFE Unscripted - Miss Carrie

 Hello, crafting friends. It’s Miss. Carrie here with another scrapbook project for you to try.


Today, I am using a delightful photo collage with some florals, bits of mixed media, and a playful title.


Unique collage photos taken with an app photo are popular right now, so I thought this would be a great way to record the memory. I chose softer green, mauve, and charcoal hues to complement the photos.


I framed the photo collage with cherry blossoms that were shaded with a mix of shimmerz paints and watercolor pencils. I prepped each piece with white gesso, then layered some softer pink inklingz pigment over the top.
While the paint was still wet, I shaded the centers of the cherry blossoms with darker pink and red watercolor pencils and blended the colors into the pink paint. After shading the stems with coffee, I used the coffee shimmerz to give the flowers a more distressed feel. 


I finished off the pieces with some liquid embellishments and pearls.

Before adding the cherry blossoms to the page, I added a few leaf images with modeling paste and the leaf 4 stencil. These are very subtle and create a lovely texture behind all the chipboard elements.


To bring a bit of pink over to the opposite side of the photo, I used the distress grid stencil to create random bits of texture and splatter. I started with a blend of spun sugar and picked raspberry ink, then layered espresso ink over the top to give it a distressed look.


When I was finished with the stencils, I added charcoal shimmerz splatters over the top. This is the same charcoal color I used to shade some of the botanicals, title, and small filmstrip.


The small daisies were colored with a mix of spays. I started with a layer of white acrylic spray and then spritzed them with some mauve ink. The water-based ink pooled onto the acrylic and created this lovely texture.


The life unscripted title fits this photo perfectly. The charcoal color is such a great contrast to the pink and brings a classic look to the design. I paired this chipboard title with a few stickers and a large coffee-colored arrow.


Throughout the page, I tucked butterflies and a few little phrases and added some bits of stitching to bring in another texture. If you would like to see how this came together, I have a process video on my youtube channel.


I hope this project inspired you to try something new. I can't wait to see what you create!!


Friday, 17 February 2023

Memorable Moments - Miss Carrie (with Youtube Video)


Hello everyone!

Miss. Carrie here on the blog today with a lovely vacation layout I created using a mix of chipboard elements. I am new to the team, and I have truly enjoyed creating with the chipboard pieces and stencils.


The background was created using image transfers and stenciling.

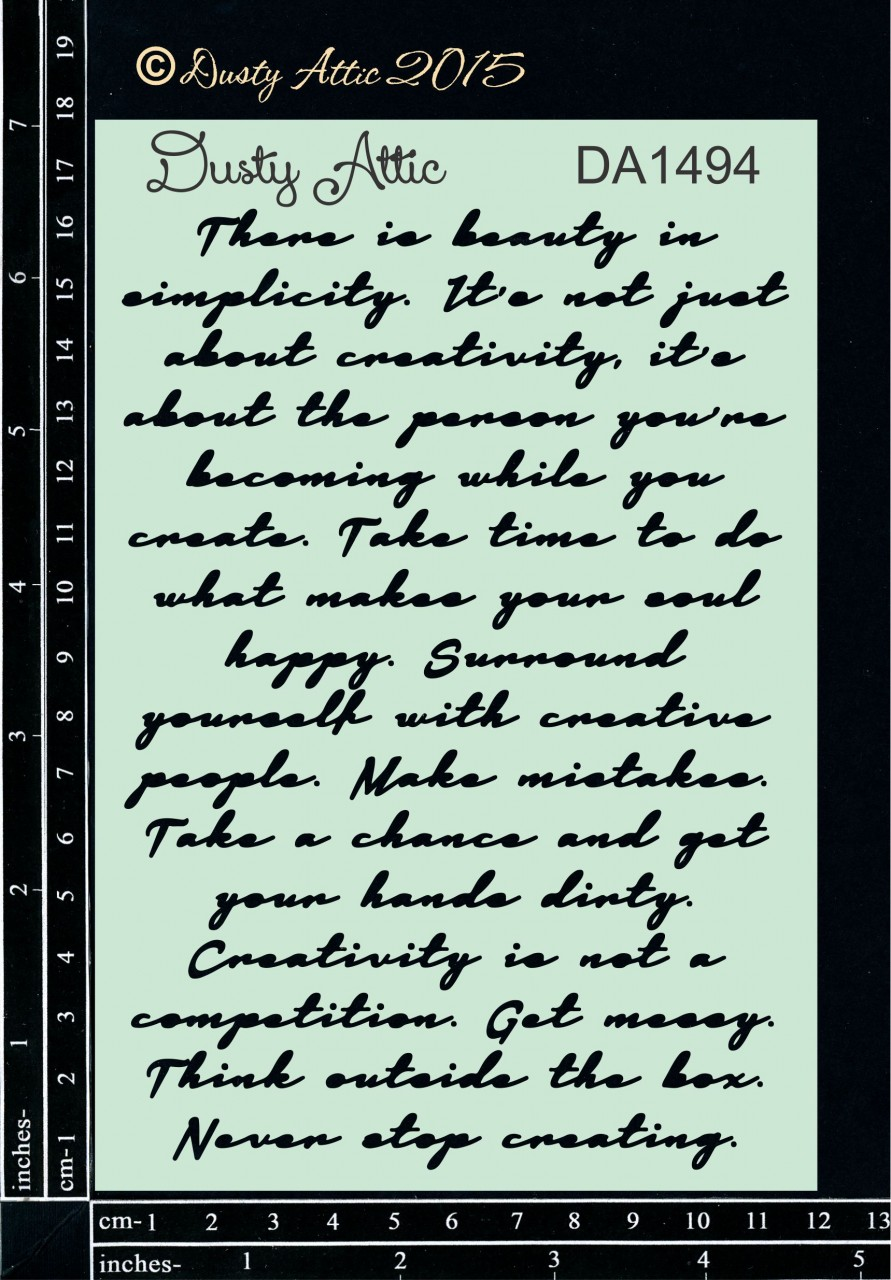
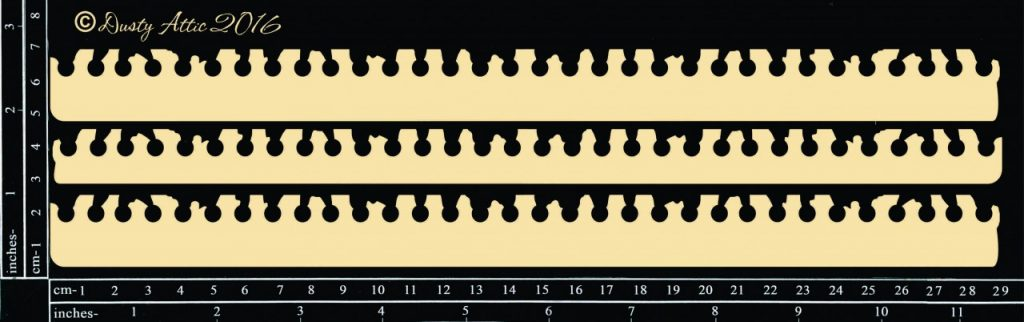
I wanted to create a softer feel so I chose to use a grey paste with the Creative Script stencil After the paste had dried, I added a mix of ephemera and pattern papers to the centre of the page and created a grounding strip with the notebook edge border.


To bring some more texture to the page, I used the Burlap stencil on the notebook border and shaded it with black soot ink. I trimmed it down to fit and layered the photo on top.


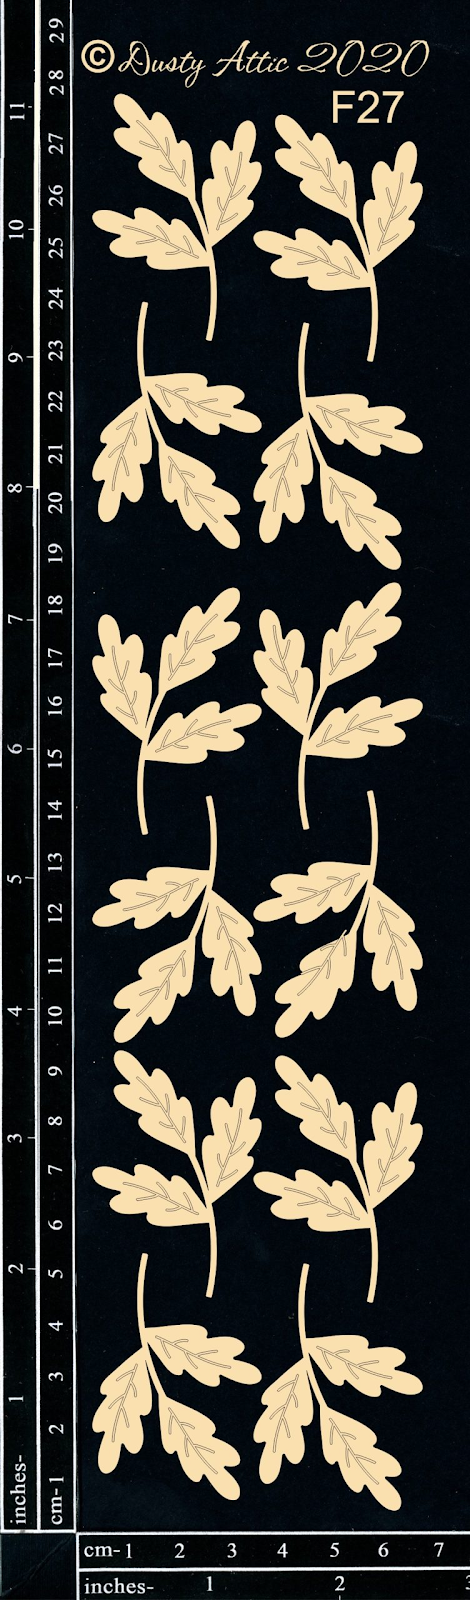
Behind the photo, I tucked some foliage #27 that I shaded in soft espresso ink. These created a nice neutral frame and separated the photo from the floral pattern in the background.

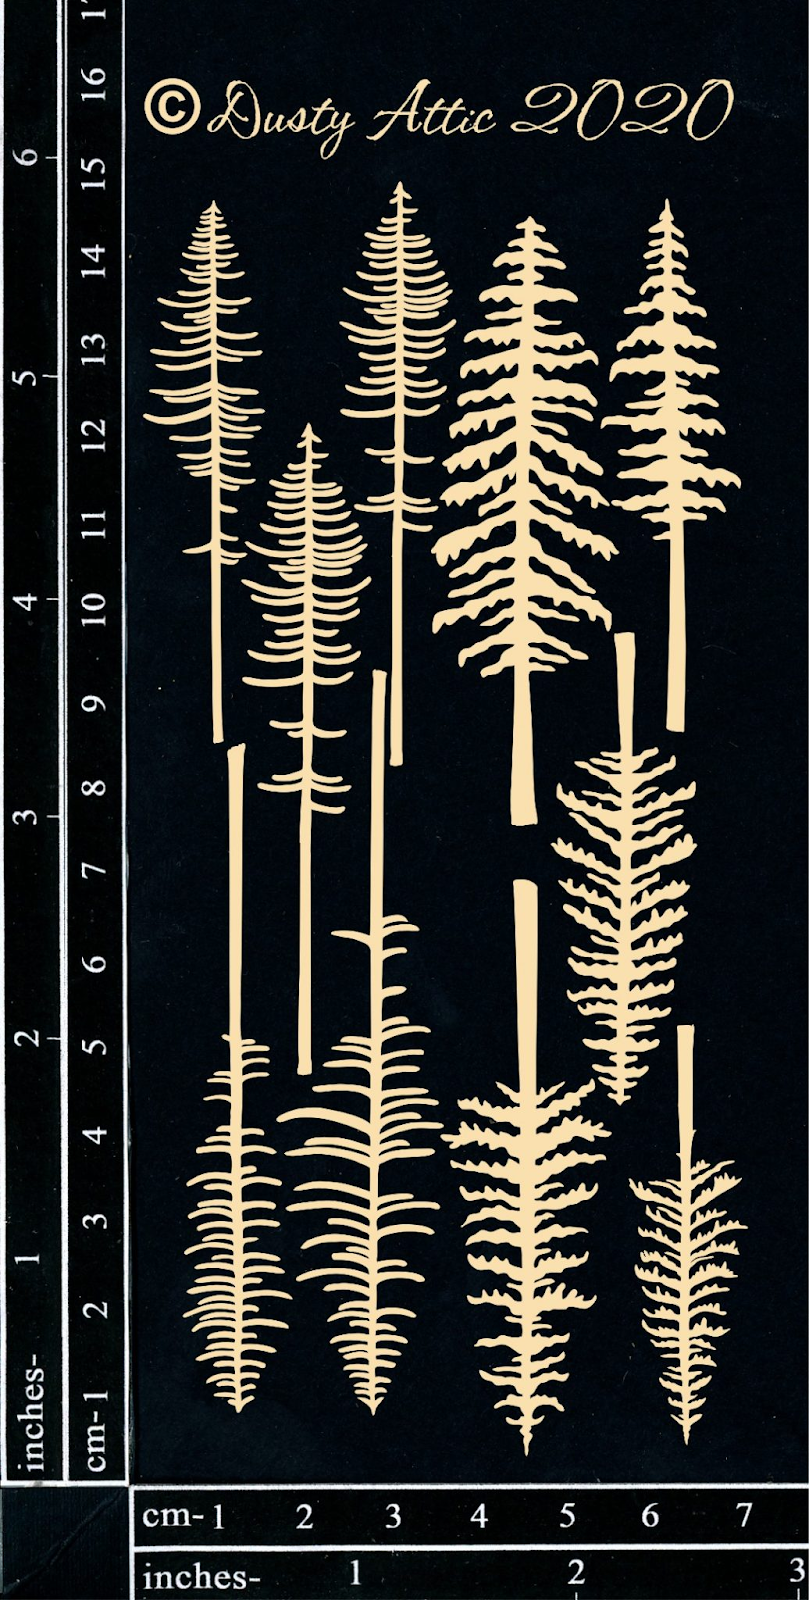
Around the photo, I added a few more horizontal pieces of ephemera and layered some pine trees to match the theme of the photo.


The pine trees are shaded with a variety of green distress sprays and a brush of espresso ink I layered three of the pieces on the right side of the photo and a single tree on the left.


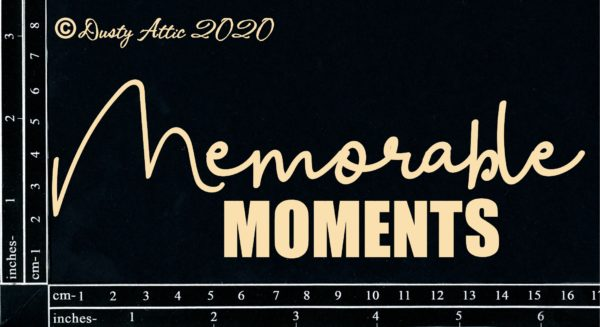
At the base of the page, I adhered the memorable moments title


This piece was prepped with white gesso, then sprayed with uncharted mariner ink, and distressed with black soot.


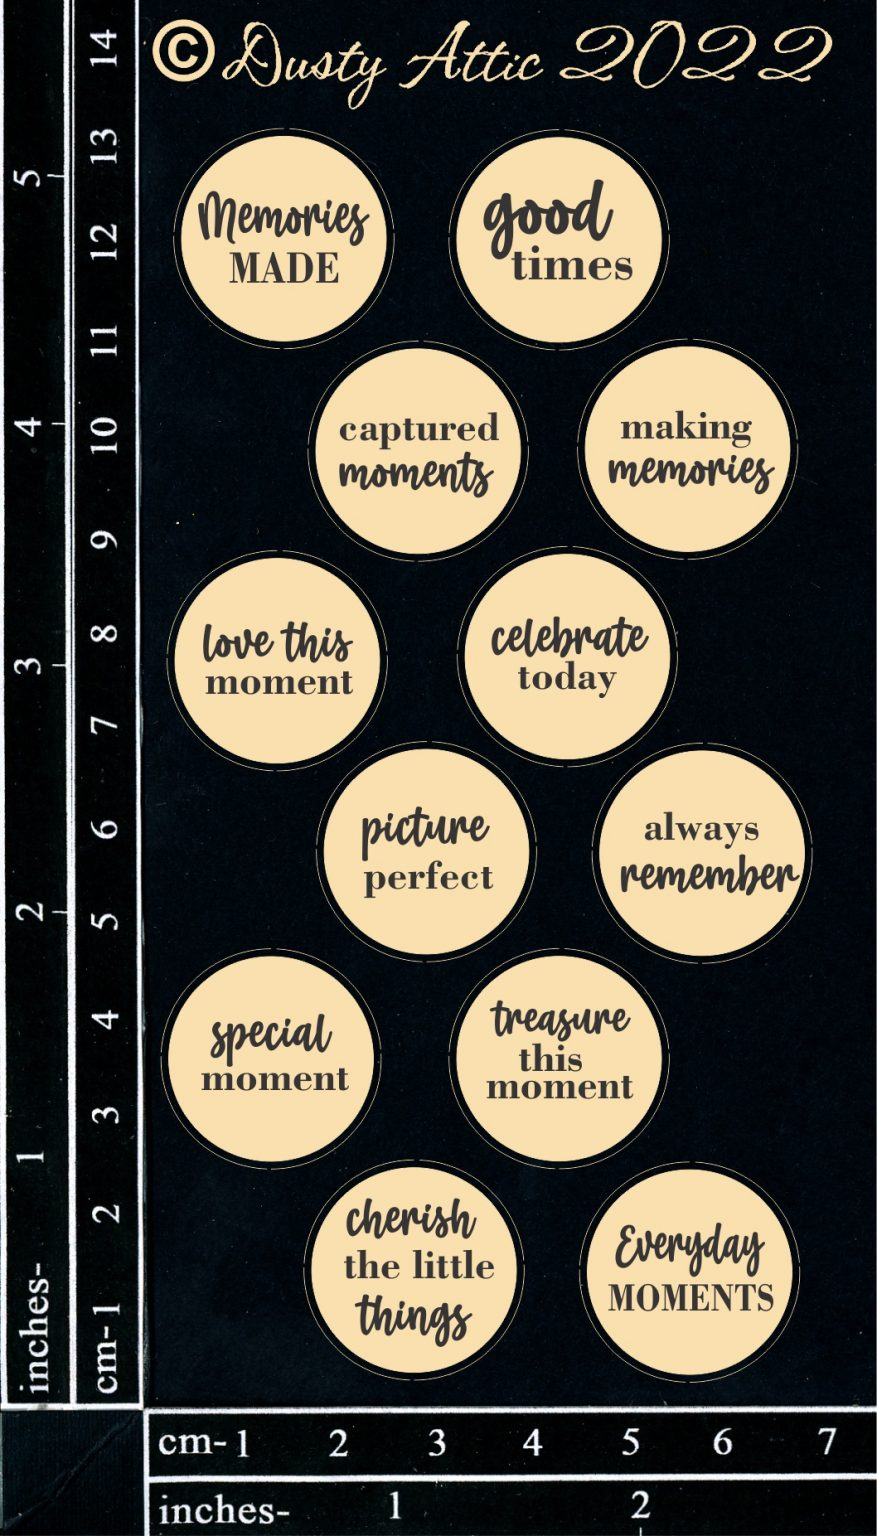
To match the blue in the title and border, I brought in a small circle phrase at the top. I tucked some twine behind this and added a few little arrows off to the left.


This little addition at the top of the page was a great way to finish off the project. If you are interested, I have a process video on https://www.youtube.com/@MissCarriesCreations


I hope that today's project inspired you to create something new.

If you have any questions, please leave me a comment.