Wednesday 29 August 2018

To the moon and back - Tina Ollett - Mood board inspiration


Hello and welcome. Tina O here with you today to share my moodboard inspired project for August.

This is titled

"To the moon and back".....


And below is the Dusty Attic moodboard that I drew inspiration from. For this project I used the colours of course and also the shabby features of the board along with laces to take from the sewing pieces in it as well.


Remember there is still time to enter your project for some awesome Dusty Attic chipboard prizes.


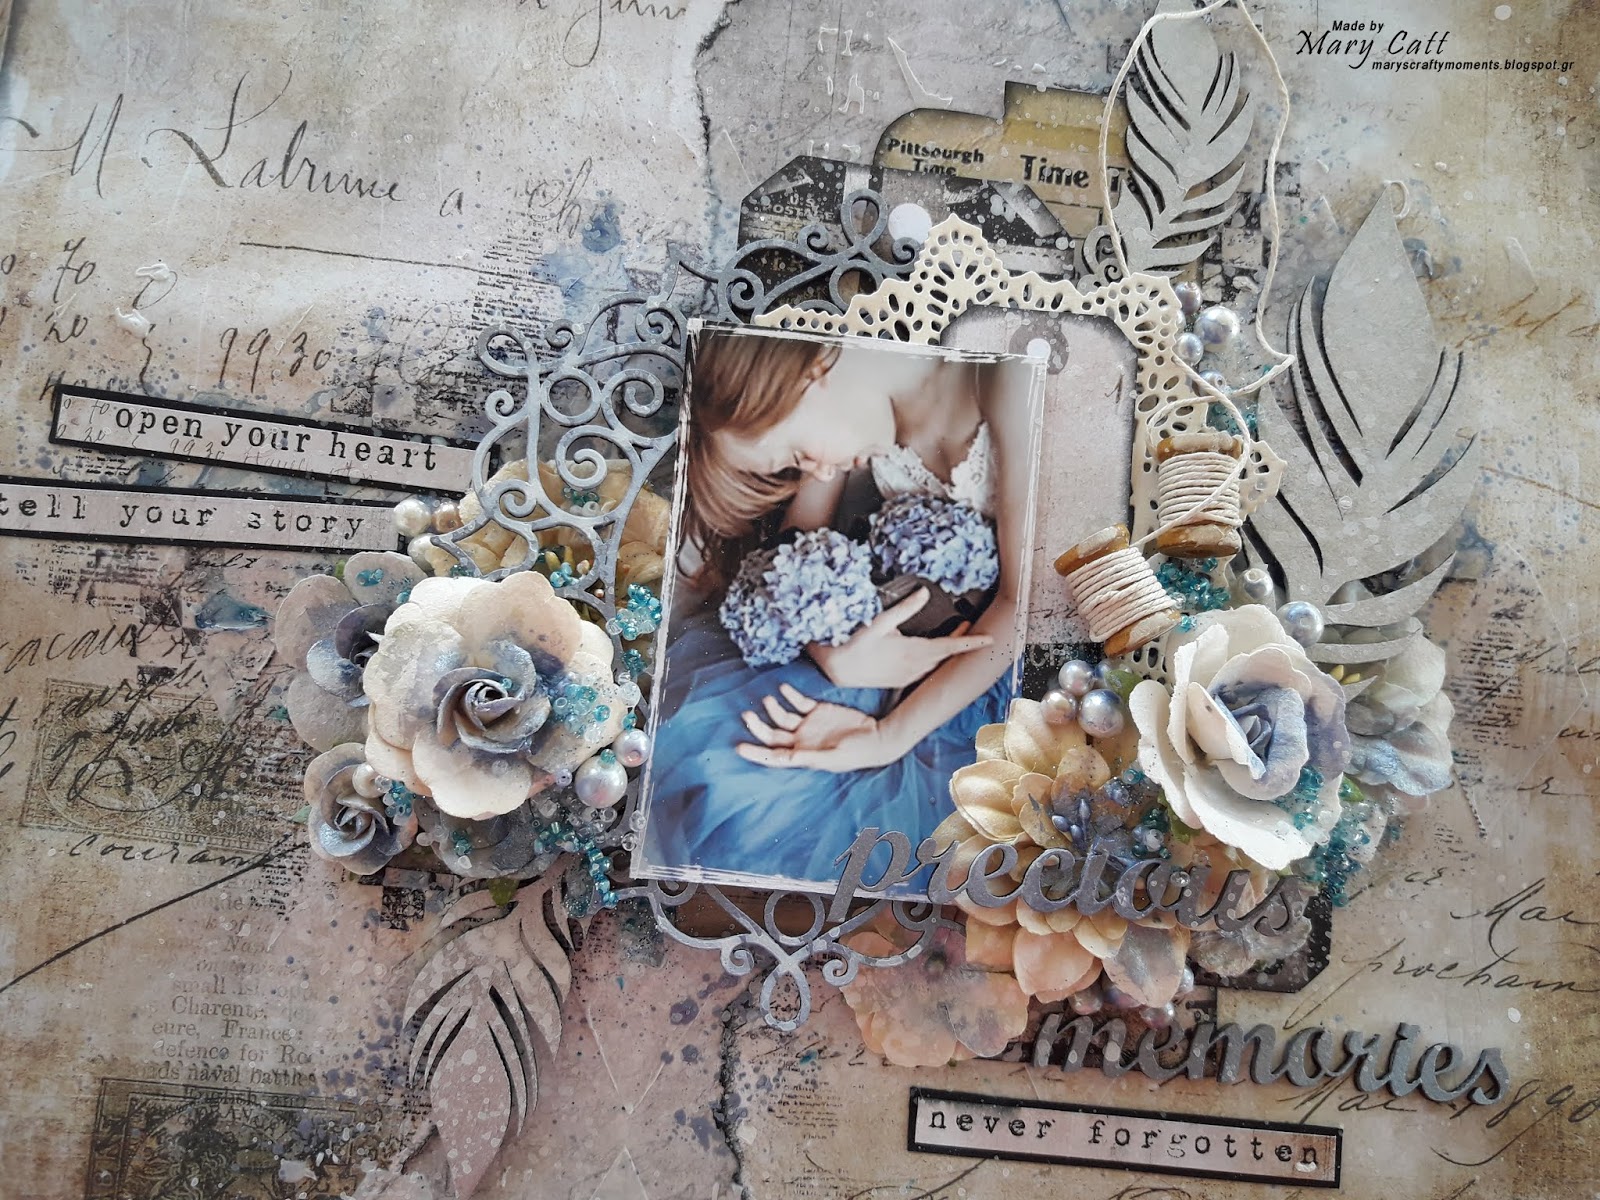
For this project I have used a photo of my youngest when she was only very young. There have been many of these photos from a sequence of photos that I have used over the years. So innocent and sweet!! I remember this day that her and I spent out in the garden as we did a lot back then. She decided to catch butterflies with the lobby net. I think she was successful but as always her sweet nature of course, was to release it and not to hurt it.


For the background papers I have used Maja Designs gorgeous Celebration Collection. This has become a true favourite of mine over the past month. The collection caters for most of those pretty shabby colours and it was especially a perfect fit for my project here.


And I have also used a couple of the Monochromes . These are just perfect for matching each collection or on their own, but this was great as I had run out of paper and need some matting for my photo.


[gallery grids="News" image_size="large" size="medium" columns="2" ids="701,702"]

I did some tearing and layered up my papers to highlight my 4 x 6 portrait photo. And as mentioned. I used the monochromes to mat my photo.


I did lots of layering using this gorgeous lace. I cut it so that it formed a v on my layout which helped to frame my large lacey frame which I cut in half and laid at the base of the photo. This chipboard piece was inked and also sponged with a little of Dusty Attic's Oceania Acrylic Paint. The smaller frame was also cut in half and laid at the top left of the layout to start my corner cluster .


[gallery grids="News" image_size="large" columns="2" size="medium" ids="706,705"]


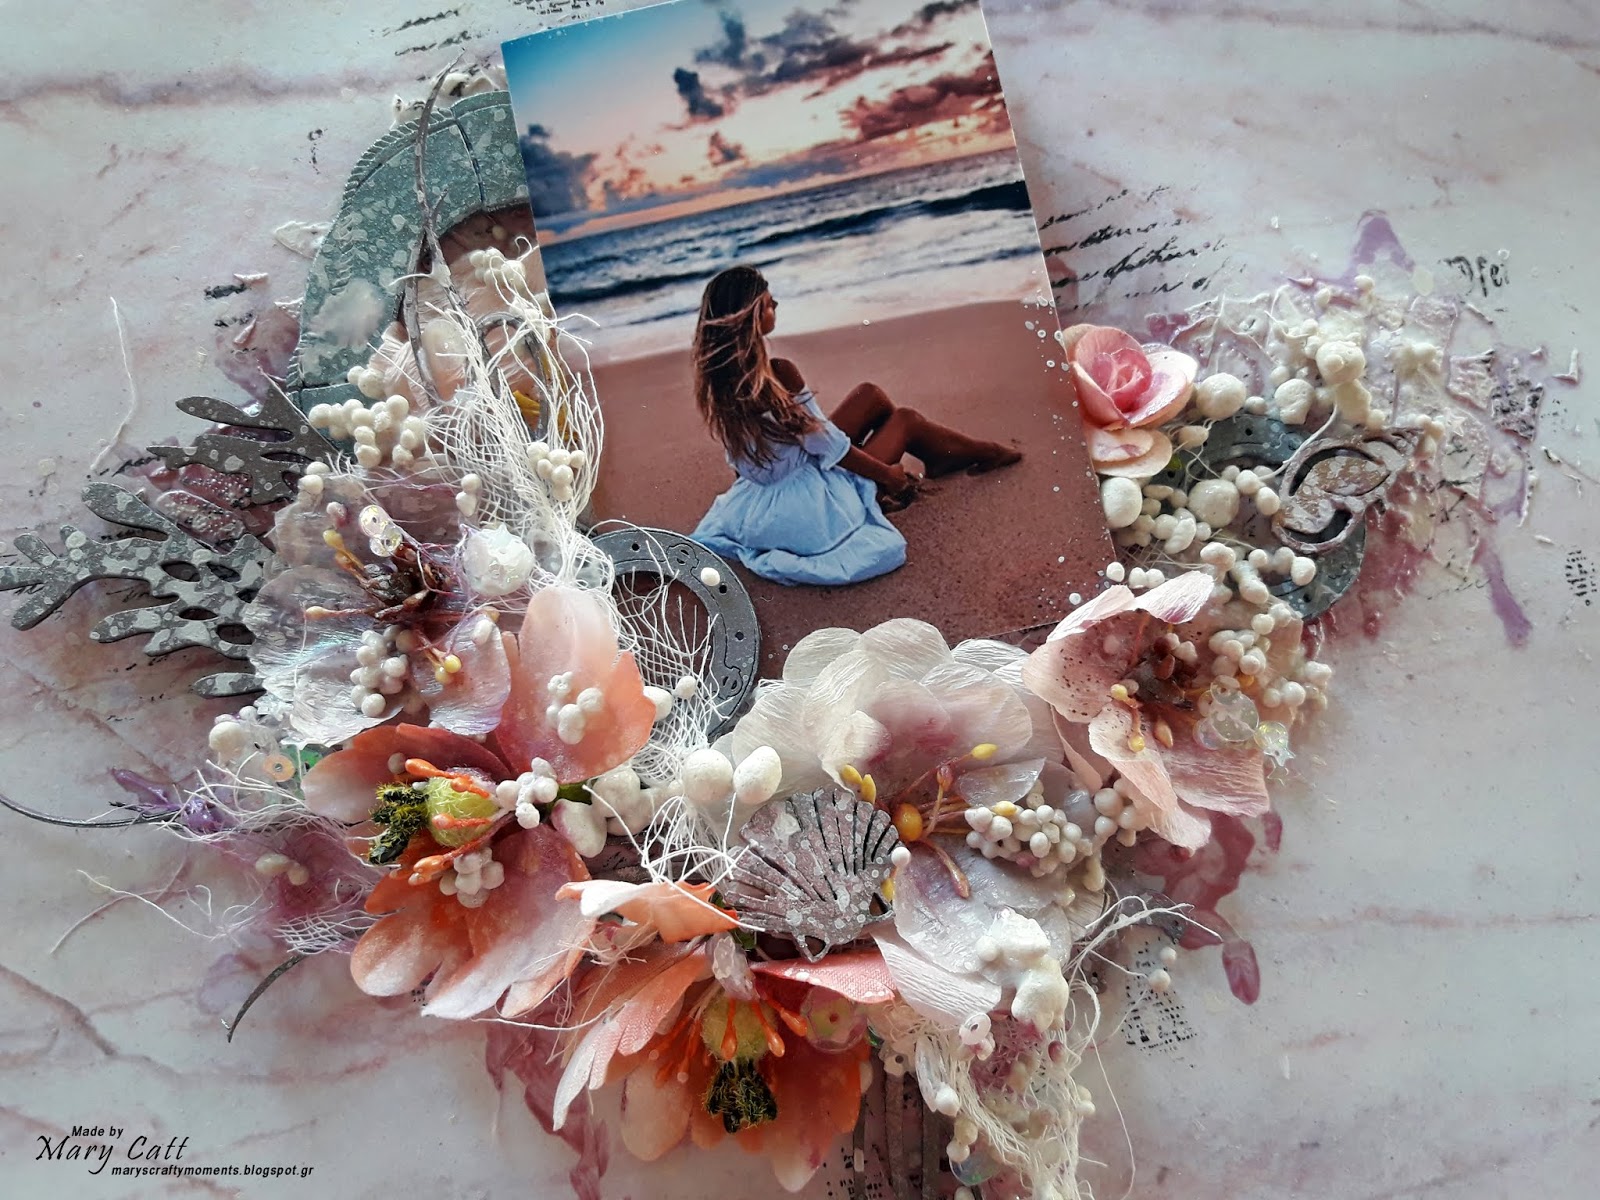
Below is more of the gorgeous pieces of Dusty that was used for this project. The pieces were all dressed similarly using Walnut Stain Distress Ink, Oceania Paint and a little gesso. Sponging paint over the dried ink gives a really interesting outcome.

[gallery grids="News" image_size="large" size="medium" ids="713,712,708"]


[gallery grids="News" image_size="large" size="medium" ids="710,711,709" orderby="rand"]


I have also added in some gorgeous florals from 49andMarket from the Botanicals collection. Each of these were dry brush with some gesso to lighten the colours a little. The stamens of the flowers were coloured with some chocolate liquid pearls. I also added in some tea stained cheesecloth and a few art stones.


I have also added in some jute that was tied around a group of the foliage and added to the front of the window and shutters that were bent to look aged.


Well that is all from me today. I do hope you have enjoyed my moodboard inspired project. Until next time happy crafting. Hugs xo


Monday 27 August 2018

Canvas Art - Michelle Carrick - Mood board inspiration


I’m back, with my second layout and is based on this months Mood board challenge, you still have 5 days to enter! 


August 2018 Mood Board


This is my beautiful girl, named Baby.
Sadly, I lost her a few years ago and she is buried
her under my palm trees!


I worked on a canvas and used paper from
Kaisercraft.
I added bandage tape, Prima washi tape
and paper strips first, then using heavy gesso from Prima painted over lightly,
let dry, then I watered down my stormy Sky Tim Holtz paint, letting run and
helping it with a paint brush in the directions I wanted. Let dry, then using a
script stencil, stencilled over in places and added blue glitter.


I used coffee to colour my doily. I tore
corrugated paper and a piece from a book chalked them with dark brown on the
edges and added washi tape over the corrugated piece.


I painted my chippies with all-purpose
ink. I cut the wings off the key and cut up one of the lace boarders. For the
tab, I lightly painted the blue and topped off with the all-purpose ink.


Placing everything and sticking down, and
adding lace; pins; wool and flowers with a few 49 and market flowers. The strip at the bottom of the Kaisercraft page was so apt!


Products used:


I loved this mood board and hope I inspired someone to take up the Dusty Attic challenge and post your layouts to @DustyFanatices Facebook page!

Happy scrapping!
Lovies
Shells

Michelle Carrick

Best Memories - Michelle Carrick

Hello scrappy friends,

This is my first of two layouts for today 

This is a photo I took of my nephew 11 years ago. Where does time go!


I worked on a canvas and added a baby blue
torn page from Kaisercraft. I added dry wall tape first, then Stencilled stars on the top half, I dropped coffee on the bottom of the canvas, let dry, and stencilled over adding glitter.
I tore pages from a book chalked them
with dark brown and added washi tape, then attached under the torn half of the
page.


I painted the fancy frames with antique linen paint and separated the title words and chalked with dark brown.


While this was drying, I then went to YouTube to make my pipe
cleaner teddy bears!
multicrafteral.blogspot.com/2016/10/the-five-minute-mini-teddy-bear.html}


Placing everything { flowers: Prima and hand made, also used gauze to create a soft effect}I cust flags chalking with dark brown and stuck it all down. I use hot glue and double sided tape to give depth. once this is all done I stencilled
again using Novo mousse.


Products used:


Hope you enjoyed this layout!
My next creation will be up in a few hours as well
Happy Scrapping!
Lovies
Shells
Michelle Carrick

Sunday 26 August 2018

Memories - Mary Catt - Mood Board Inspiration


 Hello dears! 


  Today I'm back with a new layout made for our August's moodboard.

The beautiful photos of the board inspired me to create a soft romantic layout in blue and beige shades using some of our beautiful chipboards and lots of roses.


 Some detailed photos...


 I used some 7Dots Studio papers for my background and created some texture by applying
modeling paste
through a stencil. Then, I added color with the a Finnabair Ice Queen acrylic paint.


  I continued by painting the ''Lacey Frame Small'' and the title words from the ''Mini Words #1'' and the ''Mini Words #2'' with the same acrylic paint I colored my page.  


 The ''Boho Feathers'' were also
painted with the Finnabair White Pearl acrylic paint. 


When everything was glued down I added some pearls and glass beads and made some splatters with white gesso.


Dusty attic products used:


Thank you so much for stopping by.


Memories made at the Beach - Mary Catt


Hello Dusty Attic fans!

Mary here with you today and I would love to share a soft romantic beach themed layout I created for my August inspiration using lots of gorgeous chipboards. 


I used a paper from the ''Cherry Blossom'' Prima Marketing collection
and I started by applying clear gesso on the
background. Then I used the ''Fishnet Stencil'' with modelling paste to create some texture.


 I added some color with the Frozen Berries acrylic paint from Finnabair and made a little random stamping. 


  I painted the ''Mini Shells'', the ''Seaweed #1'', the ''Doodads #5'' and the title chipboards with the same acrylic paint I used on my background. 


 The ''Port Holes Small'' and the ''Life Buoy'' chipboards were also painted with the Ice Queen acrylic paint.


Dusty attic products used:


I hope you liked it!