Showing posts with label Rusting powder. Show all posts

Sunday, 23 September 2018

We remember moments - Tina Ollett - Mood Board Inspiration

 Hello and welcome.  This project today titled "We remember moments" was created using the gorgeous Dusty Attic moodboard for this month. I have it below for you to see. And remember there is still time for you to create something to share with us all to win the fabulous prizes up for grabs. The only thing you need to do is create a project using inspiration from the moodboard and also Dusty Attic products. 

See I told you it was stunning.......


The colours of the greens, browns and orange, quickly made me look for a photo from our trips to the local creek where we would go fishing for red claw. It usually always meant we left empty handed, but the memories we made and took away were many.
My background work for this project was started using the 49andMarket Vintage Artistry collection. This patterned piece titled "Tattered" was primed and stenciled with my current favourite Stencil "River Stones" with Crackle Texture Paste which worked perfectly with my photo. I coloured my page using Rusting Powders and Acrylic Paint (Pesto and Bisque). From there I used a piece of 49andMarket's Rusty Autumn's, "Charming", and cut this to mat my sanded photo.

River Stones Stencil


So my Dusty Chipboards were all dressed a little differently for this project. Whilst I used the Rusting Powder on my background stencilling I also used it on the medium sized Baroque Circle Frame. I always use a sticky embossing powder firstly to make sure that the rusting powder doesn't fall away when it dries. I think this is a pretty important step when doing this. You can of course just use a gesso or acrylic paint for your rusting powder to attach to but it can discolour your rusting powder or even not work at all. Ensure you give the rusting powder an even spritz of white vinegar and leave to dry for a half hour or so. Of course if you leave it overnight you will get an even better result. Sometimes I even do this 2 or 3 times to give a thicker and more random textures. After it is completely dried I wiped over Dusty In Colour Pesto and then some Dusty in Colour Bisque. I have even sanded sections to give a more rustic look.

Dusty Attic Rusting Powder 

Dusty In Colour Bisque
Dusty in Colour Pesto


You can find all the chipboard used here at : http://www.dustyattic.com.au/

Mini Ornate Frames
My mini ornate frame was covered with two layers of Crackle Paste in white and then covered randomly with the acrylic Pesto. The excess was wiped away with a baby wipe.
Baroque Circle Frame Set

Foliage #7
I covered the foliage above with Distress Ink  - Walnut Stain. I then randomly added accents of Bisque and Pesto Acrylic paint on sections of the foliage. I repeated the same technique for my Sentimental quote below.

Quoted Sentiments #1

Well my friends, that is all from me today. I do hope you enjoyed your visit here and also my moodboard inspired project. 
Until next time take care and happy scrapping. xx


Saturday, 25 August 2018

Altered Frame by Farrel Tailor


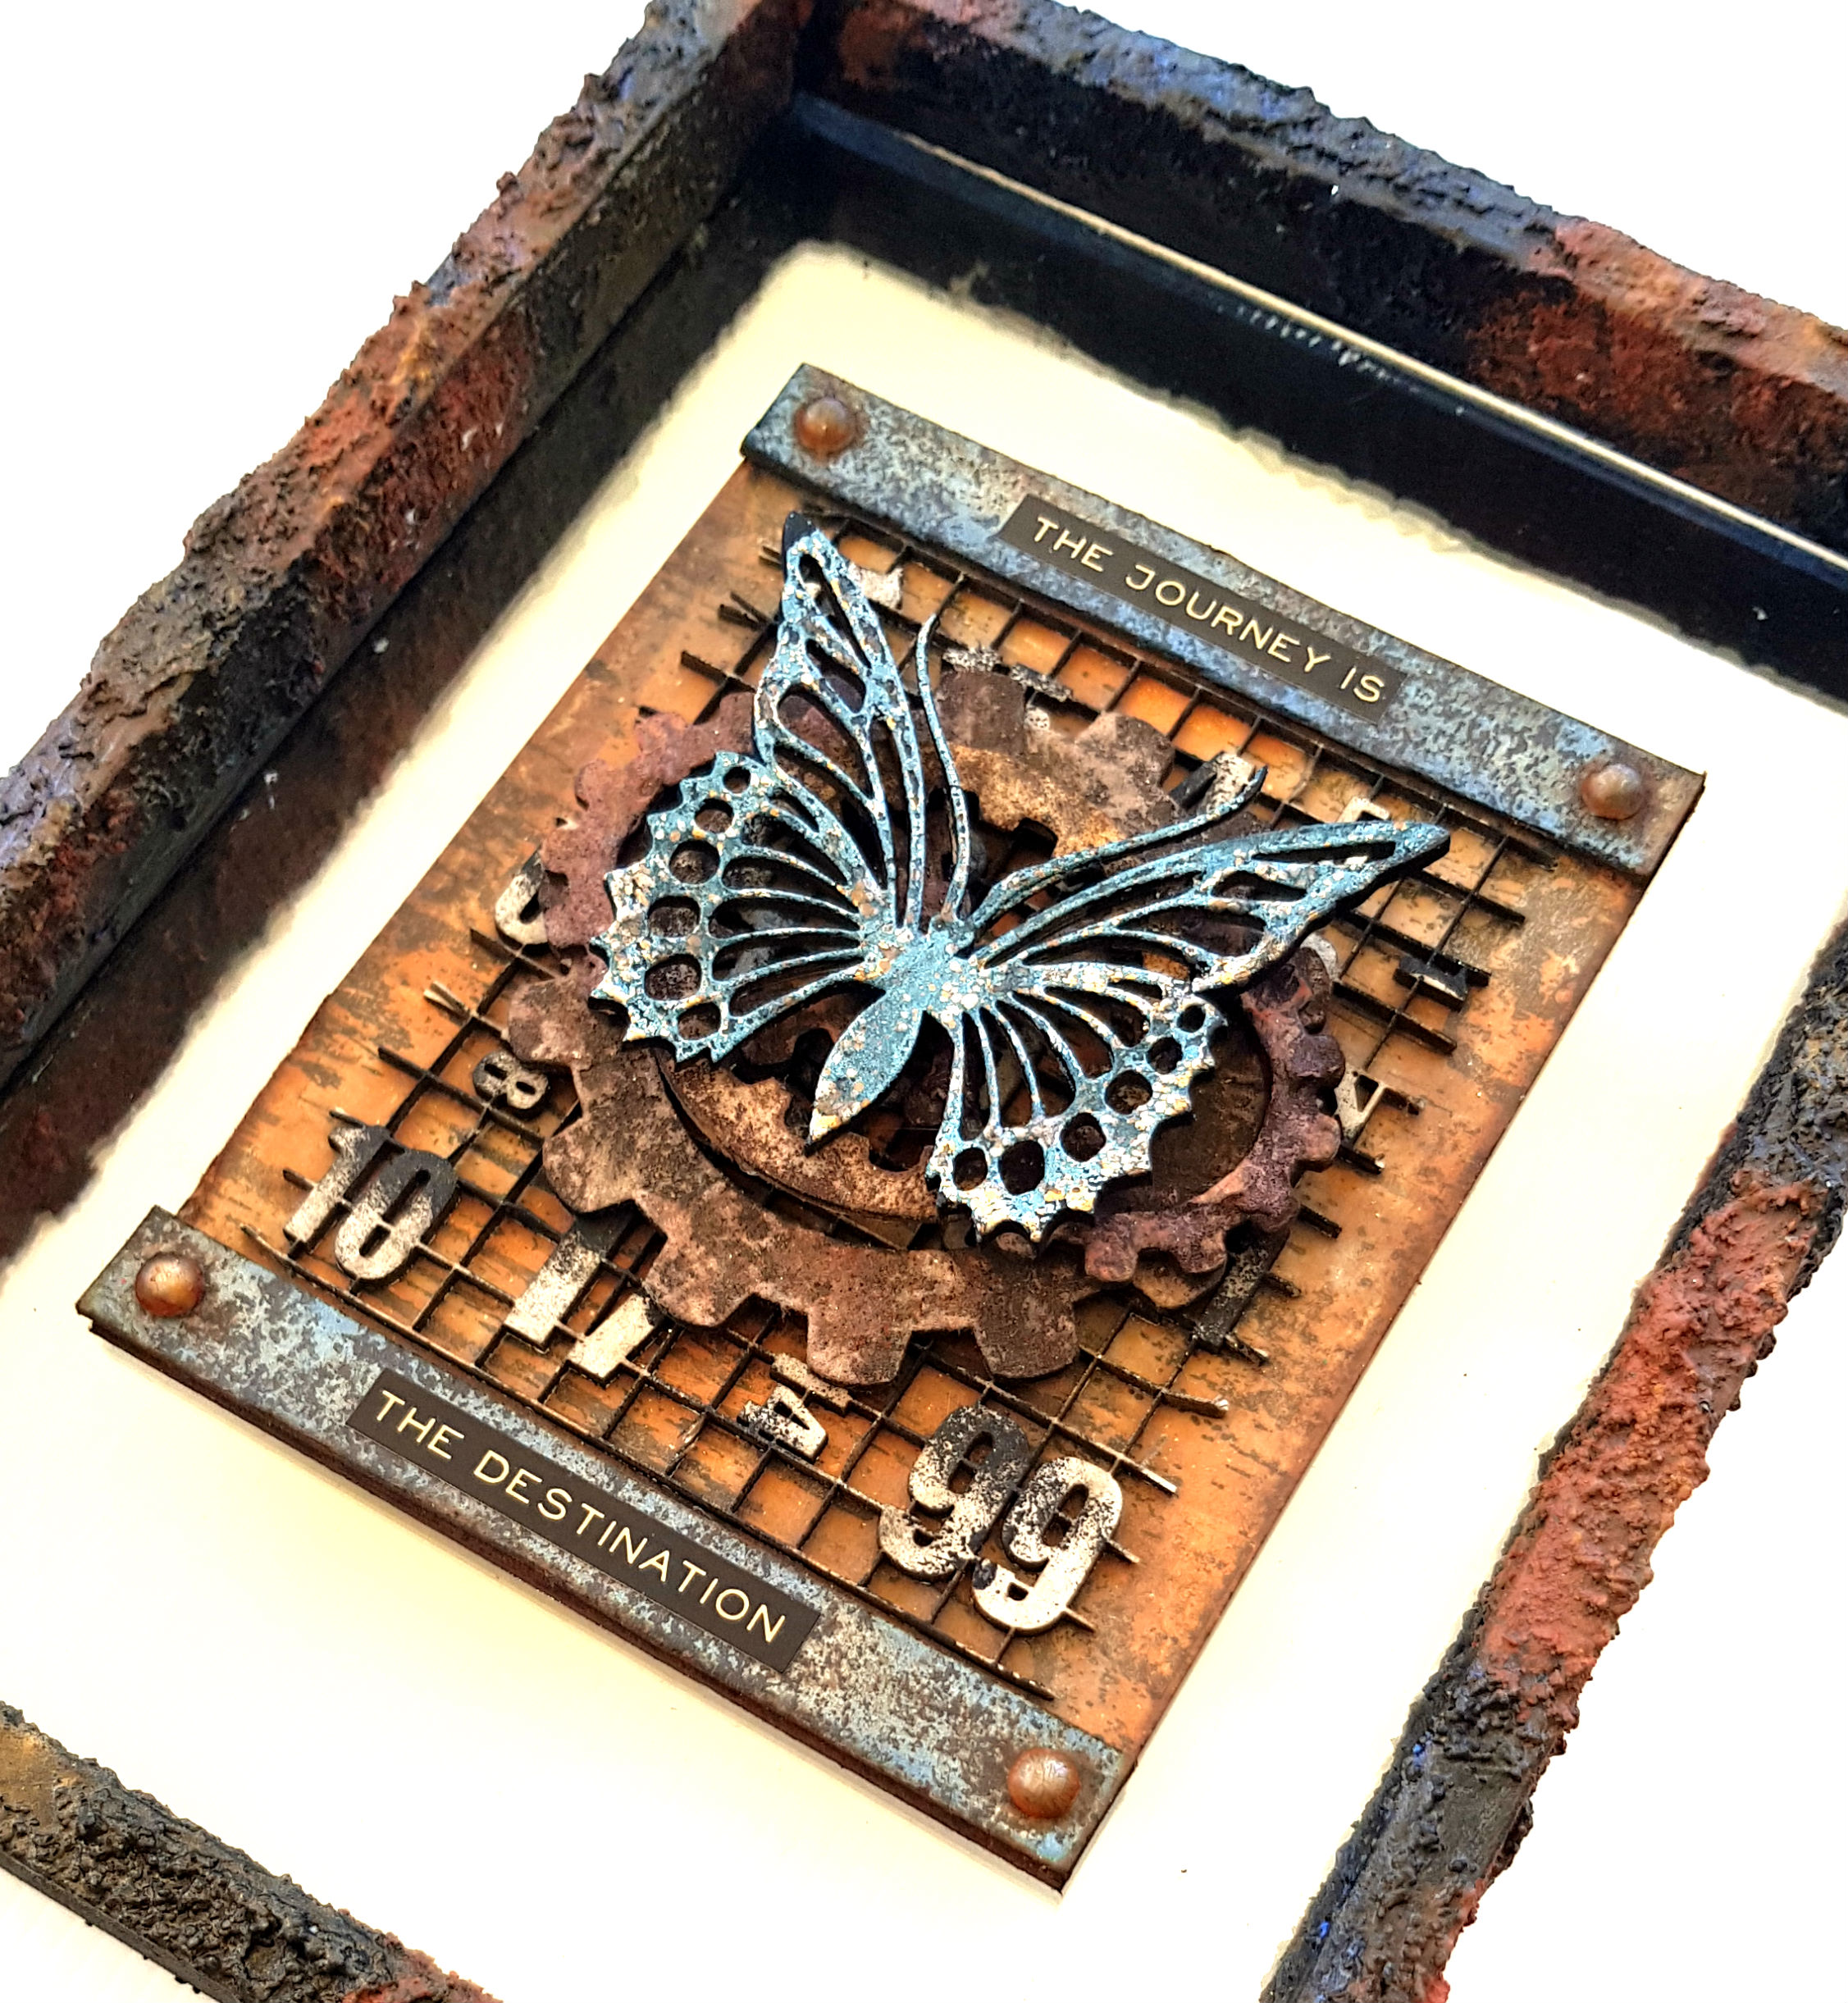
Hi there Dusty Attic Fans!!! Farrel here to share my mixed media altered frame. I created this frame to demo at the Dusty Attic Retreat last month.
I have had such an overwhelming response to the frame that I am teaching it here in Perth next month also at another retreat in October so I won't be able to giveaway too many details.
Farrel Tailor Dusty Attic altered frame
The frame I used is a shadow box photo frame and I used Dusty Attic Texture Paste along with Prima Rust Effect Paste and some Prima Sprays.
FTailor Dusty Attic Altered Frame close up
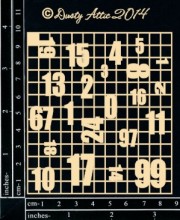
The centre of the frame I used some chipboard pieces, Jumbo Cogs, Monarch Butterflies, Mini Number Grid, embossing powder, Dusty Attic Rusting Powder and some inks.
Farrel Tailor DA altered frame
I added some Dusty Attic Pearls, Tim Holtz Stickers and also added some stamping to the chipboard pieces.
Dusty Attic Products
mini_number_grid__39092_std
02005930_3789042__57442_std
jumbo_cogs__75429_std
da_pearls__81969_std
e93bd023526f9f90f6204719e0d776e0_image_250x217__21192_std
texture_paste__36667_std
Thanks for dropping by xx
profile

Tuesday, 13 February 2018

Journey - Tina Ollett - Mood Board inspiration

Good morning to you and I hope you are having a lovely start to the weekend. 
Today I have a very different project to share with you. You will find not a flower in sight but loads and loads of my most favourite chipboards .......Dusty Attic.

To help me along this month I have used the gorgeous moodboard from Dusty Attic also.
See for yourself below.......

And this is what I came up with.........
"Journey"


I can't explain to you how much I enjoyed doing this layout. Probably because it was very much outside my comfort zone but also a little challenging in the way that the chipboards have been layered. It was a work in progress that took some time but I am very happy with the outcome.
To help with the process I worked with the collection of "Rugged" from Authentique.


I love this angle of the layout. Here you can see the Numbers Chipboard that I used. All my chipboards were dressed with Dusty Attic's Rusting Powder and then painted with Denim Acrylic Paint. I loooooooove Rusting Powder. It gives the best effect used in differing ways. I never seem to get the same result twice.


Number Panel Large DA1050
Mini Tags #2 Black


House Key DA1718


From another angle .... here you can see more of the layering of the corrugation, barbed wire and numbers.
                       

Tracks Stencil DA4494
Barbed Wire #2 DA1186


My background paper was randomly stamped and splattered with Dusty in Colour Denim and gesso. I also added in some Texture Paste through the Tracks Dusty Attic stencil.


Clear Crackle Varnish DA0900
Dusty In Colour Denim DA0914


Oh and these chipboard Spark Plugs ..... omgeeee how cute are these guys!!!? A perfect accompaniment for this project.

 
Spark Plugs DA1152
6 x 6 Skeleton Clock Face DA1689


I have also used a Skeleton Clock Face along with the Notepad Edge Frame seen above.


Well that is all from me today. I hope you have enjoyed my Moodboard inspired project. And I hope you will give this month's challenge a go and enter. All details can be found HERE.
Have a great weekend at happy crafting. 
Hugs 
Teen x

Friday, 10 November 2017

You will Forever be my Always - Nicole Doiron


Hello all Dusty FANattics!!!


I am sharing with you today this very fun and shabby chic page.


SOME CLOSE UPS


I absolutely love using chipboard titles on my pages
and Dusty Attic has the best ones around, including this one!
I treated it with a combination of paint, embossing powder and metallic marker.


This piece called Industrial Barbed Stars is stunning!


It is absolutely a favorite of mine!


I used the Rusting Powder on the large Hinge.  You just add a little adhesive to your chipboard (I used spray adhesive) and sprinkle a little powder.  Then you spray the powder with some vinegar (yes! vinegar!) and let it stand to dry.  I then dabbed some acrylic paint to add to the effect.


And here's a final close-up with a smiling happy BF and I! :)


I hope you like my take on this fabulous challenge and here's to hoping 
that you will play along!  You could win a huge Dusty Attic stash of your own!


Dusty Attic Supply List


Chipboard


Dusty in Colour
Stencil
Accessories


Until next time!