Showing posts with label Corrugated Card. Show all posts

Sunday, 12 June 2022

You're the best card set - Ankarika Craft

 Hi there!

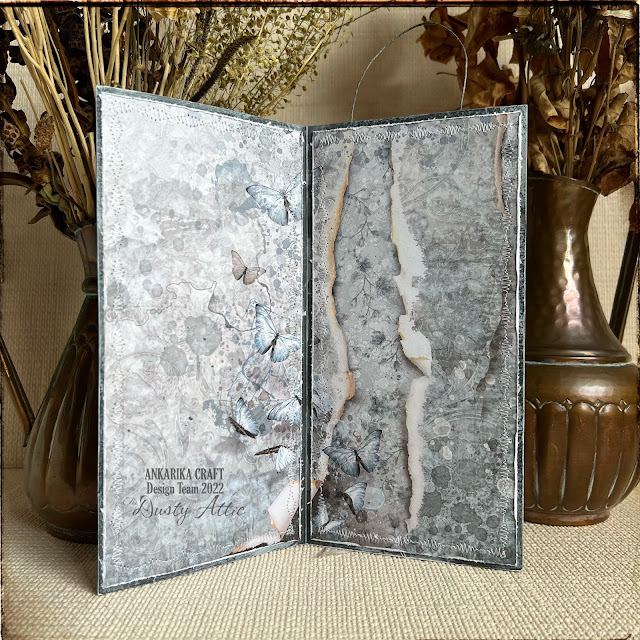
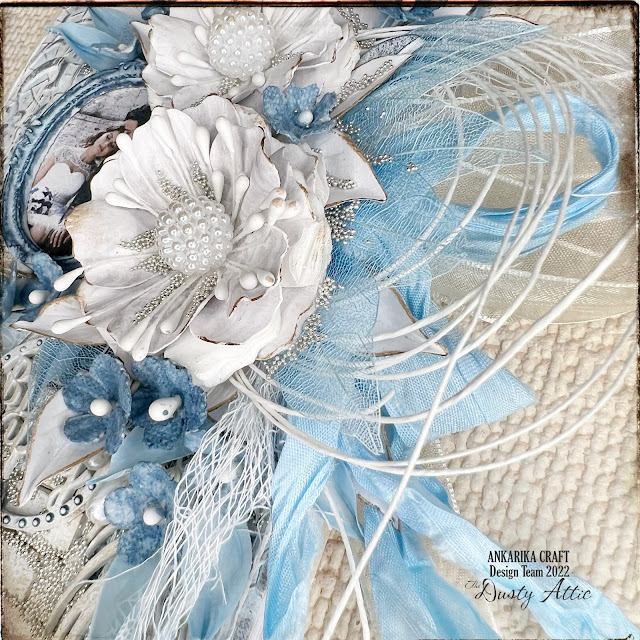
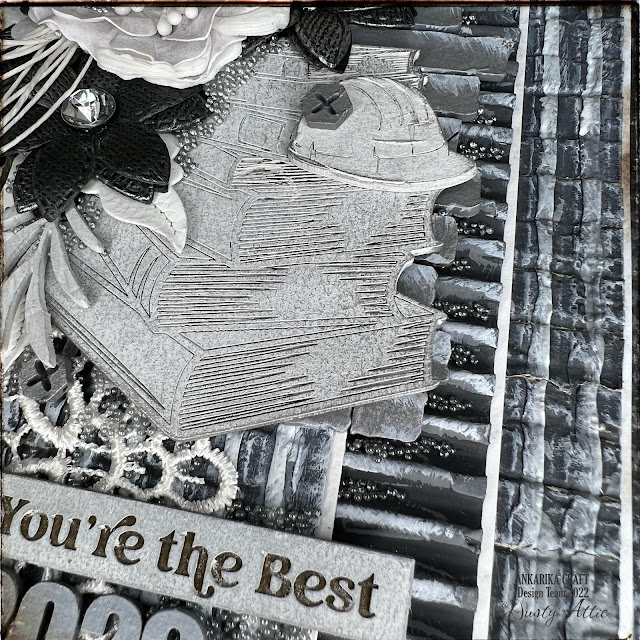
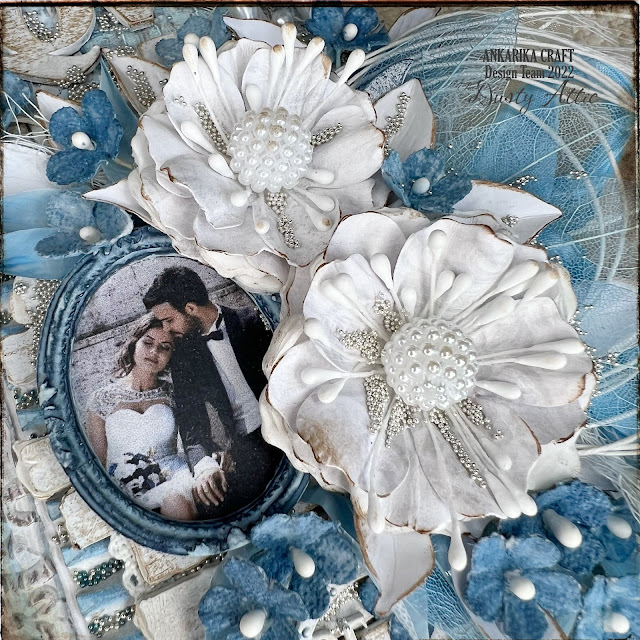
Today I present you twin cards made according to the same outline, mirror image with few major differences. I did them both for the 52 cards per year challenge in the Cudna Paczka group. My card in shades of blue contains the obligatory element - tracing paper - which I used to make the leaves. A piece of paper in shades of gray is my own idea for a card no. 21 with corrugated cardboard as an obligatory element. I made it during a live stream on the mentioned group and thus I encourage you to see this recording in your free time. Both cards were created with the use of the coolest chipboads that I have ever used in my crafty life - Dusty Attic! :) Who visits me here on a regular basis knows that hardly any art work is created without these wonderful cardboard shapes - cards fly as an inspiration to a chipboard manufacturer from Australia.

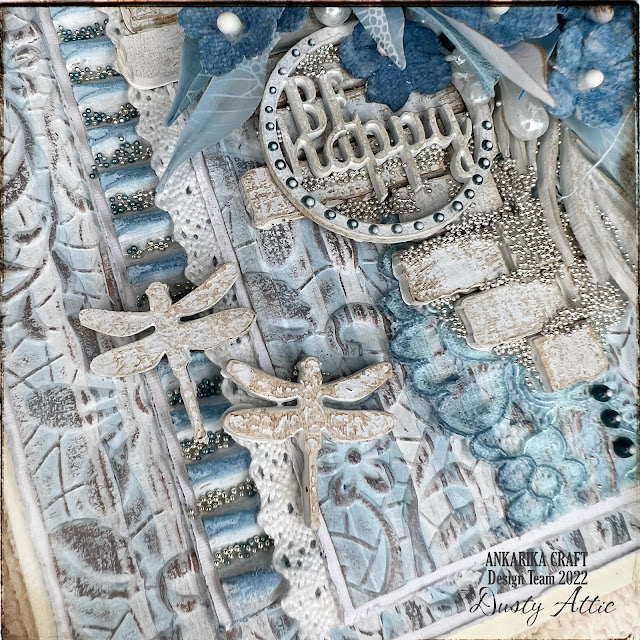
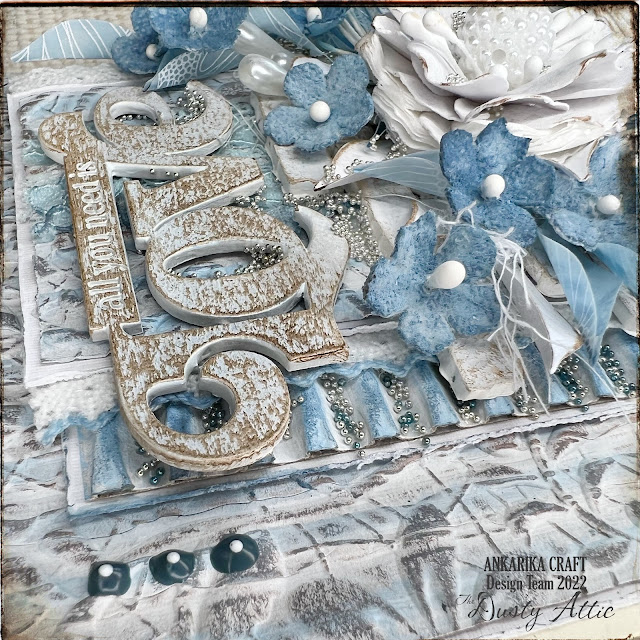
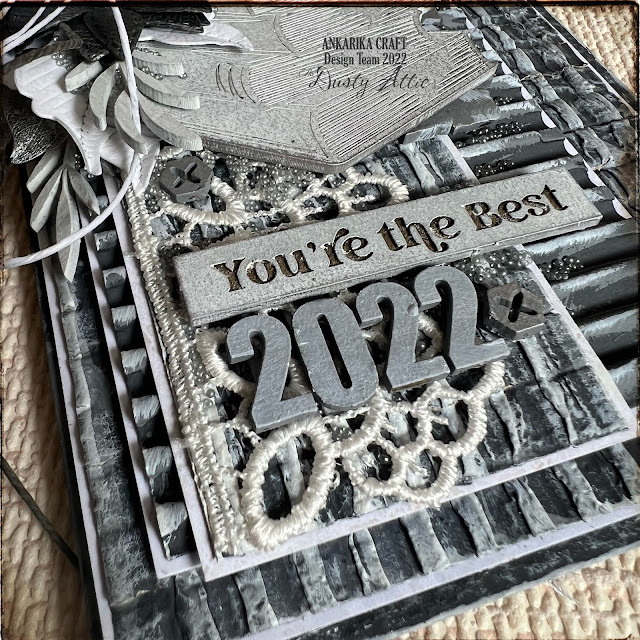
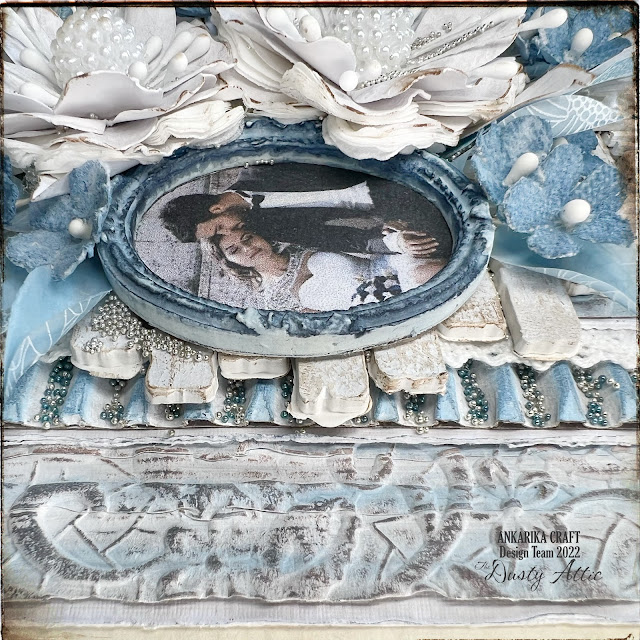
This time scrapbooking paper from the "Love me tender" collection by Margaret Paper Design went only to the inner part, as a base for wishes. Outside, I arranged spatially three layers of corrugated cardboard, glued with white paper to obtain an aesthetic frame. After cutting the corrugated cardboard to the appropriate pieces, I secured it with a black/white gesso (each card with a different color), and then the spines of the cardboard were drawn with white/blue acrylic paint. Then I embossed the corrugated cardboard using 3D folders from Sizzix. I used different folders and you can see the difference in embossing.
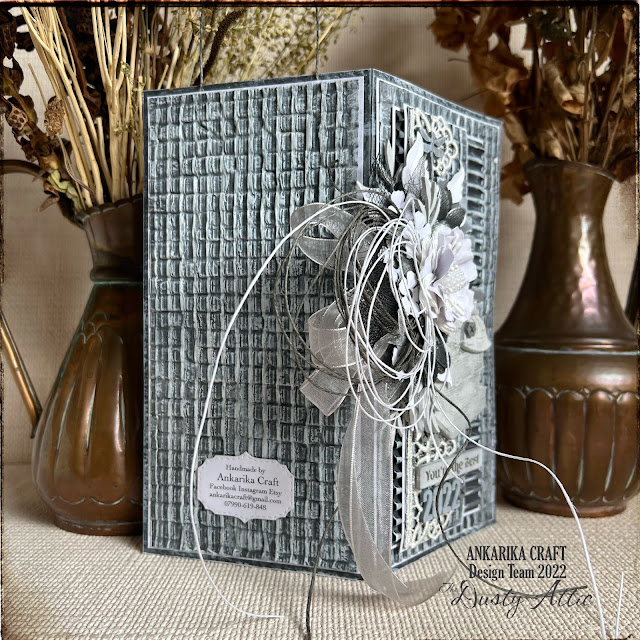
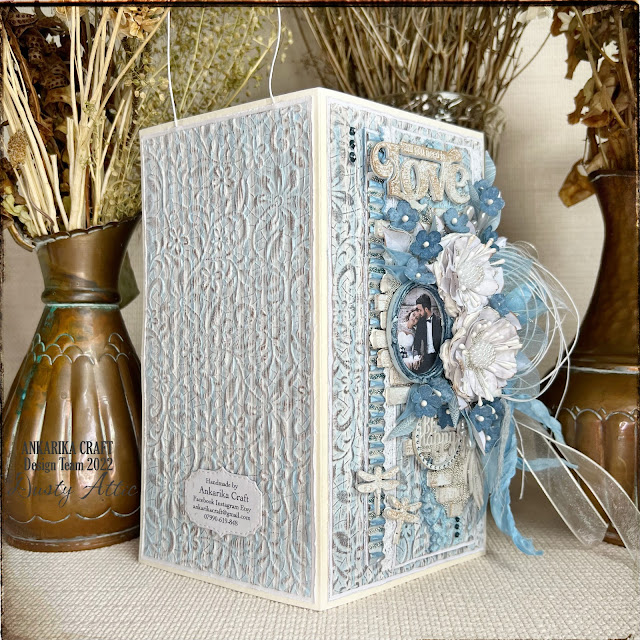
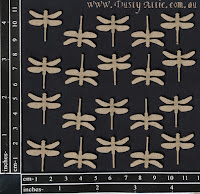
On top I put a piece of white/blue lace, torn white/gray gauze under flower arrangements, beautiful bows made from vintage style and satin ribbons sticking out on the side and a string. Big white flowers, smaller black ones, small white and tiny blue flowers - I made myself from dies. Among the flowers you can see delicate blue tracing paper leaves, a larger cardboard one and a few smaller ones from the set. On both cards, I placed mini dragonflies secured with black/white gesso, and then delicately highlighted them with Prima waxes.
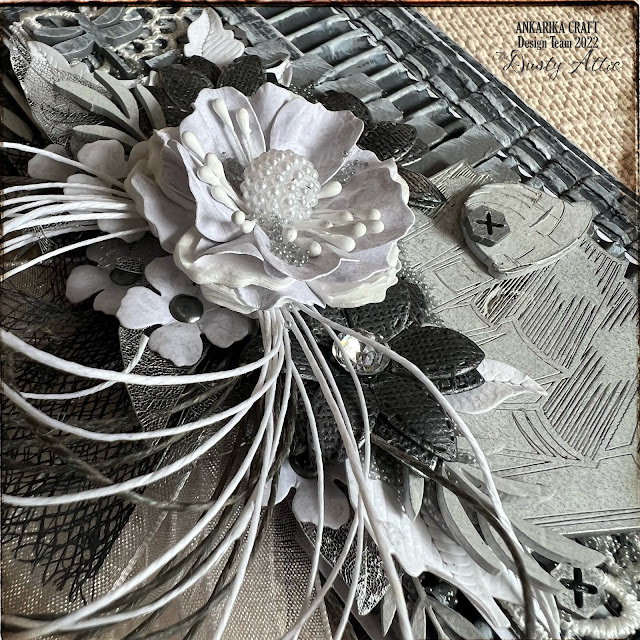
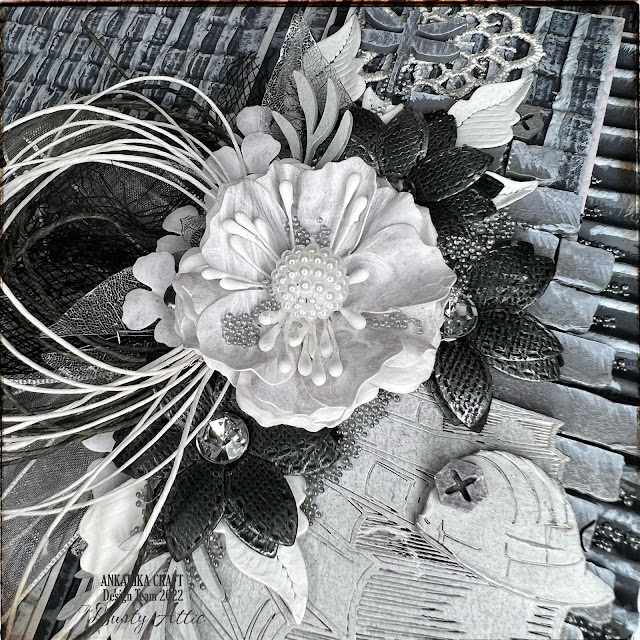
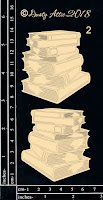
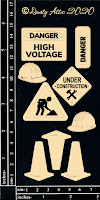
Around the flowers, the composition is complemented by single bricks creating an imitation of a gray/beige wall. I used the skeleton of this structure in my earlier projects and I have such bricks left - they fit perfectly here. The gray card is a gift for a young girl on the occasion of passing her final exams in the field of construction. For this reason, there was a pile of books, a construction helmet, screws and the words "You're the best 2022" on the job. In the nooks and crannies you can see light grey tiny balls.


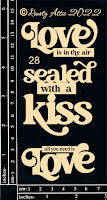
A blue and beige card is a wedding gift for a couple who like forget-me-nots. The focal point is a cast frame with a photo, and the whole is gracefully complemented by the inscription "all you need is love". At the top and bottom, as well as on the circle that says "Be happy", I put on small 3D droplets from Nuvo. Here and there small pearl additions stick out, and in the gaps there are small silver balls. Both cards are fitted with a string for hanging. I believe that corrugated cardboard gives a lot of creative possibilities in scrapbooking, you can create nice combinations with it, and besides, it is easy to obtain, because probably everyone has a box at home. I am very curious about your interpretations of the use of corrugated cardboard in projects. Thank you for your visit!


Dusty Attic's products:


I'm in the process of writing an entry about interesting scrapbooking groups on Fb, I'm collecting opinions to cover the topic as fully as possible. If you want to share any thoughts on this topic with me - please do not hesitate to contact me. Have a nice week.


Saturday, 16 April 2022

Happy Easter cards - Belinda Spencer

 Hello Dusty Attic fans and Happy Easter!

It's Belinda here with you today to share my latest project featuring some fabulous Dusty Attic products. This time I am sharing 6 altered project life cards with an Easter theme.


I started by swiping acrylic paint on to my backgrounds. I use a mix of bought project life cards and ones I have created myself from whatever scraps of cardstock/paper/packaging I have laying around.


After I paint the cards, I then add collage and stencilling. This time I used some Ranger Texture Paste along with the Dusty Attic stencils. Once the stencilling was dry, I went over it with a white Posca Paint Pen to make it brighter.


Here are the completed cards.


I layer some messy thread and patterned paper scraps on the cards before adding the chipboard. I have a box full of collage material. Whenever I am creating as project the leftovers go in the box and then I can just shuffle through the box for little bits and pieces when I need to.


I added some white gesso to a scrap of the Corrugated Card and tore it into pieces so I could add a little to each card.


I kept some chipboard pieces in their raw unaltered form.


Some chipboard pieces I painted with a few coats of white gesso. If I feel the gesso is not bright enough then I add white Posca Pen on top as well.


For some pieces I used paint pens on them to add a little colour.


These cards are so fun to make and I can't wait to use them for something. I think these would make lovely card fronts for Easter cards. It is also a great way to use up various chipboard pieces from different sets.

The Dusty Attic products used:


Thanks for stopping by the blog today. Happy Easter!

Cheers
Belinda


Wednesday, 23 February 2022

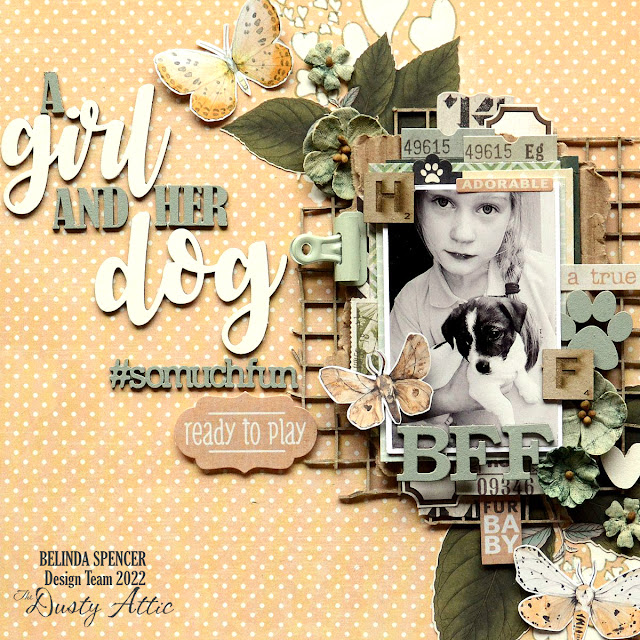
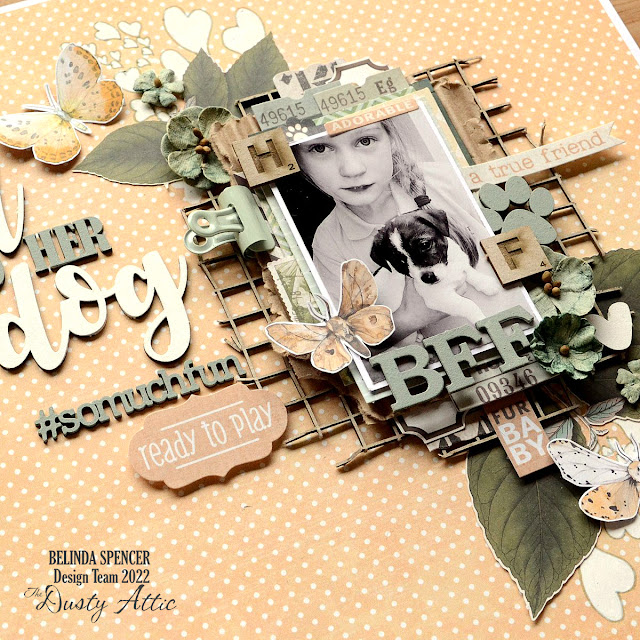
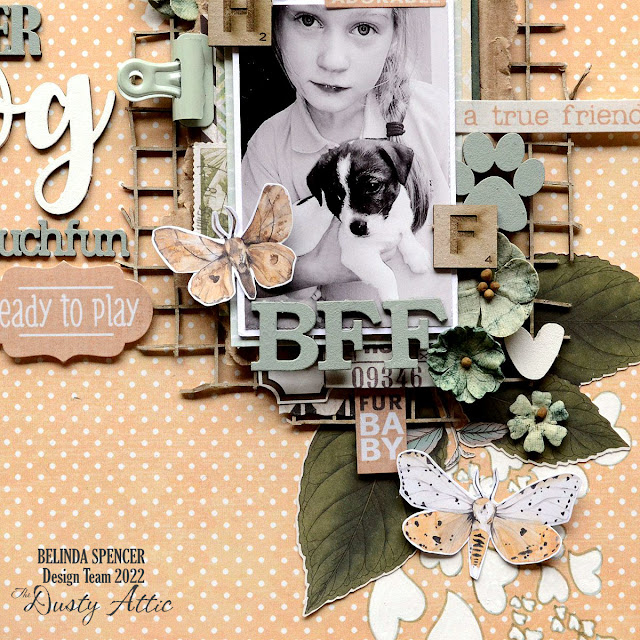
A Girl and her Dog - Belinda Spencer - Mood Board Inspiration

 Hello Dusty Attic fans!

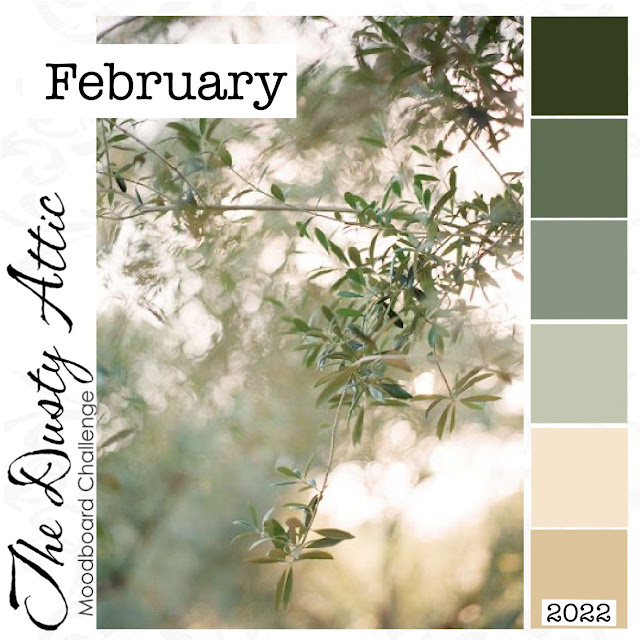
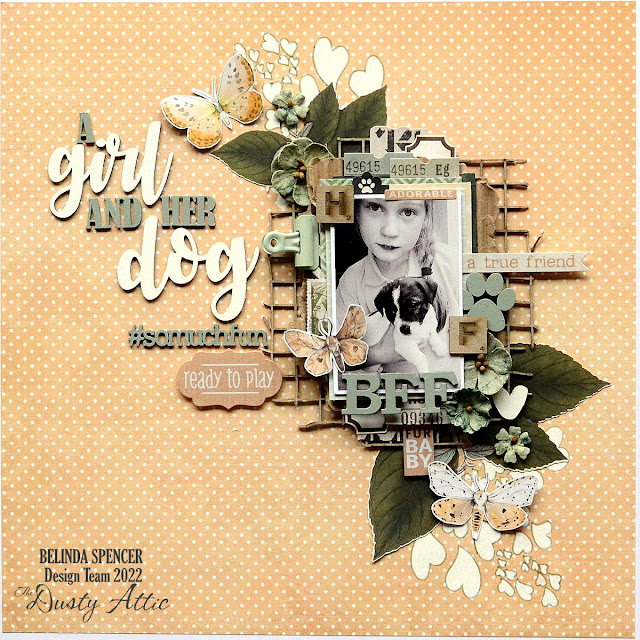
It's Belinda here with you today to share my layout inspired by the gorgeous February Mood Board using lots of fun Dusty Attic products.


Here's a peek at the Mood Board


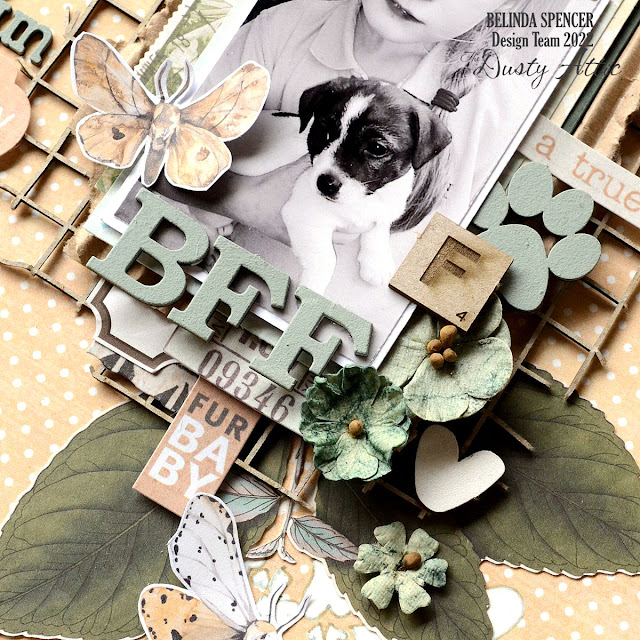
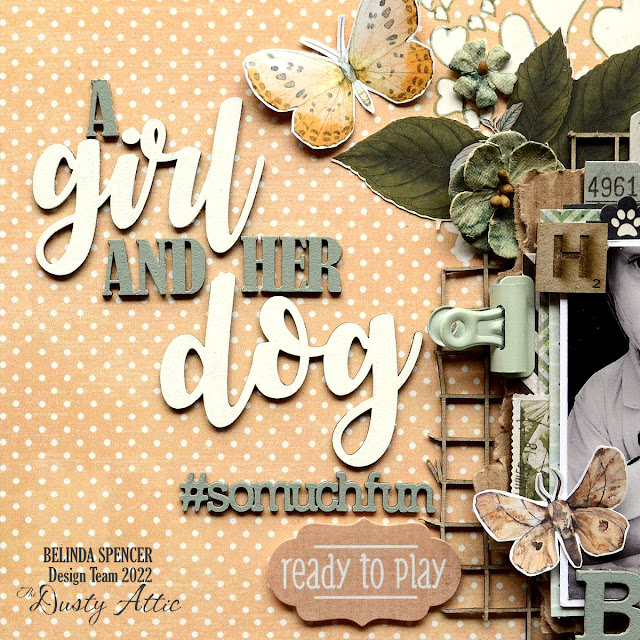
'A Girl and her Dog'


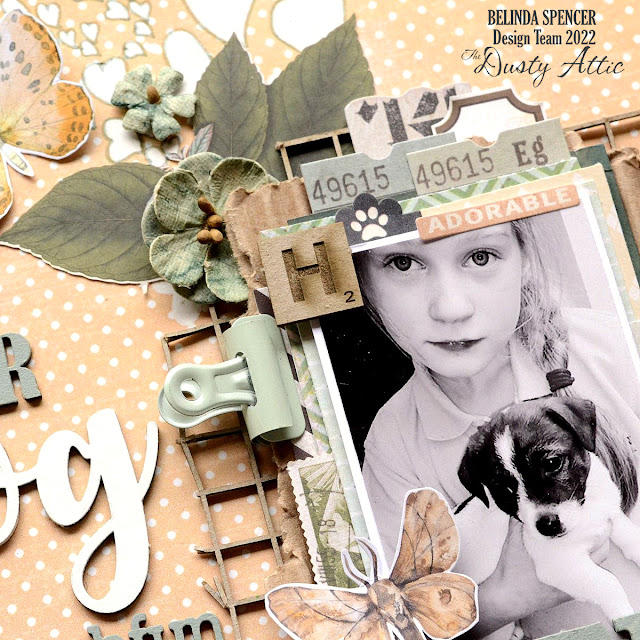
For this layout I started by adding some stencilling to the background patterned paper using the Heart Attack Stencil with white gesso. The white spots on the paper made the love hearts look weird so I used a fineliner pen to add an outline.


Next I created a stack of co-ordinating patterned paper, a torn piece of the corrugated card and a Grid Panel at the bottom. I tore the edges of the grid panel away in places to give it a more rustic look.


Next I painted the chipboard pieces that I wanted coloured. I gave those pieces a couple of coats of gesso first. Then I mixed up some acrylic paint to match the mood board and applied that to select pieces.


Finally I assembled my layout adding my photo and some extra embellishments.


The Dusty Attic products used:


Thanks so much for stopping by the blog today. I hope you find some time to play with the mood board and some awesome Dusty Attic chipboard too.

Cheers
Belinda