Sunday 28 February 2021

Card Set - Patricia Basson

Hello again Bloggie friends!!!

Today I am sharing two Cards made as my Dusty Attic personal Design Team post. 


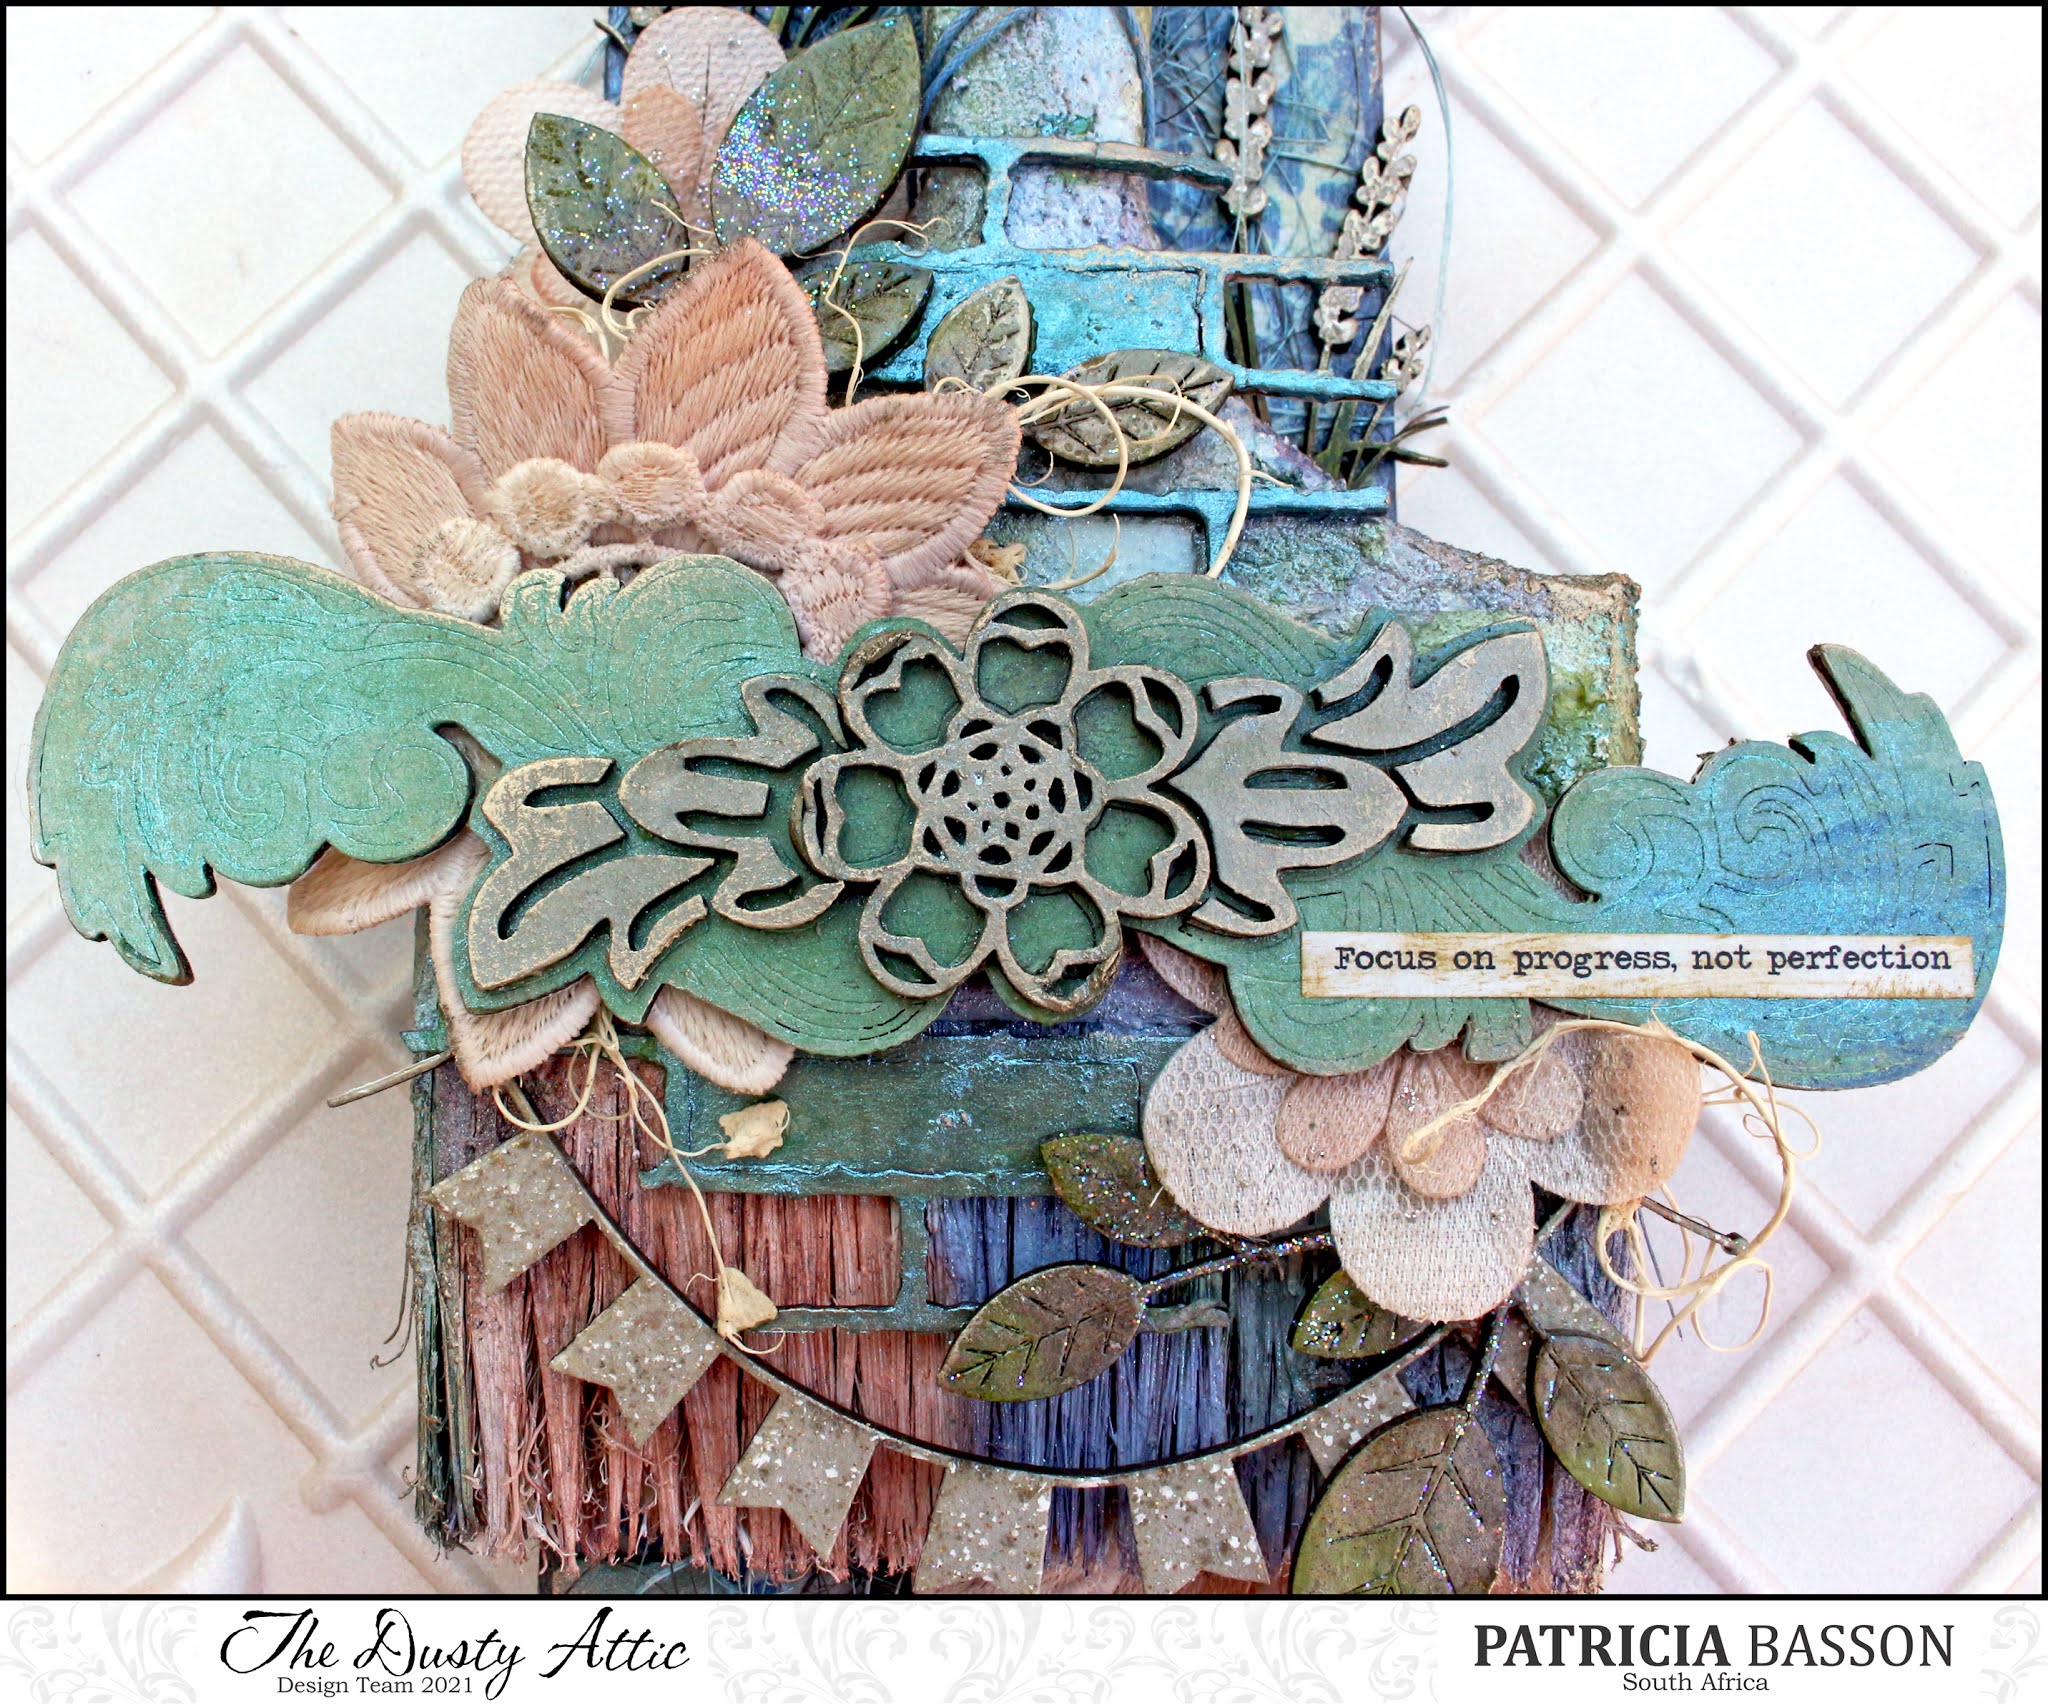
For this card I used paper from 49 and Market's Coral Mini 6x6 Collection as well as Coral Stitched Frames. I raised the frames with 3D foam strips. I have a beautiful crocheted Doily as a base embellishment onto which  I placed a flower and my Dusty Foliage and Bluebell Flower. 
I embossed the Gesso'd Bluebell and Fancy Trim chippies with Shabby Green embossing enamel from Stampendous. I also dropped some Poinsettia Red Gold Spraymist from Lindy's Stampgang onto the flower heads and used my heatgun to move the ink into the embossing. I simply used some Rusty Red Matt wax on the foliage leaves. For some sparkle I added some Shaved Ice flakes also from Stampendous and some Silver Lining Prills.


For this card I used Sky Mini 6x6 Collection and Collage Stack from 49 and Market.
I layered several pieces of the papers. On the top one I added a splash of Fire Opal Color Glow from 13arts. I used the Sunburst stencil with some tacky glue and once dry added Yorkshire Dales foil flakes from Indigo Blu.
The frames and the Morrocan Accent were sprayed with the Poinsettia Red Gold spray. I added some of the Shaved Ice flakes to the frames and painted them all with the Fire Opal Color Glow.
This card may be very simple in design, but I find it beautiful with the foiling and colour.


I used the following from the Dusty Attic On-line store.....


Imagine 
 what a harmonious world 
it could be if every single person, 
both young and old
 shared a little
 of what he is good at doing. 
~ Quincy Jones ~


Friday 26 February 2021

Focus - Patricia Basson - Mood Board Inspiration

Hello Dusty Friends...

This month Dusty Attic has such a beautiful, textured Moodboard that inspired me to try and replicate especially the color and feel onto some Dusty Attic Bricks from the Broken Bits set!
I always love seeing all the different altered Brushes but have never made one myself!!!

As a base I used a wooden box that housed Prima resin pieces. I covered it with some ricepaper from Stamperia. I added some Distress Crackle paint to it and painted some Andalusite Color Glow from 13arts once it was dry. On the edges I added some Marcasite Silver Modeling paste from TCW.


I gesso'd the brush, added Tim Holtz Distress Gritt paste for texture and painted it all with Andalusite, Tanzanite and Emerald Color-Glow from 13arts mixed with water. 
I Gesso'd all my Dusty pieces. On the Bricks I also used the Andalusite and Tanzanite Color Glow and added White Gold Metallique Wax on the edges.
The white lace flowers were colored with Pastel Cinnamon mist from 13arts.


I painted the bottom part of the Bali Motif, Wildgrass and Seedlings with Raw Umber and Green Oxide Acrylic Paints. The top flower was painted with a Spun Gold Paint. The Seedling leaves were embossed with clear embossing powder and dusted with some super fine Glitter. I embossed the flowerheads of the Wildgrass with Speckled Flurries Embossing Powder from Ranger. On the bottom part of the Bali Motif I also added some of the Tanzanite Color-glow and on the top a little Green Paint as well. 

I painted the Banners with the Spun Gold Paint and embossed with the Speckle Flurries Embossing Powder.


I used the Grit Pate on the little Geckos to add dimension. I painted them with the Spun Gold and used Charcoal Black wax to Highlight the texture. Don't the glass beads make those eyes look very lifelike lol! 


I am very Happy and satisfied with this little project. In the Dusty Attic on-line store you will find all and more of what I have used. 
To enter your take of the challenge just add it to the comments section on the Dusty FANattics Facebook page for your chance to win one of two $50 (AUD) credits to the Dusty Attic.


One time I went to a museum 
where all the work in the museum 
had been done by children. 
They had all the paintings up on refrigerators. 
~Steven Wright~

Thursday 25 February 2021

Adventure Bound - Rikki G

 Good morning how are you? Rikki here today with a very, bright and fun layout that hopefully will inspire you. I have been going through my photos only to discover so older ones that where hidden in the stash..... ones that I have been waiting for the perfect papers and accessories. 

Have you got photos like that? Have you found the perfect ''things'' to complete the layout or are you still waiting? Please say that I am not the only one?


The approach to this layout was to have fun with lots of different, bright papers a simple trick when doing these types of layouts is keep the papers in blocks so you can stack them and if you mat them in a black card stock it will tie all the layers together and sort of ''calm down '' all the patterns.


The Blueprint Rocket is one of my favourite things, because its so fine I decided to spray paint it with Dulux Chalk - Charcoal that way I wasn't rubbing the ink on the finer details.


I sprayed the Adventure Bound with the same Dulux spray paint and to add a metallic element I used a wax with my finger over the title.


The  KAPOW – Layered Cluster I used the Tim Holtz Oxide Ink Pads, I love how they soften in colour to give you a great chalk effect, I find that they still remain bright but they don't seem to compete with the papers.  


To finish off the layout I added some clusters of Layered Bolts scattered around in clusters throughout the layout. 

To add to the comic feel of the layout I used a background stamp that are dots and just randomly stamped away. 

*** Tip: The paper is a gloss, so when splattering ink it will eventually absorb, just pop it in the sun to help that process along. Also use a Staz on ink or a archival for the stamping.


Blueprint Rocket


KAPOW – Layered Cluster


Till next time have a creative day.