Showing posts with label Word Disks. Show all posts

Saturday, 18 November 2023

My Sunshine - Michelle Van Oudtshoorn - Mood Board Inspiration

Hi there

Back on the blog today with a layout inspired from the November moodboard:

Remember you can also take part in the moodboard challenge by using the moodboard as inspiration and adding Dusty Attic chipboard to your project and show it off on the Dusty FANattics facebook page. Two random entries are chosen to win AU$50 each worth of gorgeous Dusty Attic chippie!!
Here is my layout I have created using the colours from the moodboard:
This layout features a photo of my beautiful daughter. All chipboard has been painted with burnt orange acrylic paint, and some touched with a red acrylic paint.  The photo has been matted with paper and adhered to the page with a piece of foam tape. I added due cuts and flowers around the photo.
All chipboard has been painted with a mix of red and orange acrylic paint - dabbed on with a sponge. I then added stickles to the botanical mix flourishes (DA3351) before adding these under the flowers and the photo matt. I added some crazy stitching (DA1673) to the top left and right bottom of the page

The word disc that says "the sweet life" (DA3321) is one of a number of discs in the pack - the pack has same really great sentiments to use on your layouts. I added butterflies (DA3335) to the flower cluster.
The title is one of a few tags from DA1803.

These are the products I have used:


Thanks for visiting the blog today. I hope to see your take om the moodboard up on the Dusty FANattics Facebook page.

Hugs,
Michelle


Friday, 15 September 2023

the PERFECT day -- Adri Du Preez - Mood Board Inspiration

Hello everyone!

Welcome to the blog. Here is my layout inspired by the beautiful September mood board which features beautiful Dusty Attic chipboard pieces. 

The beautiful bride on the photo is my daughter-on-law.

Here is the mood board.


and here is my layout.


All the chippies were first primed with a layer of white gesso and then painted 
with Americana Acrylic paint.

For the Ombre effect on the title, I used Poodleskirt Pink at the top and Boysenberry Pink at the bottom and dry brushed with white acrylic paint in the middle.


The mini titles were painted with white acrylic paint.


The Word Discs were painted with Poodleskirt Pink and dry brushed with white acrylic paint.


The Seedlings were painted with Light Lime and the edges with Lush Foliage.


The Flower Posie #4 is just beautiful. I snipped the posie in pieces, colored it with Posca pens in Pink Rose and Light Green, and tucked them in the flower clusters.


A close-up  of the flower clusters.


After everything glued down I added pearls splatters with diluted white gesso.

Dusty Attic products used.


I hope you find time to play along with this mood board.  Share your projects on 
our Facebook Page here for your chance to win a  $50 (AUD) credit for two lucky winners 
to the Dusty Attic online shop so you can choose 
your very own chippies you would like to use.

Thank you for visiting the blog today.

Happy crafting!


Monday, 21 August 2023

Just Because - Kim Arnold - Mood Board Inspiration


Hi everyone! Some mood board inspiration from me today.


With this month’s mood board I felt inspired to create an art journal page using Dusty Attic chipboard and stencil. I love art journaling as it gives me a chance to try different techniques which I can then use in my scrapbooking. For this page I decided to try stamping with chipboard and I will walk you through what I did. I think it worked out really well and will definitely be something I try again.


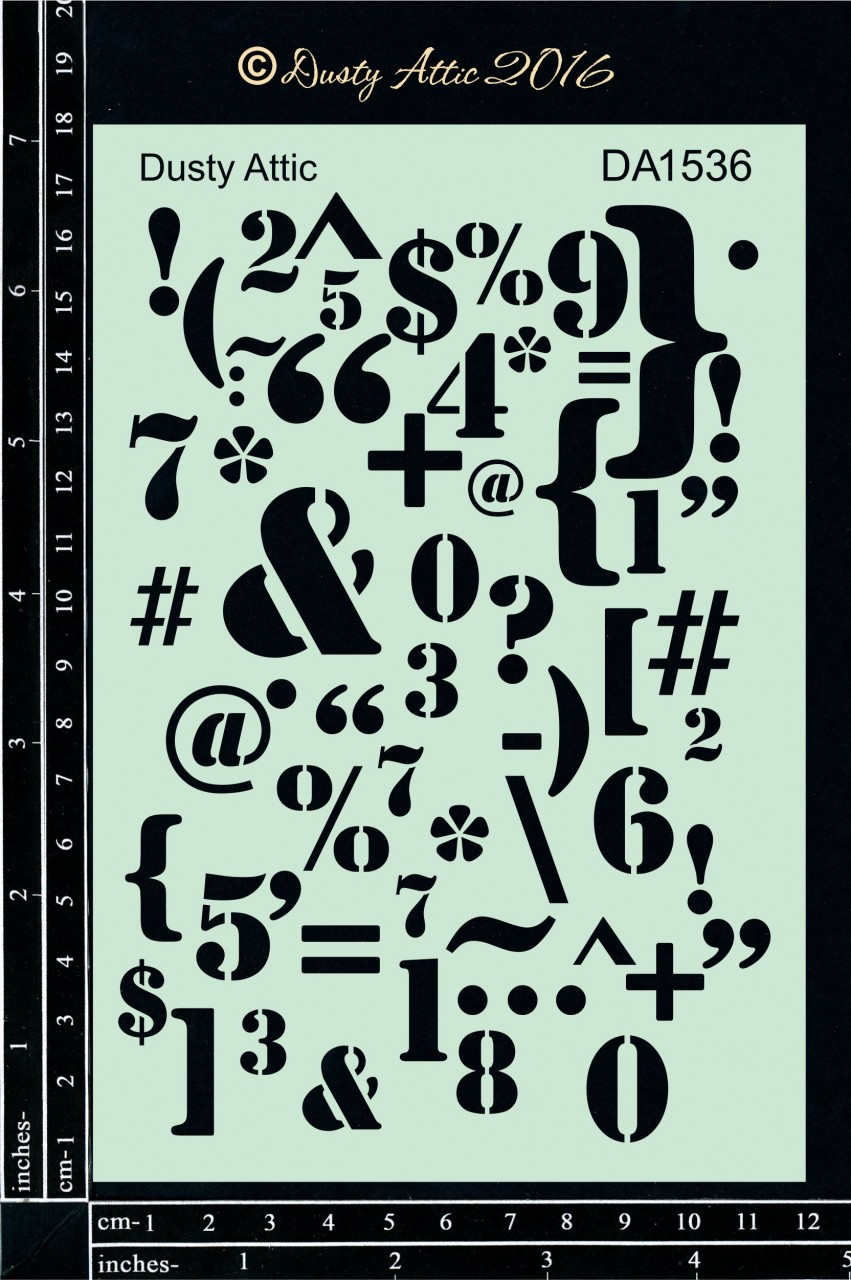
To start the journal page, I watered down aqua coloured distress ink onto plastic and smooshed into onto the page. I like to use the packaging from my chipboard as the plastic as it is nice and soft. I did many layers, letting each layer dry, so that I ended up with a very textured background with lots of depth. I then use the Keyboard Jumble Stencil, an ink sponge and a darker shade of aqua distress oxide ink to make a random pattern with numbers and symbols. It is important that the distress ink background is completely dry before you do this.


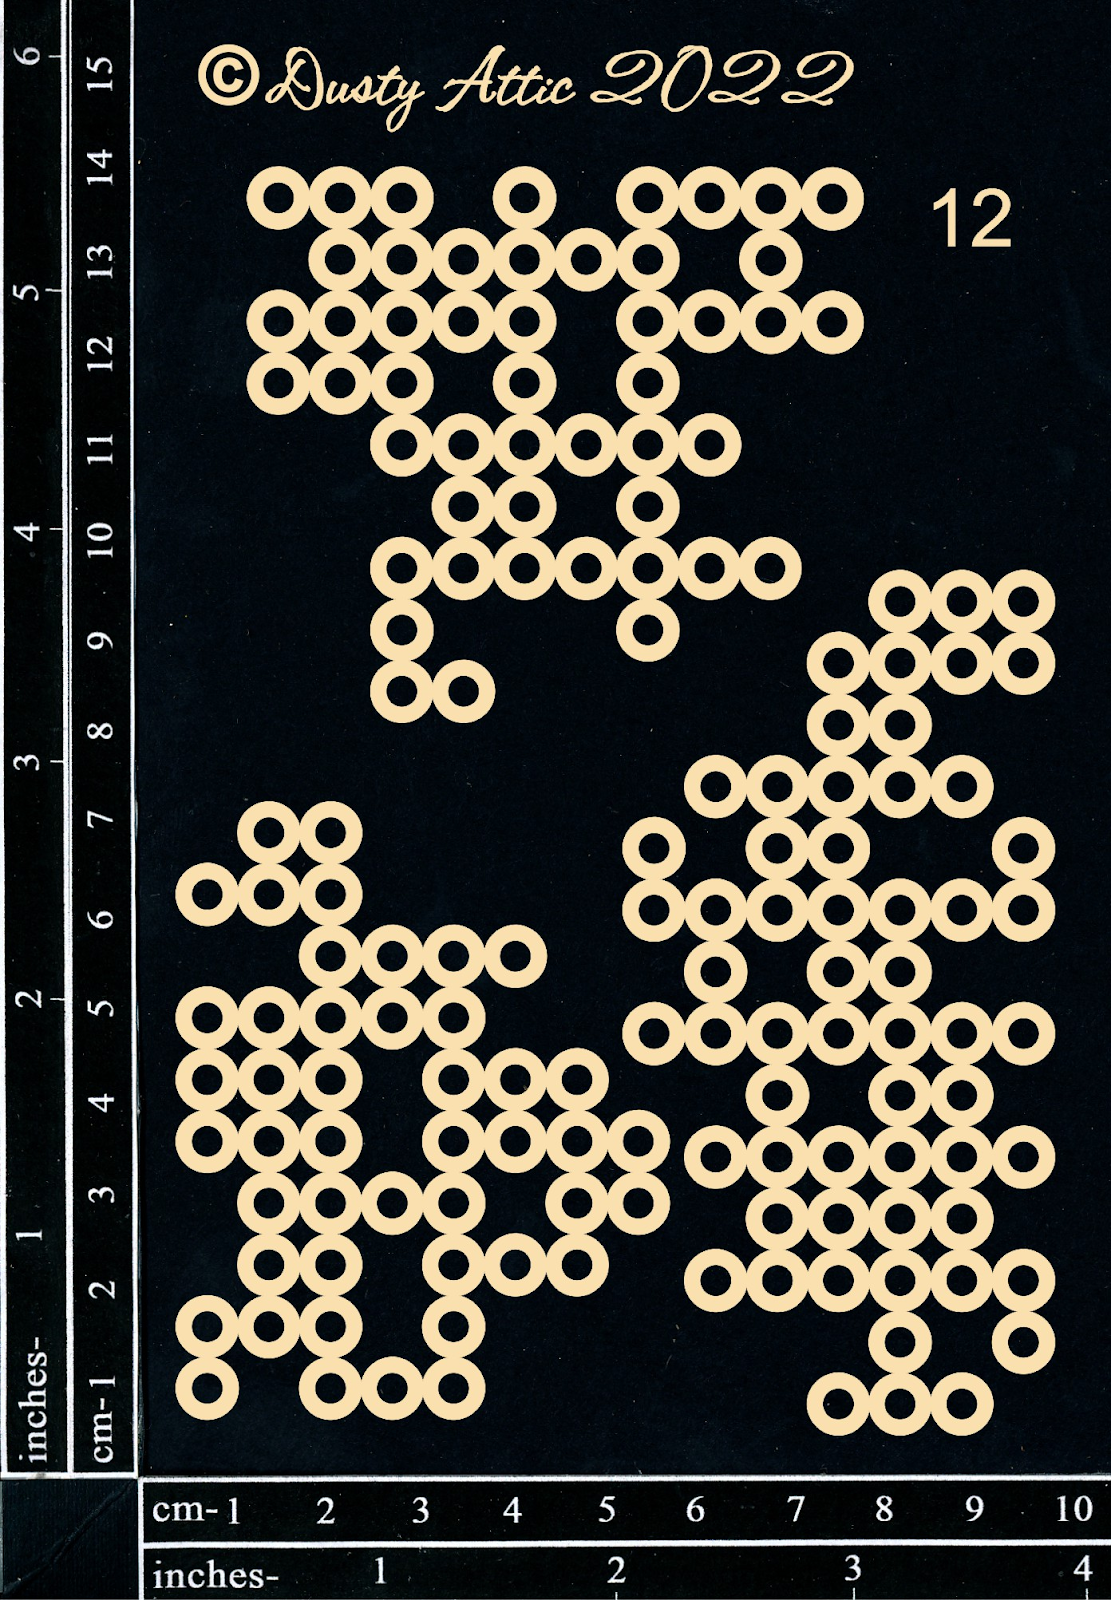
I then used aqua acrylic paint and the broken bits chipboard to stamp more designs into the background. I simply painted the chipboard reasonably thickly and while it was went turned it over and stamped it onto the journal page. This gives you a double use of your chipboard as you can then use the painted chipboard on a future layout!


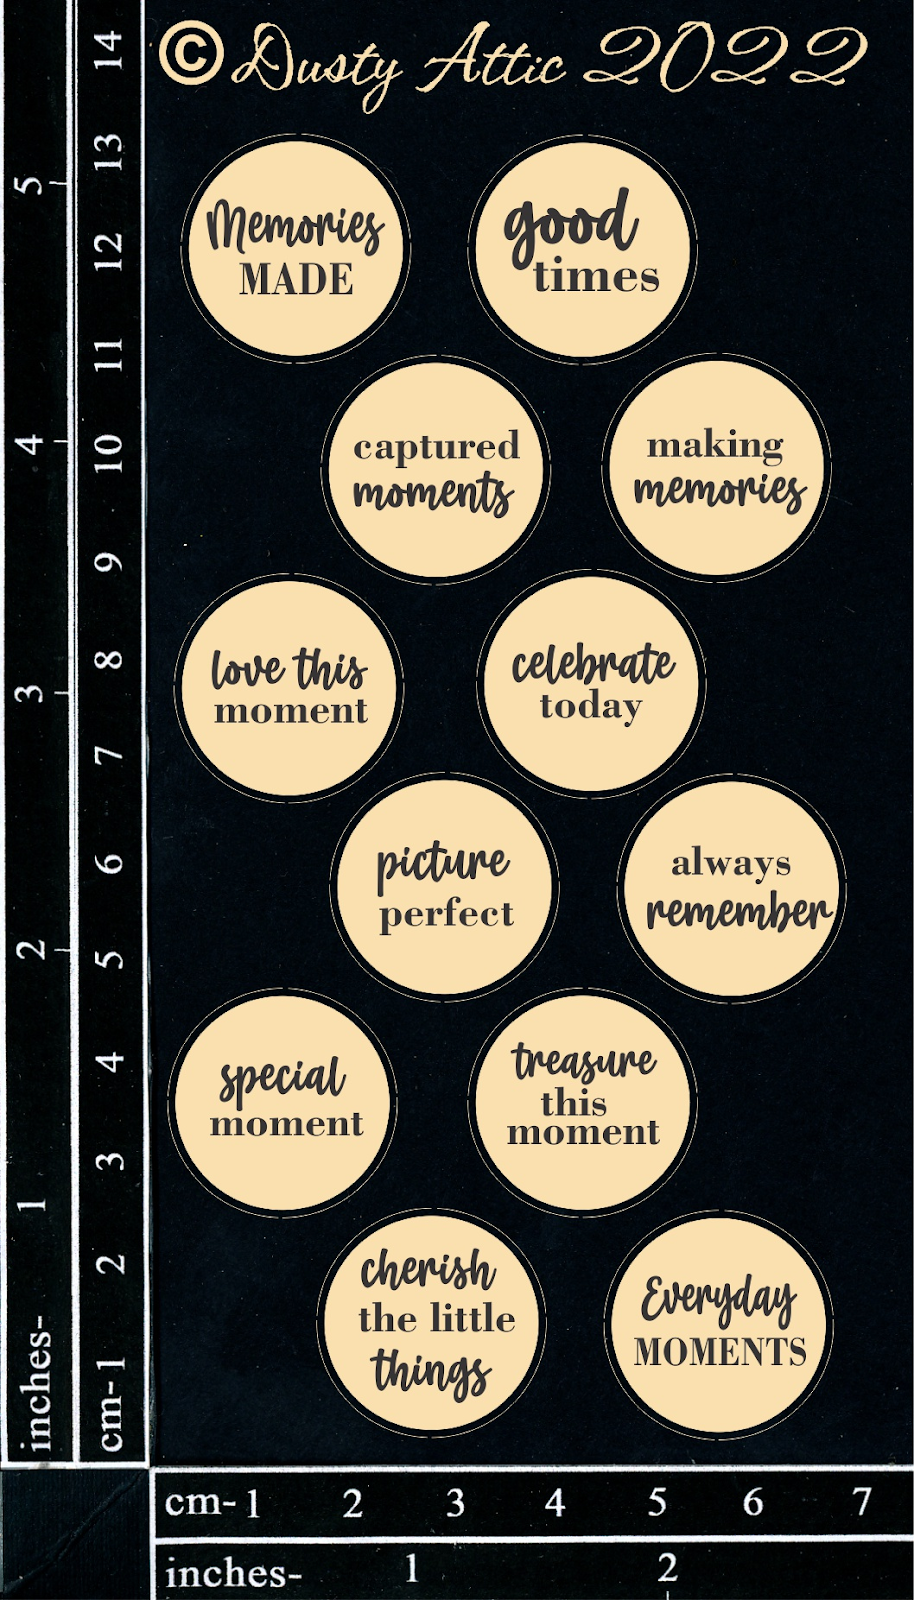
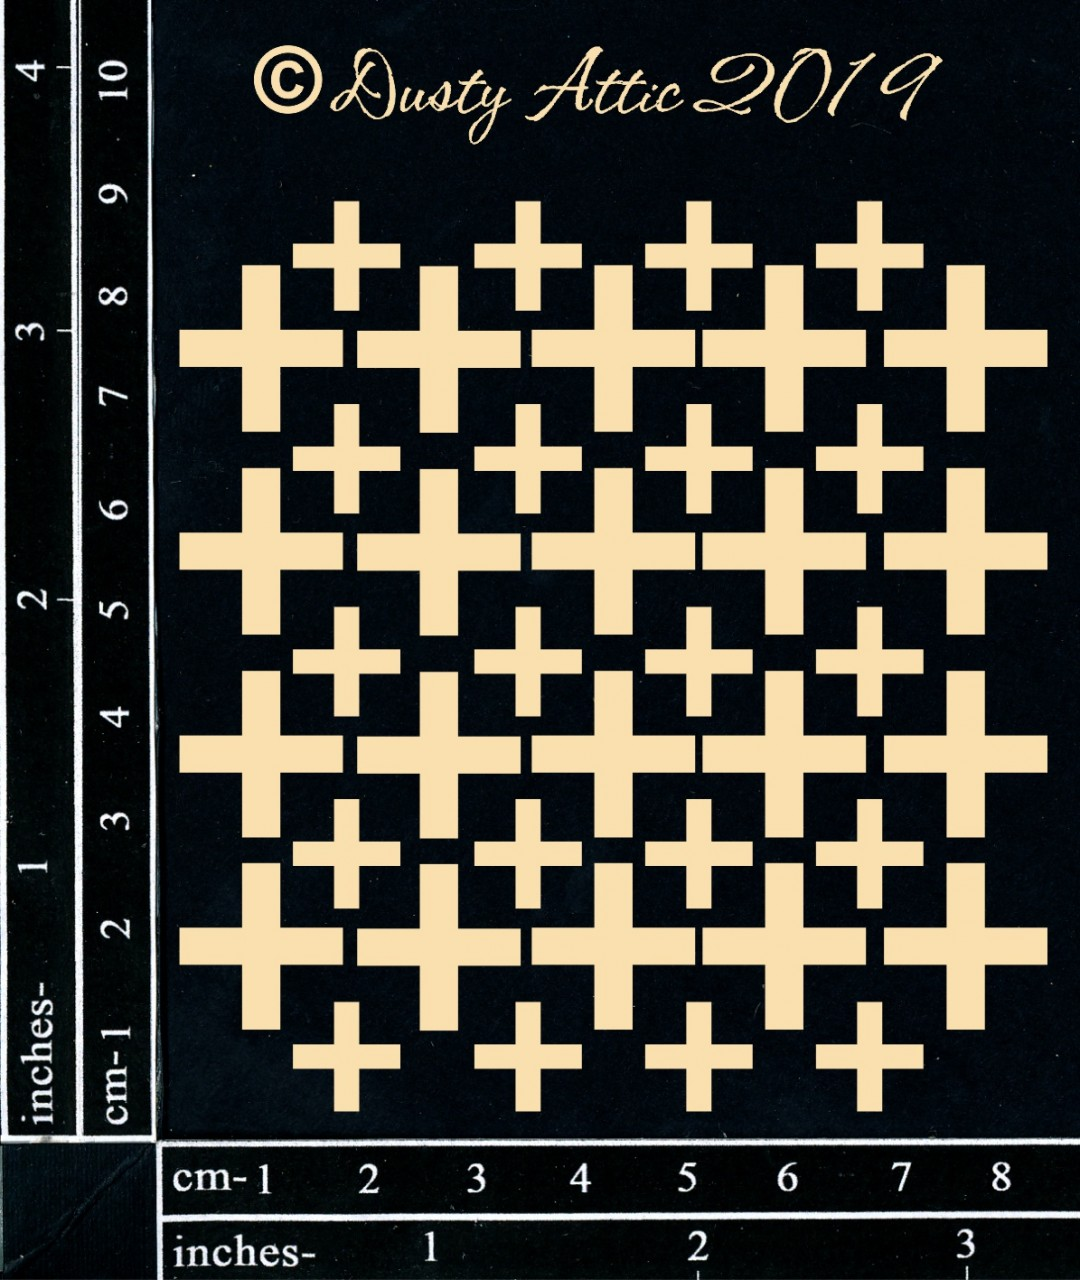
I loved the idea of building on the numbers and symbols in the background by creating a formula with beautiful sayings on the word disks. I decided on Everyday moments + Captured moments = Cherish the little things. I painted the word disks and mini addition pieces in silver paint. I interpreted the grey in the mood board as silver – as I love metalics. I made the equal sign by snipping two of the limbs from one of the crosses in the mini addition set.


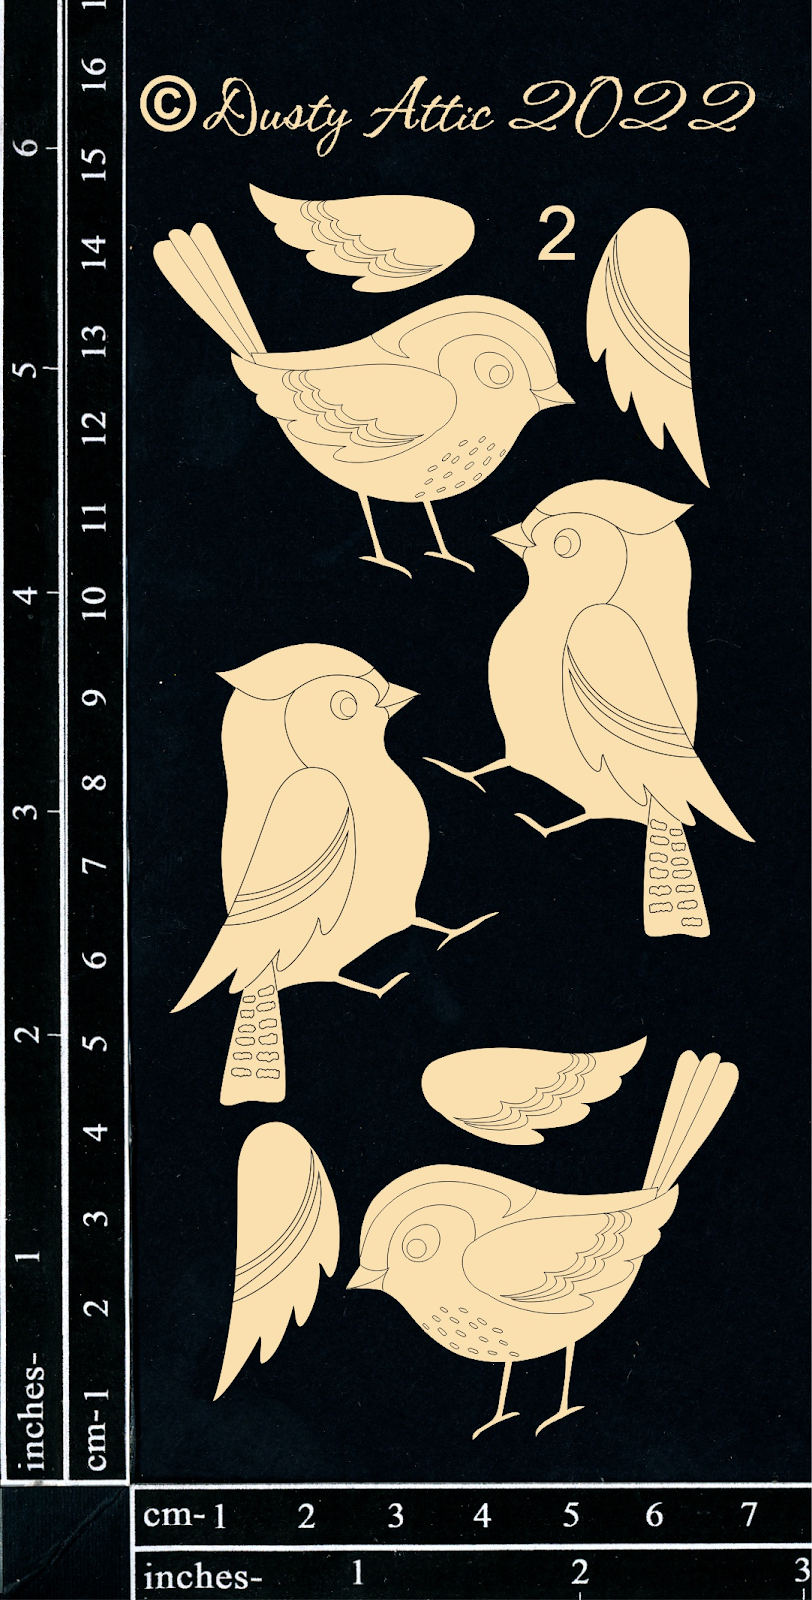
I then painted up one of the songbirds using the moodboard colours. I didn’t use the second layer of the wing as I don’t want too much bulk in my art journal. Some final splatters of silver paint and a rub of brown ink around the outside of the page and my moodboard inspired art journal page is done!


I hope you have a chance to get some creative time in soon.

Happy scrapping
Kim x

Dusty attic products:

https://dustyattic.com.au/product/word-disks-3/

https://dustyattic.com.au/product/mini-addition/

https://dustyattic.com.au/product/songbirds-2/

https://dustyattic.com.au/product/keyboard-jumble-stencil/

https://dustyattic.com.au/product/broken-bits-12/

Sunday, 6 August 2023

Just Because - Kim Arnold


Hi everyone! Some pretty floral inspiration today from me.


I have created a bright and pretty layout of two lovely friends and I dressed up enjoying a day at the races using a beautiful Dusty Attic chipboard title, mandala, daisies and word disks and strips. I will take you through what I have used and what techniques I applied.


Starting with the mandala, I painted it with gold mica paint which covers the chipboard perfectly. I then cut it 1/3rd and 2/3rds so that I could include it on both side of the layout with the photo in between. Cutting the chipboard off centre makes the layout more interesting and dynamic.


Mandala #2 by Nuneka

For the title, I painted it white and then rubbed it with white pearl wax which gives it a pearlescent shine. The word disk and strip are just painted white so they don’t stand out as much as the title. I have layered the title over the larger part of the mandala so it really stands out.


I then coloured the daisies white with a bright yellow paint in the centre. I love the effect of the painted daisies among the dimensional paper flowers. I have also used some small foliage berries which I have painted with green stems and gold berries. These are also nestled amongst the flower cluster.


Daisies #2


Mini Foliage #2


I hope you have a chance to get some creative time in soon.

Happy scrapping
Kim x


Dusty attic products:

https://dustyattic.com.au/product/mandala-2-by-nuneka/

https://dustyattic.com.au/product/just-because/

https://dustyattic.com.au/product/daisies-2/

https://dustyattic.com.au/product/word-strips-2/

https://dustyattic.com.au/product/word-disks-3/

https://dustyattic.com.au/product/mini-foliage-28/