Thursday 30 November 2023

Joy to the World - Adri Du Preez

 Hello everyone!

Welcome to the blog today. 

My November design team layout features beautiful Dusty Attic Christmas chipboard pieces.  

This layout features my granddaughter Mila.


I love using Wordpl@y on my layouts.  They are one of my favourite additions to a layout.


All the chippies were first primed with a layer of white acrylic paint and then painted with Americana Acrylic paint.

The stars were painted with Tuscan Red, Green Lagoon, and Sour Apple.  Once dry I covered them with glossy accents and sprinkled them with Ranger Stickles Fine Glitter in Christmas Red and Star Dust.

The title was painted with Tuscan Red and the mini captions with Green Lagoon then I dry brushed the edges with white acrylic paint.


What a cute Gnome and so much fun to paint!  I painted the hat with Tuscan Red and the shirt with Green Lagoon.  For the dungaree, I used a Posca Pen in Light Green. I painted the little nose with Dusty Rose and the edges of the white beard were dry-brushed with Slate Grey. 

I painted the Christmas trees with Tuscan Red, Sour Apple, and Green Lagoon.  For the dots on the Gnome's hat and the Christmas trees, I used a white Posca Pen. 


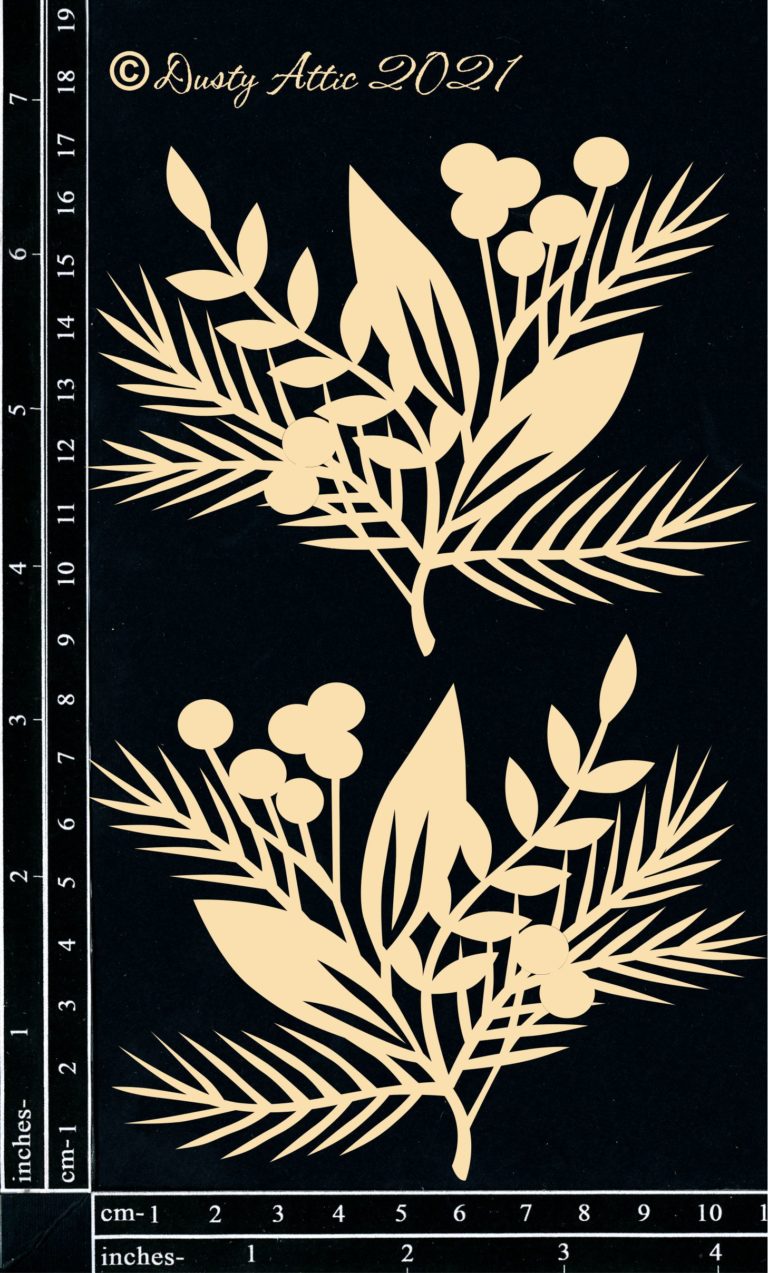
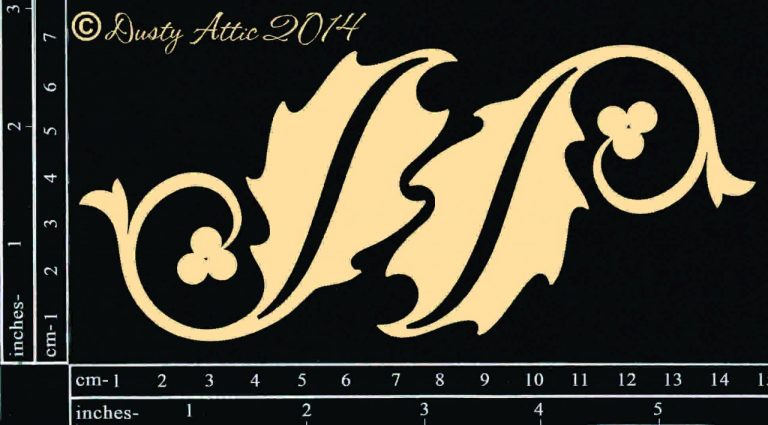
I lightly painted the holly with Festive Green and Hauser Light Green making sure I didn't cover the veins of the hollies.  The edges were dry brushed with white acrylic paint. The berries were painted with Tuscan Red. Once dry I covered them with glossy accents and sprinkled them with Ranger Stickles Fine Glitter in Christmas Red.


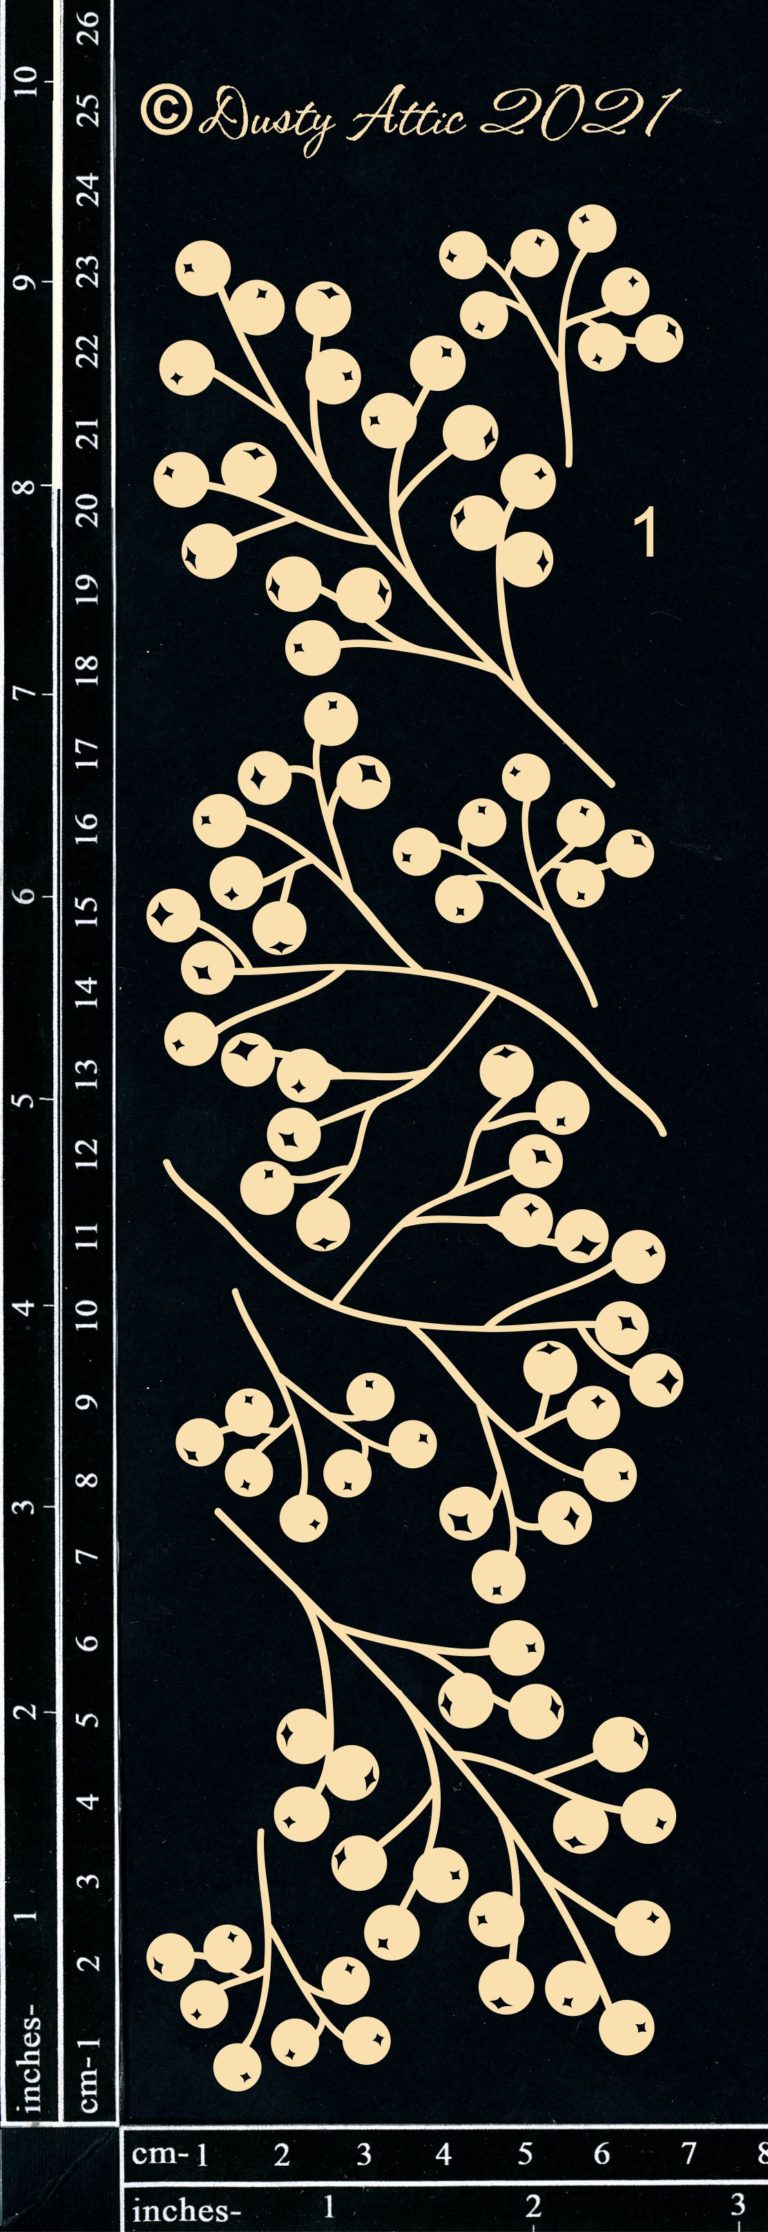
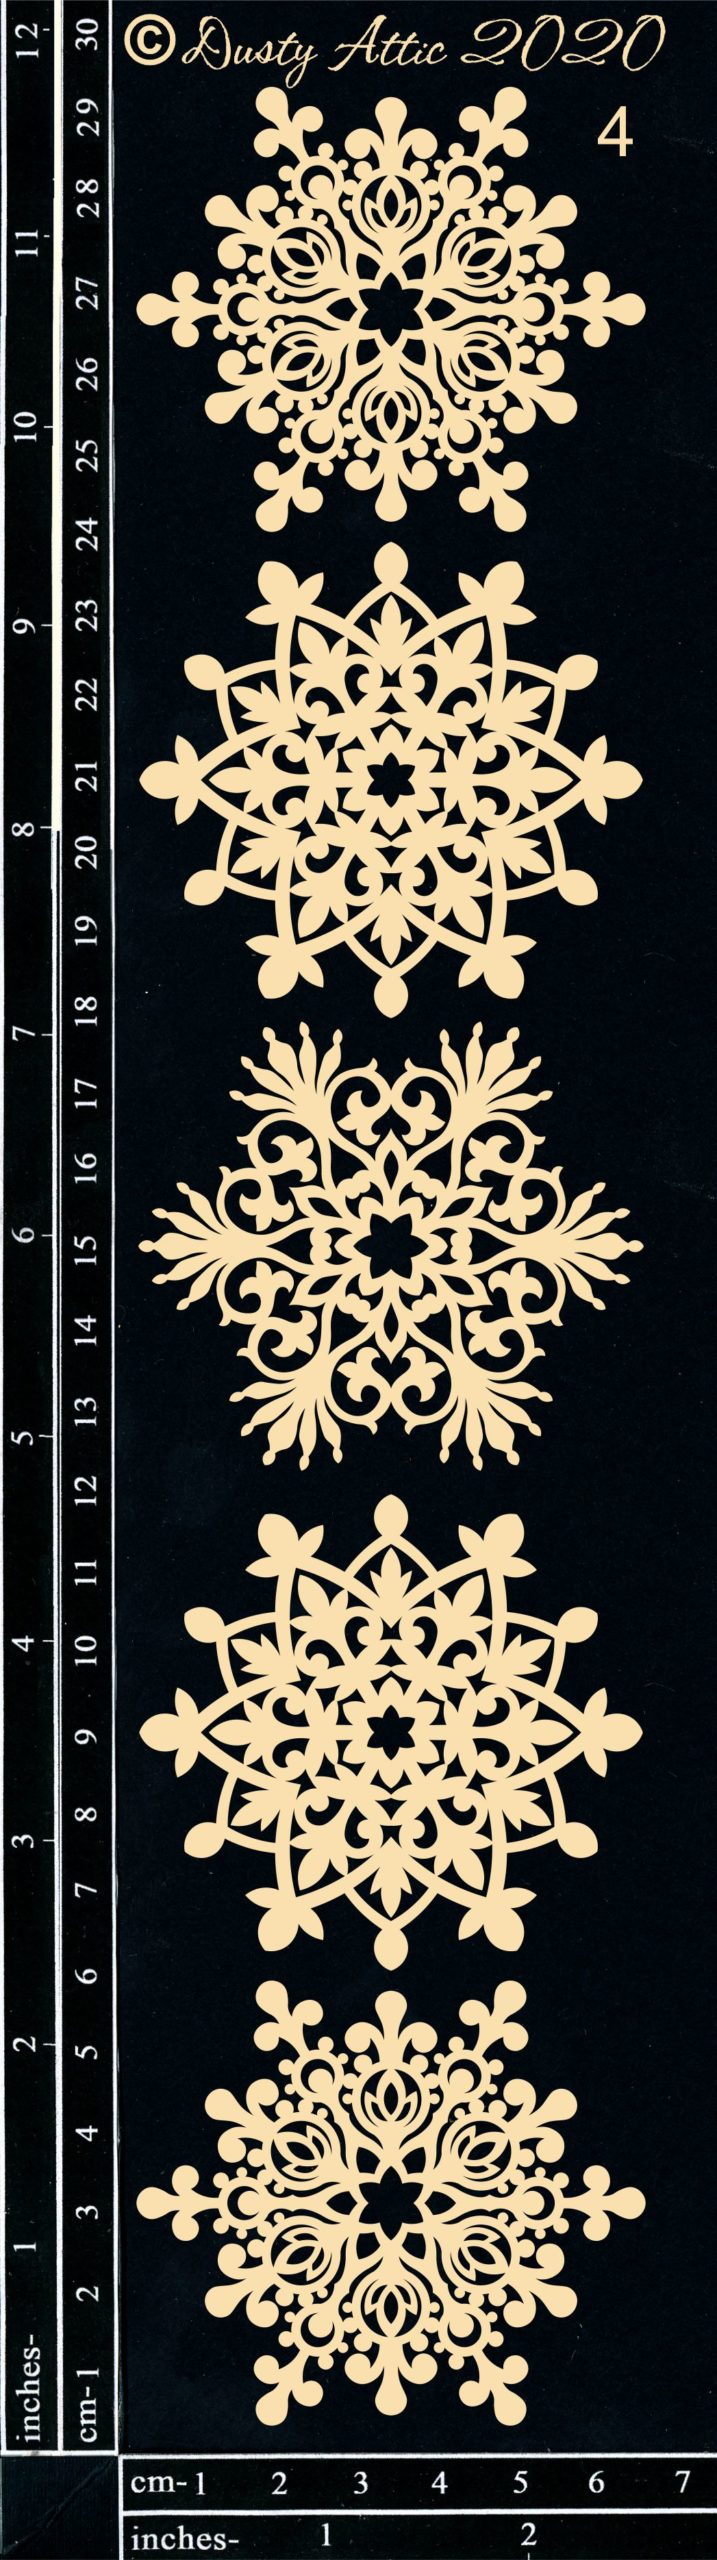
These Christmas Berries and the Holly Wreath were treated in the same manner as the red stars and the hollies.


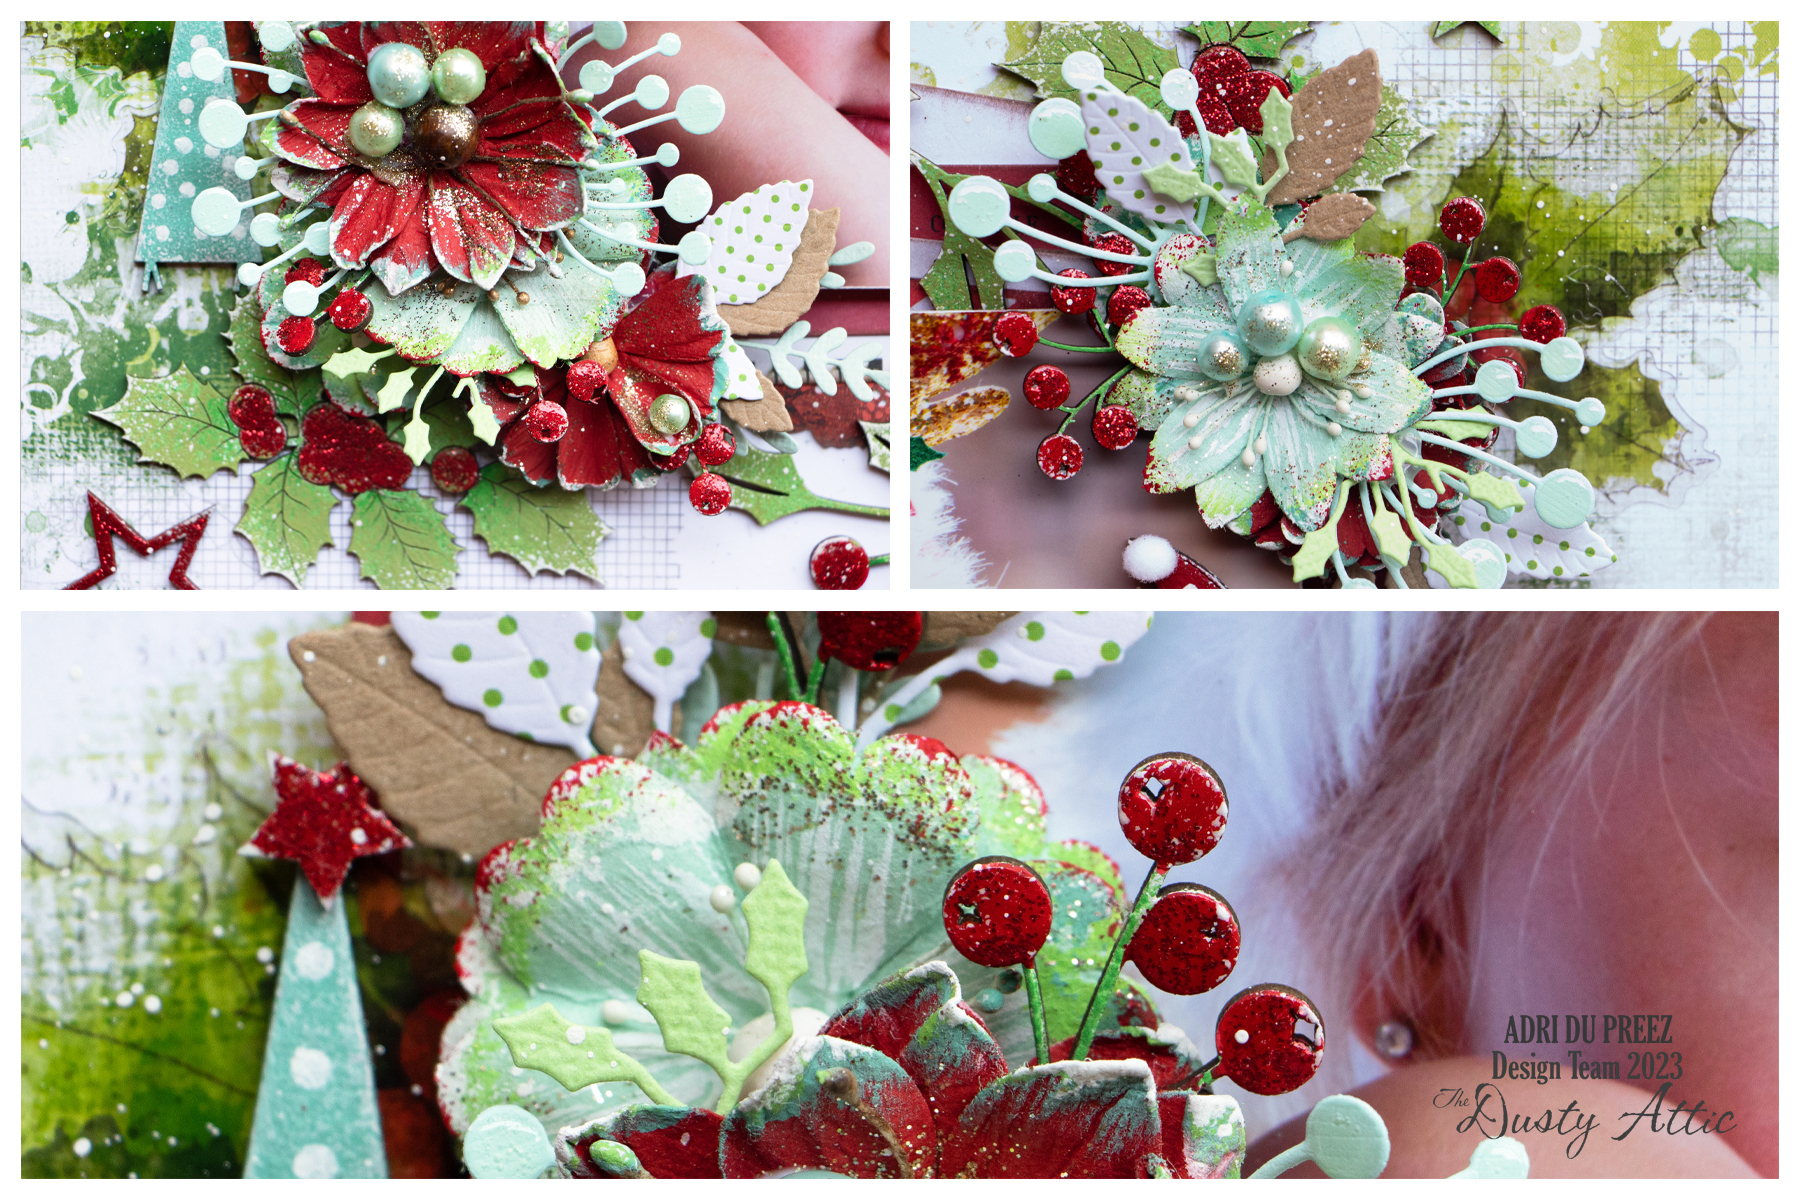
The final touches to this layout included pearls, glitter, and splatters with diluted white gesso.

Dusty Attic products used.


Thank you for visiting the blog today. Visit the Dusty Attic online shop for more amazing chipboard designs.

Happy crafting!

Wednesday 29 November 2023

MDF Sleigh - Jen Burns


Hello everyone and welcome to the blog today where I have constructed the NEW MDF Sleigh (Small) that holds a wonderful Christmas pudding smelling candle for a display.

I also have a quick video tutorial to share

HERE on Youtube


First you need to cut the pieces out of the MDF sheet carefully. 
I have then labelled the "inside" of my pieces as I only wanted to cover with paper on the outside. 


I have then used liquid glue to adhere the outside pieces to the paper.


I then spray painted all of the inside pieces with Silver spray paint. When it was all dry I used my craft knife to cut around the paper for the shape and sanded all of the edges then used Gathered Twigs Distress ink around all of the edges.


The Baubles and Branch & Berries I have spray painted with white on BOTH side of the chipboard.

I have then used florist foam to put in the bottom of the sleigh and calved out a circle for the candle to sit into. I then added my Poinsettias and Christmas Baubles. The Berries I have painted with Gold on both sides and then added them to the arrangement. 


Dusty Attic Products Used


MDF Sleigh Small DA3659


Branch & Berries #2 DA3305


Baubles #4 DA1420


Plus some fake Poinsettias and a Christmas smelling candle all ready for display.


Tuesday 28 November 2023

Christmas Snow Globe - Deb Stephens

It's coming! One of my favourite times of the year is Christmas, because of decorations. The trees are already up in the shops and windows are being dressed with Christmas Cheer.

This little Christmassy ornament features some new Dusty Attic chipboard Mini Houses and DA0652 Mini Christmas Trees. 

These gorgeous little houses were painted and then assembled with glue. I then  painted some DA1696 mini icicles and glued them onto the edge of the roof. grit paste and shimmer were then applied to make things sparkle!

DA0652 Mini Christmas trees were painted and dried. A glass mini hanging terrarium was glued to a wood slice base . When that dried, I cut a chipboard circle to be inserted into the base of the glass terrarium. slits were cut into this piece so the mini trees could be glued in to stand up. 

I sprayed adhesive onto the backs of the glass and put in some fake snow and glitter and then rolled it around until it stuck to the glass and some of the houses. 

This was such a fun and easy project to make, you could make it and give it as a gift, or personalize it and keep it for yourself. I hope this inspires you to get crafty this festive season. 


Monday 27 November 2023

Christmas Tins - Anat Weksler

 Hello lovlies!

Here I am again, already with Christmas inspiration, using gorgeous Dusty Attic's chipboard.


I love this small metal tins and keep altering them, this time it is a set of tins for Christmas. Yes I'm already in a Christmas mood LOL.

The chipboards were colored with Lindy's Sprays and rubbed with metalic wax.

Hope you like it!

Here are the chippies used in my project:

Holiday spray


Christmas berries #1


Holly #2-2pk


Snowflakes#4


Card sentiments#1


Thanks for stopping by!

xoxo


Sunday 26 November 2023

Memories and Moments looks like this - Kim Arnold - Mood Board Inspiration


Hi everyone! I am back with some more inspiration from this month’s beautiful mood board. The colours in this month’s mood board are so rich and vibrant and could work with any theme. I had this photo from the recent train trip I took with my husband and decided it worked perfectly with this 49 and Market collection that matched the mood board perfectly.


From the huge range of Dusty Attic chipboard, I chose one of the lovely, long multi-font titles, film strip, a hashtag word, some chevrons I had left from another project and some more of my absolutely favourite dandelions for this layout. I will take you through what I have used and what techniques I applied.


I started with the title, painting it with gold mica paint. This gold paint works perfectly directly on the chipboard and gives such a beautiful shine. I attached the title over the photo and really like how it sits between us on the photo. Long multi font titles are a real favourite of mine. By using a Dusty Attic title like this you can still have it cohesive by painting it all the same colour, but have the benefits of the different fonts. I also chose to reorder the words, going with Memories and Moments, rather than Moments and Memories.


I used the same colour on dandelions. I often use these dandelions with other flowers, but this time chose to use them by themselves, just tucking the stems behind other elements to hide the ends.


\


I used a translucent umber (brown) paint for the filmstrips, #thatwasfun from the daily word 4 pack and the chevrons. The chevrons are the pieces you might chose to discard from the chevron panel. I keep all of these bits and then use them as “arrows” on other layouts – a great way to get value from your products. The translucent brown paint really made the chipboard look like wood.


To make the film strips long enough, I cut them in half and covered the gap with the photo and photo mat. This is another way to get more use from my products.


I hope you have a chance to get some creative time in soon – maybe you might get a mood board inspired layout done!


Happy scrapping
Kim x

Dusty attic products:

https://dustyattic.com.au/product/moments-memories/

https://dustyattic.com.au/product/mini-filmstrips/

https://dustyattic.com.au/product/daily-4/

https://dustyattic.com.au/product/chevron-panel-small/

https://dustyattic.com.au/product/dandelions/