Showing posts with label Geo Gears. Show all posts

Saturday, 7 January 2023

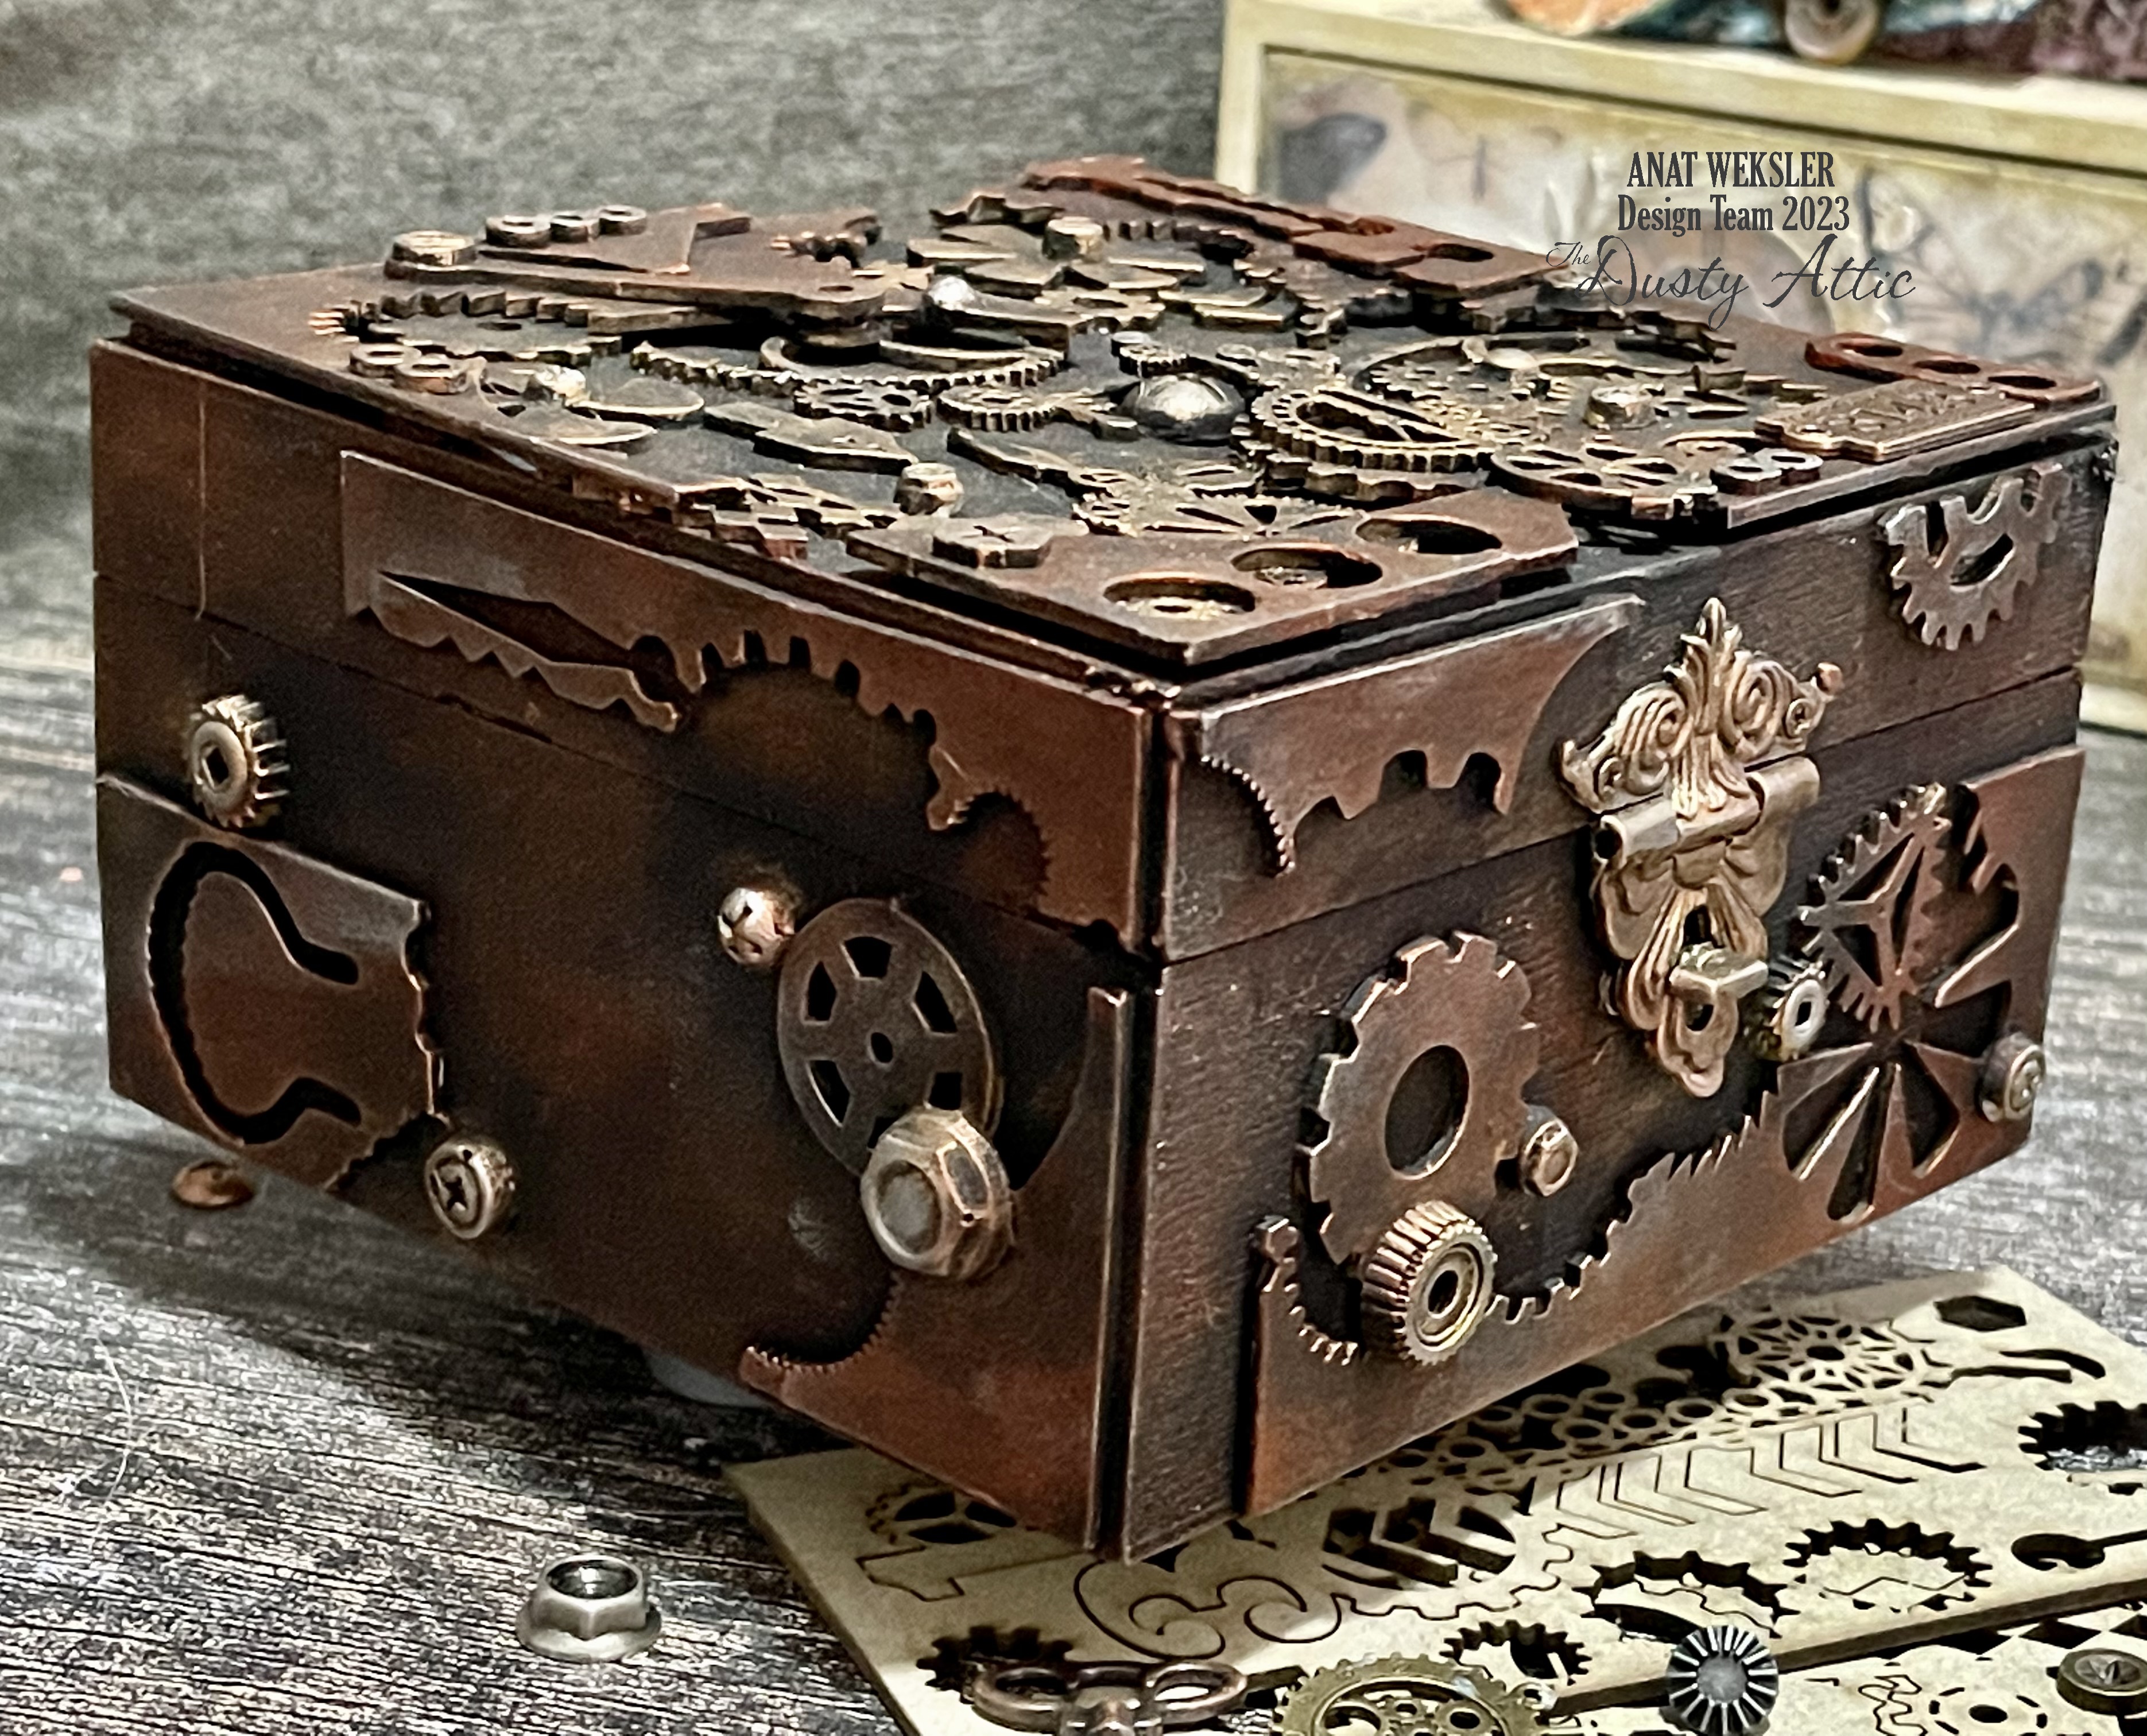
8143 Industrial Box - Anat Weksler

 Hello friends!

It's Anat here sharing my new project using amazing Dusty Attic chipboards.


I was missing using Industrial/ Steampunk  chippies, so much so I gathered some of the wonderful newbies and some older pieces and altered  a wooden box.

I love using the negative to achieve interesting effects.

Here are the chipboards I have used:

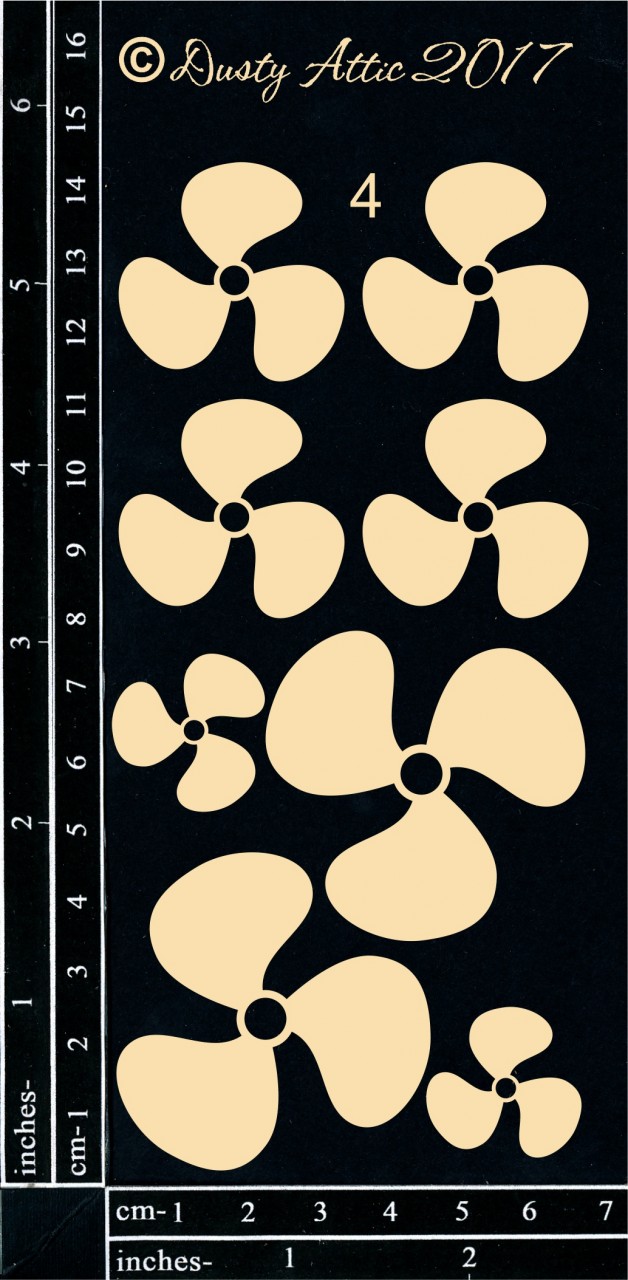
Industrial cluster #4


Thanks for stopping by!


Saturday, 13 August 2022

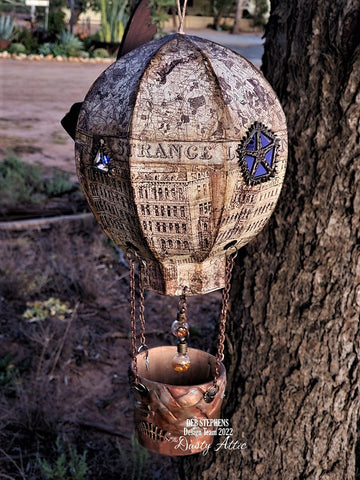
Lady Belle - Hot Air Balloon - Deb Stephens


Hello fellow Dusty FANattics! I am hoping you are as excited as I was when the Boss Lady said "Industrial Chippy New Release!"


I was in love with all the mechanical layers and the sizes they all came in! It all helped with my mixed media Hot Air Balloon Project called Lady Belle.

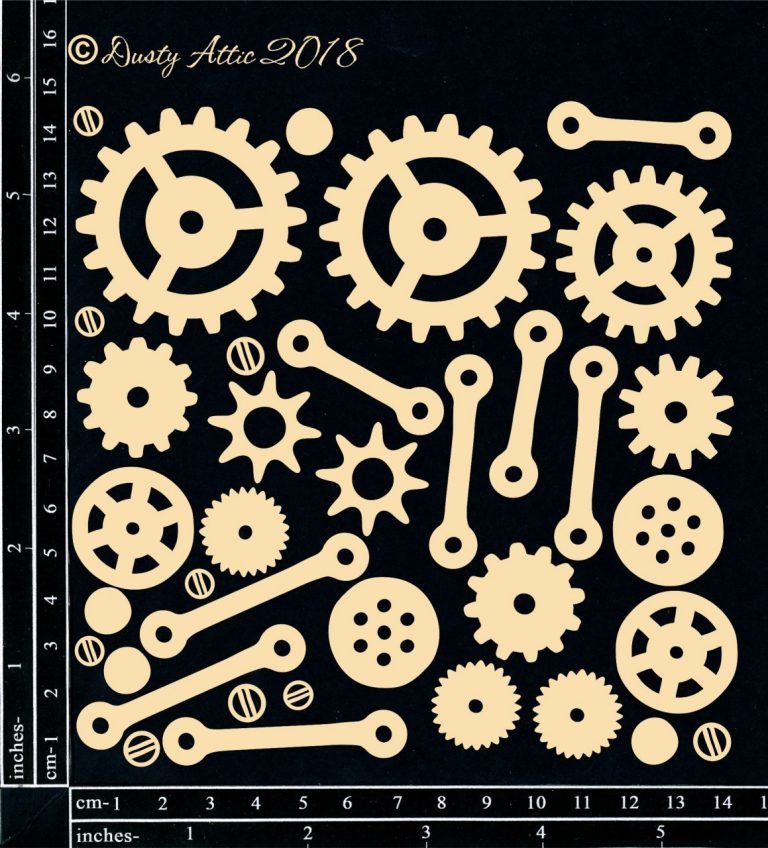
The main attraction is the DA3366 -Marine Mechanicals Fish (Medium) with some DA1932 - Mini Cogs #2 added. That heart though...sigh....
Lady Belle (Spelled using DA0983 – Teeny Tiny ABC Set) is complete with a string of small LED battery operated lights that hide inside her balloon to give the impression of the burner inside. Other Chipboard on her basket include DA0154 – Barb Wire and DA2190 – Mini Skeleton Fish.
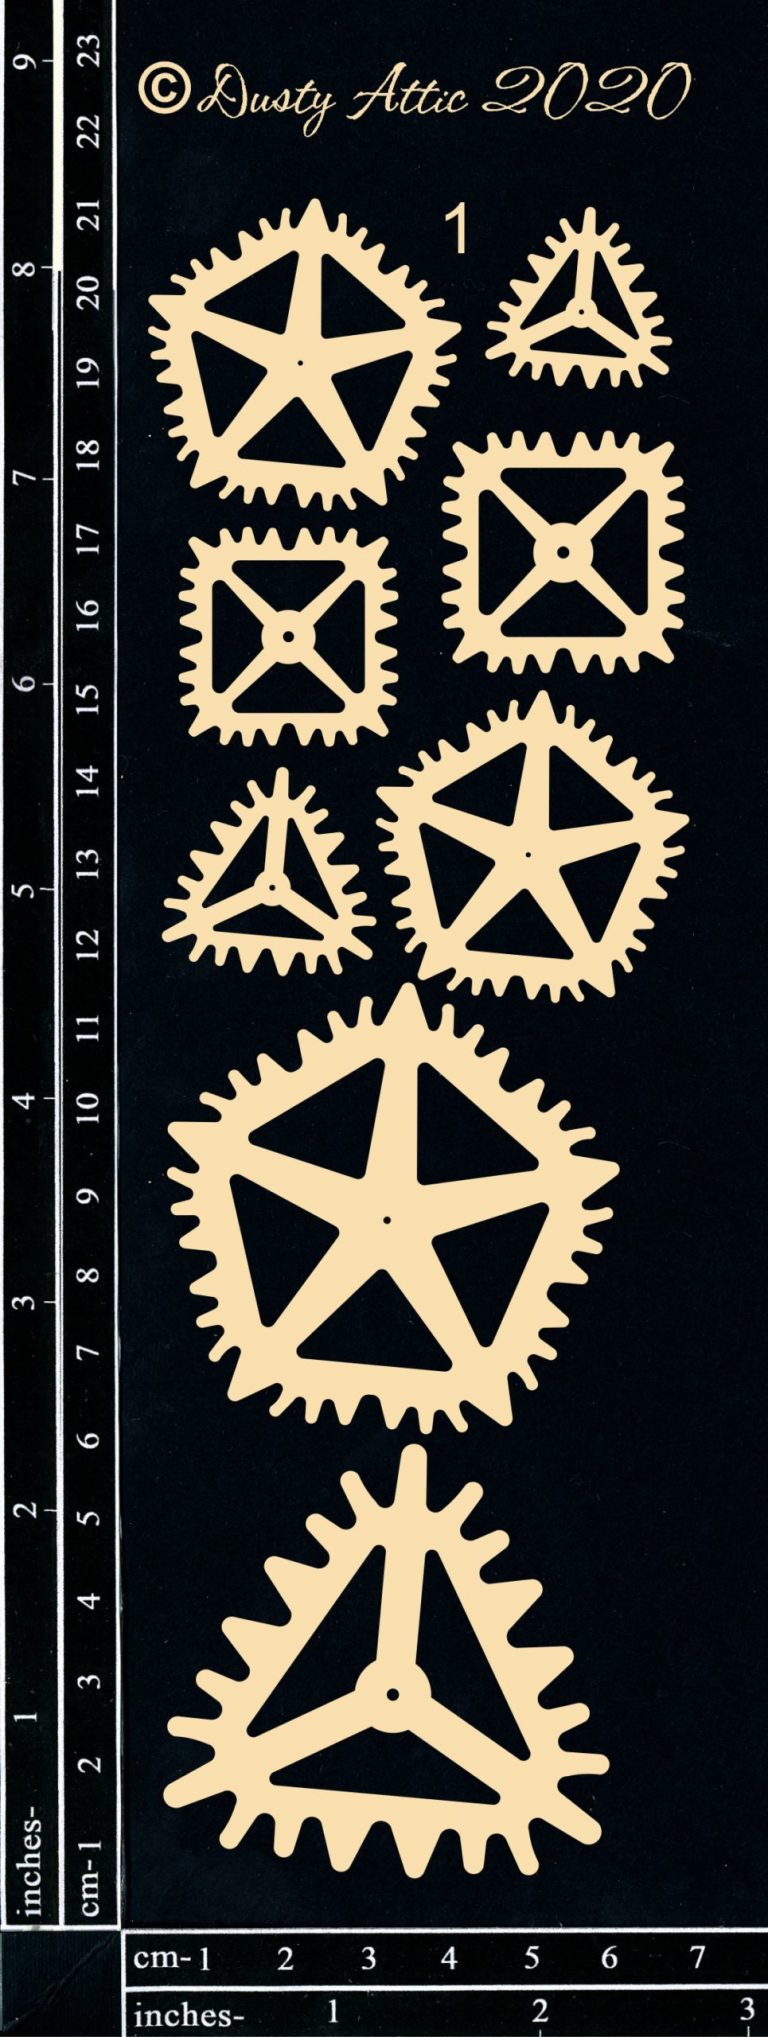
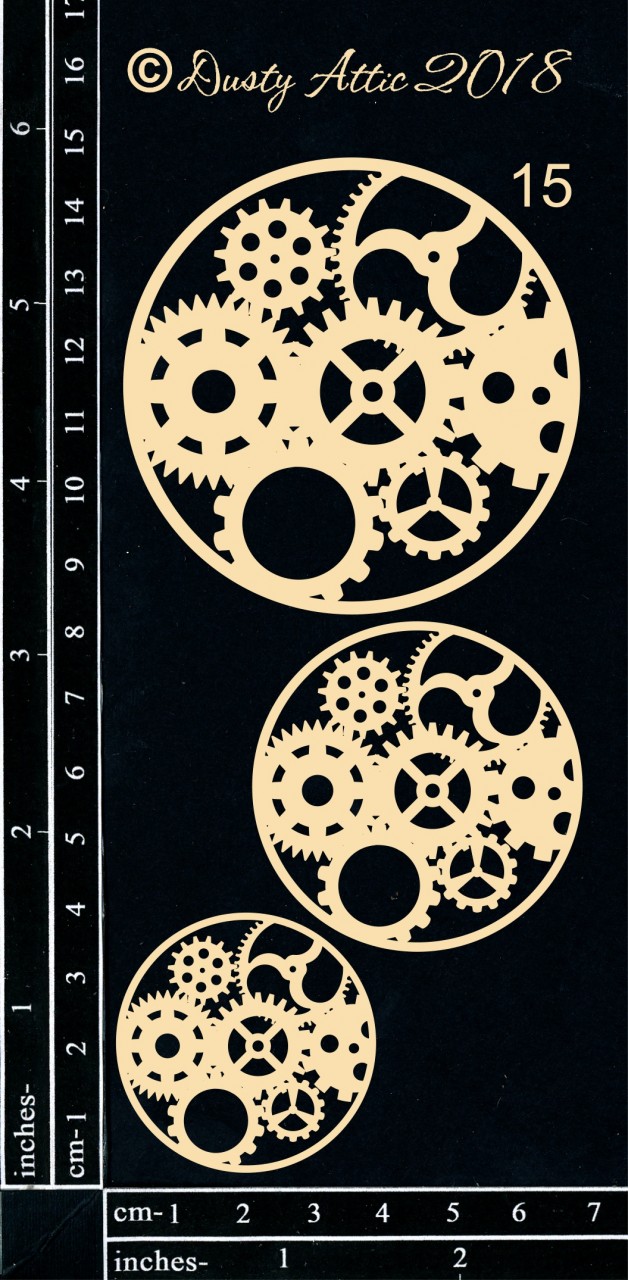
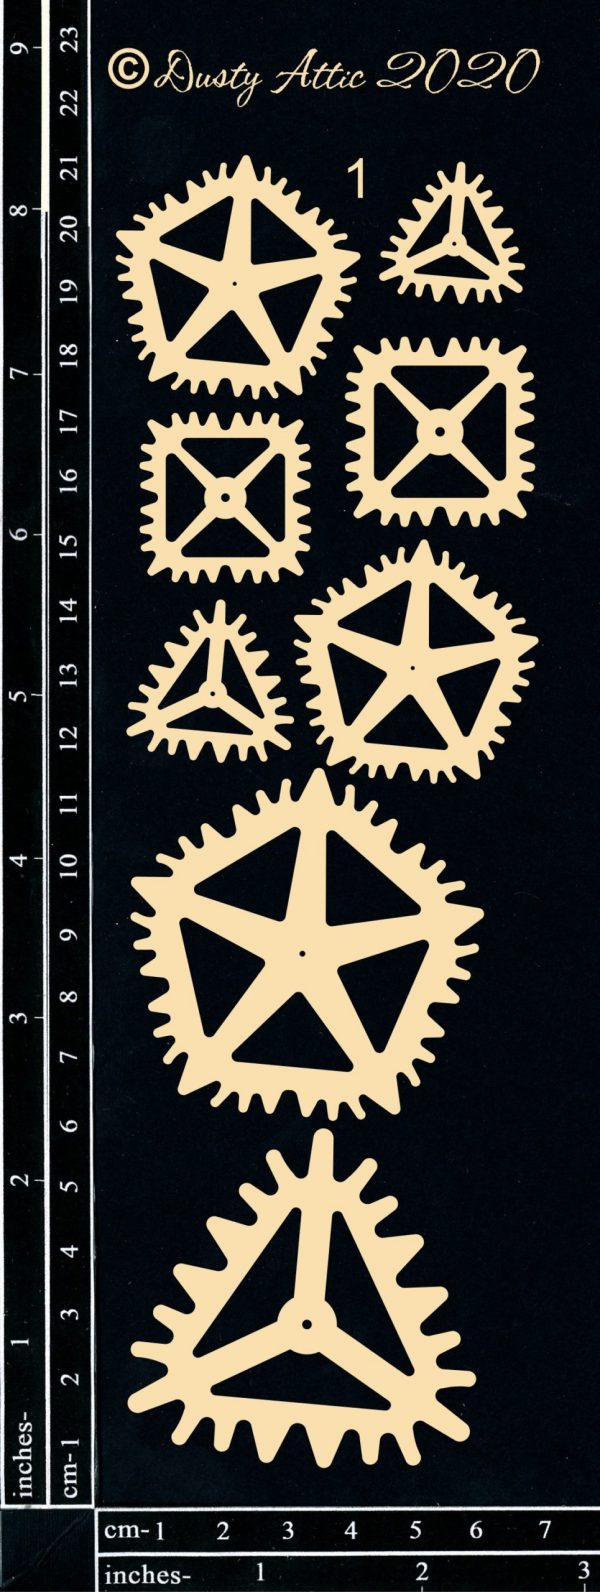
I also used DA2864 – Geo Gears #1 to cut into the balloon so that more light can be seen through the windows while she hangs. It looks amazing in the daylight and in the dark!
I hope these photos of Lady Belle on her maiden voyage inspire you to get out your chipboard and have a play. You don't need too much.. just let your imagination take flight...

Sunday, 30 January 2022

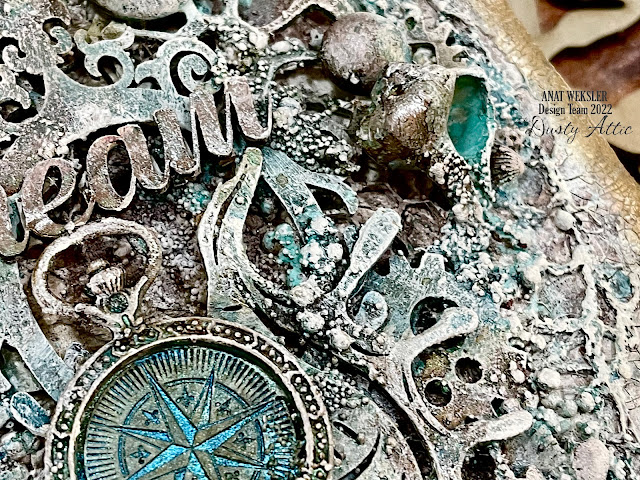
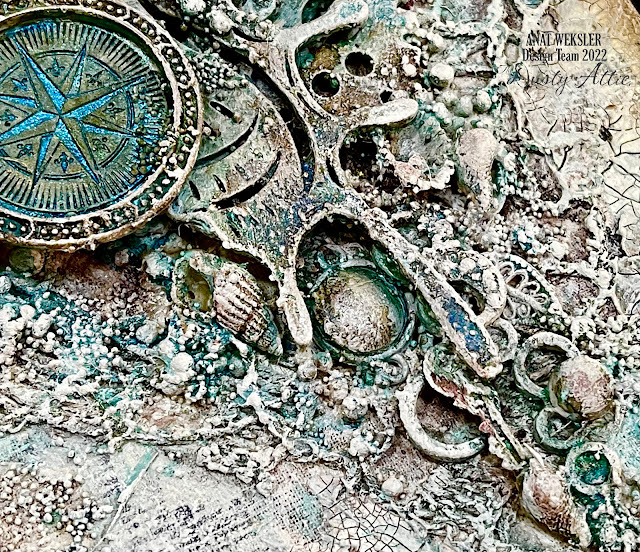
Dream - Anat Weksler - Mood Board Inspiration

 Hello crafty friends!

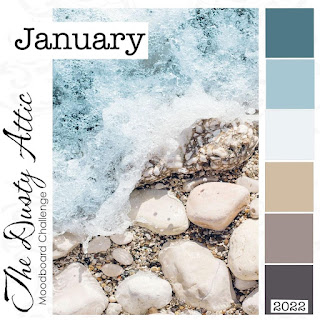
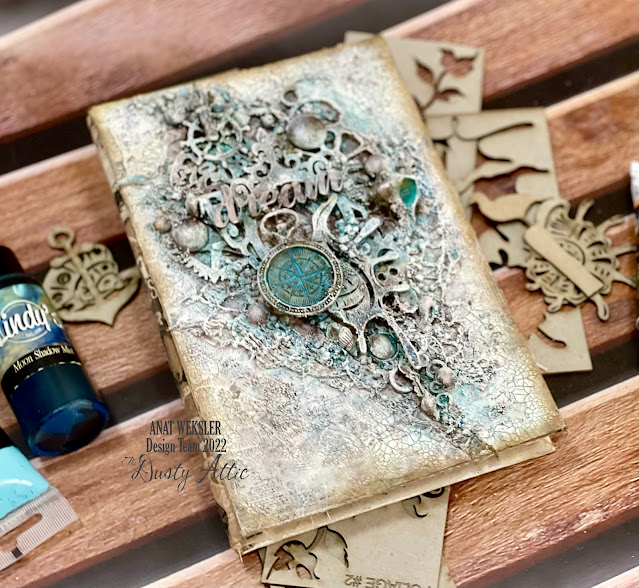
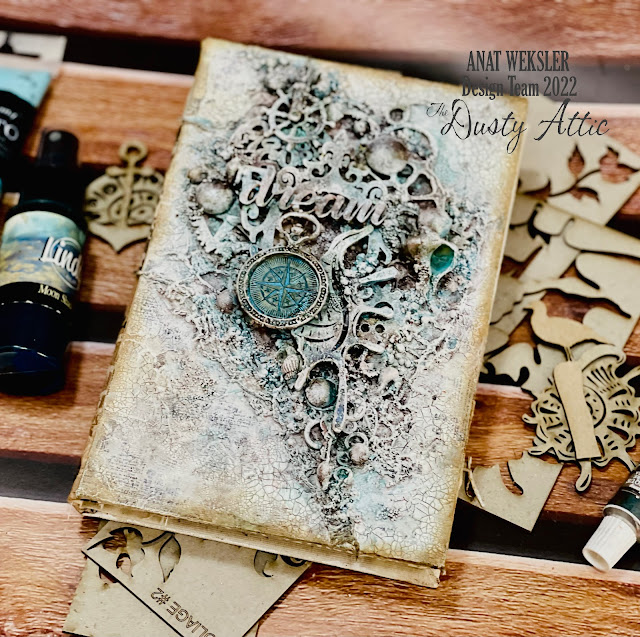
It's Anat here. I'm back today to share my Dusty Attic's Moodboard inspired project.


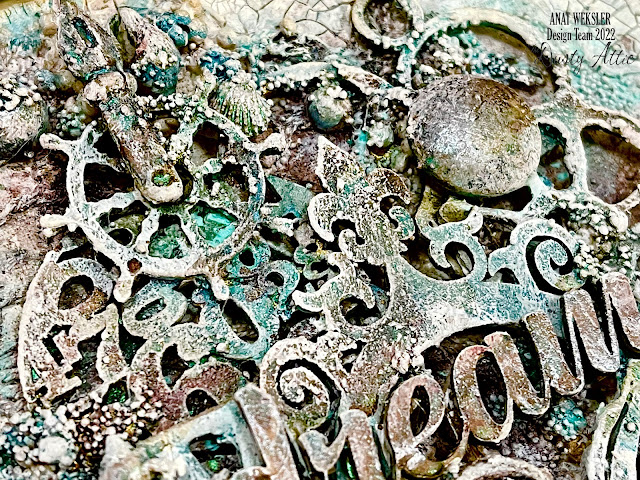
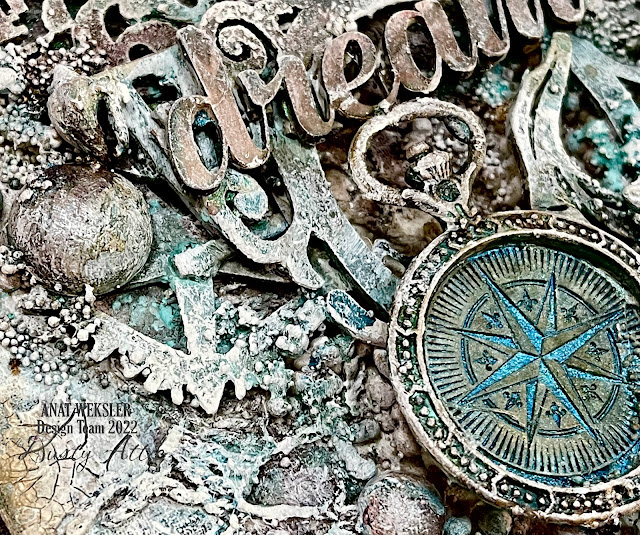
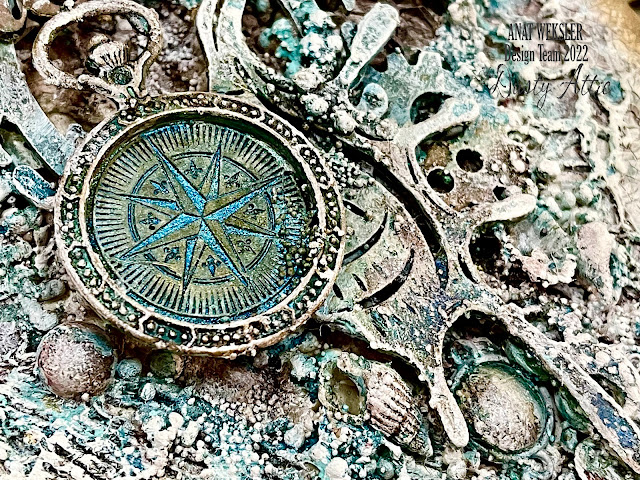
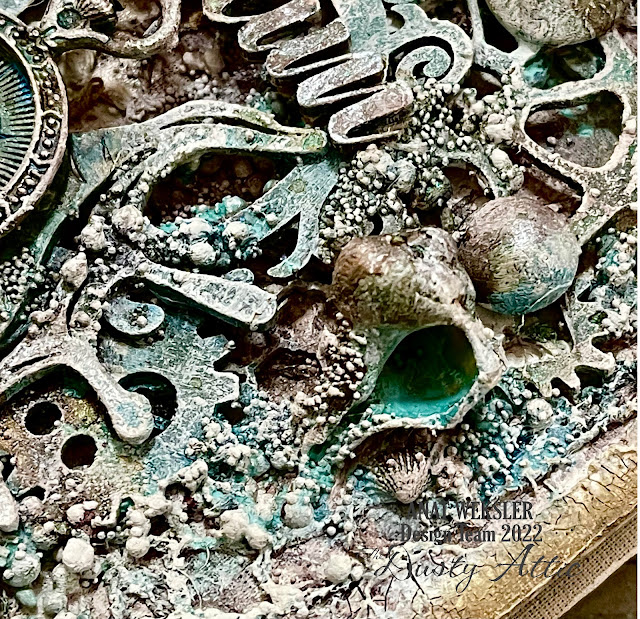
As my usual I've created a project inspired by the image and colours. I've altered a Notebook/Journal cover, replacing the originial cover by one I made from scratch.

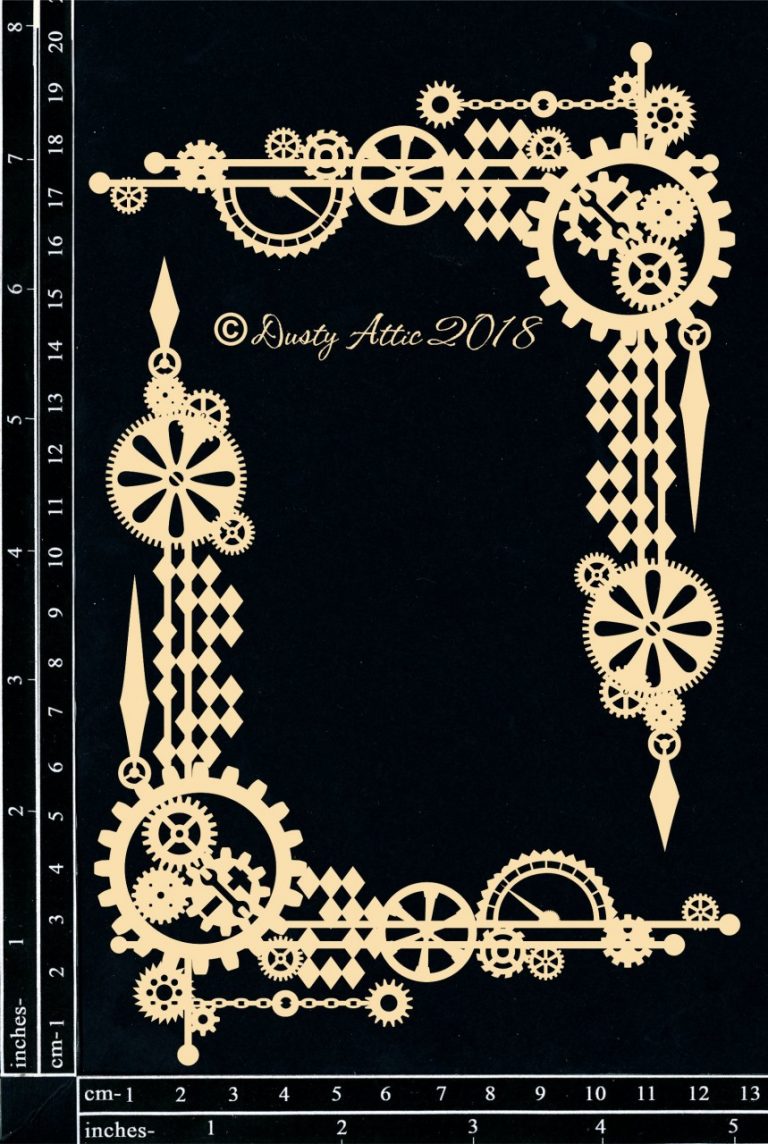
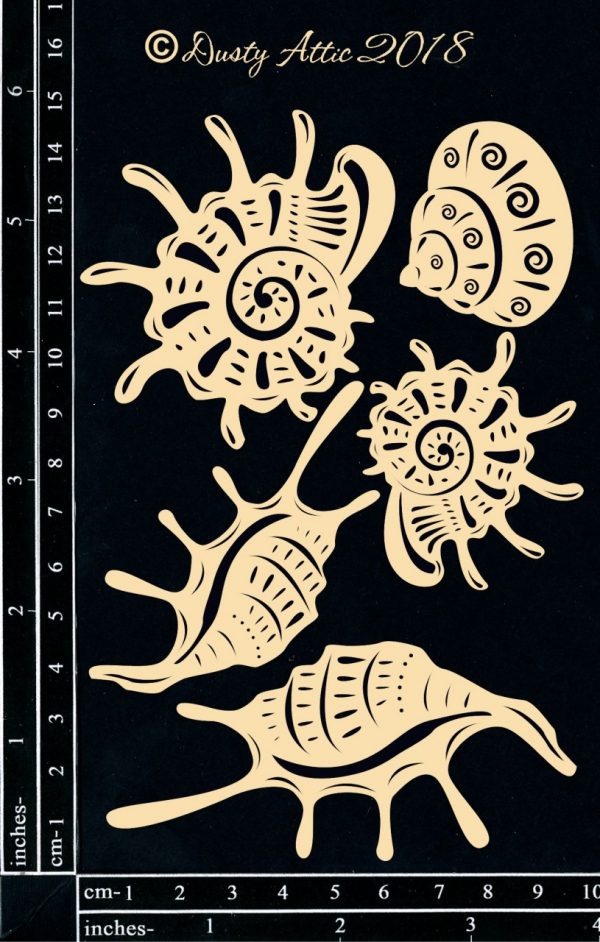
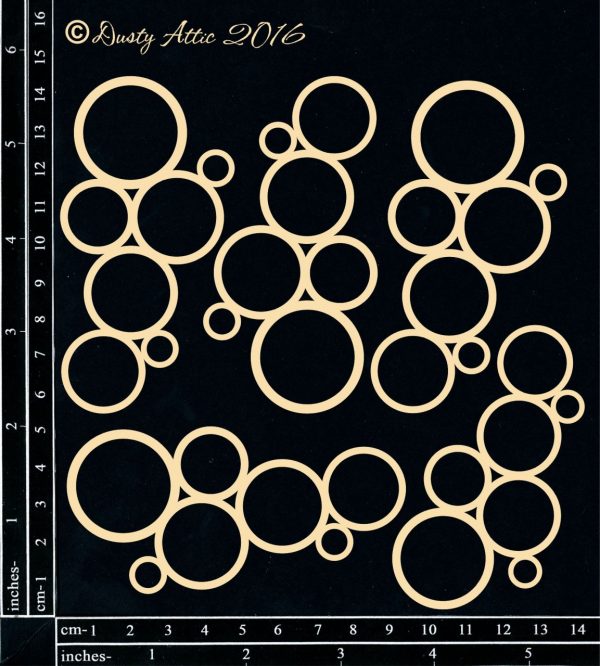
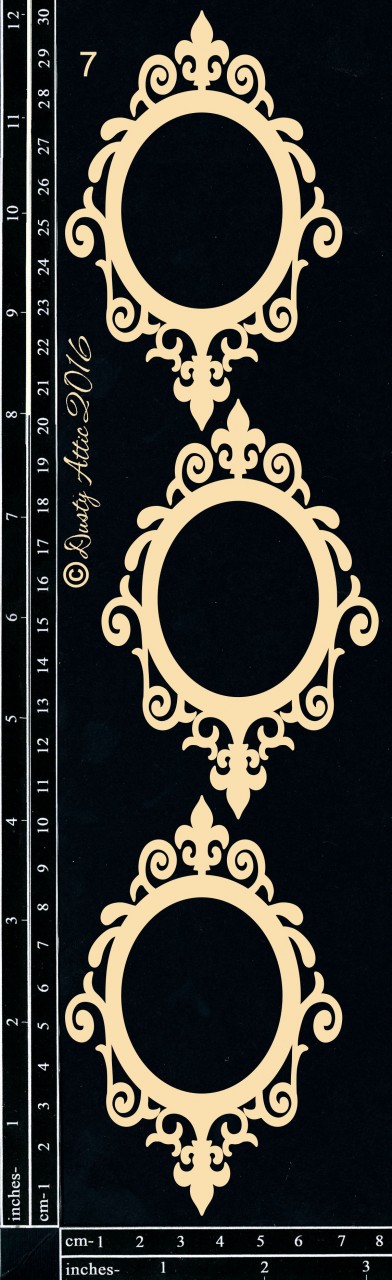
I grabbed a Frame, bubbles, cogs and sea chippies, added Natural shells, metal elements and lots of art stones.

Everything was coloured with Finnabair's Mediterranean Impasto paint, Lindy's Buccaneer Bay Blue and Dark Chocolate Truffle Spray, and after drying over night Dry Brushed with Heavy White Gesso.

Here are the gorgeous Chipboards I've used here:

Shells #3


Thanks for stopping by!

xoxo


Saturday, 30 January 2021

the PLACES we go - Kristy Abela - Mood Board Inspiration

 Hi Everyone... Here we are looking at 2021! I decided that this year would be a good opportunity to get some oldies but goodies out of the way with my scrapping this year. This image is of an Easter we spent down in Canberra with my Mum. While we were there we popped on into Questacon! My kids had visited on their Year six camp with school and Tyler had missed out because he went to a different Primary School... my boys thoroughly enjoyed the experience so now we were inducting Tyler!  
 

 To prepare my page I used clear gesso. I got my brayer out and layered similar colours on the underneath sheet where I tore it to match the foreground card stock. I used some archival ink in Black and Brown to distress the torn parts. I used my fav grunge accessory... Plasterers tape and created a space within to play.


 I used chalk paint to colour my Notebook Edge Border and attached a tear strip from the dotted card stock I had of Industrial lights. I attached it to the page where the paper had changed texture as a border. I then used this as the flow of the page going in a T shape.


I used my crackle paste to add some dimension to the background along the plasterers tape. The tape kind of grabs the texture paste and creates a great weathered feel. I also added some newspaper print stamping to the background - more vintage-ness! I popped loads of layers of Grungy papers that I found in my stash and added the Chicken Wire Panel chipboard to break them up. I used pieces of it - not the whole thing so I could save the depth in the center of the page for the thicker Corrugated Card to sit in. I saved a layer of height there... I will one day pop my layout into an album so I like to minimise my height where I can.


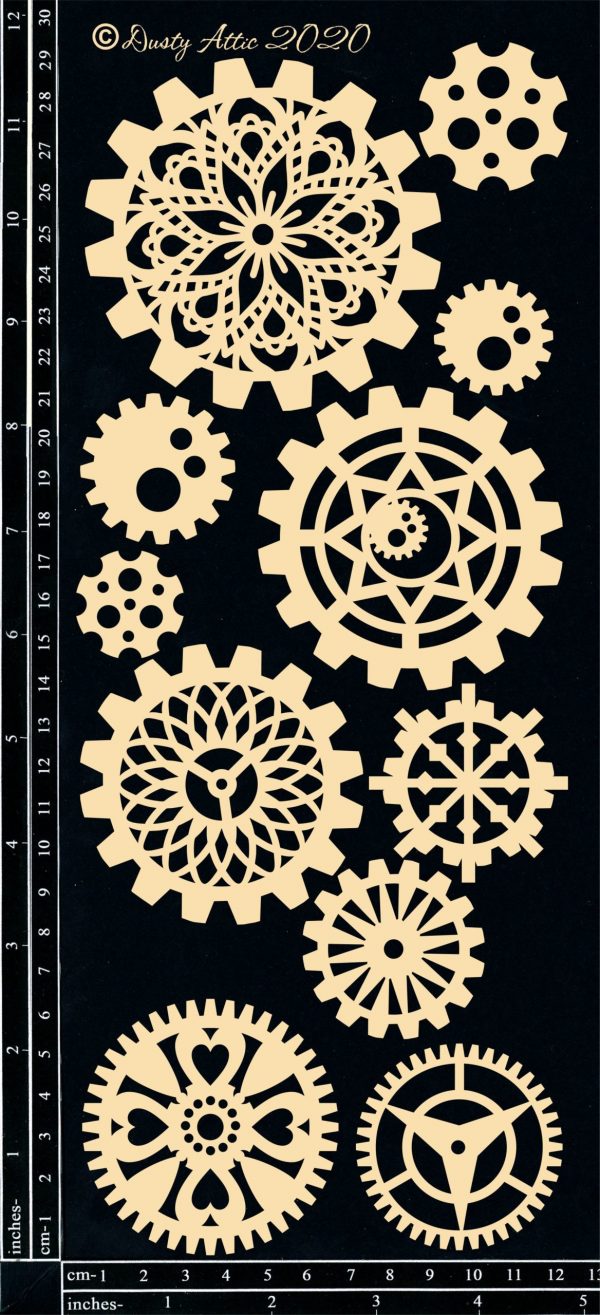
I used some rust paste to grunge up my Geo Gears #1 and Geo Gears #2 also added some to the background so that weathered wall had some tarnish to it too... I used a Techno Circle to add a cap and a bottom to the collage. I am still using that vertical strip as my guide. I also popped some grungy die cuts.
 

A fun filled layer of splatters - two shades of course, white and the sand chalk paint I used for the title. I added some crosshatch stamping to the background as an extra piece of interest.

 
To highlight the corrugated card stock I rubbed a Distress Oxide pad onto it. I used two colours Old Paper and Dried Marigold.

 
I kept the title "The places we go" in a neutral shade without any fancy techniques. I think that the plainness of it makes it pop in a reverse kind of way. 


I used the colours from the mood board as inspiration and also the dry summery feel.
 
 
Thanks for stopping in and I look forward to seeing your creations in the Dusty FANattics page where you can add your take of the board and have a chance to win a $50 Credit to the Dusty Attic Website !  

Abela Artistry