Showing posts with label wood slices. Show all posts

Thursday, 12 October 2023

Beautifully Boho - Ankarika Crafts - Mood Board Inspiration

 Hi there!

I'd like to present a greeting card made to order for a Wedding Anniversary. I put a lot of work and heart into it and now I'll tell you how it was created. But let me start by mentioning what my long-time client had in mind and asked me for: a colour scheme of bottle green with gold and graphite blue. The main attraction was to be macramé in any form, elegant style with wood elements. In my personal opinion, it came out beautifully boho - what do you think?


It's rather normal with me that once a month I create a project in line with the colour challenge on the Dusty Attic blog. This colour combo really coincidentally fell into this challenge, I swear it's a coincidence which I was really thrilled about. The combination of these colours is truly madness. See the poster below. I encourage all of you to take part in our challenge. of course. All you have to do is add your art work to the comments section of the Dusty FANattics Facebook group for a chance to win one of two amazing prizes of $50 (AUD) on purchases from their store. I can't wait to see your work on the Dusty FANAttics group.


The card base has been made according to my fixed pattern, there is layering: there is a beige base, a gold frame and decorative paper in a shade of green trimmed on the machine. This is the paper that has the centre cut out, the gold ribbon is lined and I have threaded a delicate whole ribbon around the frame through the pre-punched holes. The effect is fantastic, but this is something I already knew about before I got down to it, because about six months ago I made very, very similar twin cards. 


The central section is a smaller piece of decorative paper also lined with gold ribbon around the edges. On top of this I arranged a delicate decorative grid cardboard panel, which I coloured gold using wax. There you can also see the ragged gauze underneath. The next layer is a beautiful feather wings sticking out from underneath the flower composition at the top, and wooden slices on which I arranged the macramé. The leaf has a matching green tonality thanks to different combinations of waxes, while the woods are whitened with white acrylic paint.


I have placed beautiful white flowers on both cards: one is made of fabric, the other of foamiran. They are surrounded by paper leaves and remnants of the cordon that was left over when I did the macramé. The composition is enhanced with beautiful vintage-style ribbons and gold cord. You can also see cute little butterflies between the leaves, and stylish decorative corners at the bottom of the work. Almost all the pieces are lightly brushed with gold wax. I made both macramé pieces with my own hands, and again I declare that this is something I adore with all my heart. The day will come when I will grow this love in to myself. And you? Do you do macramé?


I also have to mention the field plant on the macramé, it's absolutely adorable and adds that natural style - it's kept in the aforementioned green and gold colours. The entire art message is reinforced by the subtitles: So Happy Together and Close Together, as well as from another set: Time to Celebrate and Congratulations. The cards are splashed with white paint and I also added tiny white pebbles in several places. How do you like the end result?


Thanks and see you soon!


Tuesday, 31 May 2022

You keep me anchored - Patricia Basson - Mood Board inspiration

Hi dear Bloggie friends...
Today I am bringing you a project using the gorgeous May colours on the Dusty Attic Moodboard. Ranging in different shades of Blue and with a Beachy theme I created this Heart shape wall hanging. 
I covered it with some Decoupage paper from Stamperia. Also stencilled with some  Translucent crackle Paste.  Then painted the background with Liquid Acrylic Paint, Prussian Blue and Magical Pond Sparks.


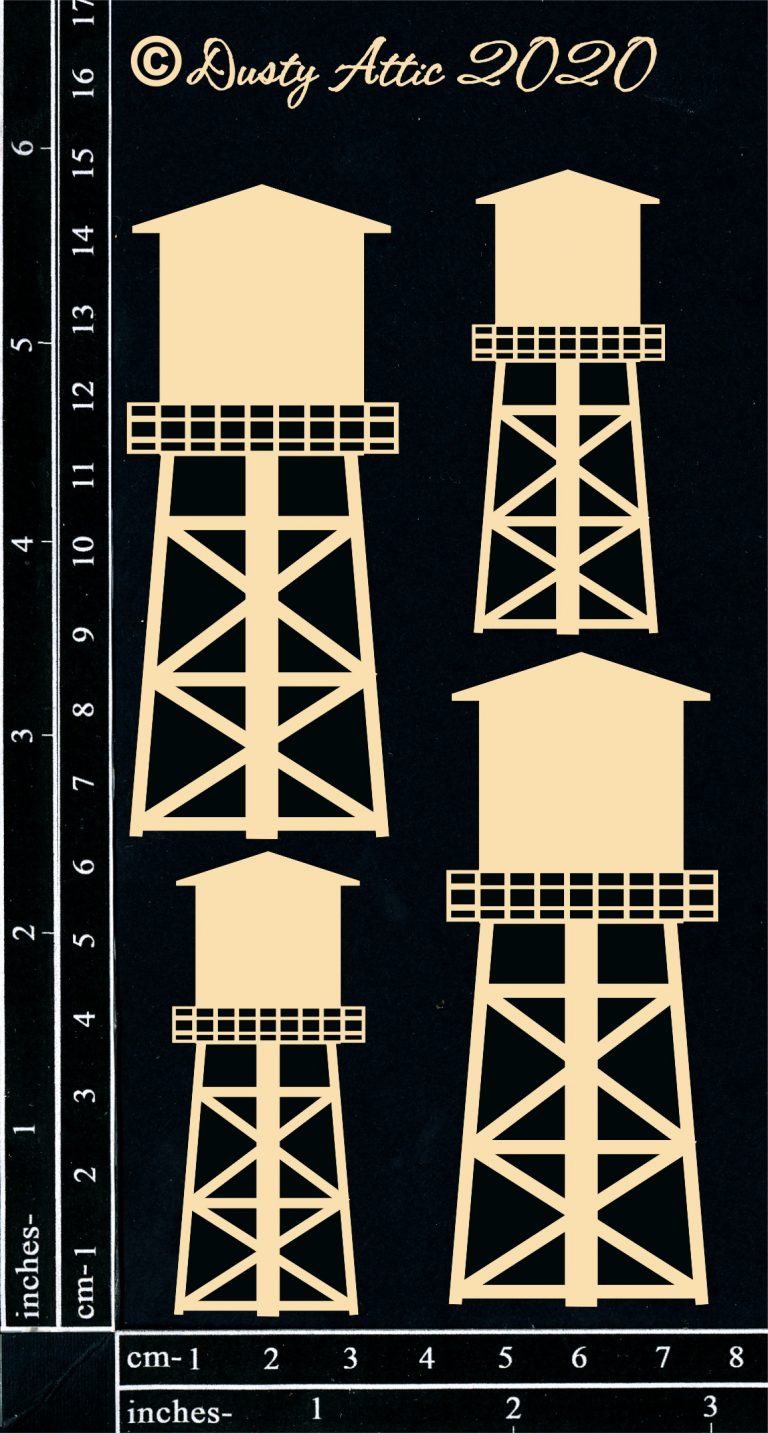
I started by applying a layer of Gesso to all the pieces. I then painted the Water Tower and the Wooden Fence with Stamperia Allegio Paints, Blue Aviation, Cookie and Earth. I also added touches of Rust effect paste, Brown, Dusty and Cool Grey. 

The Rainbow and Clouds, Jellyfish and Starfish were painted with Cookie and Indian Turquoise paints. The Star Fish and Jellyfish got a little Lava Paste that was heated to pop before the paints. Easy and great added texture. 


I embossed the Fancy Frame and Ocean Waves with Ranger Speckle Embossing Powder, Blueberry and Cosmic Shimmer's Industrial Revolution. Both beautiful multicoloured and textured. On the Gauss I sprinkled some 13Arts White shiny Glitter strips. Also added Art Stones and some small Seashells to finish the Beach theme. The Wood Slices only have the slightest lick of Gesso, leaving them with the gorgeous ring design.


There is still time to enter the Moodboard challenge. 
You could win one of two $50 AUD credits to the Dusty Attic online store. Remember the only requirement is that you have Dusty Attic chipboard on your creation and enter on the Dusty FANattics Page.  Have fun and good luck .


From the Dusty Attic On-line store the following were used. 


Always keep your mind as bright and clear as the vast sky, 
the great ocean, 
and the highest peak,
 empty of all thoughts. 
Always keep your body filled with light and heat. 
Fill yourself with the power 
of wisdom and enlightenment. 
~Morihei Ueshiba~

Friday, 26 November 2021

Sweet, Happy, Adore - Adri Du Preez - Mood Board Inspiration

Hello everyone!

Here is my layout inspired by the stunning November mood board, and featuring Dusty Attic chipboard pieces.

This is my daughter and her beautiful family.  

Here is the mood board

 
and here is my layout.


All the chippies were first covered with white gesso, except for the barb wire frame.  I painted the barb wire frame using a sponge brush and Americana Acrylic paint in Burnt Umber, Georgia Clay, and True Ochre, and then dry brushed with white gesso.


 I first covered the seed pods, Foliage #25 with clear gesso and then Distress Oxide in Black Soot, Walnut Stain and Ground Espresso.  Press the three Distress Oxide Ink pads onto a craft mat and spritz with water creating small droplets.  I started with Vintage Photo for the base color and slid the chippies through the droplets a few times and dry with a heat tool. Repeat with all the colors and dry in between. I also splattered the chippies with the same colors for a mottled effect. 

I painted the Foliage #28 with Americana Acrylic paint in Lush Foliage and the Foliage #24 in White.


The Wild grass #3 were colored in the same manner as the seed pods.  I painted the Grass Cluster with Americana Acrylic paint in Arbor Green and dry brushed with white gesso.
These toadstools are just stunning!  They were painted with Americana Acrylic paint in Oyster Beige, Traditional Burn Umber and Naphthol Red and dry brushed with white gesso. The stems were edged with Brilliance Pearlescent in Chocolate.

I inked the Wood Slices with Brilliance Pearlescent in Chocolate and edged with Graphite Black.

The Paddock Fence was painted with Americana Acrylic paint in Lamp Black, and Slate Grey, then dry brushed with white gesso. 

Here you can see how I used my favorite mini tabs.


I have painted the word with Americana Acrylic paint in White.


Some close ups.


These are the Dusty Attic chipboard pieces that I have used.


Thank you for visiting the blog today.  I hope you find time to play along with this mood board.  Share your projects on our Facebook page here for your chance to win a $50 (AUD) credit for two lucky winners to the Dusty Attic online shop so you can choose your very own chippies you would like to use.

Visit the Dusty Attic online shop for more amazing chipboard designs.

Happy crafting!