Showing posts with label Halloweenies. Show all posts

Tuesday, 31 October 2023

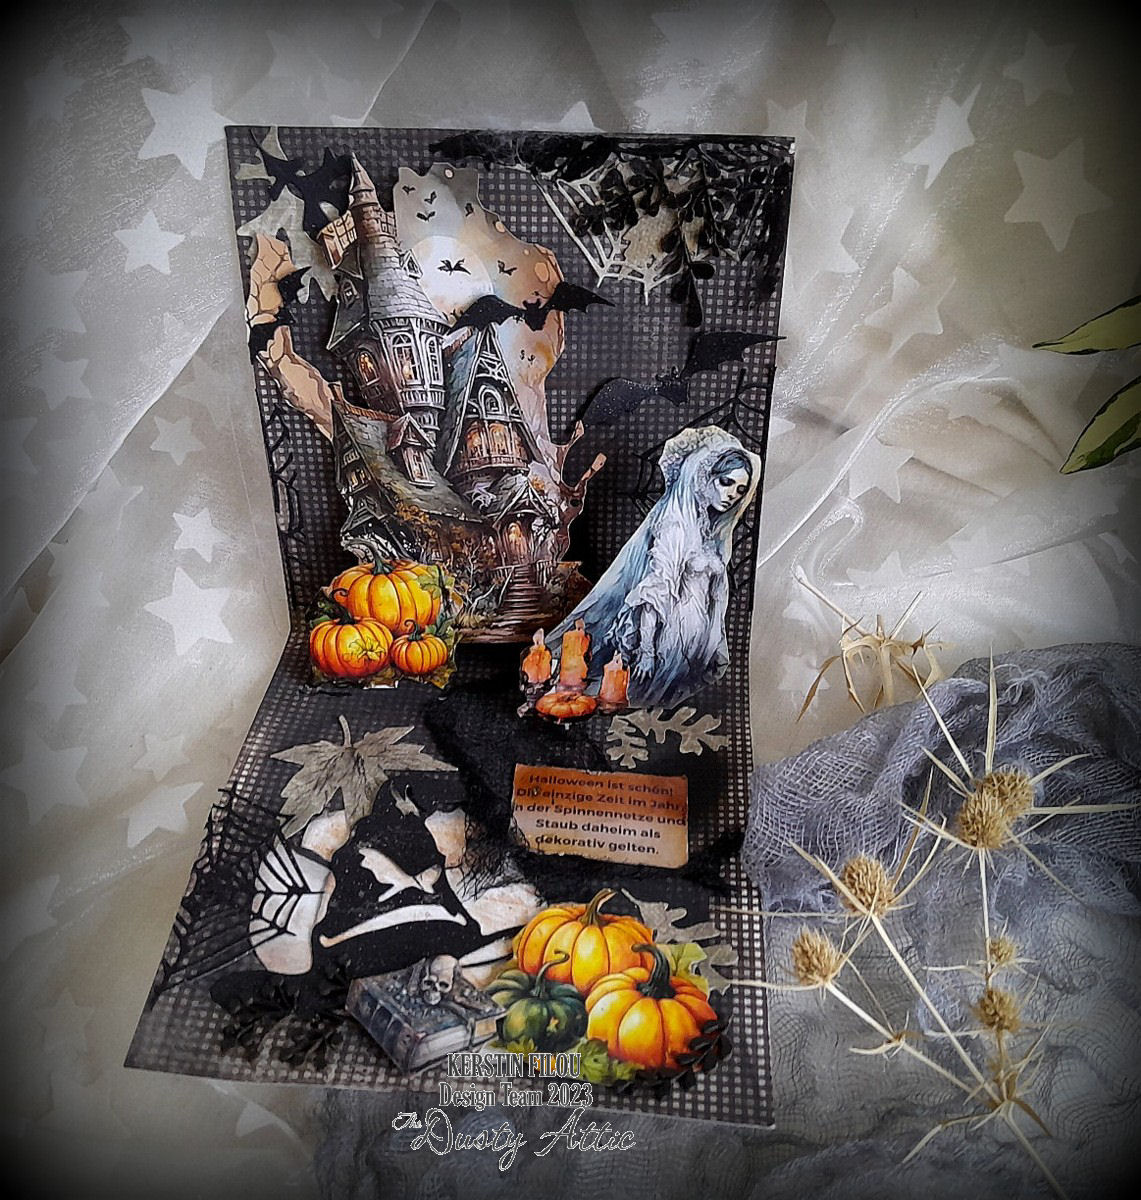
Halloween Card - Kerstin Filou


  Hello everyone!


 Today a new Halloween inspiration, it's a pop up card with fun.

I enjoy creating spooky Halloween scenes, filled with imagination and a touch of humor.

 This 3D card is intended for those who prioritize more important things  over constantly cleaning their home. 😁


Halloween is wonderful, it's the only time of year 
when cobwebs and dust are considered decorative in the home.


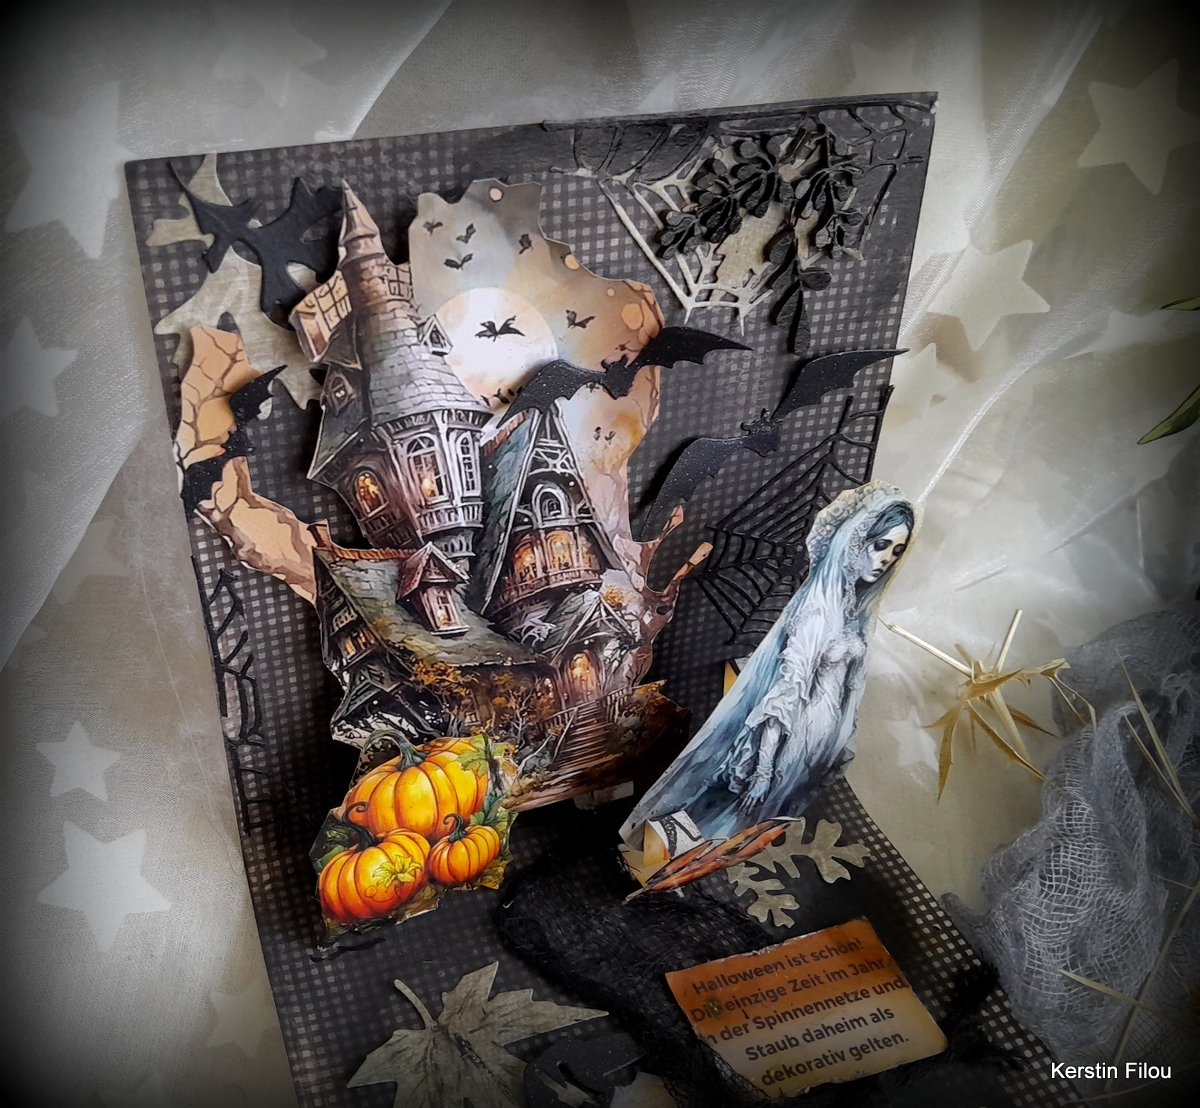
 some close up's


 used chipboards


Main Street 
 
 Spider Web panel small 
 
Antique Frame
 
Halloweenies #2
 
Mini Foliage #2 
 
 
 Have fun!


Saturday, 28 October 2023

Trick or Treat Pumpkin Diorama - Deb Stephens


It's that time of year again where we get to indulge ourselves making quirky and kooky Halloween creations!
I used LOTS of Dusty Attic Chippy and other products to alter this Kmart paper mache pumpkin and turn it into a diorama!
The inside background was made with crackle paste and alcohol ink. 

DA0178 Bats 8pk were painted black and stuck onto it. I also assembled DA3124Haunted House #1 and DA3125 Haunted House #2, painted and embellished the roof's with black Quickcure clay, and dressed the windows. Glow in the dark paste was also applied. 

But the Stars of this show are the DA 3101 - Halloweenies #1! They are just so cute! They stand behind the DA0615 Tombstone borders I used as a fence. I also used Quickcure clay to sculpt the "tree" that edges the cut section of the Pumpkin. I embedded creepy eyes into this too.

Lights were added inside the diorama and DA1865 Web corners were glued together to make the front decking. DA1790 Wordpl@y #6-black gave me my trick or treat signage. The lights are great to highlight the small space inside, but also to charge up the glow in the dark paste that was applied. This photo isn't great, but it gives you the idea.

To dress the outside of the pumpkin, I cut the DA0183 Mini Bare Tree #2 in half and glued it to either side of the opening. 

I ran the rest of the Tombstone Border chipboard around the back of the pumpkin. 

 I also stenciled texture paste through the DA3062 Spooky face stencil, and finished with Waxes.

I dressed the top of the pumpkin with DA1460 Ivy Flourish, Black roses, Skulls, pumpkins and Spooky Tule fabric. 

This was a very fun project to make and there is a YouTube tutorial available on my Chanel, linked below,  if you are interested in the process. 

https://www.youtube.com/@DebsPalette

Below are a few more photos and a list of all the Dusty Attic Products I used. 

Until next time, take care!


Friday, 29 October 2021

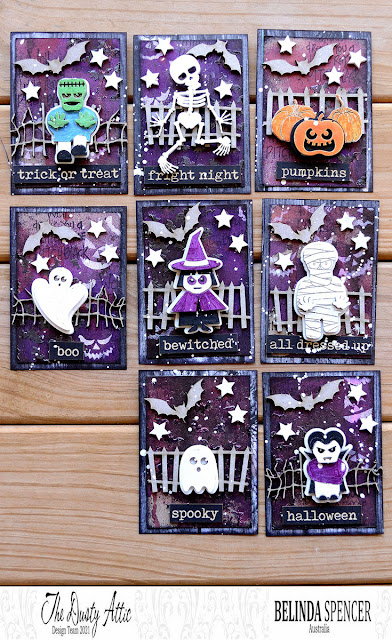
Halloweenies ATC set - Belinda Spencer

 Hello Dusty Attic fans!!

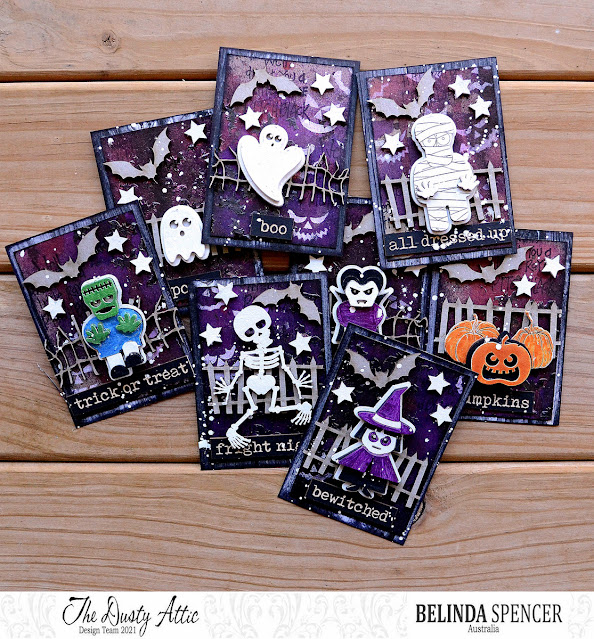
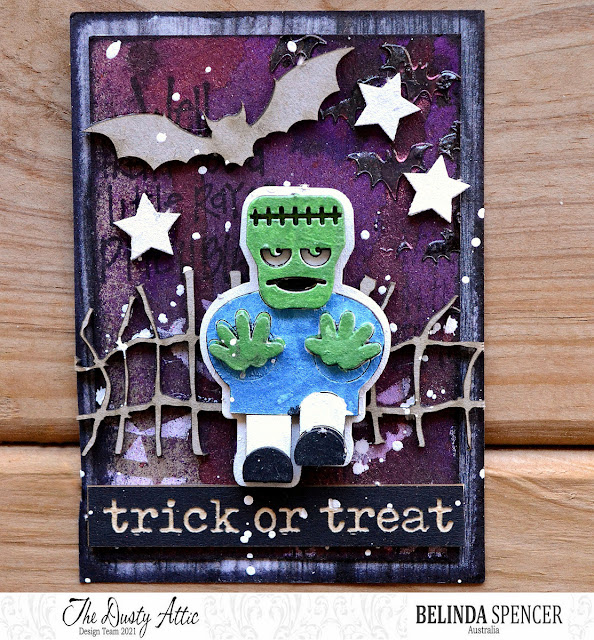
It's Belinda here today to share some spooky but cute Halloween ATCs for The Dusty Attic featuring some of the new Halloween chipboard.


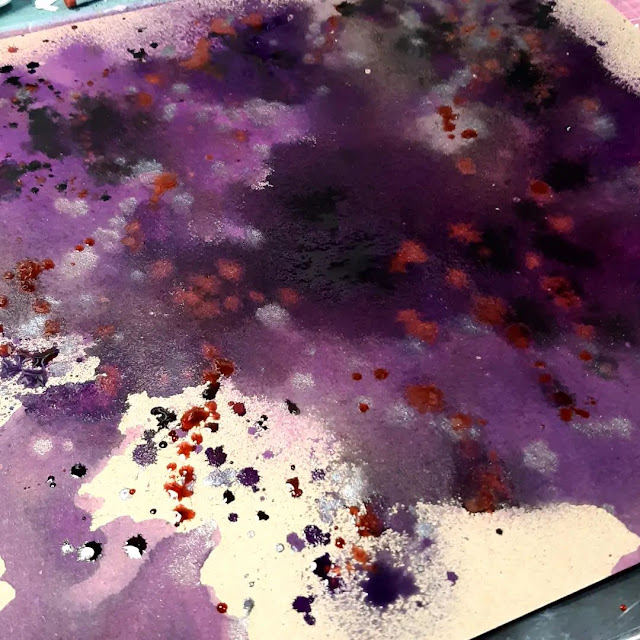
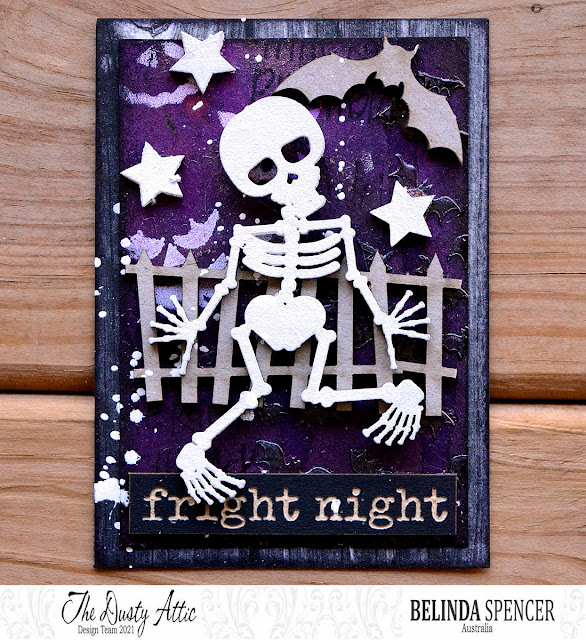
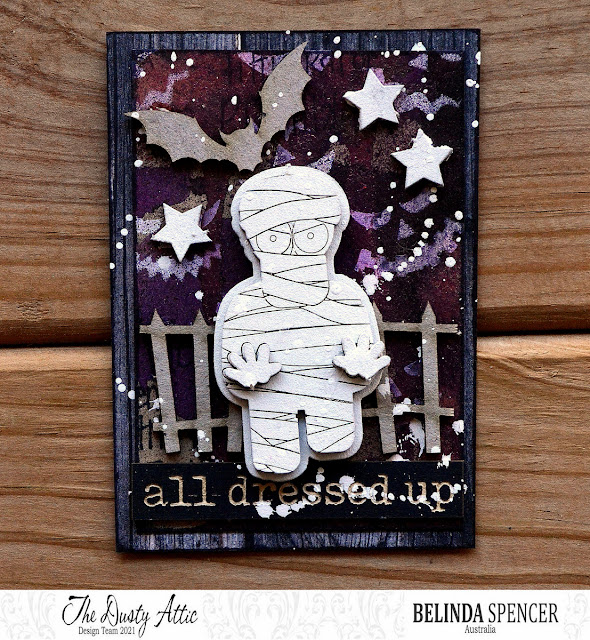
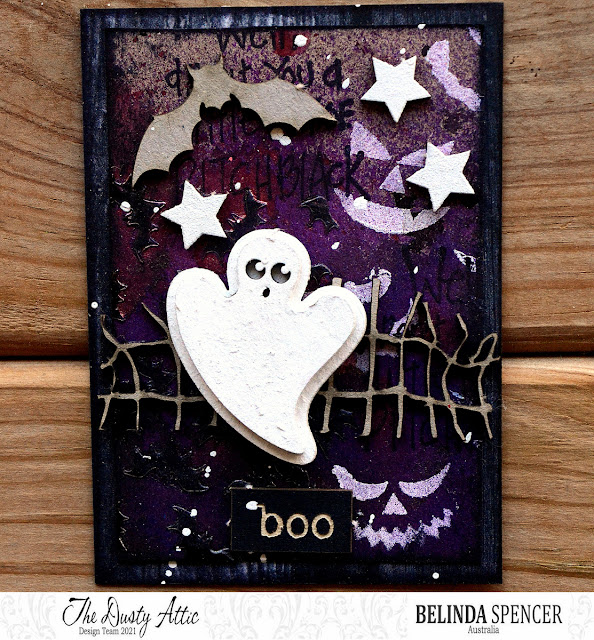
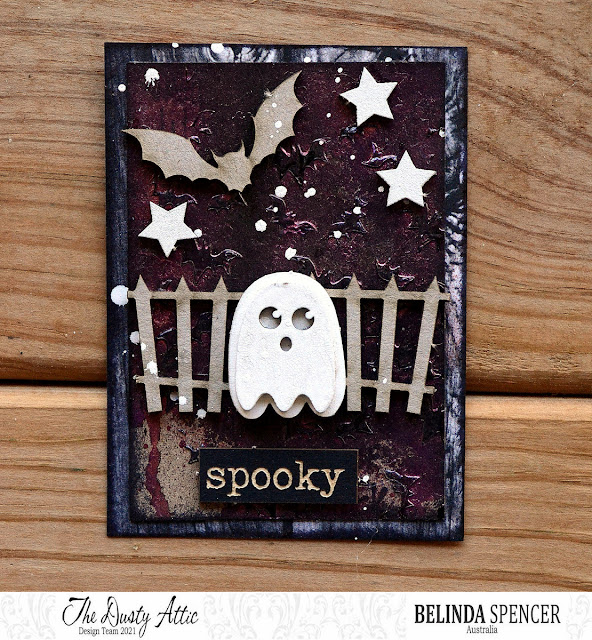
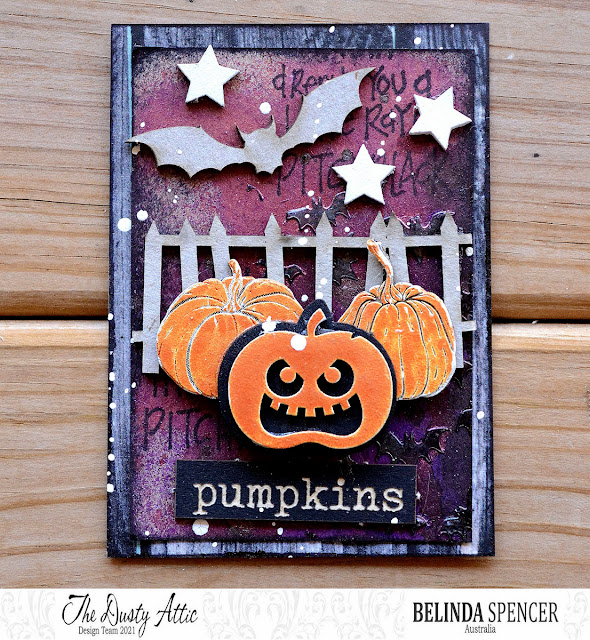
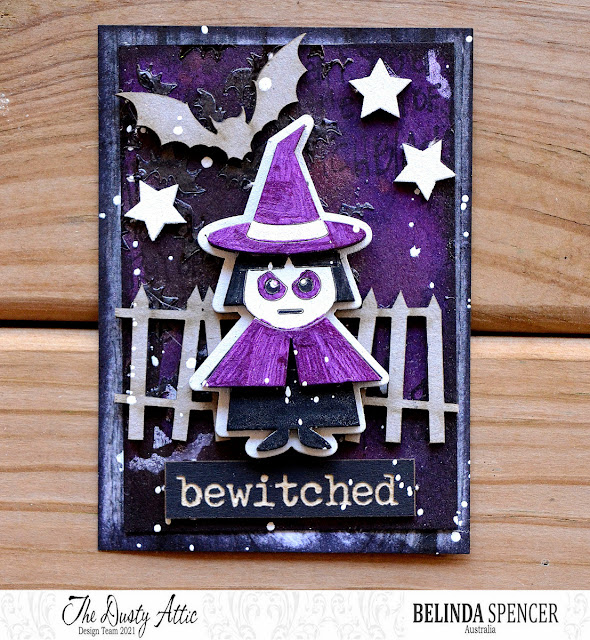
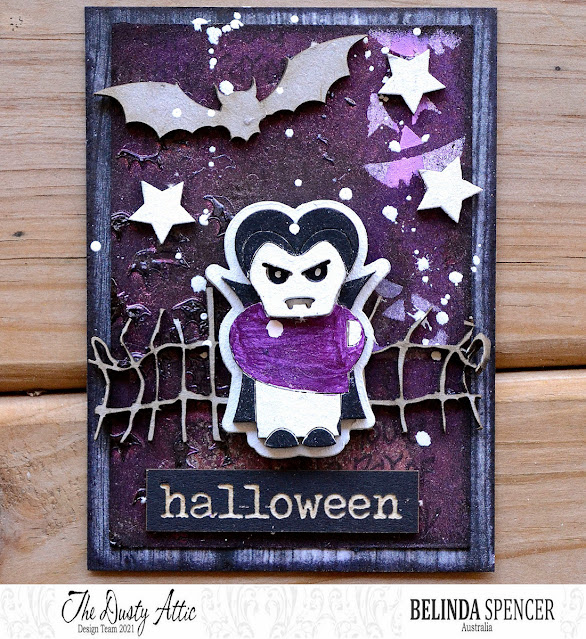
I started with a 12 x 12 sheet of kraft cardstock and altered it using various spray inks. Once it was dry, I added stencilling using texture paste with the Bats Stencil and heavy white gesso with the Spooky Faces Stencil. I then chopped up the sheet into ATC sized pieces.


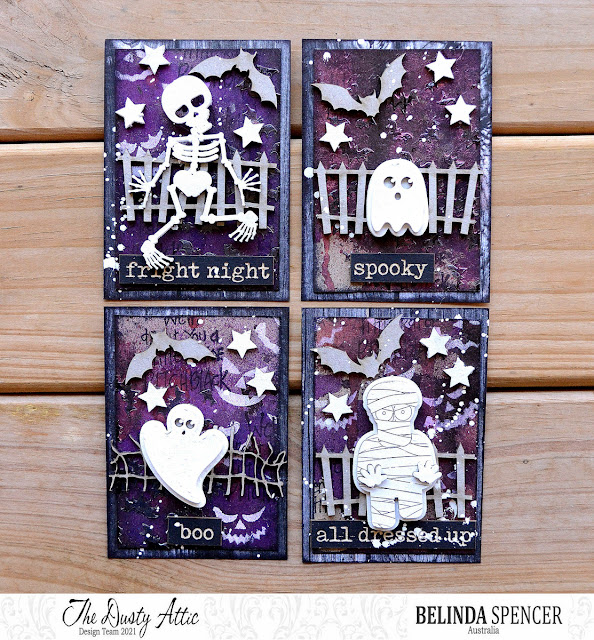
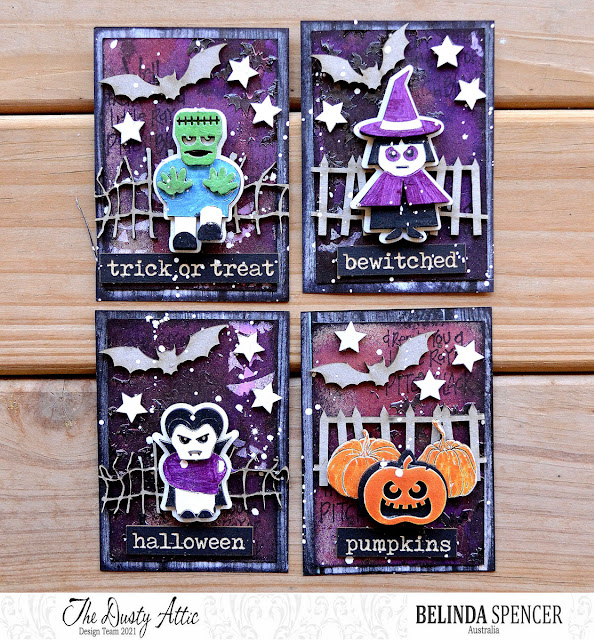
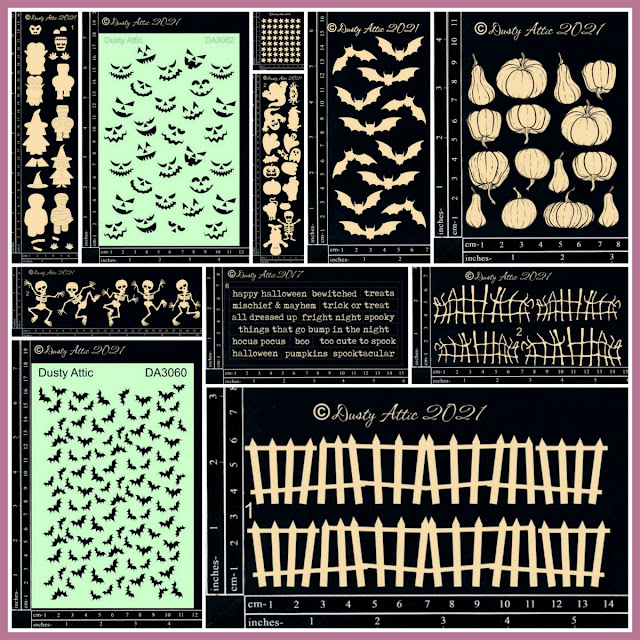
I chopped up the Small Crooked Fences to fit on the ATCs and added those to each in their raw, unaltered form. I also kept the bats unaltered. The rest of the chipboard pieces were first coated with three coats of heavy white gesso before some of them were altered further using Posca Paint Pens and a Sharpie.

Here are the ATCs with the white gesso finished pieces. I added some Mini Stars to complete the night time look. I also finished each ATC with a Halloween Wordpl@y word.


And here are the ATCs that I altered using Posca Paint Pens and a purple Sharpie.


Here's a closer look at the individual ATCs:


Dusty Attic products used:


Thanks so much for stopping by the blog today. I hope you are inspired to have a play with some of the awesome Dusty Attic Halloween inspired products.

Cheers
Belinda


Monday, 27 September 2021

Boobook Owl - Belinda Spencer - Mood Board Inspiration

 Hello Dusty Attic fans!!


It's Belinda here with you today to share my layout inspired by the beautiful September Mood Board.


Here's a reminder of the stunning neutrals of the Mood Board:


I love how soft and restful for the eyes these colours are. I decided to create a NON Halloween layout using the new Halloween chippies and the natural colours of the mood board.

'Boobook Owl'


I am lucky enough to have a gorgeous Southern Boobook Owl living in my hayshed at the moment which just happened to be perfect timing to use the new Owl chippies.


I used some Heidi Swapp Blush Colour Shine on my background cardstock to start my layout. Once dry, I added some stencilling using the Starry Night Stencil which is a favourite of mine and some Snow White Colour Blast Colour Paste. I flicked some of the Colour Shine over the page too. Once everything was completely dry, I added some beautiful rub-ons by 49 and Market.


Next I added a LOT of layers using mostly 49 and Market papers, ephemera and frames. I stapled my layers together and layered them on top of a torn piece of Corrugated Card. I added all of this to the page along with my photo.


Next I painted all of the chipboard pieces with about three coats of heavy white gesso. Once dry, I added some ink to the edges of the chipboard using a brown ink. The ink turned out to be too much of a contrast against the white so I coloured over the top with a white Posca Paint Pen. This made the inking much more subtle which was the look I was after.


Finally, I added all of my embellishments to my layout including the chipboard pieces and some flowers. I added some stamping too.


I love mixing up the various alphabets available at The Dusty Attic. I wanted to place the emphasis on the 'Boo' so I used the Impact ABC Set for that as it was larger.


The Dusty Attic products used:


Thanks so much for stopping by the blog today. I hope you will play along with the challenge this month too.

Cheers
Belinda