Sunday, 26 December 2021

Adore - Lynette Jaobs - Mood Board Inspiration

 Hello Dusty Attic Fans!

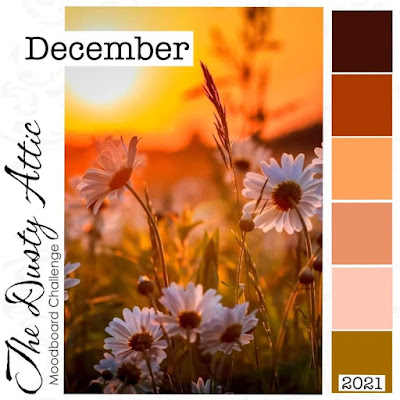
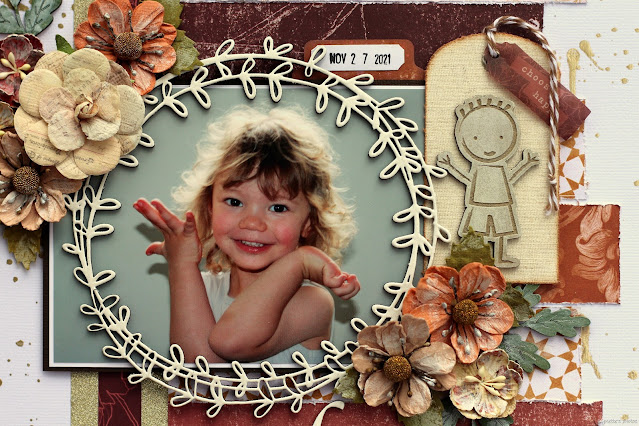
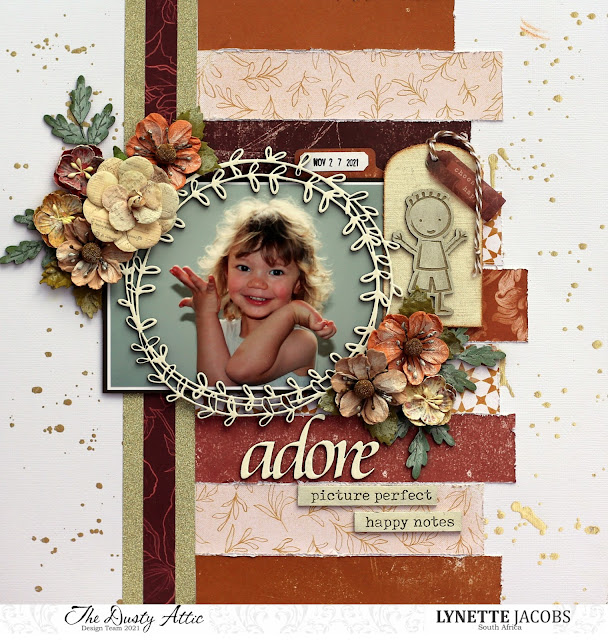
Lynette here, welcome to the blog today. I am sharing my take on the December mood board.  This month I chose to showcase my stunning little grandson Kian, who lives in Australia and whom I miss very much.  I papers of the Heidi Swapp Honey and Spice collection perfectly matched the mood board.

Isn't he just too beautiful!

Here is the mood board:

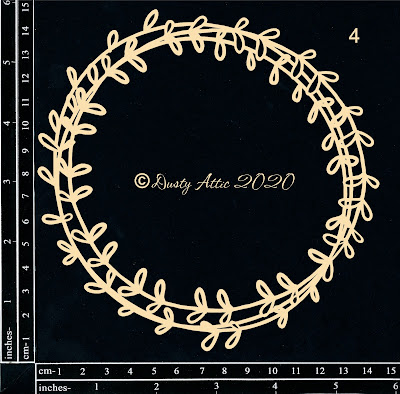
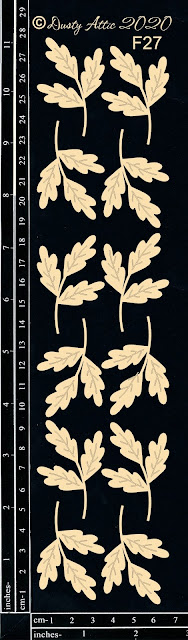
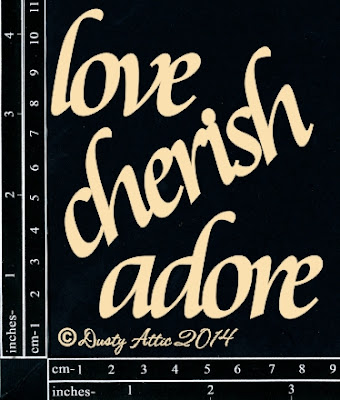
These are the chipboard pieces used to complete my project:


Foliage #27


Here are some close up details of my process:
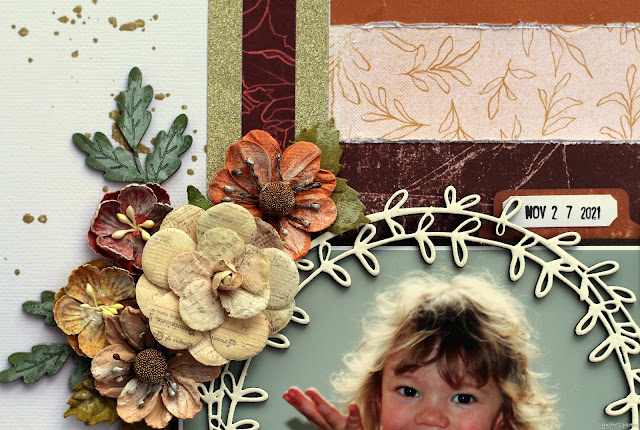
I first prepared my white background paper by sprinkling Minc Reactive Mist onto it and then foiling it with Champagne foil.  I then cut strips of the Honey and Spice papers that match the mood board and distressed them before adding them down the page.

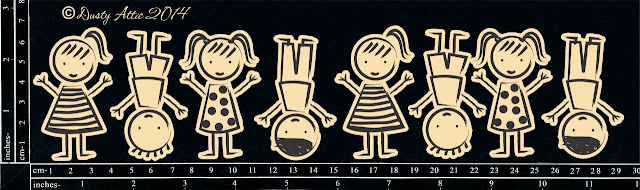
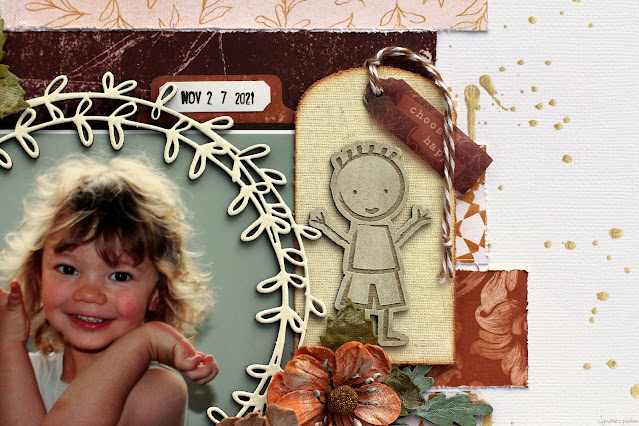
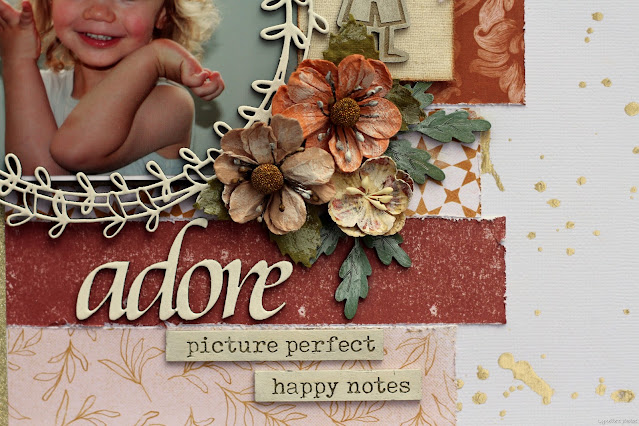
The Botanical Ringlets were heat embossed with white embossing powder and perfectly frames that cute little face.  I inked the edges of a canvas tag and added the Mini Me icon to it.  The icon was dry brushed with white acrylic paint.

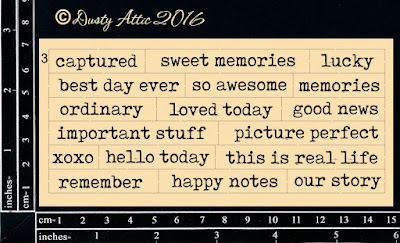
I added two floral clusters to frame the photo.  The foliage was also painted with acrylic paint and then the flowers as well as the foliage was dry brushed with white acrylic paint.  The Wordpl@y words were also dry brushed with white acrylic paint. 

I just love how this page turned out.  This colour combination is just so beautiful.

We would love to see your take on our moodboard.  Don't forget to share your projects on our Facebook page.

Why not enter the Mood Board challenge yourself? All you need to do is add your take of the challenge into the comments section on the Dusty FANattics Facebook page HERE for your chance to win one of two amazing $50 Credits to choose any. Good Luck and have fun creating.

Until next time.  Happy crafting.


Saturday, 25 December 2021

Merry Christmas - Rikki G

Good morning and Merry Christmas, I would like to take the opportunity to wish you all an amazing holiday.

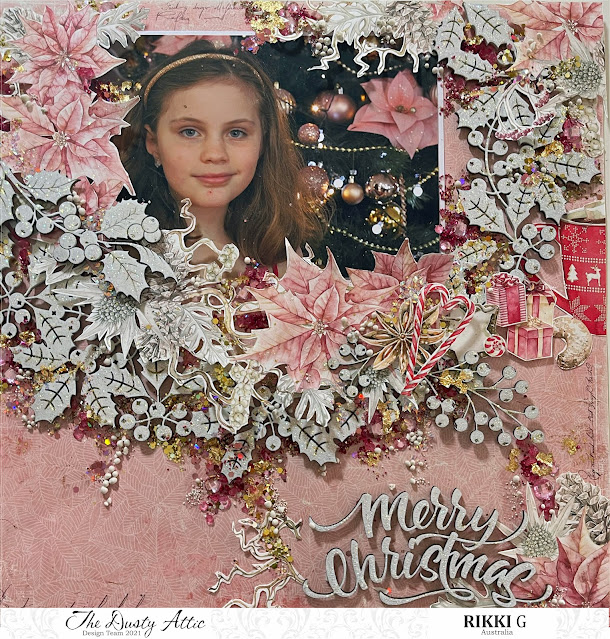
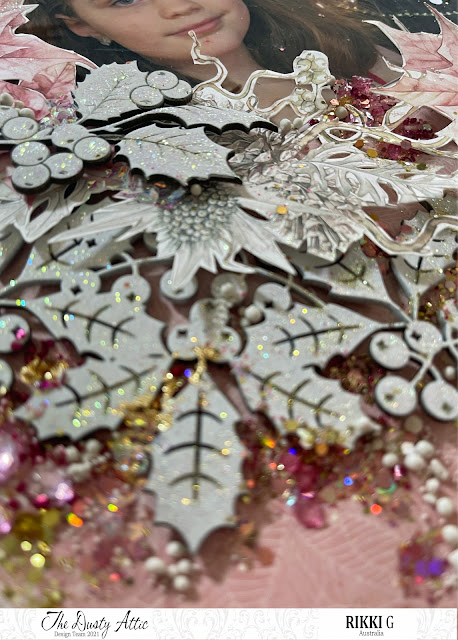
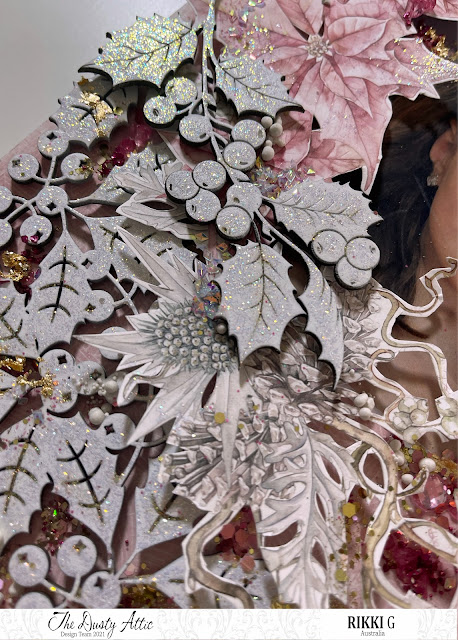
I am here today with a very sparkly Christmas inspired layout. 

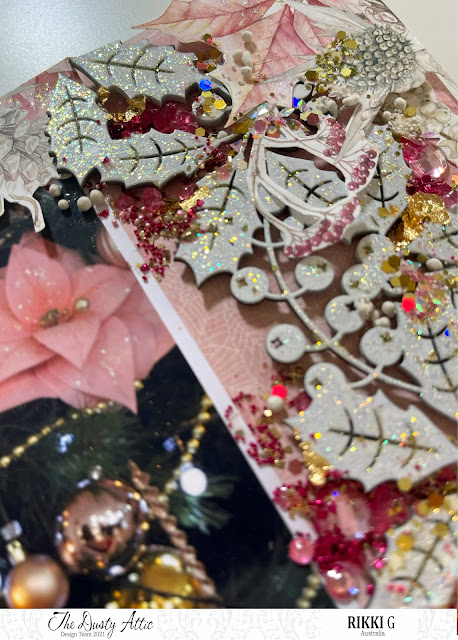
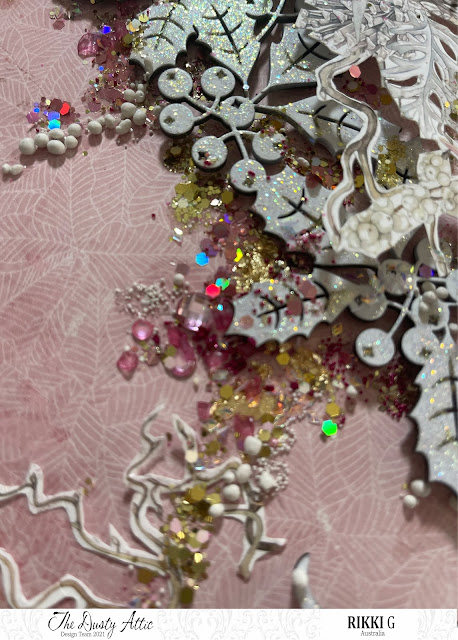
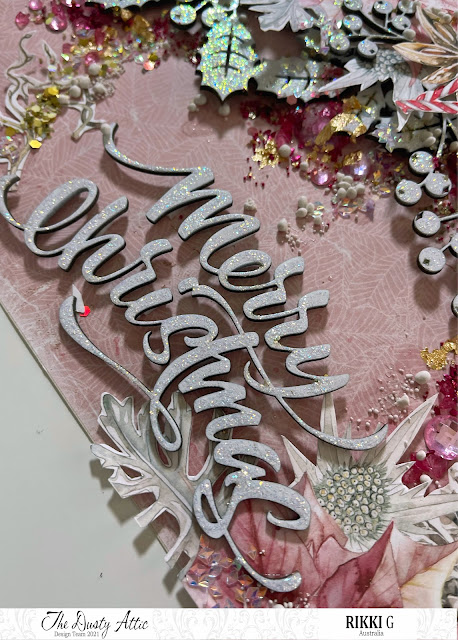
If you havent figured out yet I love fussy cutting, I mean its beyond a love.... an obsession? I love when you can cut papers up and really layer them throughout all your chipboard pieces, adding loads of layers and then all your finishing pieces like stones, glitters, foil.


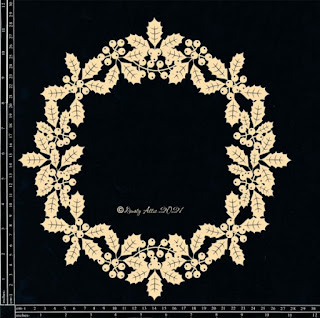
To start off this layout I used the Large Holly Wreath and gave it a little spray paint. Then cut it so I could make it sit over the top part of the page - I would have cut out approx. 1/4 out of the wreath.


Stuck my photo down and then foam mounted the wreath and positioned it where I needed to go.


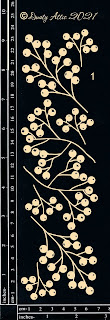
The next is to spray paint the additional Christmas Berries Chipboard. While your waiting on the chipboard to dry arrange all you fussy cut papers around, under and over the Large Holly Wreath....


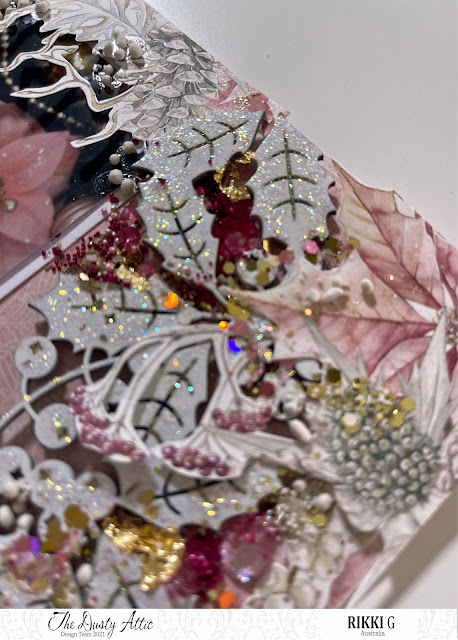
Once you are happy with the arrangement - trust me I did fussy around a little bit with this, its all about adding your glitters/ foils and stones throughout the layers and your papers clustering and blending out these. 

Add the Christmas Berries throughout the Large Holly Wreath.


Dont forget to add glitters in varying sizes, make up your own blends and bag the extra for later on.


Spray paint your Merry Christmas Chipboard title and add to the bottom right hand corner.


Now the very necessary step and it can take a little bit of time but I am happy with the result. I covered all the chipboard pieces with Diamond Stickles.


Holly Wreath #1 Large


We would love to see your take on our moodboard.  Don’t forget to share your projects on our Facebook page. Why not enter the Mood Board challenge yourself? 

All you need to do is add your take of the challenge into the comments section on the Dusty FANattics Facebook page HERE for your chance to win one of two amazing $50 Credits to choose any. 

Good Luck and have fun creating.
Friday, 24 December 2021

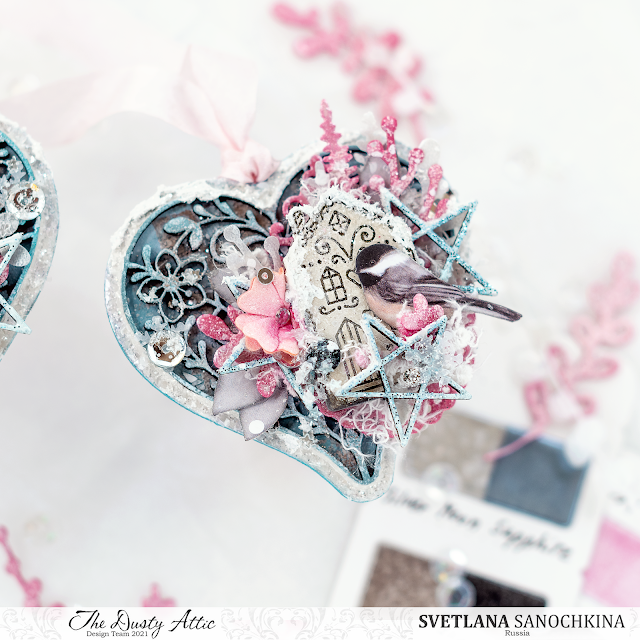
Gingerbread tree decorations - Svetlana Sanochkina

 Hello, dear friends. I wanted to make my ATCs so they can become lovely decorations for a Christmas tree. but I couldn't decide what colours to use. So I asked my friends in Instagram to vote for the colour palette and here is the result of our common creative process.

Thursday, 23 December 2021

5 Card set - Kristy Abela


Hi FanAttic's in this project I needed to top up my Card stash in preparation for Christmas. I'm not a traditional Christmas kinda gal so I created these vintage themed beauties using a 6 x 6 paper pad and chipboard remnants with a card quote chippy sheet. Check out this quick and easy mini project  with some card stock, oxides and a little bit of layering.


Here are some close ups of the projects and I have full length shots below... 


 Hope you have a safe and prosperous Christmas. 
Much love to you all from me and my family. 


Sunday, 19 December 2021

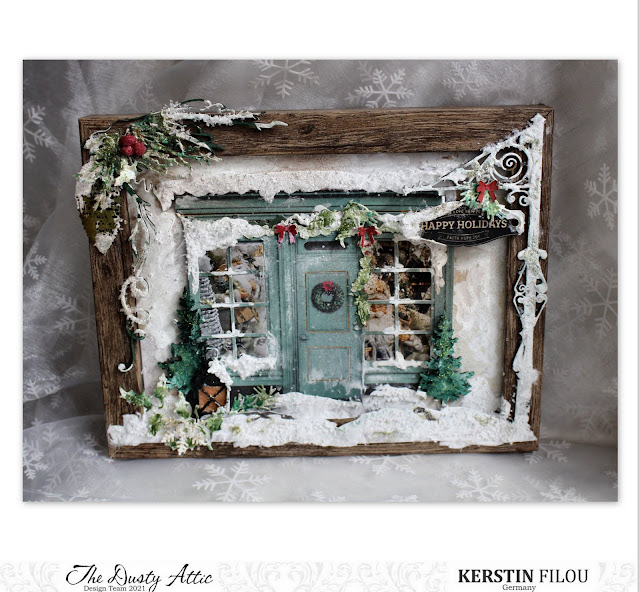
Happy Holidays - Kerstin Filou


Welcome creative friends!


 In these times we miss some of the things that made the time before Christmas special, 

we always like to go to nostalgic Christmas markets,

 love the many lights on the streets, the specially decorated trees and stands, 

 smell of gingerbread, roasted almonds and cookies. 


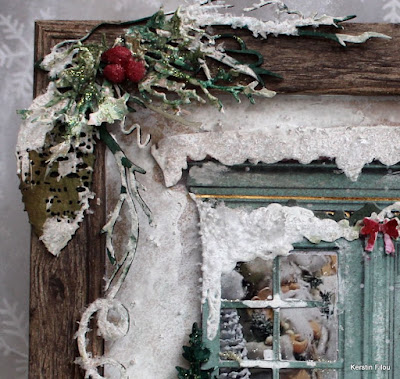
In memory of better times I created this shadow frame in vintage style. 

Used the motif of a Christmas card and two memory photos from a Christmas market

 in Salzburg (Austria) to design a small magical store. 

The Christmas trees and the lantern fit perfectly to the scene 

and the winter corner framed the whole thing wonderfully. 

Hanging sign post was extended a bit with the help of leftovers

 and extended with a best wishes label.


some close up's


used Dusty Attic chipboards


Christmas Tree #2

 Hanging Sign w/post

Winter Corner

Christmas Labels – black

Christmas Lanterns Small 


Best wishes from Kerstin


Saturday, 18 December 2021

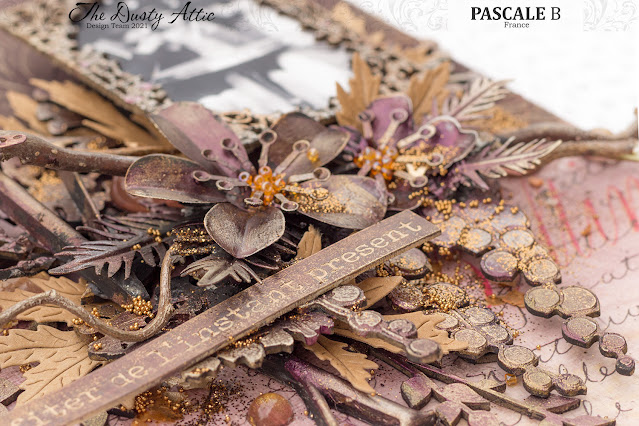
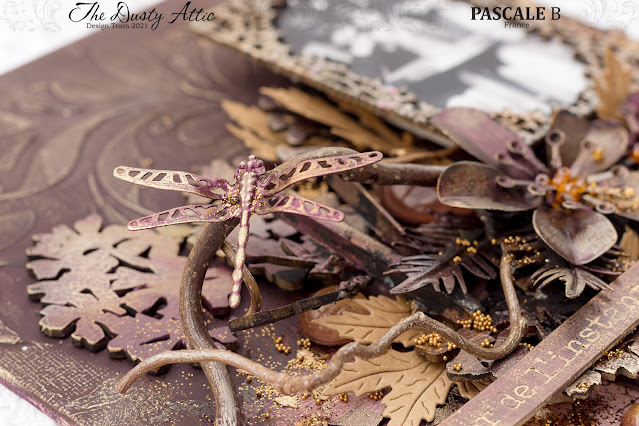
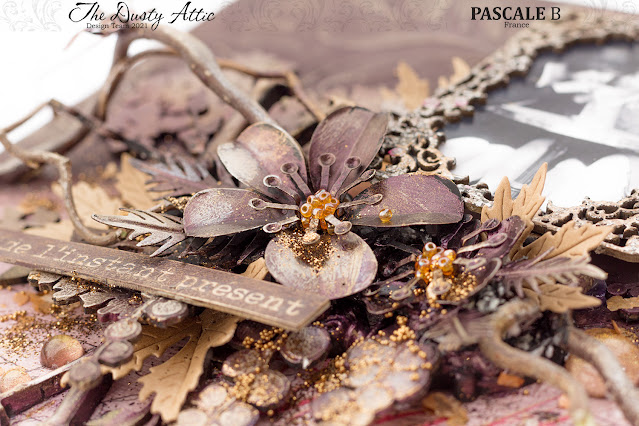
Profiter de l instant present (Enjoy the Moment) - Pascale B Scrap

Hello Sweeties,

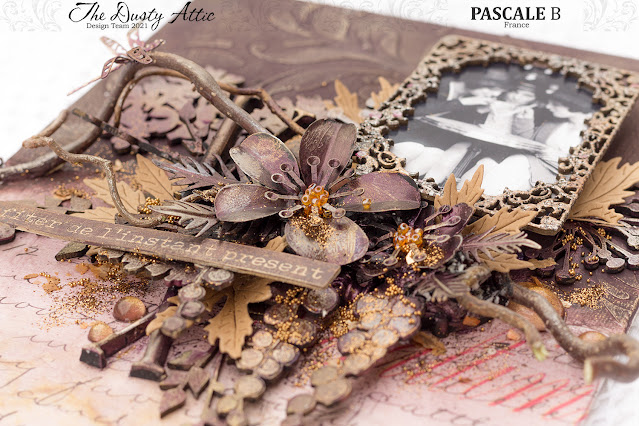
Today I'm up on Dusty Attic blog with a new mixed media panel. 


I glued a piece of tissue paper on the lower half of the panel. Next, I added a design with modelling paste and the Flourish stencil. Finally, I paint the upper half of the panel with Dark Chocolate and Eggplant Impasto. 


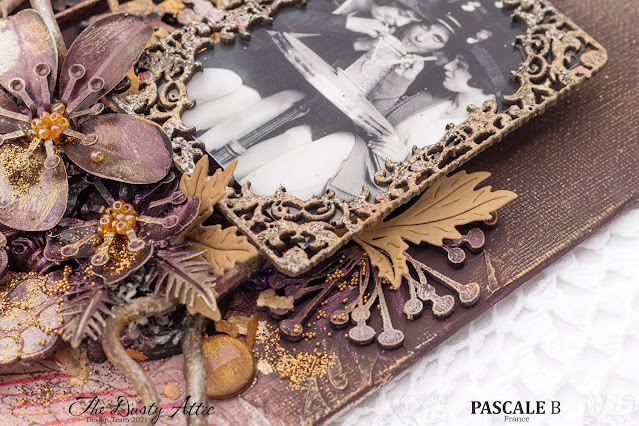
I primed all the embellishments chipboards, resin and metallic elements, with black gesso. When done, I glued them with a few branches to the panel.


I painted the embellishments with different metallique paints from dark purple to dark gold to add different shades. When dry, I highlighted some details from the background and from the embellishments with Aged Brass, White Gold, and White Pearl waxes.


I painted the title from the French Worpl@y # with the Black Berry paints and I added some waxes as well. I added also a few leaves die-cut in a kraft cardboard.


I painted some pebbles with the dark gold. To finish, I added some glitters, microbeads, and mica flakes. 


Dusty Attic products:


Foliage #9
DA1871

Succulent #4
DA1883

ATC Fame #4
DA0876

French Wordpl@y #1 Black
DA2004

Spring Blooms #3
DA1286

Flourish Stencil
DA2662

Other products:
  • Embossing Powders - Lindy's Gang (Silence is Golden);
  • Moulds - Prima (Vincennes Hardware, Numerals);
  • Tissue Paper - Finnabair Prima (Secret Notes);
  • Mechanical - Finnabair Prima (Scrapyard Dragonfly, Metal Blooms);
  • Art Ingredients - Finnabair Prima (Glitter Luminous Set, Mica Flakes: Gold Leaf; Microeads: Bronze);
  • Art Alchemy Waxes - Finnabair Prima (Aged Brass, White Gold);
  • Art Alchemy - Finnabair Prima (Impasto: Dark Chocolate, Eggplant; Metallique: Black Vevelt, Black Berry, Plum Preserve Sparks: Chest of Gold);
  • Art Basics - Finnabair Prima (Clear Gesso, Black Heavy Gesso, Soft Gloss Gel, 3D Matte Gel, Modeling Paste).