Showing posts with label mini ladybugs. Show all posts

Wednesday, 20 September 2023

Born to Fly - Sue Smythe with a bonus card

 Born to fly Layout and bonus card 

Hello Crafters 

Today I am sharing with you all, a sweet layout and a little card I made with my latest paper design for Bee Arty "Songbird Melody" Featuring lots of Dusty Attic chipboard. They make the perfect addition to my layout and I will show you some of the techniques I use to alter them to fit the shabby chic style and colours of this paper pack.


I have created a base, by painting the patterned paper with clear gesso, I love the feel it leaves on the paper, 
and also it makes a good barrier to the paper if you want to use 
mixed media, the paint will not soak in and you can move it around more. You can also wipe off any mistakes easily too


I have altered chipboard for my layout, 
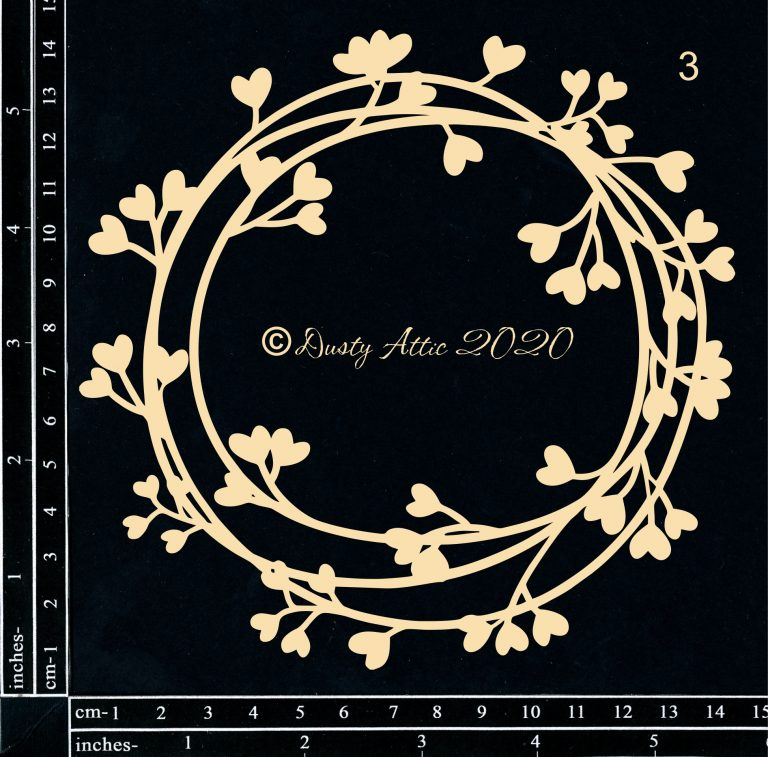
 a gorgeous wreath to go around the photo, some chipboard leaves
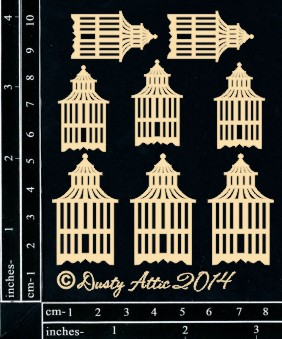
which I have made to resemble feathers, some cute ladybirds, bird cage and a leafy flourish


To alter I have first painted the chipboard with white gesso, in a stipple motion so that it is patchy and some of the chipboard colour is showing through.


Then I have applied some Colour Blast shimmer dusts, peacock and paris mixed with a little water over the top, again in a patchy way, it is better to do one colour and then dry, before adding the next colour. I have then dry brushed a little mint chalk paint over some of the leaves and when dry, I have dotted the leaves with a white paint pen. I like to also spray with a little hairspray, I know if sounds funny but this gives it a subtle shine, and if you want to sprinkle with a little white glitter you can, it will stick to the spray.

Bonus card idea 


Here is a bonus card, I have made a wallet style card, from a 12 x 12 sheet of cream cardstock. There are many templates and ideas on line, then I have trimmed paper to fit, and added some tags, all from the Songbird Melody paper pack 


You can add as many tags as you like, or tickets, scratchies or even photos to finish you card, punch holes in the tags and attach some fine blue ribbon or whatever you have.


To alter the frame, first I have painted it with white gesso, you may need 2 coats to get a really good white finish. Then dry well with a heat gun.


Then I have blended brown ink around the edges, inside and out. Then I  have stamped a crackle style stamp in brown ink randomly over the frame. In this instance I have used Bee Arty Wing fragment stamp. This gives you the look of a shabby chic crackled frame. Great for cards and layouts.

These are the chipboard elements I have used 


Friday, 21 July 2023

Every photo tells a story - Adri Du Preez

  Hello everyone!

Welcome to the blog.

My July design team layout features beautiful Dusty Attic chipboard pieces.

This is a photo of my grandson Janco and my granddaughter Mila a few years ago. They know how to play.  They know how to fight fight.  Most of all they know how to love and protect each other.

Here is my layout.


All the chippies were first covered with a layer of white gesso and then painted 
with Americana Acrylic paint.


I love this title and suits the photo just perfectly.  I painted the title with Spa Blue and dry brushed with white acrylic paint.


I painted the Mint Leaves with Lush Foliage and dry brushed with white acrylic paint.
The polaroid frame was painted Bubblegum Pink.


The Whimsy frame was cut in half and glued between the paper layers.


The ladybugs were painted with Lamp Black and Naphthol Red.
The Plant Label and Heart Candy were painted with Cool Blue and Orchid.


Wordpl@y words are my favorite additions to a layout.
I painted the bracket with Bahama Blue.


Dusty Attic products used.


After everything glued down I added art stones and splatters with diluted white gesso.

Thank you for visiting the blog today.

Visit the Dusty Attic online shop for more amazing chipboard designs.

Happy crafting!


Tuesday, 3 January 2023

Sugary Sweet - Michelle Van Oudtshoorn

Happy new year!

Wishing you all a prosperous and wonderful 2023! Just like that it's a brand new year - thank you Dusty Attic for having me on the team again for 2023 - I just love Dusty Attic chipboard, and so honoured to be able to design for this great brand. 

Here is my first project for 2023:

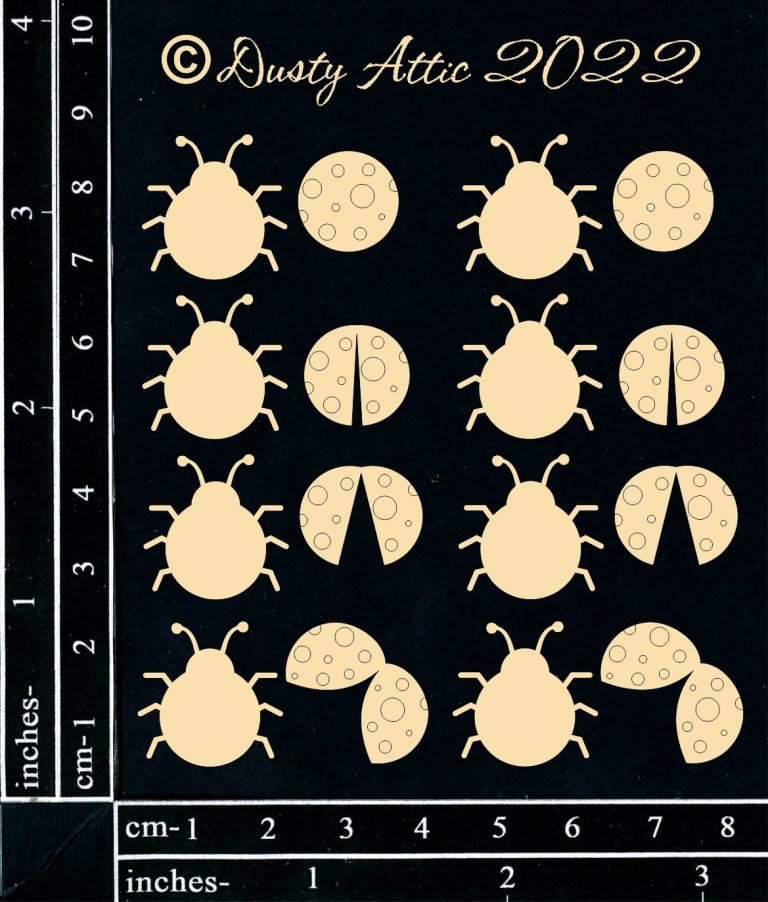
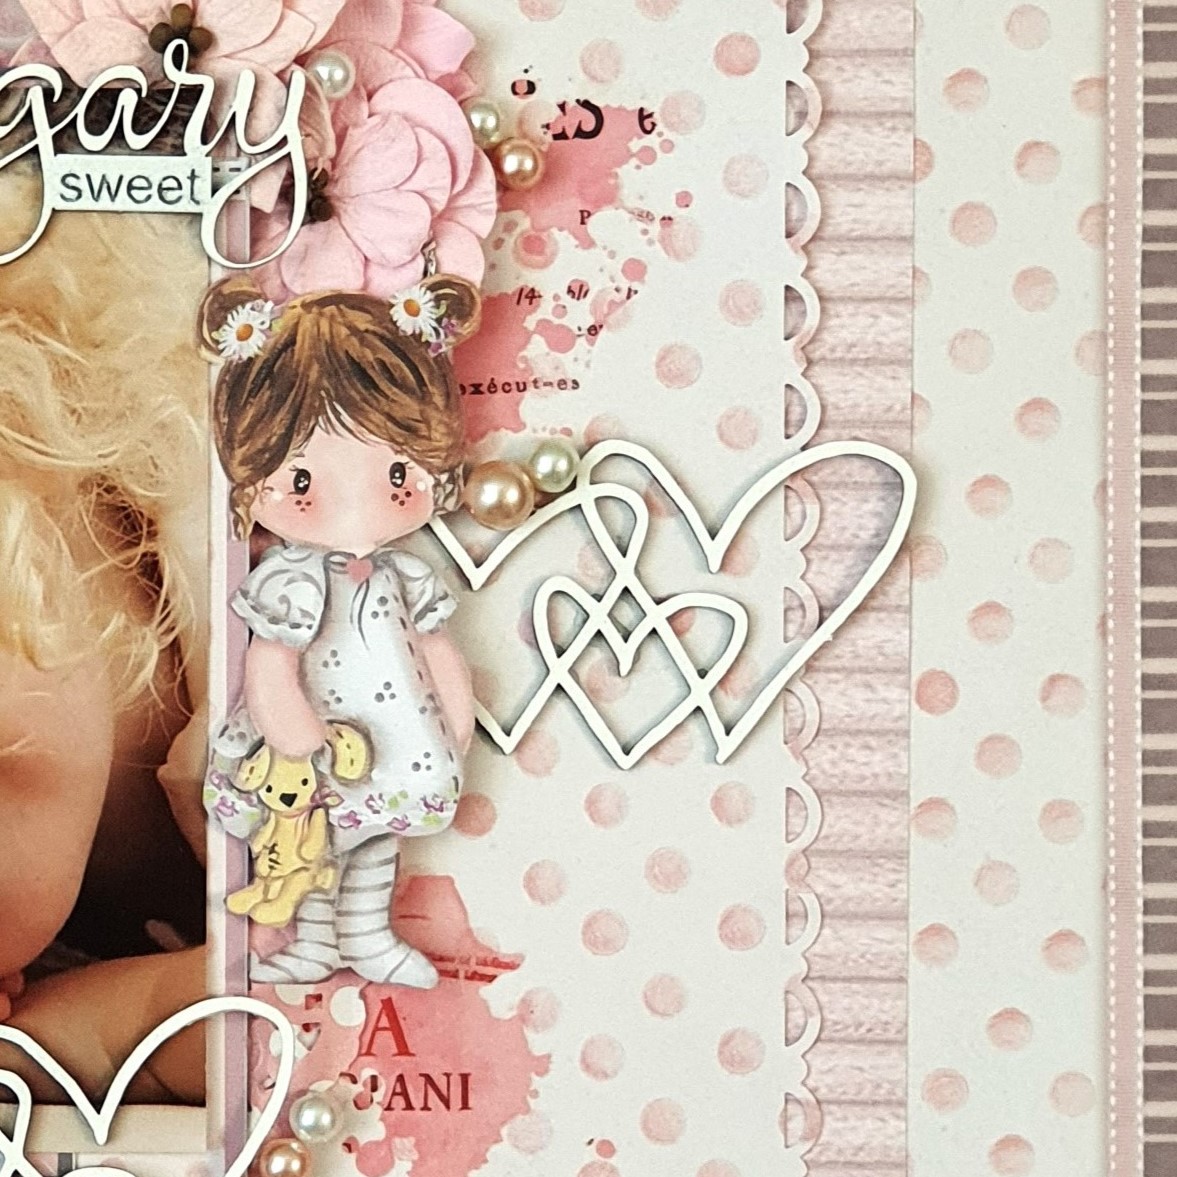
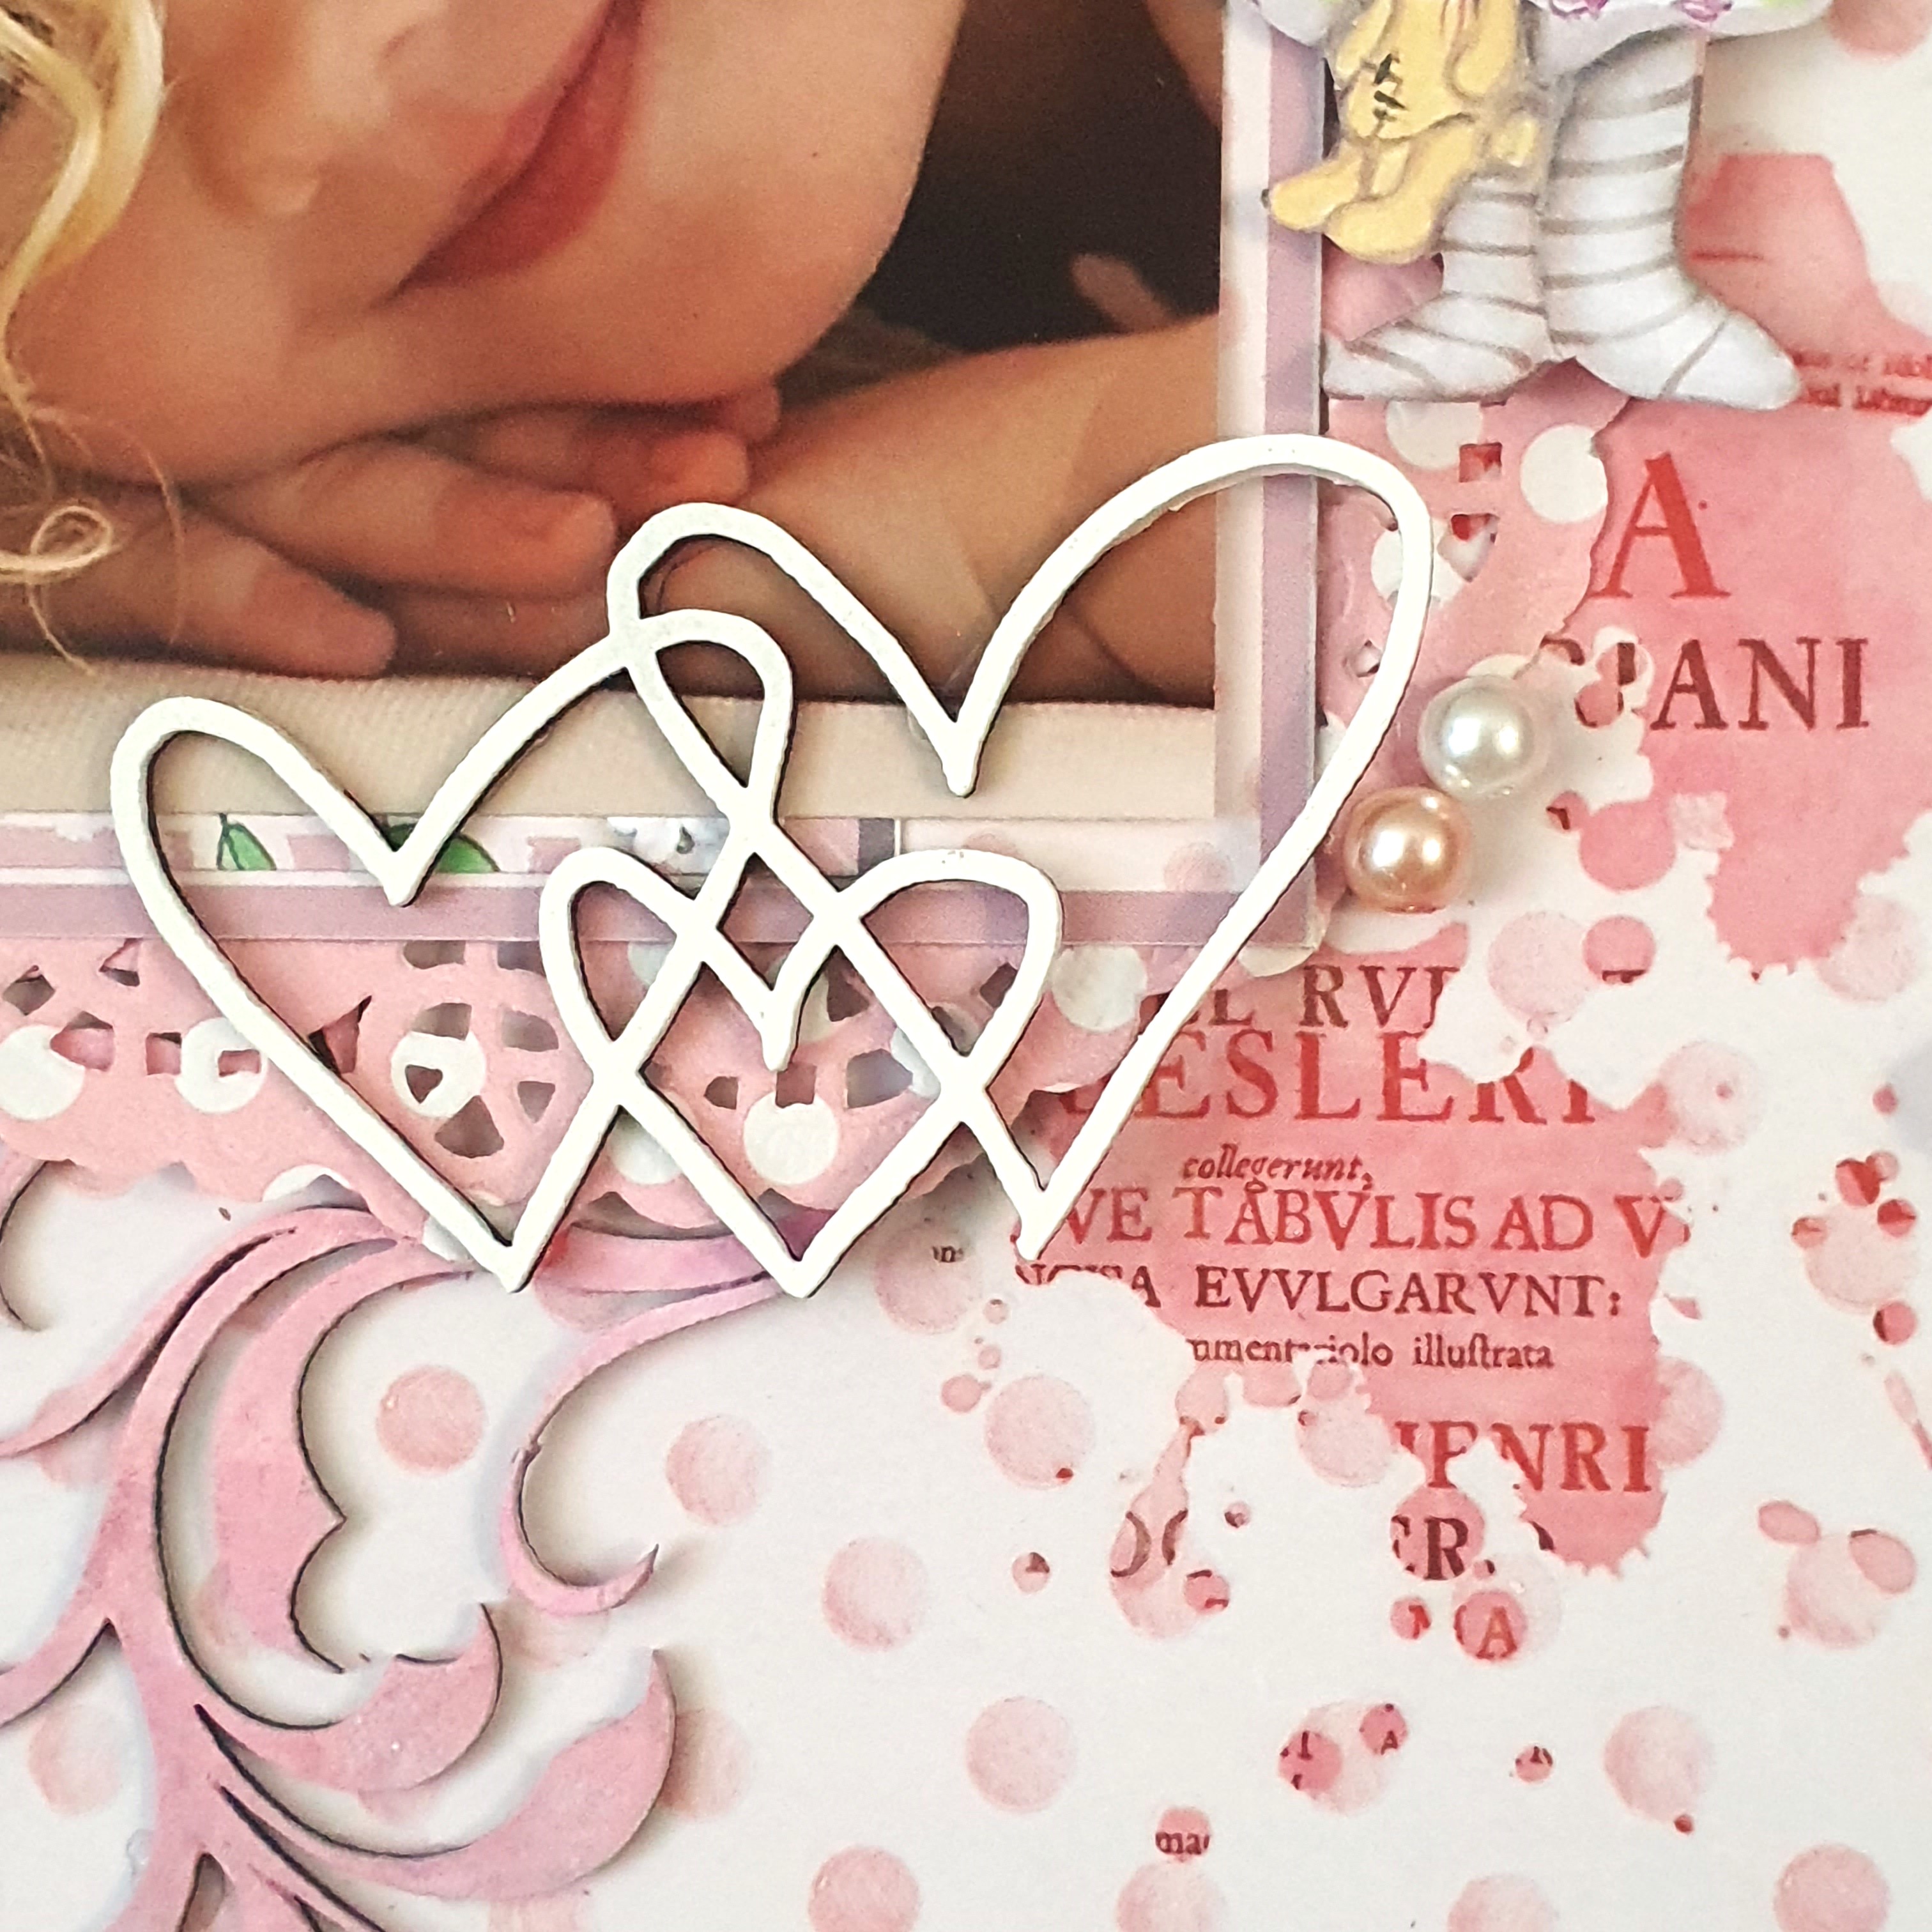
I have used a Stamperia range of papers to create my layout. I first painted all my chipboard with acrylic paint - pinks and white. The flourish (Mystic Flourish DA1747) and the wings of the ladybug (Mini LadyBugs DA3353) in shades of pinks. The hearts (Heart Clusters DA3256), the title (Mini Captions #11 DA1834) and the body of the ladybug were painted with white acrylic paint.
I first matted the photo with papers and then added a half doily to each corner. I added the photo to the page with a foam tape in the middle. This then allowed me to added th flourishes under the photo.
I added the ladybug on top of the flourish - these lady bugs are so cute - there a number in the pack and you can choose closed wings, slightly open wings or fully open wings - I have chosen the fully opened wings for this layout. 
I added the flower clusters and the fussy cut elements with the flowers.

I have added some rub-on transfers from 49 and Market's Spectrum Sherbet Strawberry Lemonade 6x8 transfer pack. I then added the hearts and the title "Sugary Sweet" - I thought this appropriate for this gorgeous, sweet photo (credit Pinterest).


I finished off adding some pearls to the layout.

These are the products I have used:


Thanks for visiting the blog today.

Hugs,
Michelle