Showing posts with label Dusty Attic Steampunk. Show all posts

Thursday, 7 December 2023

Romantic Steampunk Box - Anat Weksler

 Hello friends!

It's Anat here with a new project using fabulous Dusty Attic's chipboards.


 I've altered another box, this time in a Romantic Steampunk style.

I lined the Box with beautiful papers from Craft O'clock brand.

The chipboards were colored with impasto paints and rubbed with metalique waxes.

here are the gorgeous chippies used in this project:

Steampunk goggles


Cog cluster


Fans #3

Mini cogs #3


Cogs&gears


Turn keys


Thank you for stopping by

xoxo


Wednesday, 11 October 2023

Steampunk Set - Anat Weksler

 Hello sweeties!

It's Anat here with my new project - a Steampunk set.


I'm in love with these small tin boxes and as a chocolate maker I have so many of them, so I grabbed one and altered it, adding a matching card.
I have used so many of the Steampunk-industrial chipboards, which I love so much.
Both  card and tin box backgrounds were coloured with green texture paste, chippies and metal elements were covered with rust pastes, here are the chipboard I have used:


Thanks for stopping by!
xoxo


Friday, 26 April 2019

Live with Passion - Mary Tzalla - With VIDEO TUTORIAL


Hello Dusty Attic fans!
Today I would like to share a new layout with a video tutorial made for my April inspiration. To create my page I used Maja Design papers from the gorgeous ''I
Wish'' collection along with several gorgeous Dusty Attic chipboards and beautiful 49 and Market flowers. 
As always I found my photo on Pinterest and this one inspired me to create a steampunk page with a romantic and mysterious feeling. But, before I continue more I want to give all the proper credits to the ''unknown'' photographer.
You can watch all the procedure here…


 For my project, I chose the ''I Wish - those memories will last'' paper from the ''I Wish''
collection. To start, I applied a coat of clear gesso and then, I
created texture with an icing paste and a stencil. Then, I randomly stamped and used Lindy’s Gang sprays to add color.


Next, I applied brown rust paste on the pieces from the ''Skeleton Clock
Faces'' and gently rubbed some Finnabair White and Vintage Gold waxes. I've also applied the same paste on the ''Cog Cluster'' and the ''Industrial Hearts'' chipboards and then sprayed them with the Lindy's Gang ''Whale Watch Blue'' spray.


 The ''Tribal Arrows #2'', the ''Geo Tribal Arrows#1'' and the title words from the ''Mini Words #1 & #2'' sets were painted with the Finnabair Rustic Braun acrylic paint.


Then, I layered all the gorgeous elements around my photo and added in some 49 and Market flowers from the ''Botanical Blends & Potpourri – Marina'' sets.


 Dusty Attic products used:


 49 and Market flowers used:


I hope you enjoyed my project!
Thank you for stopping by!


Mary Tzalla (Catt)


Friday, 22 February 2019

Wild and Free Steampunk Hot Air Balloon - Joanne Bain - Altered Art

Hello!!

Joanne here with you today to share my altered world globe which was purchased from Kmart a while ago with an idea in mind and with the help of  some Dusty Attic chippy and imagination my Steampunk Hot Air Balloon come to life.

So this is what it looked like before...


It was pretty and basic and I thought it needed to be altered and made more beautiful.

'Wild and Free'
'Steampunk Hot Air Balloon'


Doesn't look like a world globe any longer right?

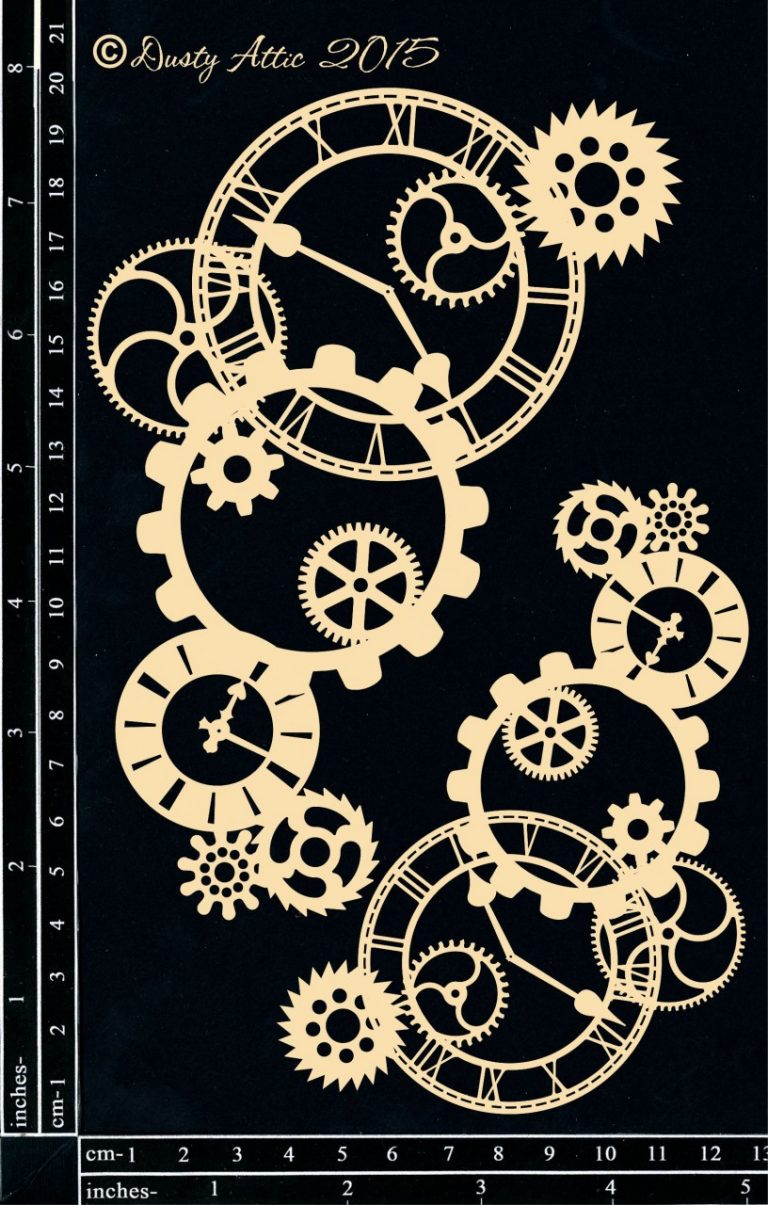
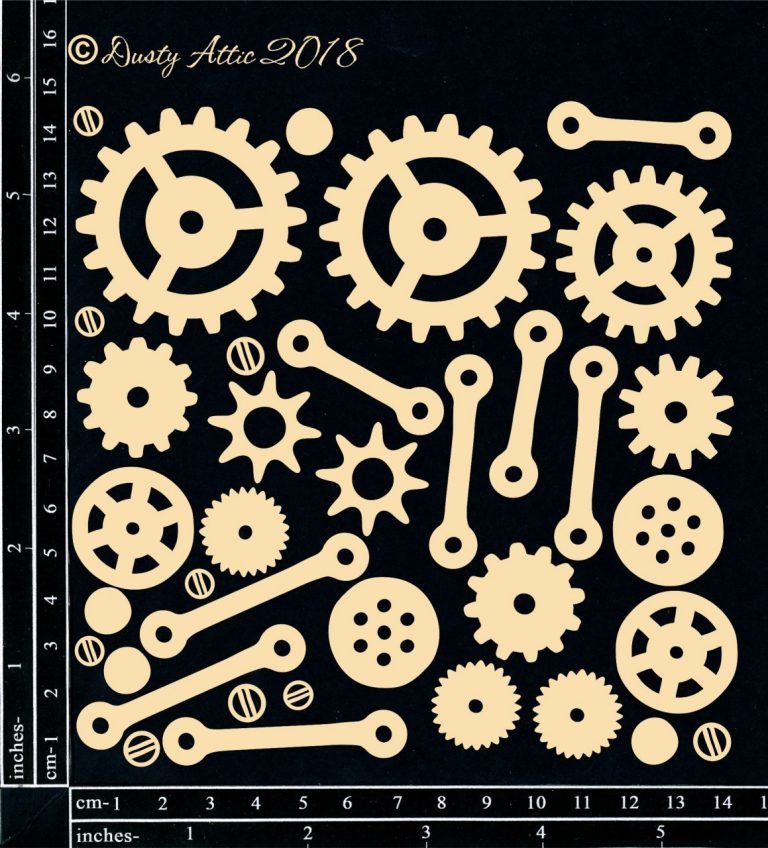
I have used the large and small cog clusters from the Cog Cluster set as the base for the pattern on the balloon. I love to play around with the chipboard to see what other ways it can be used besides being left flat.


The cog clusters were wet and while wet I molded them around the globe. When the chipboard is wet you need to work carefully so it doesn't fall apart, but the time it takes to do it I think it is worth it, you create projects that are a little different.


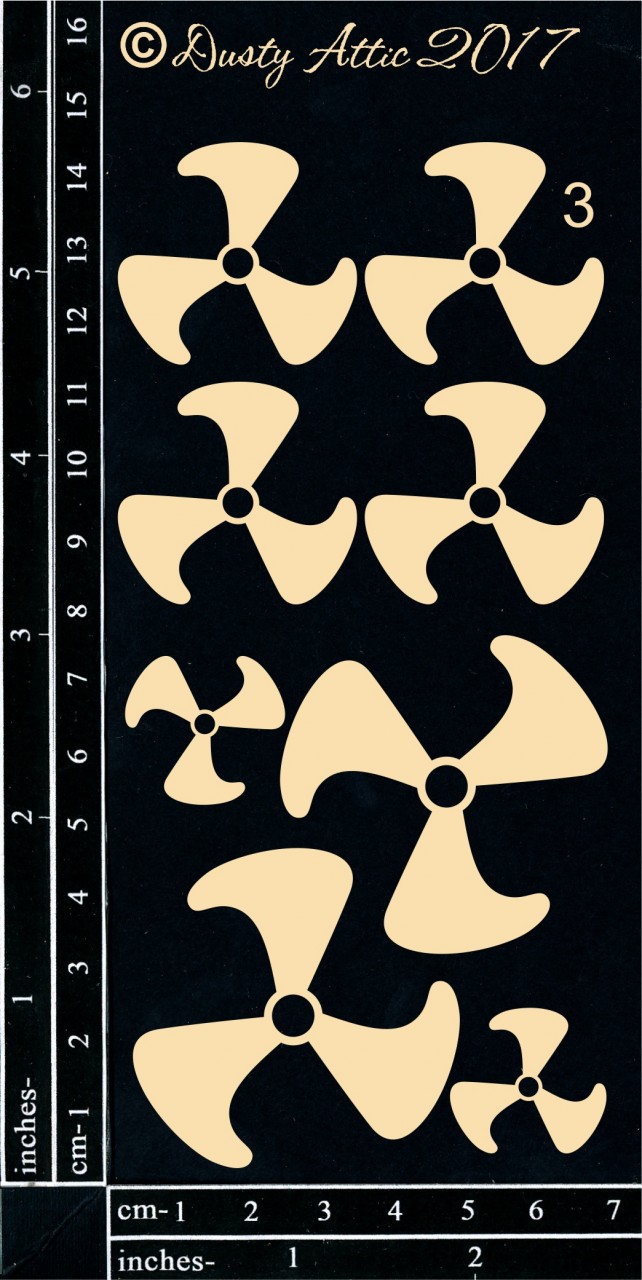
For added dimension I added more single cogs to the top of the cog clusters. I used chipboard chain to create the balloon sections. One of the wings from the Wing #3 set was used to create the balloon mohawk and a small cog cluster was trimmed to fit between.


Because the chipboard is quite thick I have used proper metal screws on parts of the balloon. The entire balloon once all glue was dry was given a really good coat of black gesso. Once the gesso was dry I went about colouring with Finnabair waxes.


The balloon net was made from cotton thread and tied around the cogs to make it fit. I created some cute little sandbags from some white material that I had to make the balloon look a little more real.


I added chain and some extra bling to create added interest to the balloon. The more you look at the balloon the more you will see.


The balloon basket was created with both of the Industrial Scrolls from the Industrial Scrolls set. Once again extra cogs and screws were added to the outside. To create the floor I molded a wide piece of chipboard sheet to fit the curves of the scrolls.


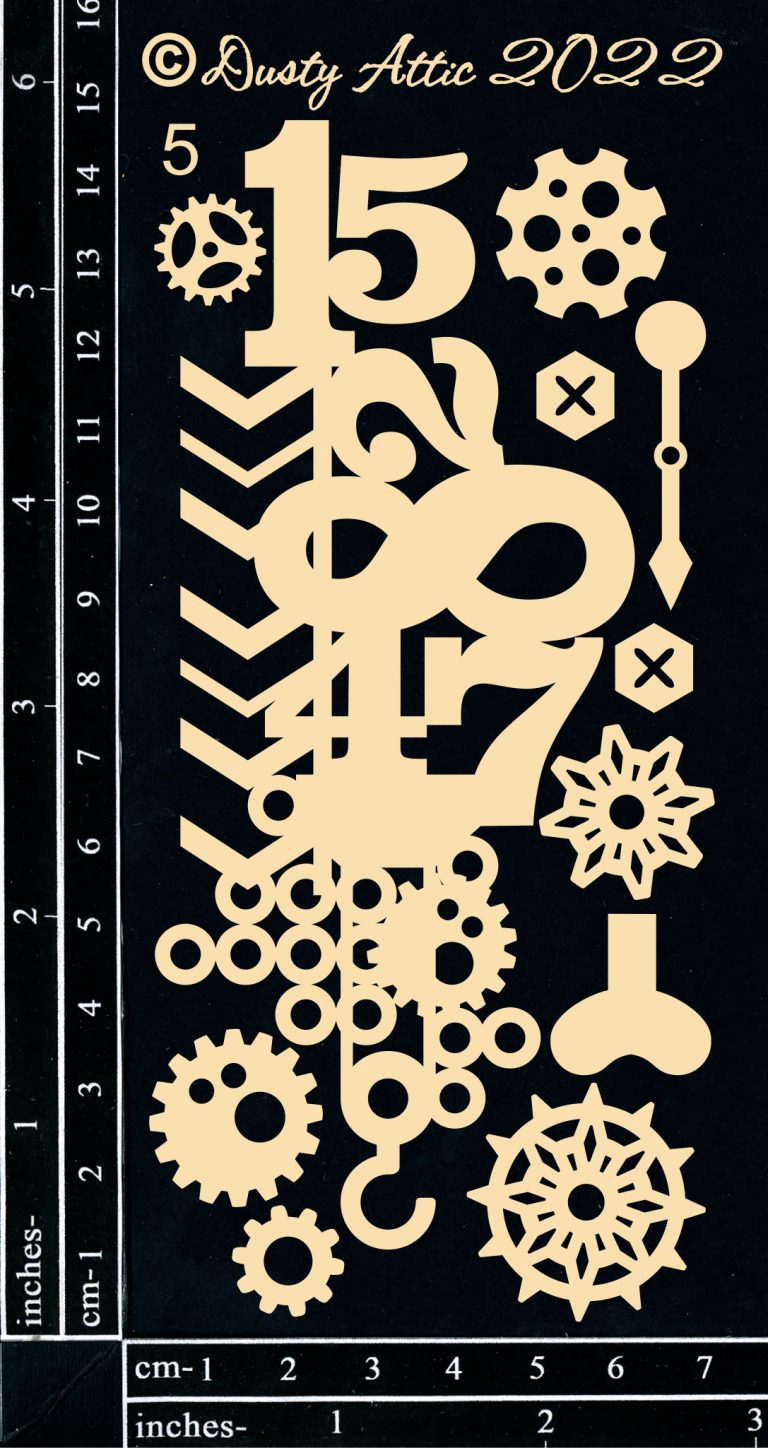
The propeller was created by layering multiple cogs from the Designer Mixed Chipboard Sheet 'Fearless'.


I have used one of the titles from the Mini Tabs #5 set to name my Hot Air Balloon it is Wild And Free.


Dusty Attic
Materials List
DA1807 Mini Tabs #5
DA1785 Wordplay #1
DA1542 Industrial Scrolls
DA0689 Mini Cogs
DA2117 Wings #3
DA2121 Designer Mixed Chipboard Sheet Fearless
DA1977 Cogs & Gears

Other
Cotton Thread
Cotton Material
Chain
Gems
Finnabair Waxes
Kmart World Globe