Showing posts with label Diamonds. Show all posts

Monday, 28 June 2021

Mixed Media Card set - Anat Weksler - Mood Board Inspriation

 Hello crafty friends!

Anat here today with my take on this month's fabulous Moodboard.


I've created a couple of mixed media cards with shades from the Moodboard and black as contrast. 

The background was created with stencil and paste. After drying liquid acrylic paints were added.  

The chipboard pieces were primed with White heavy gesso, colored with Impasto paints and rubbed with  waxes.

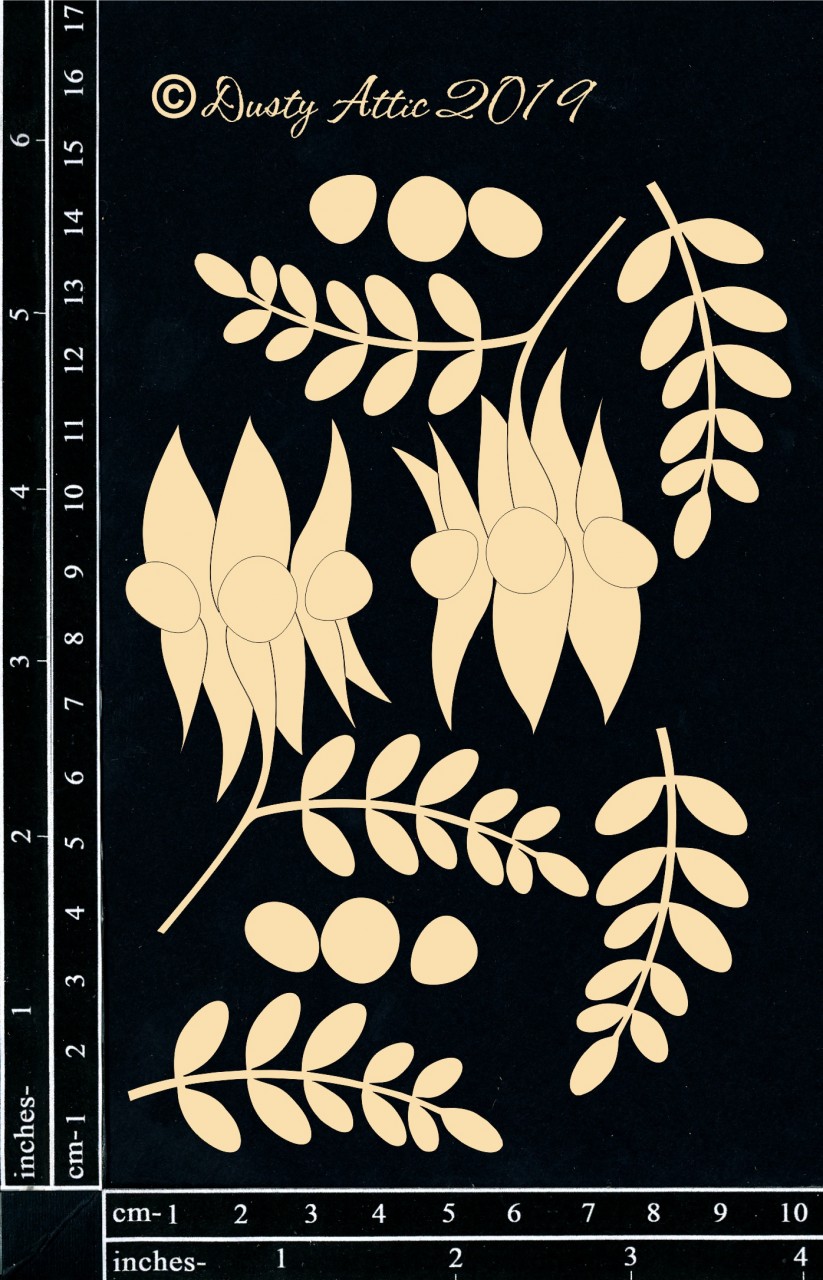
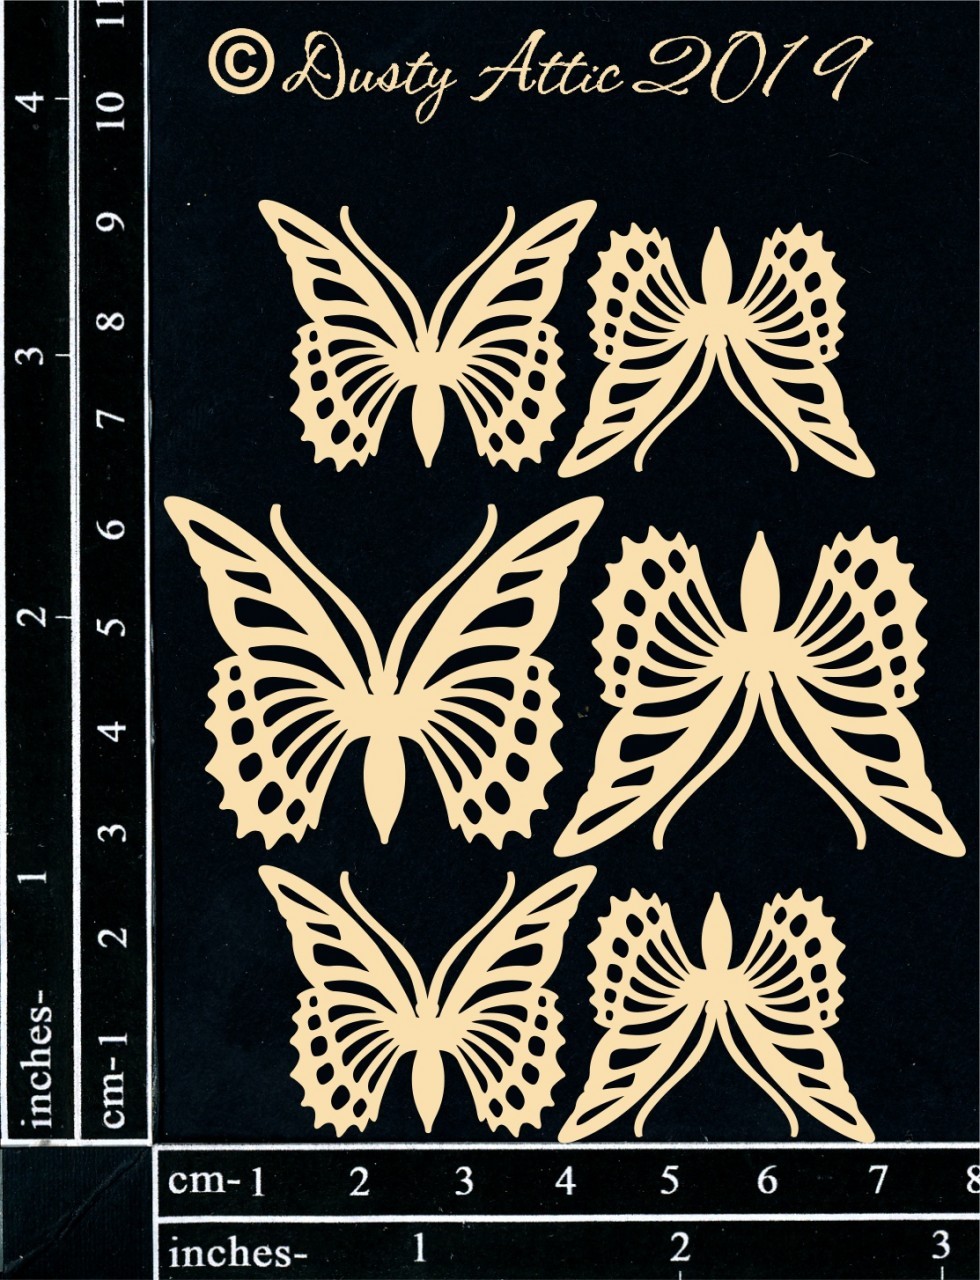
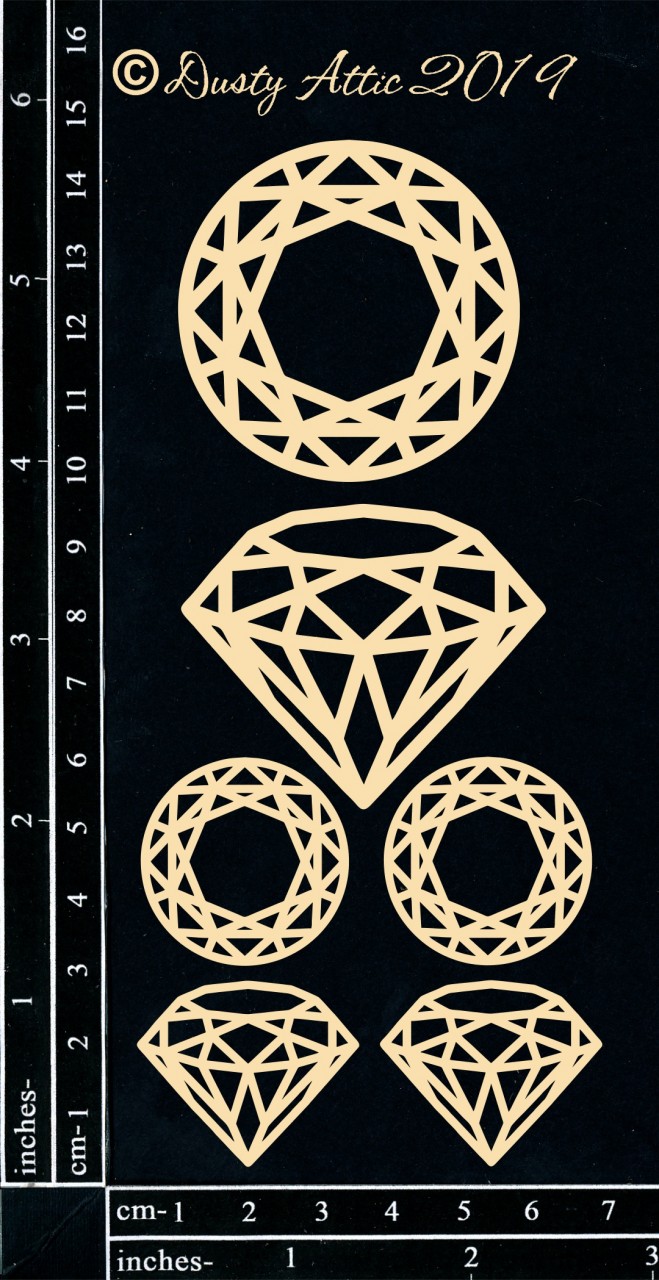
 Here are the chippies used in my cards:

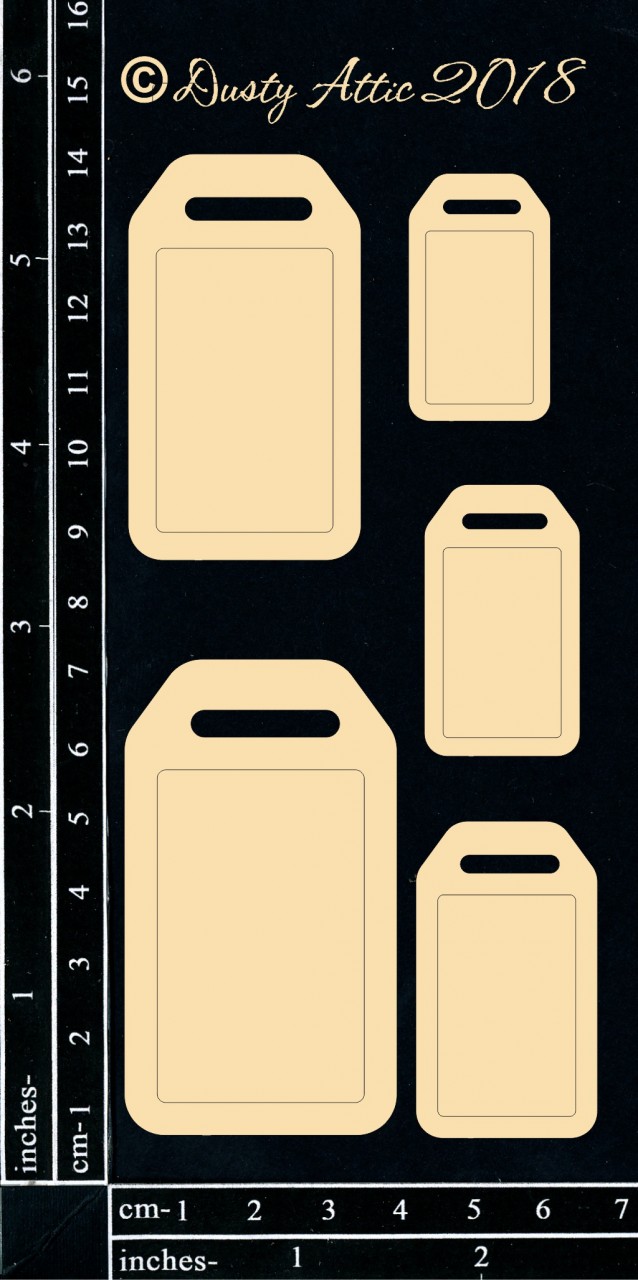
Luggage tags


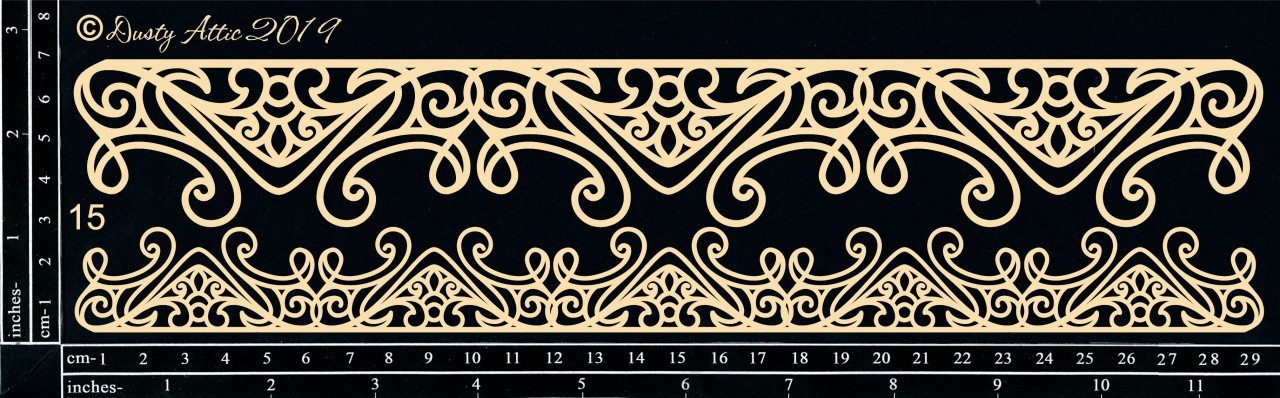
Fancy trim #15 


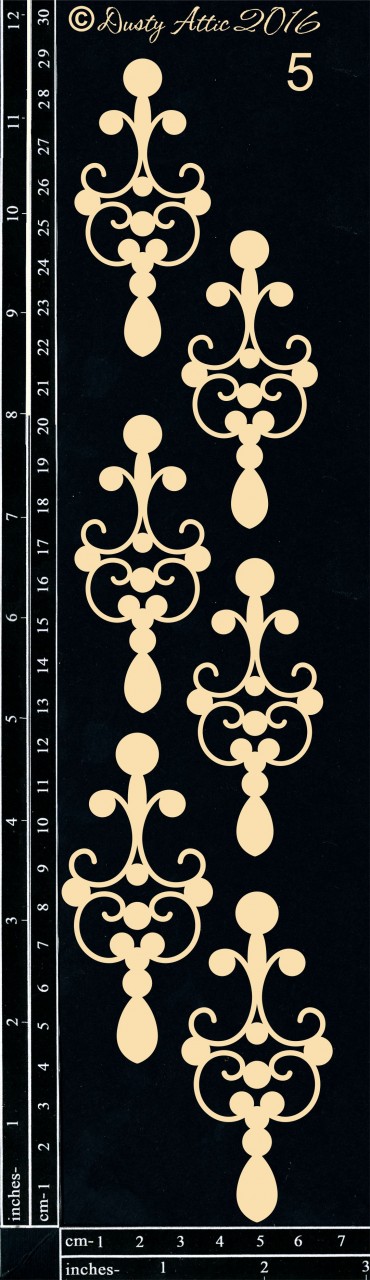
Jewelry drops #5


Sturt desert pea #2


 Mini monarch butterflies


Diamonds


Thanks for stopping by!

xoxo


Monday, 27 January 2020

It's never too late - Aleksandra Mihelic - Off the page

Hello my dear crafty friends,

It's my turn today on Dusty Attic blog and I would like to share with you a project I made using lots of gorgeous Dusty Attic chipboards. As some of you know, I enjoy altering different everyday objects - old or new ones, old ones are actually even more exciting as you give them a new purpose and recycle them. This time I decided to alter Kitchen Cutting board and turn it into a wall hanging with lots of Dusty Attic chipboards and Finnabair mixed media supplies.


I first added some Finnabair texture paste through a stencil on my cutting board. Then I colored my Dusty Attic chipboards with Finnabair rust and effect pastes. I attached them to a base, added some rust effect pastes here and there on the base also and then added some embellisments and main composition. After dry I dry-brushed everything with a coat of white gesso to blend it all together.

Here are Dusty Attic chipboards I used for my project:


Hope you liked my project and it inspires you somehow. Thank you for joining me and see you next time.

Have a lovely day!
Hugs, Aleksandra


Aleksandra Mihelic


Friday, 13 December 2019

Happy Birthday - Joanne Simons


Hi there Dusty Fanattics!
I have a couple of male themed cards to share with you today using stencils to create a background.


To start I covered my white cardstock with some distress oxide ink in a couple of different colours.
Once they were dry I added some extra colour using some more distress oxide ink through some stencils.  The stencils I used were the Distress Grid and the Large Dot.

I then set about adding my chipboard elements to my card fronts.


For this first card I used the Diamond Panel along with the Designer Discs #15 Cogs.  I also tucked under one of the Boho Feathers.
All my chipboard I primed with black gesso first.  I added some prima waxes to the feather and the cogs. 

To give the diamonds a litle more texture I heat set them with some chunky gold embossing powder. 
To finish off my card I added a Mini Tab to the centre of the card.

For my second card I again added some chunk embossing powder to the diamonds.  This one had bits of white/silver in for a bit of a distress finished.
The winged key chipboard along with the large cog from the designer disc cogs set I primed in black gesso and added some prima waxes.
I added the mini Happy Birthday sentiment to the card which was also primed in black gesso and had wax added.

Dusty Attic products used
​Thanks so much for stopping by
Until next time
Happy crafting!


Thursday, 7 November 2019

Rust Planner - Anat Weksler

Hello crafty friends!
Wow! 2019 have passed so quickly can't believe we will be welcoming 2020 very soon!
And me already making Planners for the coming year, my first is a Rust Planner featuring some of the gorgeous chippies from the Industrial section.


I've started by adding a bit of texture with Finnabair Black Sand Paste and stencil. After it was dry I created the first layer of the composition using Web Flourish, Industrial Border#2 and some small cogs from the Jumbo Cogs set. I adhered it to the cover and covered  with Finnabair Black Gesso. 


Next I added a few parts from the Diamond Panel and from Cogs #1, and painted them with black gesso as well.


I wanted  my Planner to have a title  and what's better than "EXPLORE", right?!  so I gathered the word from the Blueprint word pack and adhered it - oh how I love this pack!!


The next steps are pretty easy and fun: playing with Finnabair Rust Effect Pastes Set, starting with the Brown.  When I was satisfied with the Rust look acheieved,  I've used the Yellow to give the Beautiful Chippies some shine.
Last step was to add a few metals from the Finnabair Mini Hardware Mechanicals pack.


Inside the planner I used 7 dots papers.


Hope you like it!


Thanks for stopping by!
xoxo