Monday, 6 February 2017

Little Red Riding Hood Diorama - Fiona Paltridge

Hello DA fans, Fiona here with you today to share a little creation I have made using the Dusty Attic Chippy and glorious Colours!


 I started by adding some old book pages and music pages to a 6x6 piece of 3 ply. I adhered them on and then gave them a quick little gesso wash to give them some tooth and a white wash effect.


 Then I went to work drawing and painting my Little Red Riding Hood. I topped her off with a little crown that I added some gold paint to.


 Next I worked on my little wolfie! Again adding some of the Dusty colour to bring him to life!


 The Small Woodlands 6x6 chipboard piece fitted perfectly onto my background. I simply used some of the Dusty Attic Colours to make it look more wood like. 


 You can see here in the close up the layers added one over the other to create a wood appearance on the chipboard. I finished the whole piece off by spilling a bottle of crackle all over it! yep .... not intentional but hey we can roll with that. I hope you like my little diorama. It came up really well in the end, spilled crackle and all! 

 These are the Dusty Attic products used 


Woodlands Small -
Crown #4 -

Dusty in Colour


 See you all again soon xx Fiona Paltridge

Fiona Paltridge


www.pastichescrapbookstudio.blogspot.com


Saturday, 4 February 2017

Believe in Magic - Nadya Drozdova

Hello everyone! I am very happy to be here with you and show you my new LO with the best chipboard ever)))
 I took the "Heart Swirly" and covered it with Dusty acrylic paints using mix of two colors. Then added a top coat of  Dusty Attic Crackle varnish. 


For the back ground I used 7 DotsStudio sheet, that I made more interesting with pastes, stamps and embossing powders.


Dusty Attic blooms are perfect for my project, also i used Prima Marketing flowers and an  old collection of paper for back layers. 


I added Prima Marketing Art stones, sequins and  different beads as accents.


Thank you for watching! 
I wish you all good mood and a lot of inspiration!

Dusty Attic products I used:

Heart Swirly DA1444


Thursday, 2 February 2017

January winner and "art" Altered Paintbrush Sanderijn de Bruin


Just before we drool over Sanderijn's creation yesterday I didn't announce the January 2017 winner of the $100 Dusty Attic voucher so without a further ado the winner is  .....


Janice please contact us at 
dustyattic.hq@gmsil.com

***************************************************************************

Hi everybody!
So excited, my first post as a Dusty girl!

I have been wanting to alter a brush for quite some time now, and now I finally decided, let's do this!
I used one of my favorite chippies from The Dusty Attic, the Lacey Trims, which I love to use to create an elegant and balanced composition.

I started with Creative Script Stencil and modelling paste on my canvas.
Meanwhile I painted the chipboard and brush with white gesso. I painted the flower too.
When all was dry I glued them on my canvas with 3d gloss gel.
Then I used on the chipboard and brush Clear Crackle Varnish 
When this had dried for more than 24 hours I added another layer of white gesso on the whole canvas, chipboard and brush.
The mechanical metal embellishments didn't get such a tick layer, just a little bit of gesso.

I glued them at the end of the painting process on the brush and canvas.


When all was dry I sprayed the canvas with water and started dripping Lindy's Time Travel Teal with a brush on it.
I did that too with Magical powder Steampunk Sepia on some parts.
I do not have any rusty effect paste, but I did wanted to give some parts that rusty look, so I used Finnabair mica powder gold and art alchemy acrylic paint steampunk copper and ancient gold, to give the rusty parts more shine and depth. The lighter blue parts got a little extra paint, light patina.


I was inspired by the gorgeous brown, white, teal and rusty colors from the


Thank you for watching!
Love, Sanderijn

Wednesday, 1 February 2017

FEBRUARY 2017

If you have been following the Dusty Attic Face Book page you would have already seen some of the photos of our trip.
Jen "the Boss" and I where EVER SO LUCKY to be able to go to 
CREATIVATION 2017 in Phoenix - yes in the UNITED STATES OF AMERICA !!! 

We where even MORE lucky to stay with Janene and her awesome hubby Dan from 

So a MASSIVE Thank you to two of the greatest people you could ever meet.


PS - when we reach 8000 "Likes" on our Face Book page we are going to have another Give-a-Way. 

Oh My Goodness, the entries into the January challenge are just amazing. I'm so happy everyone is loving the Sketches from THE NIFTY PIXEL along with the Mood Board inspiration. 
The winner of the $100 voucher to the 


February Challenge brings another gorgeous sketch from the Nifty Pixel with a ever so cute "Retro" Mood Board. To Inspire you is our amazing 

RACHELLE SIGURDSON


Hello, today I am here to share with you a LO I did using Dusty Attic's Sketch/Mood Board, chipboard & stencils.....

Here is the BEAUTIFUL Sketch/Mood Board....

You can use the sketch and, or the mood pallet!

The Challenge has a amazing prize of a $100 Dusty Attic Gift Voucher to the  Dusty Attic Website  for the winner. To enter all you need to do, is use the Mood Board OR the sketch OR both for Inspiration,  you can interpret it anyway you like. The only requirement is that Dusty Attic chipboard is used in your creation. Once completed simply add your link to the right side of the bar of the Dusty Attic Blog...

The Dusty Attic used: http://www.dustyattic.com.au/
Scribble Frame Set
Scribble Frame Set
Decorative Frame #1
Decorative Frame # 1
Doodads #5
Doodads #5
Feather Charms #3
Feather Charms #3
Feather Charms #4
Feather Charms #4
Decorative Scroll #2
mini Chicken Wire
Mini Chicken Wire
Gem Drop Border
Gem Drop Border
mini Icicles
Mini icicles
mini Script ABC set
Mini Script ABC
Teeny Tiny ABC set
Teeny Tiny ABC
Wings
Snowflakes
Sparkle Stencil
Sparkle Stencil
The 49 and Market used:http://www.49andmarket.com/
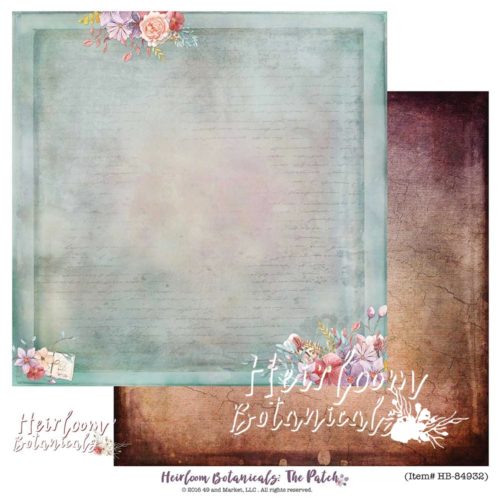
The Patch 84932
Hierloom-The Patch
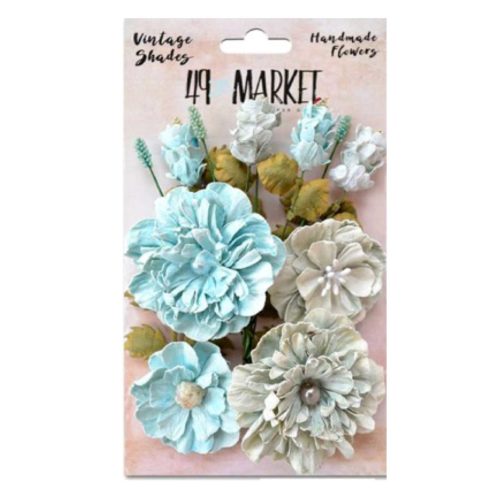
Vintage Shades - Blue Bouquet
Vintage Shades-Blue Bouguet
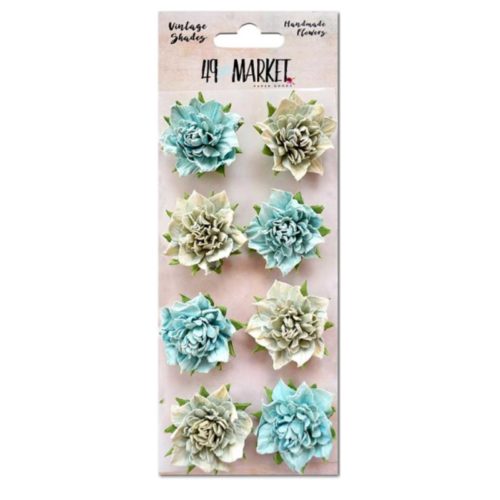
Vintage Shades - Blue Blossoms
Vintage Shades-Blue Blossoms
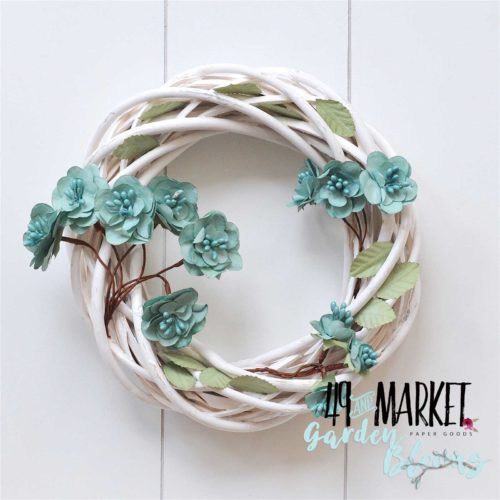
Garden Bloom Dusty Shale
Garden Bloom-Dusty Shale
Multi Blue BM-85120
Basic Flowers-Multi Blue
Other elements used: Corrugated Paper, Doilys, Prills-mini pearls & sage advice, clear crackle, clear varnish, liquid pearls-robins egg blue, LuminArt-H20-heavenly white,Shimmerz Inklings-chocolate & diamonds, Dreamweaver translucent texture paste,clear & white gesso,  Prima snowflake texture, & glass glitter pearl.... 

I primed the paper & the chipboard pieces, that I used color on with clear gesso, & primed the chipboard pieces, that I used white on with white gesso. For the stencil work on the paper I used the DA sparkle stencil, & translucent texture paste. Once the stencil work dried, I painted it with the LuminArt-heavenly whit to give it shimmer....
I painted most of the chipboard & the corrugated paper,with the clear crackle, let dry, then painted it with the heavenly white, for the white, robins egg blue, for the blue & chocolate & diamonds for the brown....

Shows altered blooms using the heavenly white H20, snow texture & glass glitter. I also glued prills on to the edge of the corrugated paper...

Glued prills into the chicken wire....

& onto the frames & centers of the snowflakes....Here are a few more close ups....


Thank you so much for taking the time to look, & I am looking forward to see, what you come up with this months Sketch/Mood Board....Rachelle