Showing posts with label July 2020 Mood Board. Show all posts

Thursday, 30 July 2020

Cherish - Kristy Abela - Mood Board Inspiration


Its July already! Another moodboard challenge is here. From this one I took those delicate colours and mixed them with another delicacy, Taashi. My baby grew her wings last month and this one is for her. 


I used the baroque flourish in another layout as wings and these ones are the larger pair. Clever huh? Just goes to show your imagination is the only limitation. 


I used some flat coloured embossing powder to make the title stand out 


and a shimmery colour of embossing powder for the bluebells.


To create the background I used some of the washi tape from the same paper range.


I added some modelling paste, embossing powder (heat set it) and then some stamping.


I used the die cuts from the paper pack and layered them and the chipboard among the rungs on the ladder.


Here I used some crayon to highlight the background. 


Thanks for looking & check in on our Facebook & Instagram pages

Abela Artistry

Sunday, 26 July 2020

ATC set - Anat Weksler - Mood Board Inspiration

Hello crafty friends!
Anat here today with my ATC set inspired by the Fabulous moodboard.


Although, lately, you see me  create a lot of Industrial and Steampunk projects, I love Shabby Chic and the pastel colors of the moodboard as well.
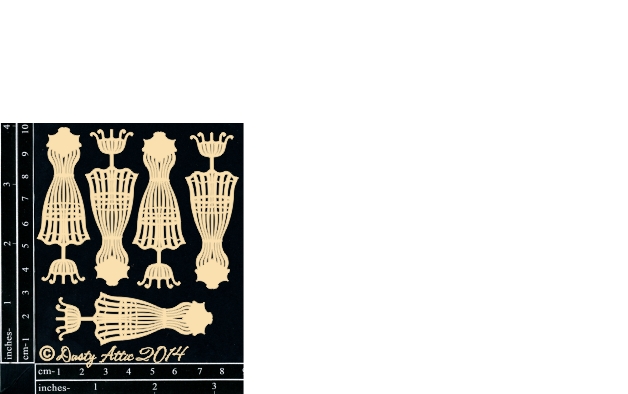
When I saw the moodboard I knew I want to use the Mini wire dress form. So feminine and gorgeous.


After I finished them I decided who will get them and made this stickers matching the colors.

All chipboards were painted with a mix of Finnabair impasto paints and rubbed with metalique wax.


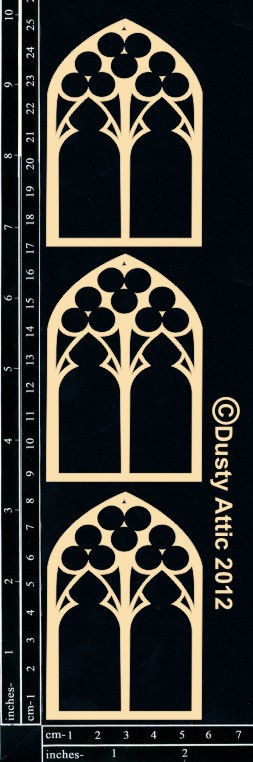
I also used some parts of the inside of  Atc gothic windows , as you see I love Dusty Attic so much and  use everthing LOL.


Thanks for stopping by!
xoxo

Saturday, 25 July 2020

Captured Moment - Patricia Basson - Mood Board Inspiration

Warm greetings Blog friends...

For the Dusty Attic July Moodboard challenge  I am sharing a photo of me and my two daughters. I used two sheets of  the Prima Love Story collection. 
After distressing and punching the top sheet, I applied clear gesso to it. I mixed some white Crackle paste with a drop of Avocado Green Liquid Acrylic paint and put that through a stencil on the background paper. Next I sprayed some Cocklebells Coral spray from Lindy's Stampgang. I also stamped and embossed with Lindy's Merry-go-Round Green embossing powder.


After a layer of Gesso, I embossed the Foliage and Ornate Corner pieces with Ranger Antiquities Embossing Powder; California Stucco. The Spring Blooms were painted with Rustic Brown Metallique paint and highlighted with White Gold Metallique Wax both from Finnabair.


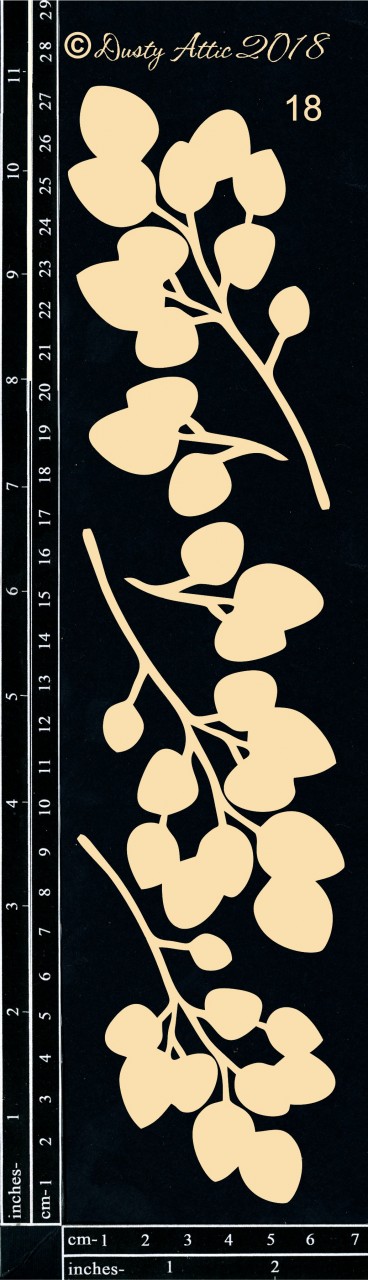
 I painted the Leaves #2 with Green Splash paint from 13Arts and also the White Gold wax. The title got a sweep of Bundled Sage Distress Ink. On the dots of the Corner piece I painted some of the Cocklebells Coral and then placed a half Glass Bead onto it. 
For the final touches I added Rose Color Fragments from Stampendous and White Shiny Glitter strips from 13Arts.


I used the following chipboard pieces from the Dusty Attic online Shop.


Thank you for your visit....


A daughter is the happy memories of the past,
 the joyful moments of the present,
 and the hope and promise of the future. 
~Author unknown~

Favourite Moment - Belinda Spencer - Mood Board Inspiration

Hello Dusty FANattics!

Long time no see!

I thought it was time to dust off the cobwebs and share my latest layout for The Dusty Attic inspired by the July Moodboard.

Favourite Moment


I was inspired by the mood board to create a really pretty and girly layout using some Heidi Swapp papers I have had in my stash for aaaages!

Here's a peek at the gorgeous mood board:


So pretty!!


I really love the Impact Titles and used my edited version of 'Favourite Moments' for my title. I simply decided not to use the 's' on the end to make the title fit my photo. I painted it with three coats of heavy white gesso first and then added some Heidi Swapp Colour Shine to the 'Moment'.


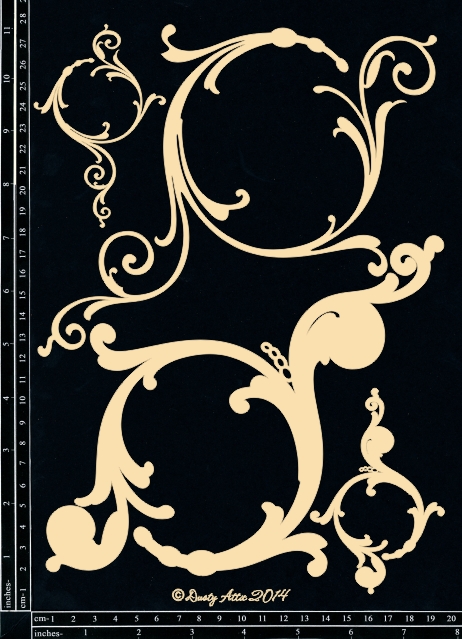
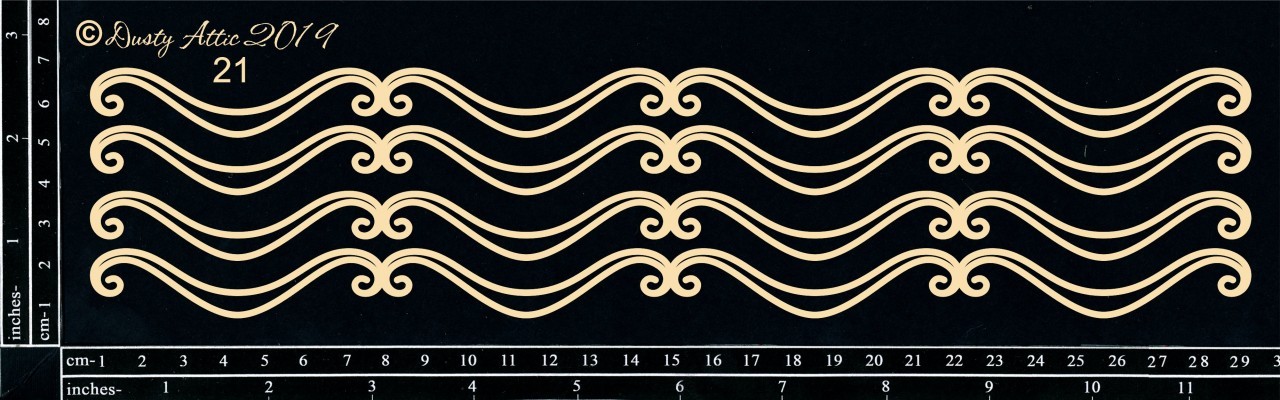
I used a torn piece of the 12 x 12 Chicken Wire on my background that I stapled in place. I left it raw to co-ordinate with the rustic feel of my photo of my daughter posing in our hay shed. I then layered the Swirly Flourishes on top. The flourishes were painted with three coats of heavy white gesso and left as is because I love the crispness of bright white embellishments.


I slipped in some pretty Blooms # 4 to match the roses on my daughter's dress. These I gave the gesso treatment before adding some Heidi Swapp Colour Shine.


Finally I added some stars to match the star cut outs in the background paper.

The Dusty Attic products used:


Thanks so much for stopping by the blog today. I hope you are feeling inspired.

Cheers
Belinda