WOW!!! I have had a few days off from the blog over the Christmas break, but busy working behind the scenes with the "Boss" Jennifer Hedger for a bright and sparkly New Year !
Good News ..... Jen has decided to extend the FREE SHIPPING offer as well for retail orders over $100AUD
DUSTY ATTIC WEBSITE
Our Amazing Design Team still created and I have SEVEN (yep 7)
DT members work to share with you today
DT members work to share with you today
We first start with some December Challenge Inspiration from
Nadya and Cathy
Followed by Fun and Funky Art Journal creation and cards by Farrel and Patricia
Then to top it all off some Christmas Cheer from Tina and Rachelle and a stunning altered art layout by Rosalie
FALLEN SNOW FLURRIES
NADYA DROZDOVA

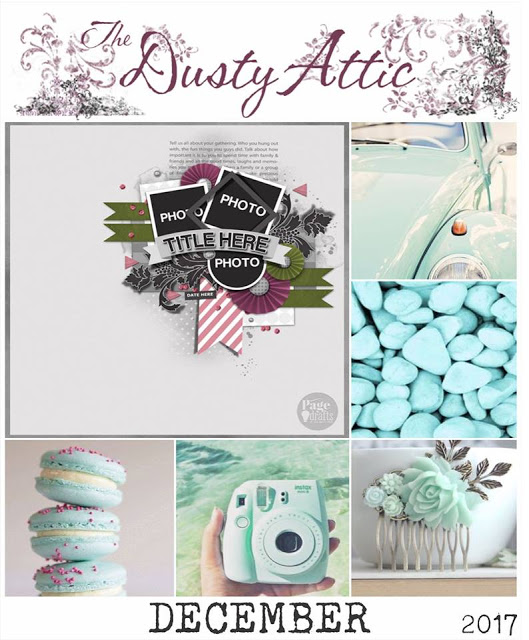
Our December mood board is so soft and pretty, so I decided to make winter LO in blue and teal colors. I`ve took "Deer head" chipboard and covered it with glitter, my other chippies I made with embossing powders. New collection of 7Dots Studio with it light and soft colors is perfectly match for the Mood board.
Also I`ve added some prima flowers, Sizzix die-cuts and Dress my craft sequins - also sold through the
DUSTY ATTIC WEBSITE
DUSTY ATTIC WEBSITE
Wish you a lot of inspiration!
LIFE IS GOOD AT THE BEACH
CATHY CAFUN
I was inspired by the photo on the bottom right and used the sketch loosely as a guide when creating this layout.
To create the background I used two Dusty Attic Stencils. First I stencilled using texture paste and the Sunburst template, then I stencilled with the Confetti #2 template and gel medium, which I coated with Lindys embossing powder in eeping Willow Green/Gold.
The chipboard pieces were coated with white paint and small sections highlighted with embossing powder.
Thanks so much for stopping by.
Happy Crafting
Cathy :)
ART JOURNALLING
WITH FARREL TAILOR
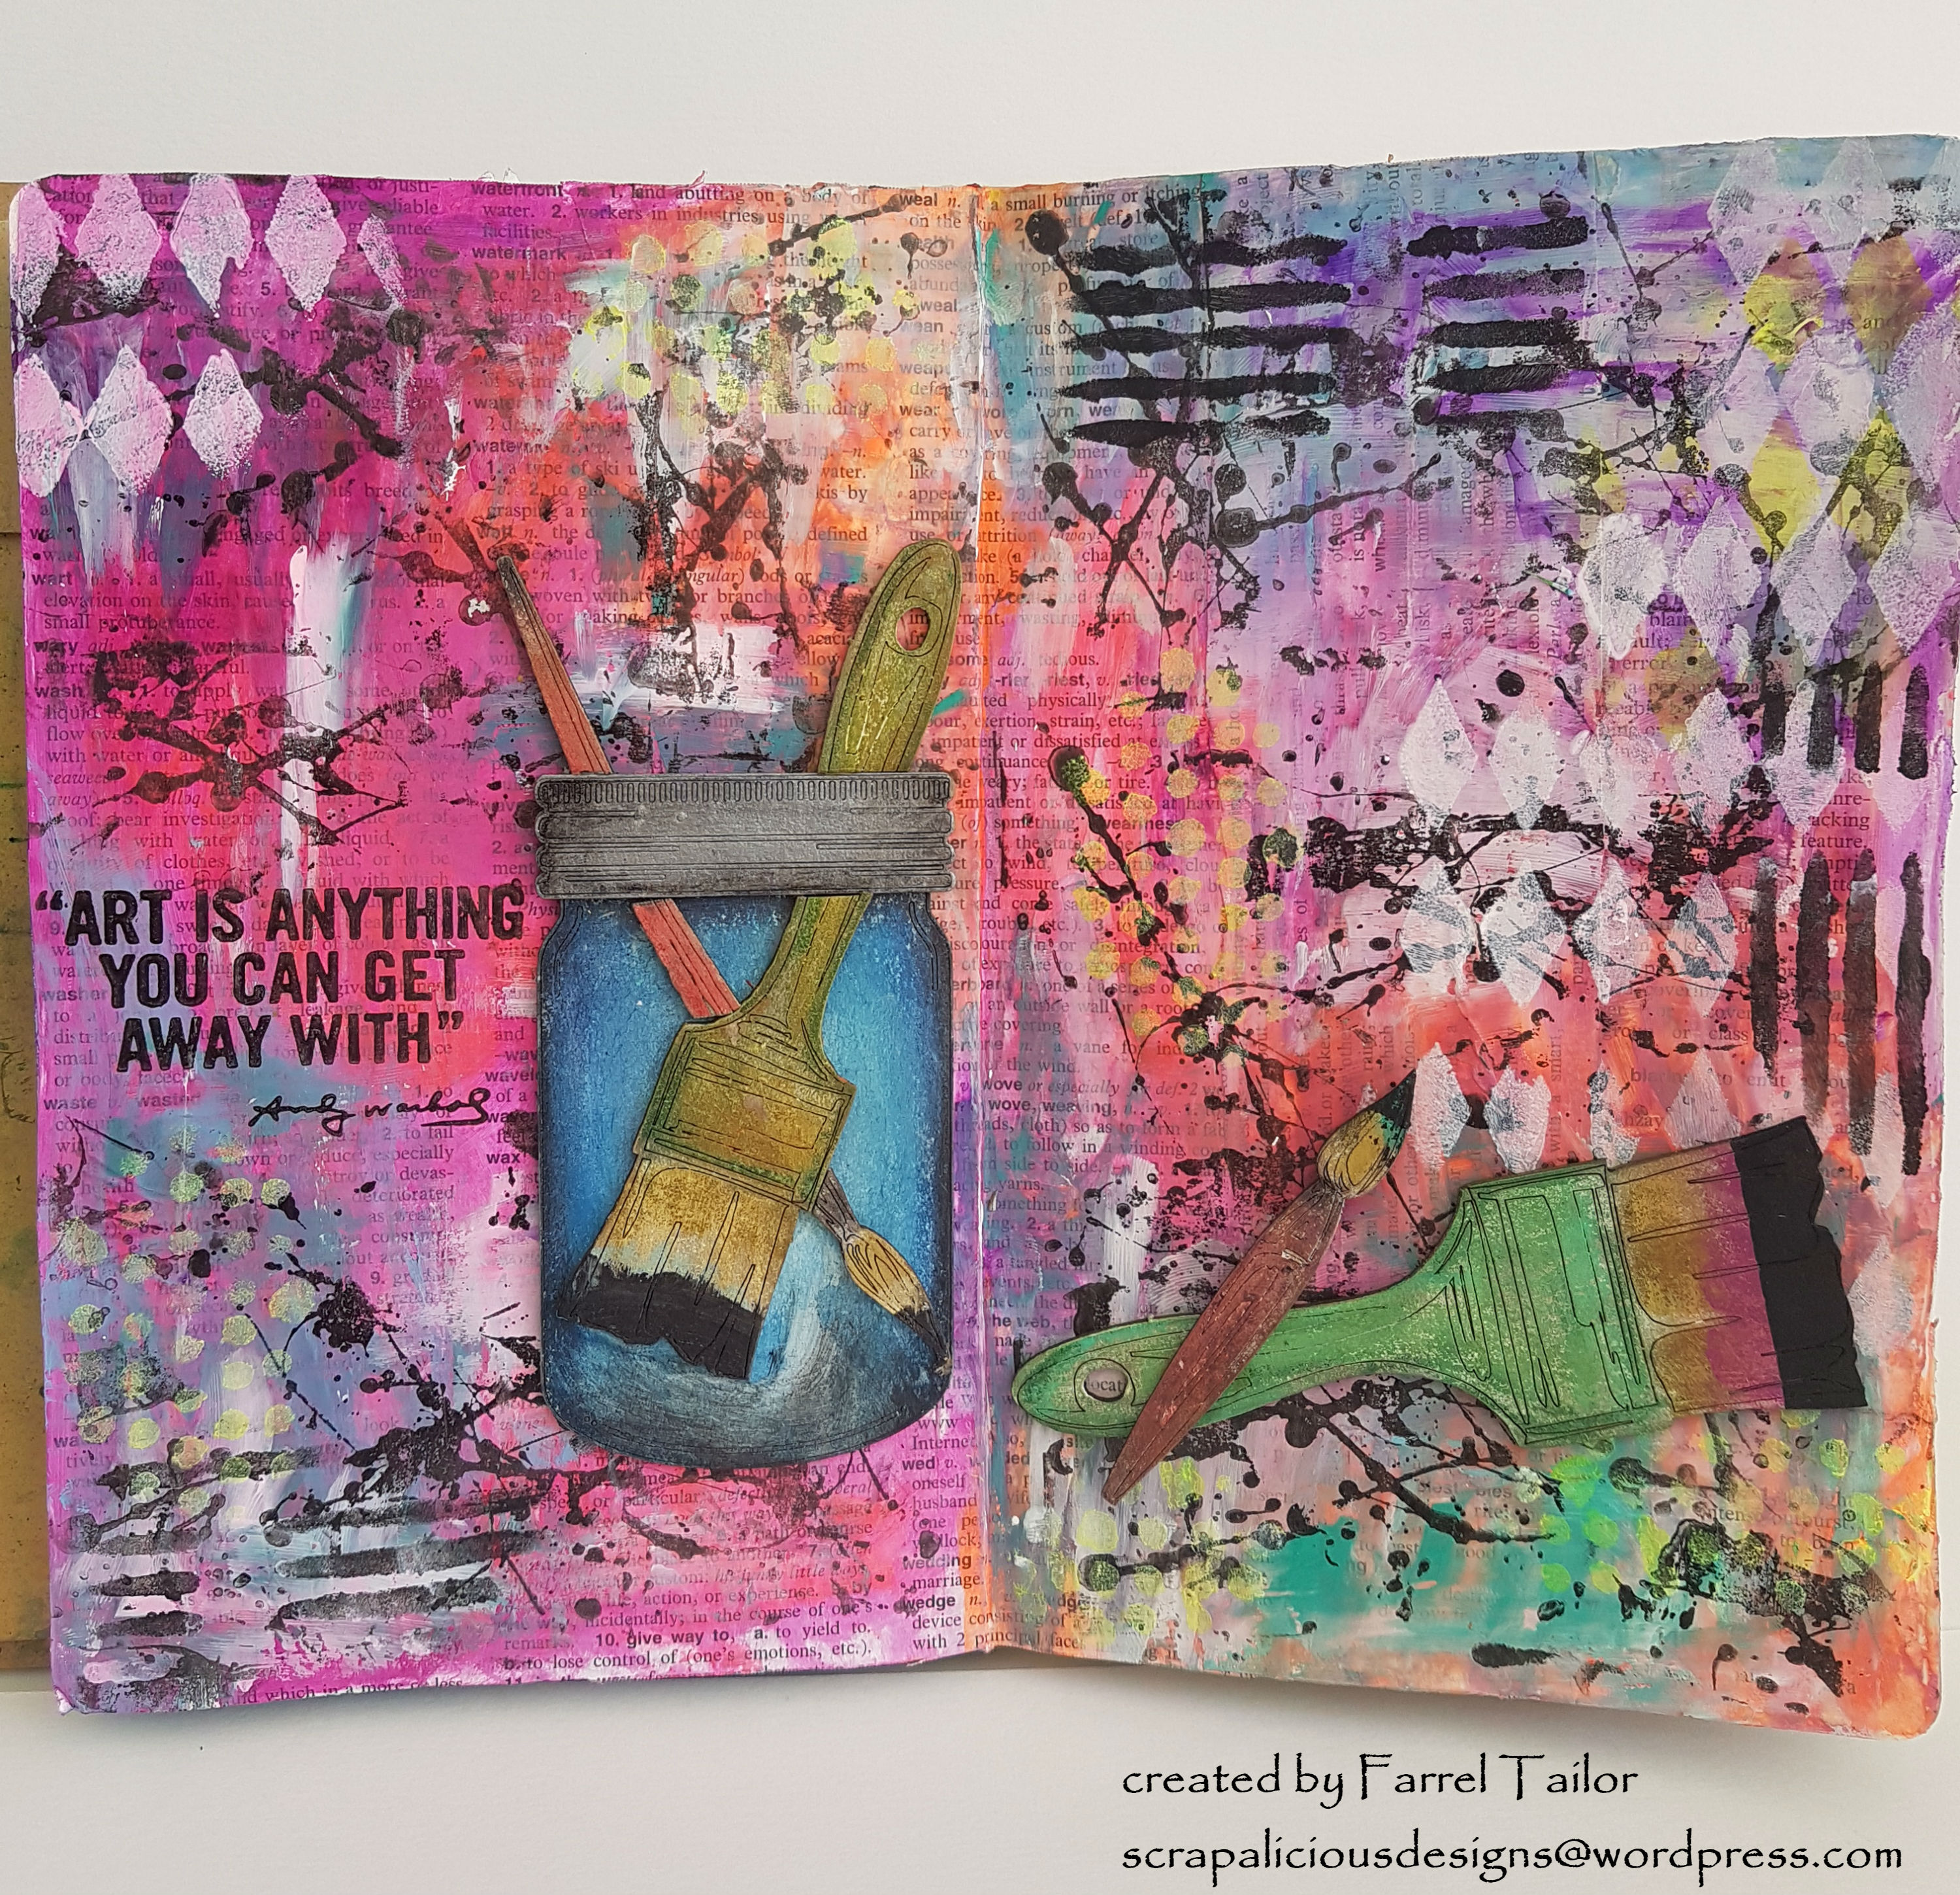
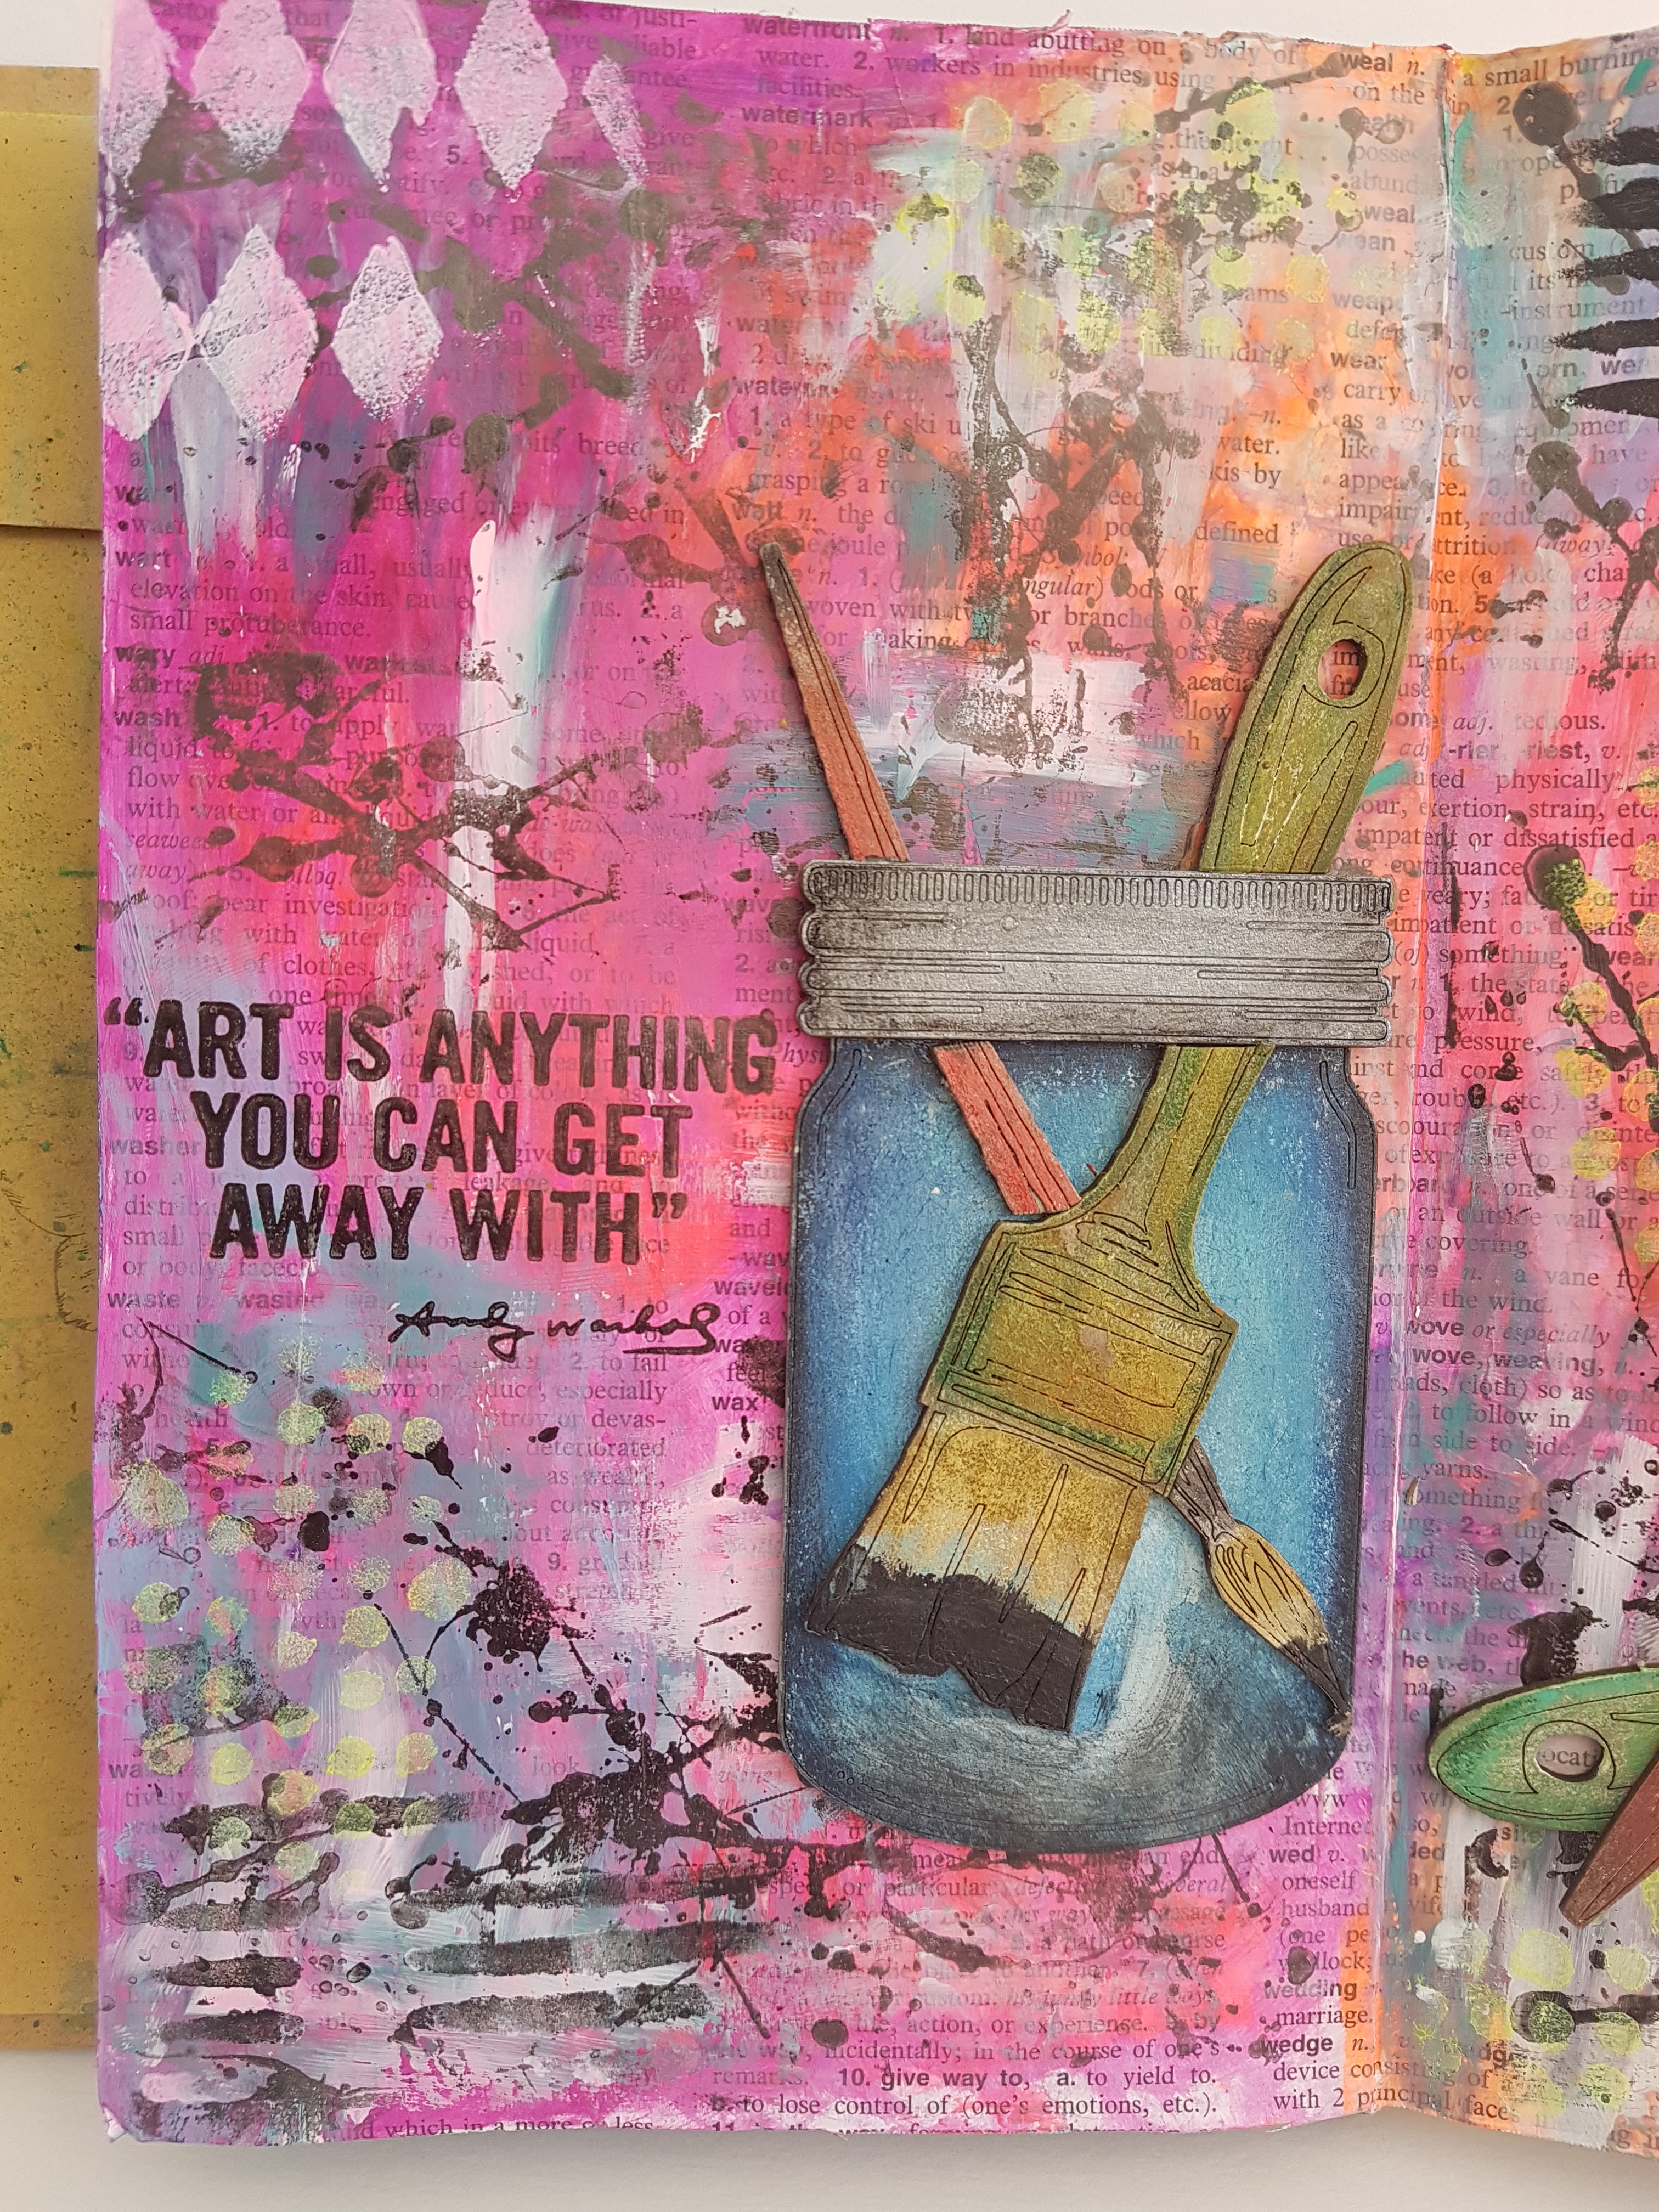
Hello there my fellow crafty lovers and a Merry Christmas to you all!! I hope you are enjoying your precious time with family and friends. Today I am sharing with you all my latest Art Journal entry using some Dusty Attic Chipboard and TCW stencils and other mixed media products.

For my background I adhered some paper from an old dictionary and covered using TCW9007 Clear Gesso. Then I used my fingers to apply the following paints - Funky Fuchsia and White Linen Dylusions Paints, JBurrows Acrylic Paints - Magenta, Light Blue, Bright Aqua Green, Fluro Orange, Fluro Pink, Fluro Orange and Fluro Purple.
![20171212_105041[1]](https://scrapaliciousdesigns.files.wordpress.com/2017/12/20171212_1050411.jpg)
I added some stamping to the background using Darkroom Door Paint Splats and also stamped my title using VivaLasVegaStamps Art is Anything - Andy Warhol along with black archival ink.

To finish off the background I added some stenciling using stencils by The Crafter's Workshop. First I used TCW202s 6x6 Mini Harlequin with Dylusions Paint - White Linen. Then I applied Dylusions Paint - Black Marble and a Fluro Yellow acrylic paint through TCW754s 6x6 Distressed Details stencil.

Now for my Dusty Attic chipboard - I lightly covered the Paint Brushes #2 and Mason Jars chipboard with TCW9001 White Gesso and then used some Distress Crayons to colour. The crayons I used were - Broken China, Brushed Corduroy, Chipped Sapphire, Candied Apple, Black Soot, Lucky Clover, Wild Honey, Mowed Lawn, Spiced Marmalade and Ripe Persimmon. And I used my finger to blend the crayons.

For the lid of the mason jar I used Prima Art Alchemy Acrylic Paint - Silver spoon and Dusty Attic Clear Gloss Varnish. You will also notice I have cut the paint brushes and adhered them to the Mason Jar.
Dusty Attic Products Used
Mason Jars
Paint Brushes #2
Clear Gloss Varnish
Thanks for dropping by and for all you support during 2017. I can't wait to share more with you all in 2018!! Have a very Merry Christmas and a Safe New Year xx

FOUR FUN AND FUNKY CARDS
PATRICIA BASSON
Seeing as it is Summer here in the Southern hemisphere...I opted to create some bright and cheerful cards for this month at Dusty Attic. I created some FUN backgrounds using Lindy's Stampgang Magicals, plainly wet my papers and flicked some Magicals onto the paper. I also used Magical coloured Texture Paste through different Dusty Attic stencils...Got some awesome, Yummy effects that I am really loving!!!
The chipboard frames were all gesso'd and painted with the magicals as well. Having bought myself a Christmas gift - the Go Press and Foil - resulted in playing with Dusty Chippies!!! And it works like a dream on the chippies. The Wildflowers and Butterflies were foiled. Add some Prima flowers, sequence from Dress my Craft and sentiments designed by Marta Lapkowska and my Summer cards are done....
The left-side card has the following Macigals; Frenchy's Pink Pouf, Kissin Kenickie Coral, Tilt-a-Wheel Teal. The frames are coloured with Orange Creamsicle. I used the Bedazzled Stencil.
Right Side...Merry-go-Round Green, Prima Donna Purple, Rasberry Lemonade. Tilt -a Wheel Teal on the frames. Webbing nr2 Stencil.
Left-side background; Bling-y-Blonde, Sassy Sapphire, Summer Lovin Sun. Raspberry Lemonade on the chipboard. Used the Lace Stencil.
Right-side {My favourite} Hi Maintenance Magenta, Orange Creamsicle, Pink Ladies Pink. Merry-go-Green on the chipboard.
For the pastes I used the following Magicals...
Merry-go-Round-Green
Rasberry Lemonade
Summer Lovin Fun
Tilt-a-Wheel-Teal
Below I added a collage of the backgrounds...Because they were so deliciously Yummy...before I covered them with elements.
The following products and more can be found in the Dusty Attic On-line store....
MERRY CHRISTMAS
TINA OLLETT
Hello lovely friends and a big merry welcome.
Today I am sadly sharing my last Dusty Design project for 2017. Hasn't the year flown by so very quickly ! And since we have just celebrated Christmas I just had to create one more layout depicting the season. I decided to use the traditional colours of the season to create this project and to do this I have used Maja Designs newest release collection Joyous Winterdays with of course lots of gorgeous gorgeous Dusty Attic chipboards. Now I have to admit that Christmas layouts are definitely not a favourite thing for me to do and in saying this I also have to admit that these stunning Christmas Baubles and Pine Sprigs have been in my Dusty collection for many many moons waiting for that perfect project and well, finally, I got to use them. And I love them ....... they are just beautiful pieces.
The focus of my project of course is a black and white photo of my eldest son and youngest daughter in a sweet embrace, enjoying the joys of unwrapping presents on Christmas morning in 2010.
I hope you enjoy this as much as I did creating it.

Below are all the papers I used for "Merry Christmas". I tore the base of Evergreen to sit upon the Beautiful Pines. I have used the pattern of the pines and made the clusters on my page to look as close to as the pattern. I cut several of the frames down from the Ephemera paper and layered with torn and cut pieces of the remainder of the reverse of Evergreen. I love the little stars on this. Can't wait to use this piece for another project. I did some stenciling using texture paste through the Dusty Attic script stencil and whilst it was wet sprinkled a little Dress My Craft Sparkling Dust and left it dry to the texture paste. I also did a little random stamping using a script stamp from my collection with black soot distress ink. I have also powder embossed the quote "Remember the moments in between" with black embossing powder at the left of the layout.
Below are all the papers I used for "Merry Christmas". I tore the base of Evergreen to sit upon the Beautiful Pines. I have used the pattern of the pines and made the clusters on my page to look as close to as the pattern. I cut several of the frames down from the Ephemera paper and layered with torn and cut pieces of the remainder of the reverse of Evergreen. I love the little stars on this. Can't wait to use this piece for another project. I did some stenciling using texture paste through the Dusty Attic script stencil and whilst it was wet sprinkled a little Dress My Craft Sparkling Dust and left it dry to the texture paste. I also did a little random stamping using a script stamp from my collection with black soot distress ink. I have also powder embossed the quote "Remember the moments in between" with black embossing powder at the left of the layout.
I have used a number of pieces of Dusty Attic chipboards to help create the design for my project here. The baubles were all inked with black soot distress ink and coated with Distress Crackle Clear Rock Candy to give an aged look to each. Once it dried I dry brushed them with a little white gesso. The pine sprigs which you can see above were wiped with Distress Ink Bundled Sage and also dressed in a little Distress Crackle too. I sprinkled some Diamond Dust over these whilst they were still wet too and left them to dry.
Christmas Ornaments 6 pack large DA0199
Pine Sprigs DA 1174
Here you can see the Antique Frame that I have used to help frame the photo as well as several of the frame mattings from the Ephemera sheet. This was dressed with Gesso, Distress Black Soot ink, Distress Crackle Paint and Diamond Dust.
Antique Frames DA1563
I have used a number of different blooms from the 49andMarket Vintage Shades collection in shades of Blues, and Reds. I also added in some little pine cones which I have cut in half to sit on my page flat.
And from a different view. Here you can see that I have added in some jute cording and also dressed my finished page with a little or a lot of dry brushing with gesso to help tone down the colours especially the black. I wanted it to look aged which I think I did achieve here, compared to how it look with only the ink.
Wordplay #5 Black (Christmas) DA1789
Well that is all I have to share with you today.
I would like this opportunity to thank you for all your support this year and to wish you and yours a a very safe, blessed and happy New Year.
Lots of love and hugs.............
Tina xo
Tina xo

MERRY CHIRISTMAS
BY RACHELLE SIGURDSON

The Dusty Attic used::http://www.dustyattic.com.au/
Christmas Tree #2
Stars
Build a Snowman
Birdhouses
Mini Birds
Mini Merry Christmas
mini Paddock Fence
Lamp Post
Wildflower #6
Wildflower #3
Foliage #3
Foliage #5
Starry Night Stencil

A GREAT DAY TO REMEMBER
ROSALIE DUKE-STANLEY
This page was a lot of fun to make and it gave me a chance to use the fabulous Dusty Attic Stencils. I started by marking out where the photos would sit on the page. I used the floral stencil DA1323 with molding paste randomly over the page making sure that the flowers were set off the side of the page and also coming from under the main layout. I used a variety of Lindy's Magicals - Industrial Chic over the top of the flowers adding colour and dimension. Using the word stencil DA1494 inked randomly with Archival Ink Sepia. Using a range of Dusty Attic paints, Colour Blast Leather Paste, Prima waxes and Art Alchemy paints, coloured all of the different chip board. Mounting the 2 photos on inked white card stock, attached them to the background. Tip: I glued 2 pieces of thick cardboard to the back to lift the photos up so that the chip board embellishments could be slipped underneath. Finally added all of the embellishments.
Leather Colour Blast Paste


No comments:
Post a Comment