Showing posts with label mini filmstrip. Show all posts

Tuesday, 26 April 2022

#Playtime - Belinda Spencer - Mood Board Inspiration

 Hello Dusty Attic Fans!!

It's Belinda here today to share my latest layout for The Dusty Attic inspired by the beautiful April Mood Board.


Here's a peek at the mood board:


'# Playtime'
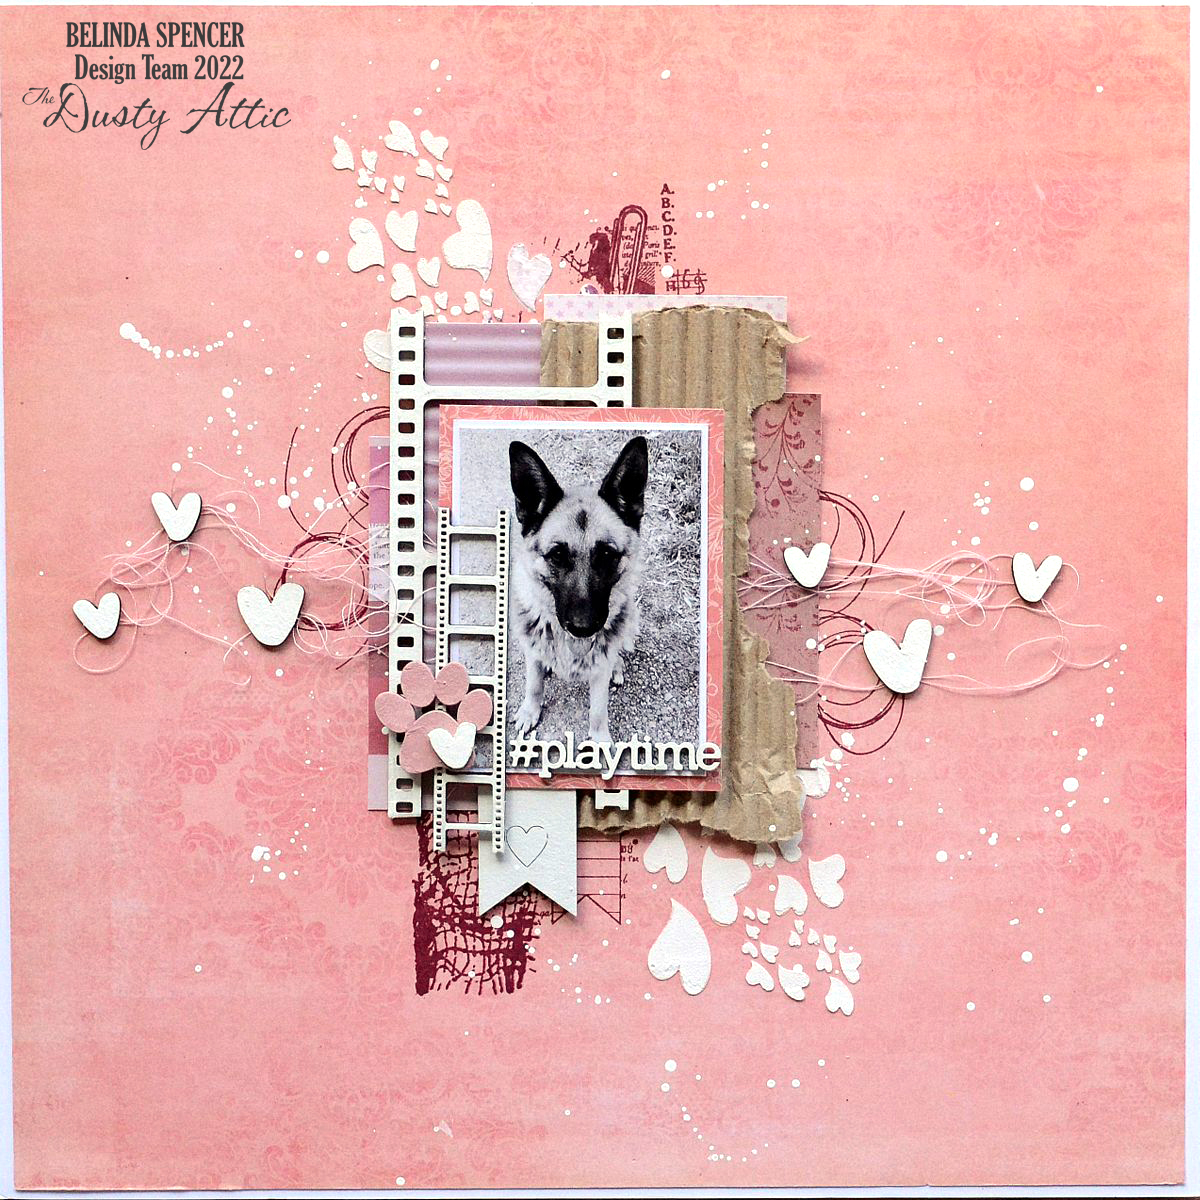

I started this layout with the Heart Attack Stencil and texture paste on my background patterned paper.


I layered my patterned papers together along with a torn strip of the Corrugated Card.


I painted all of the chipboard pieces with white gesso and then painted the Paw Print with a pink acrylic paint.


Finally I added some messy thread and layered everything on top including the title and photo of my beautiful dog Ziva.

The Dusty Attic products used:


DA0830 Corrugated Card
DA0934 Filmstrip
DA1309 Heart Attack Stencil
DA2415 Paw Prints - Dog
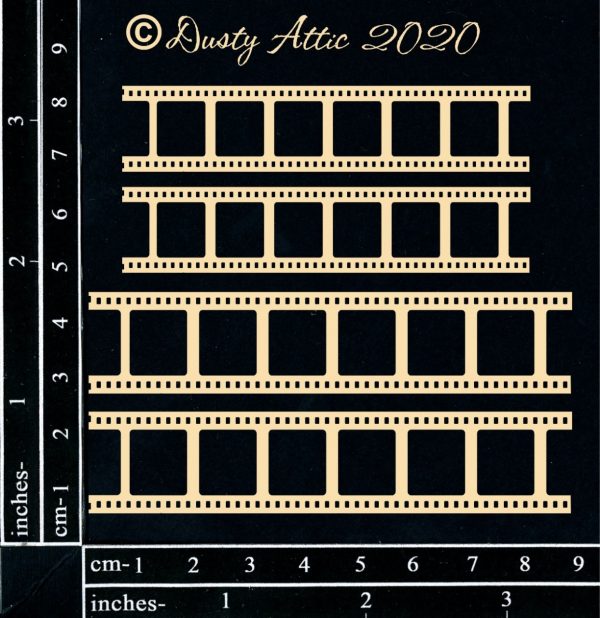
DA2511 Mini Filmstrips
DA2937 Daily #
DA3053 Hearts # 4
Banners # 5

Thanks for stopping by the blog today! I hope you find some time to play along with the mood board too this month.

Cheers
Belinda

Monday, 18 April 2022

La vie est belle (Life is Beautiful) - Pascale B - Mood Board Inspiration

Hello Sweeties,

Today I'm up on Dusty Attic blog with a new mixed media panel inspired by the April Moodboard.


Here is the April moodbaord:


 I covered the panel with a thin layer of paper paste. When dry, I added a design with the Ledger stencil and modeling paste. Next, I colored the background with Mica powders mixed and water mixed with Liquid Acrylic fluid. 


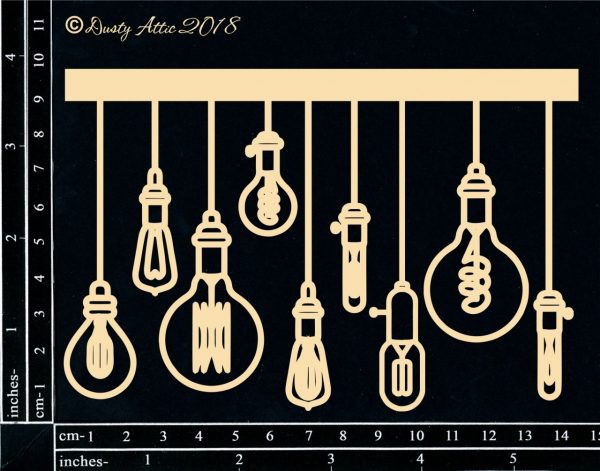
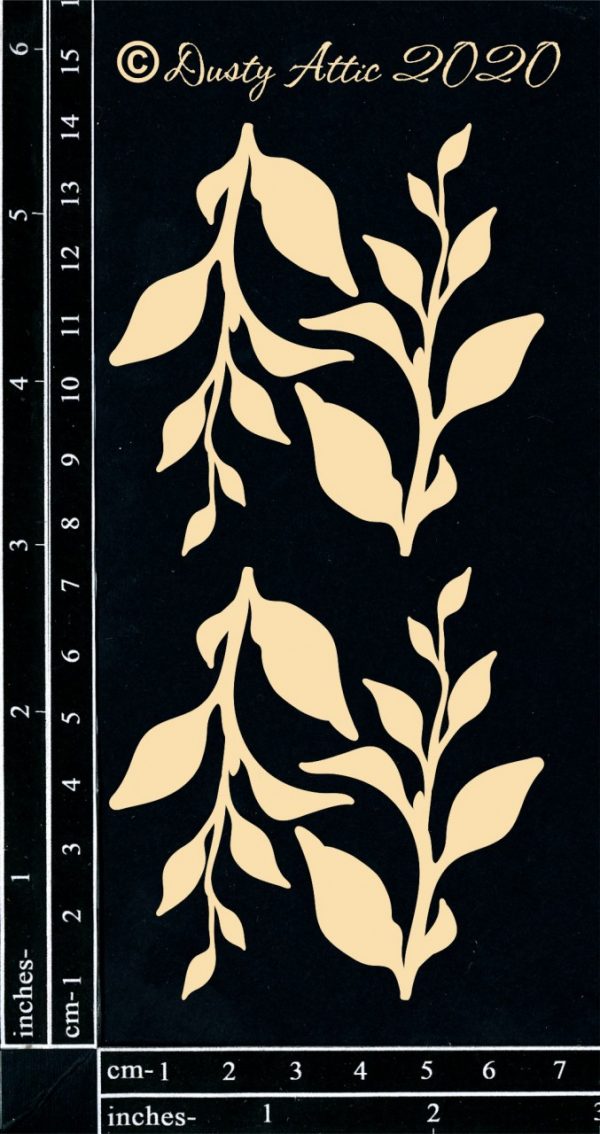
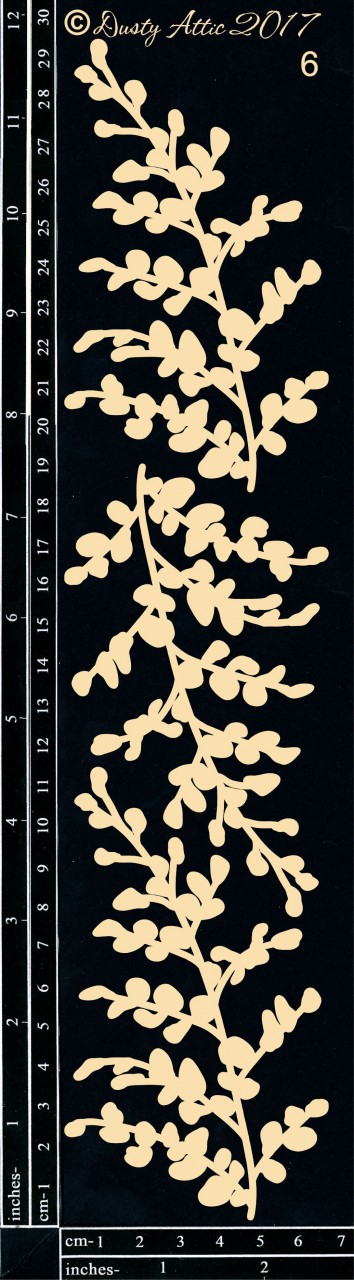
I primed all the chipboard with white gesso. I painted the Industrial Globe and the Film Strip with a mix of brown and crimson paints, then I add some wax. For the Tea Leaves and Foliage #6, I mixed brown and white paints with mica powder. 


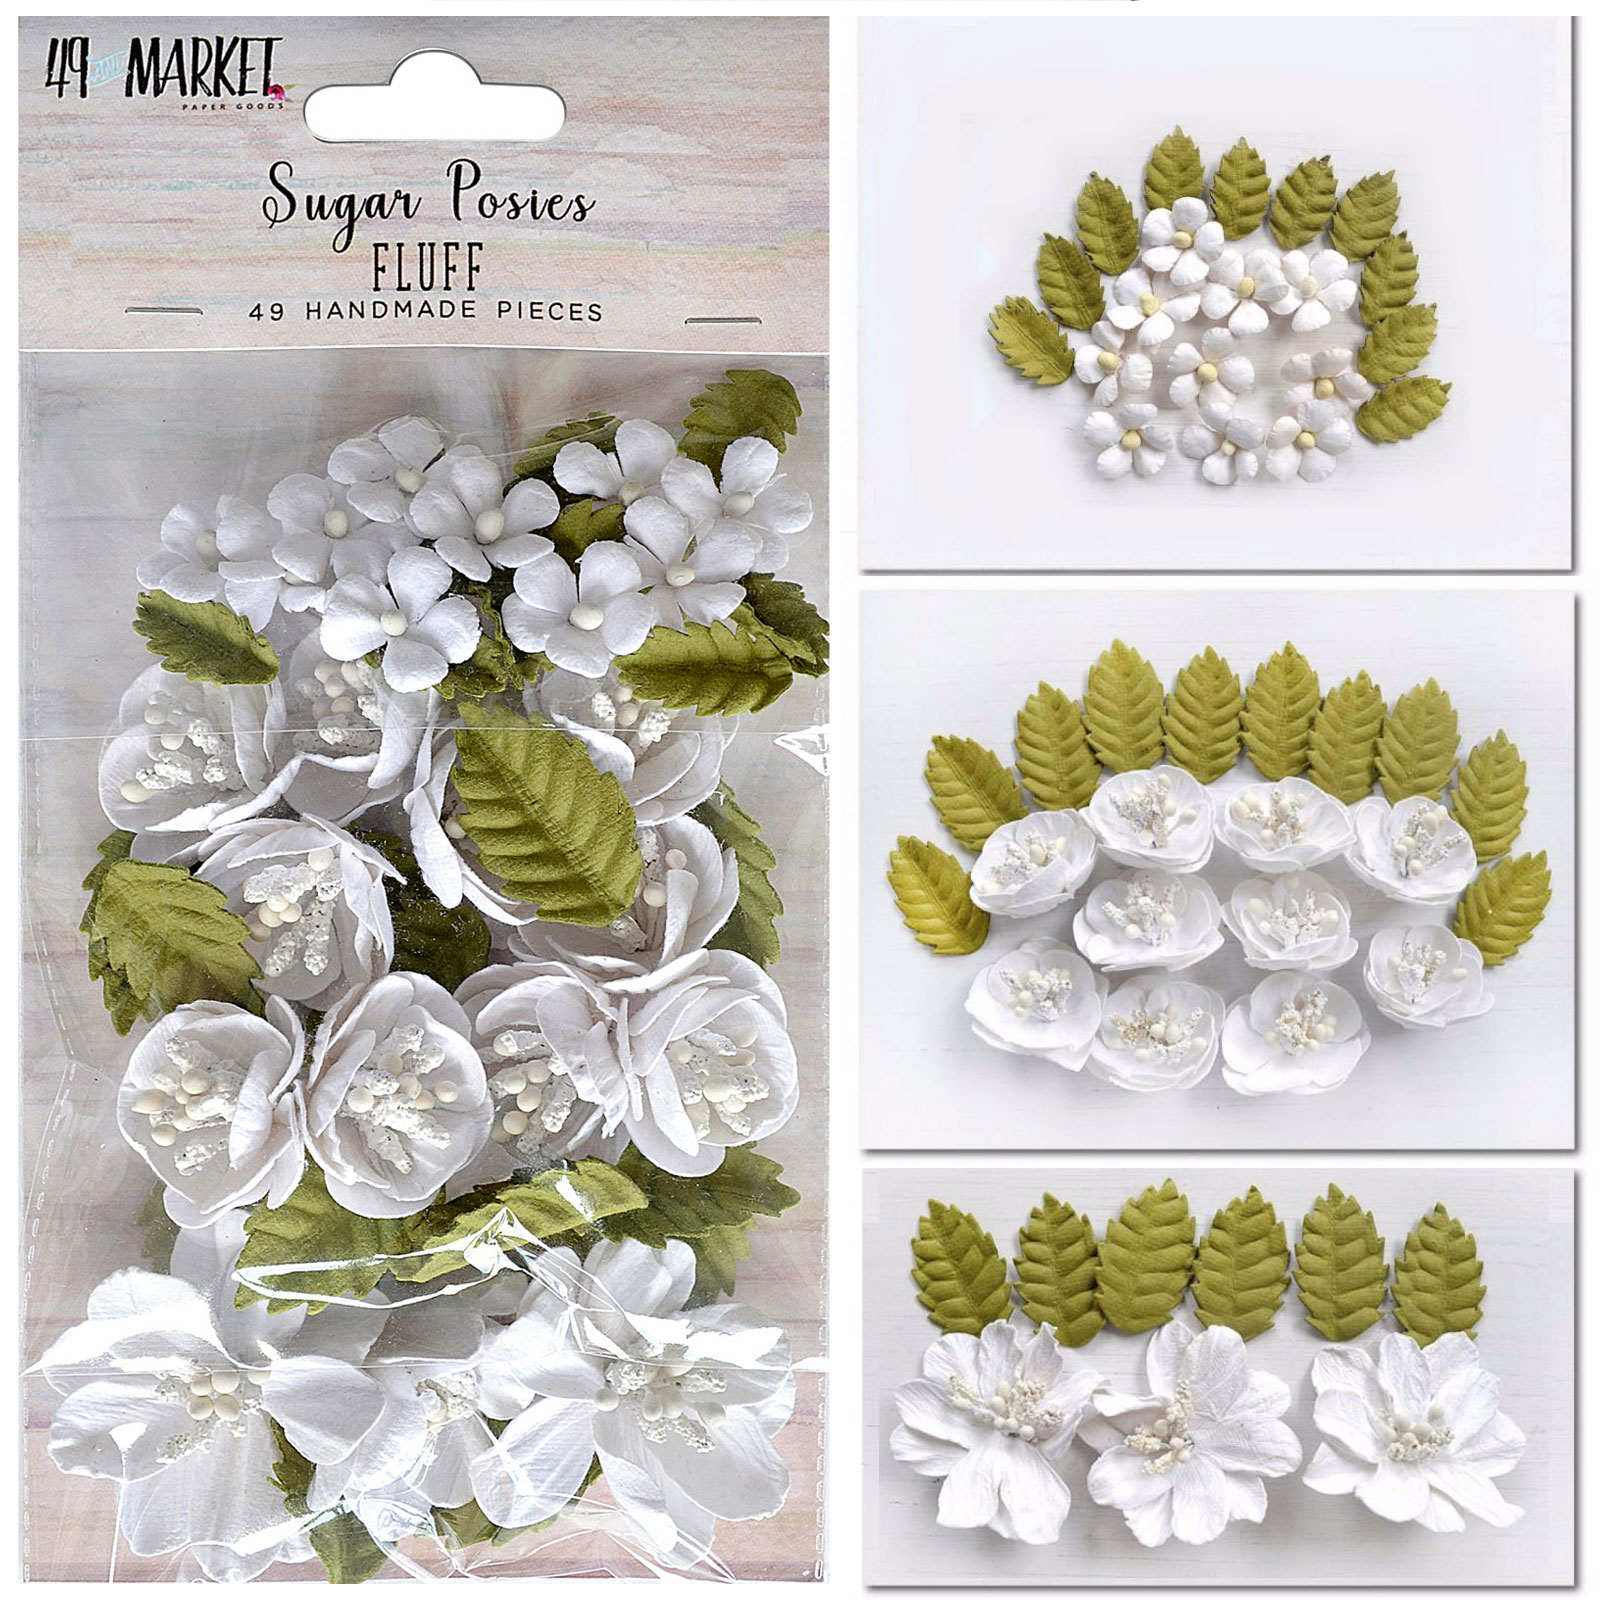
To paint the Sugar Posies, I mixed crimson paint with Gnome Berry Bordeaux Magical. 


I tore a few strips from the Fragments paper from the Vintage Anywhere collection That I glued on the right side of the panel. I added some Laser Cut Elements from the Curators Essential collection. 


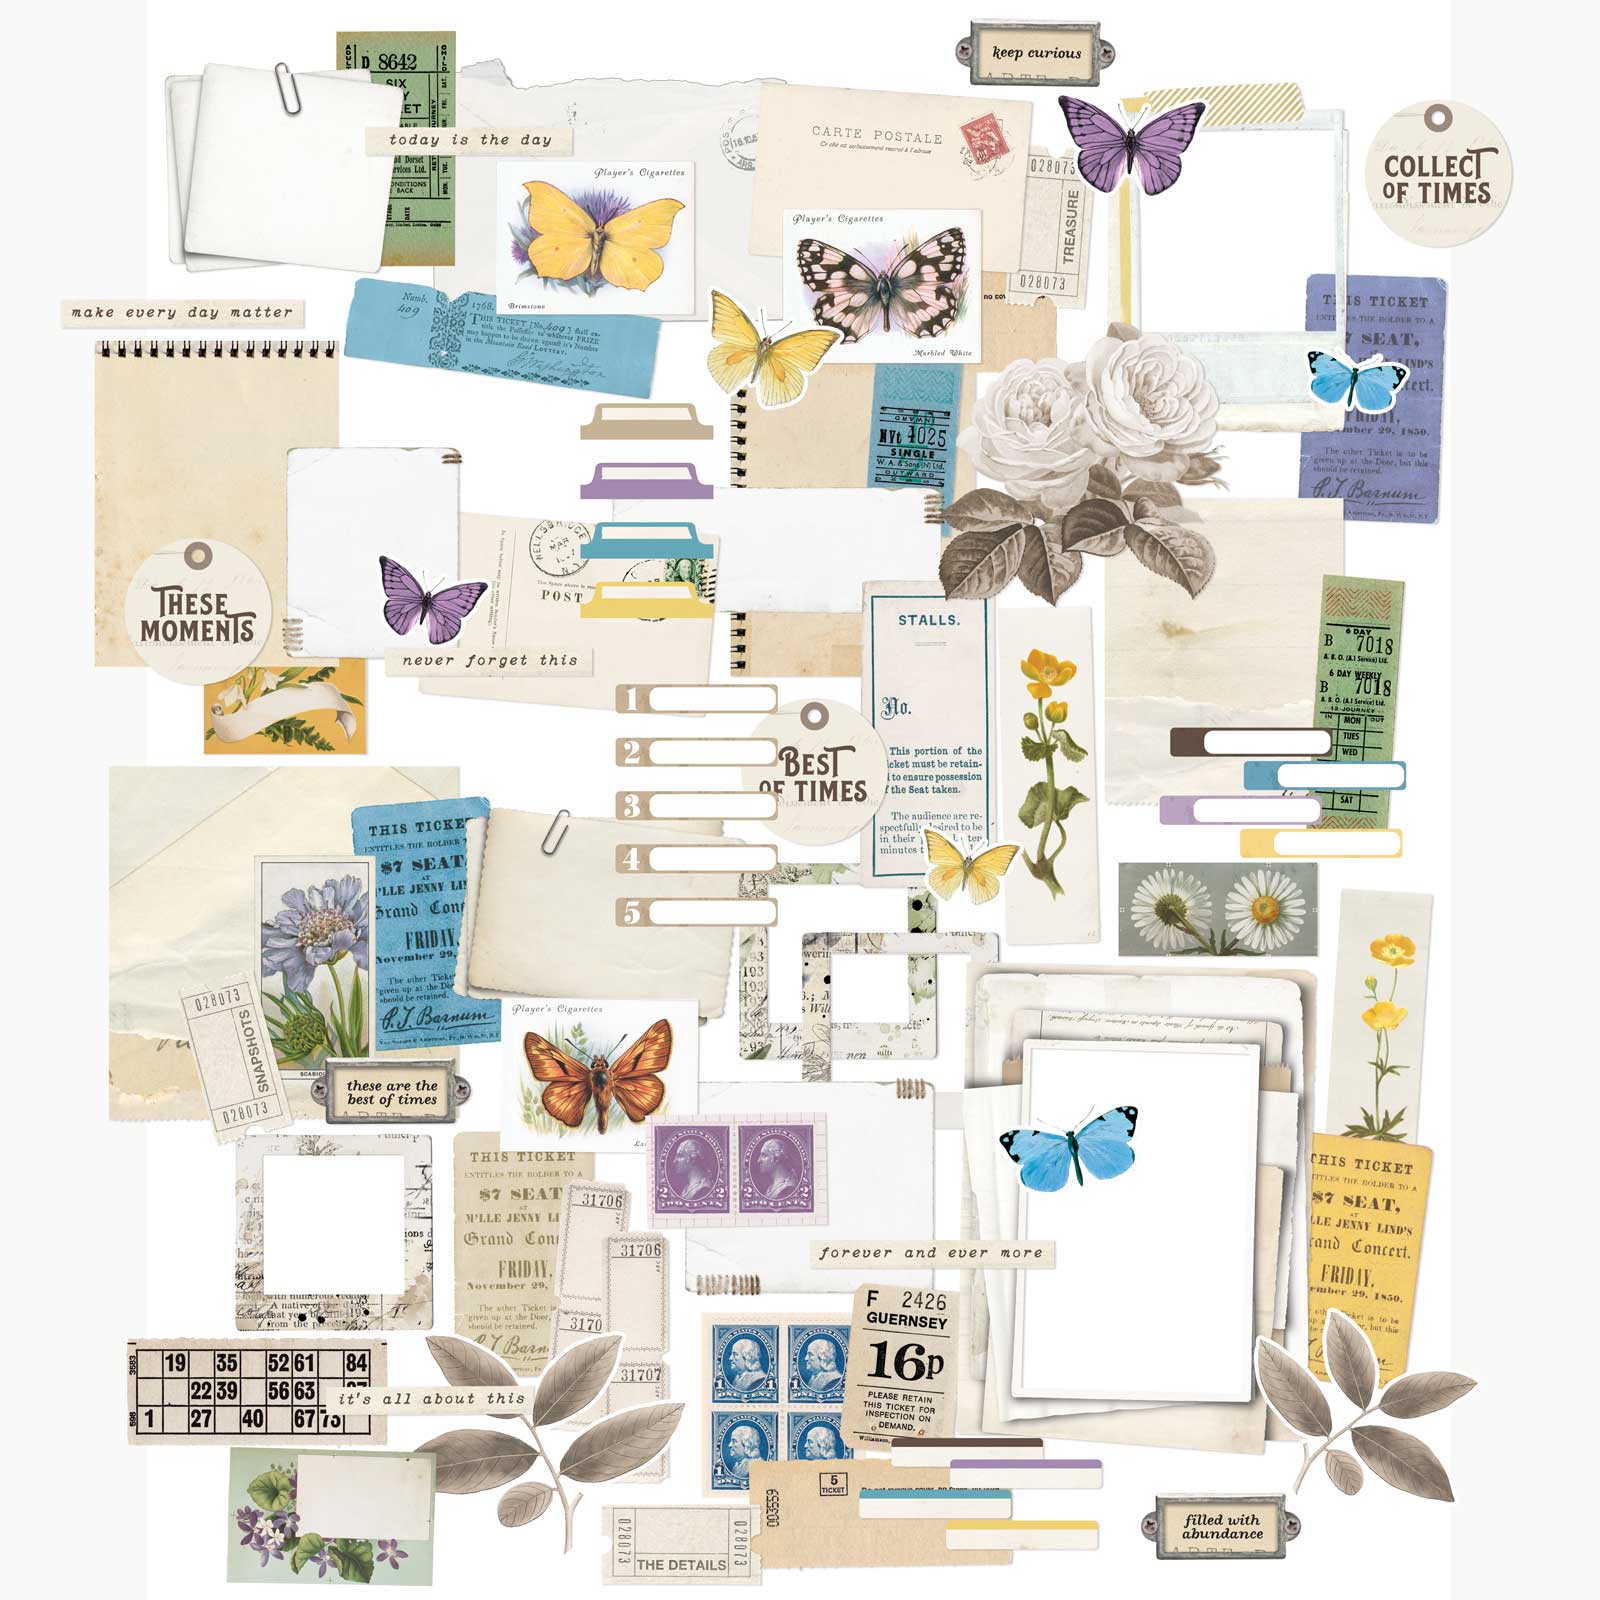
I chose some Ephemera and Remnants that I layered under the photo with the Film Strip. I added the leaves and flowers around the photo. 


To finish, I added some glitter and microbeads.


49 and Market products:


Vintage Artistry Anywhere
Fragments

SUG-32440-Sugar-Posies-Fluff

Sugar Posies
Fluff


Vintage Artistry Anywhere
Rub-Ons


Curators Botanical
Ephemera Bits


Curators Essential
Laser Cut Elements


Curators Essential
Remnants

Dusty Attic products:


Industrial Globes #2
DA2183


Mini Filmstrips
DA2511


Tea Leaves Small
DA2599


Foliage #6
DA1715


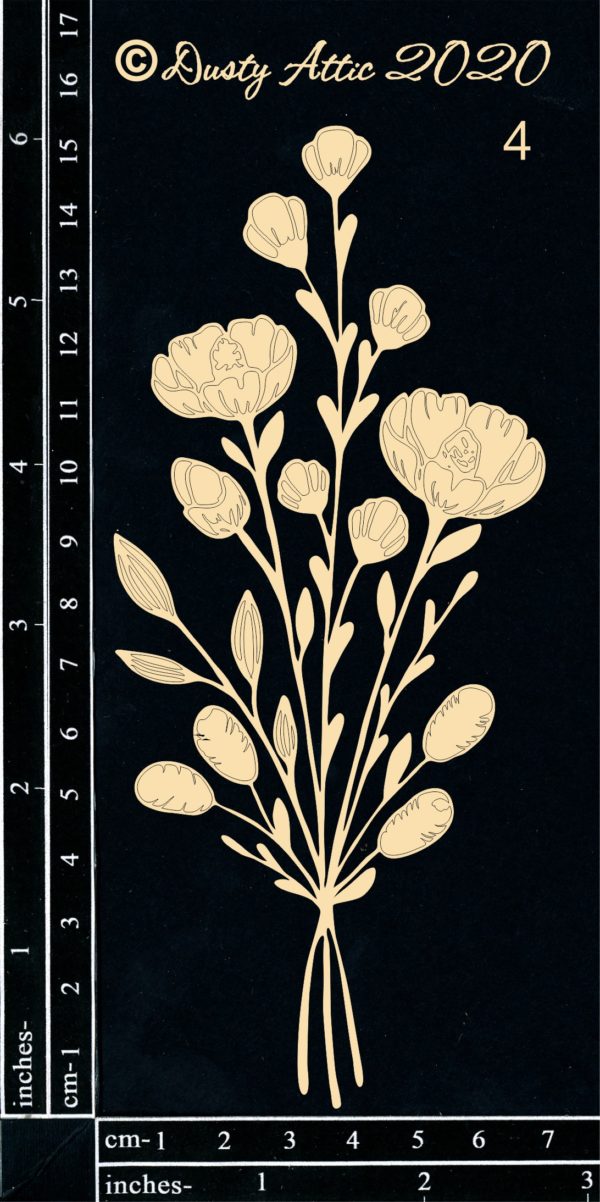
Flower Posie #4
DA2635


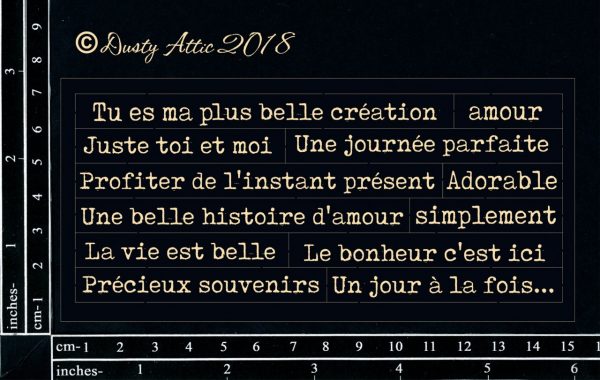
French Wordpl@y #1 Black
DA2004


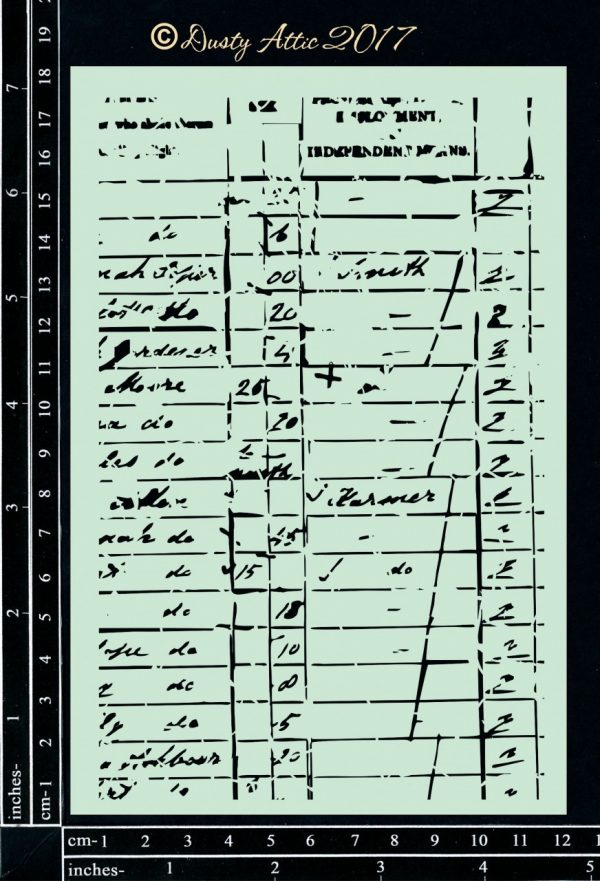
Ledger Stencil
DA1891

Other products:
  • Paper - 49 and Market (Vintage Artistry Anywhere: Fragments);
  • Ephemera - 49 and Market (Curators Essential: Remnants, Laser Cut Elements; Curators Botanical: Ephemera Bits);
  • Rub-Ons -49 and Market (Vintage Artistry Anywhere);
  • Flowers - 49 and Market (Sugar Posies: Fluff);
  • Magical - Lindy's Gang (Gnome Berries Bordeaux (Enchanted Forest));
  • Art Ingredients - Finnabair Prima (Mica Powders: Winter Tales, Pearls & Crystals, Golden Hours; Microbeads Set);
  • Art Alchemy Wax - Finnabair Prima (Vintage Silk);
  • Art Alchemy Paints - Finnabair Prima (Impasto:  Dark Chocolate, Liquid Acrylic: Crimson);
  • Art Extravagance - Finnabair Prima (Paper Paste, Liquid Fluid Medium);
  • Art Basics - Finnabair Prima (Clear Gesso, White Heavy Gesso, 3D Matte Gel, Soft Gloss Gel).


Wednesday, 16 February 2022

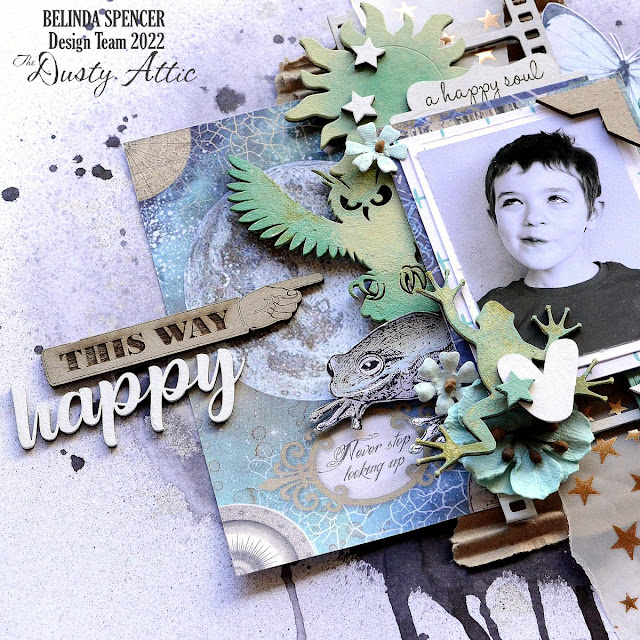
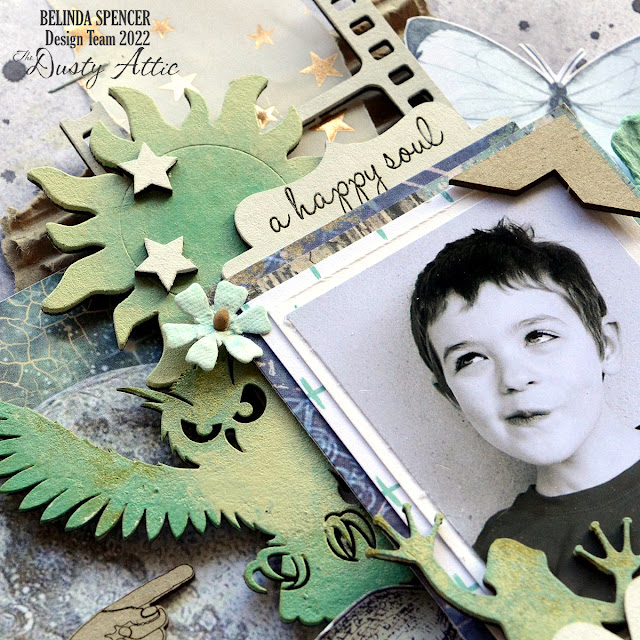
Happy - Belinda Spencer

 Hello Dusty Attic fans.

It's Belinda here with you today. Welcome to my February post where I share with you my latest layout featuring a whole lot of awesome Dusty Attic product.


Happy


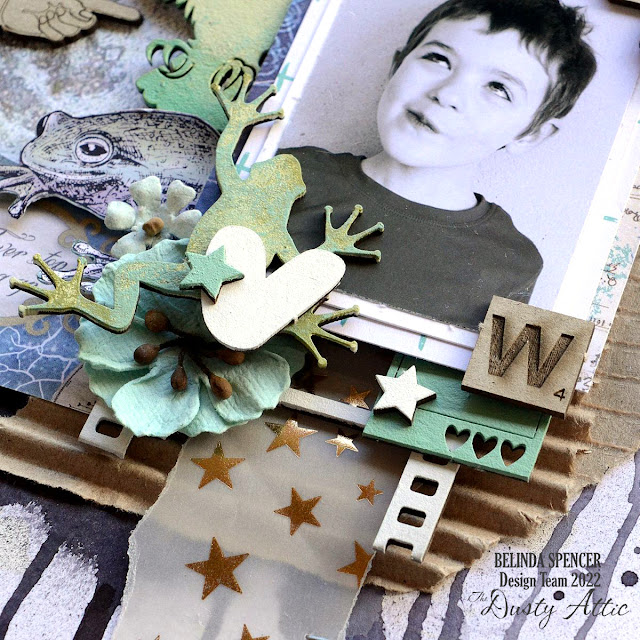
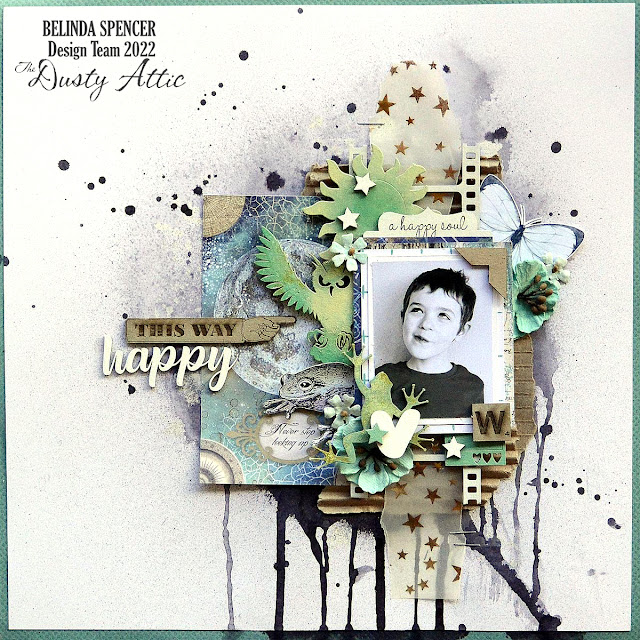
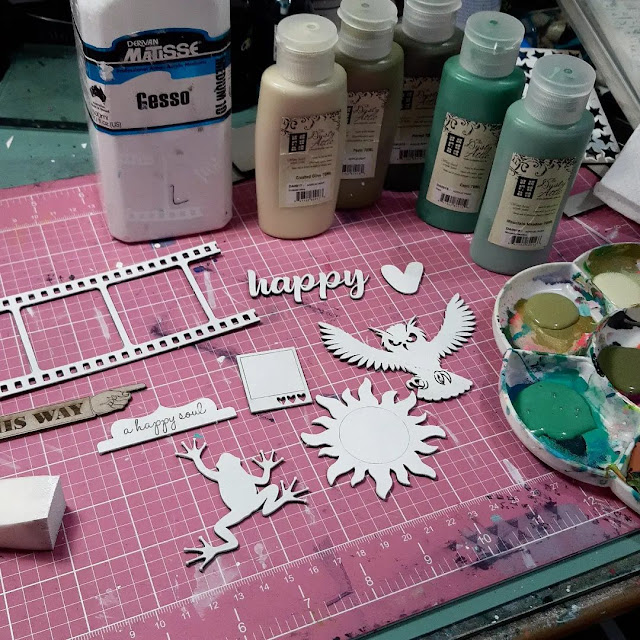
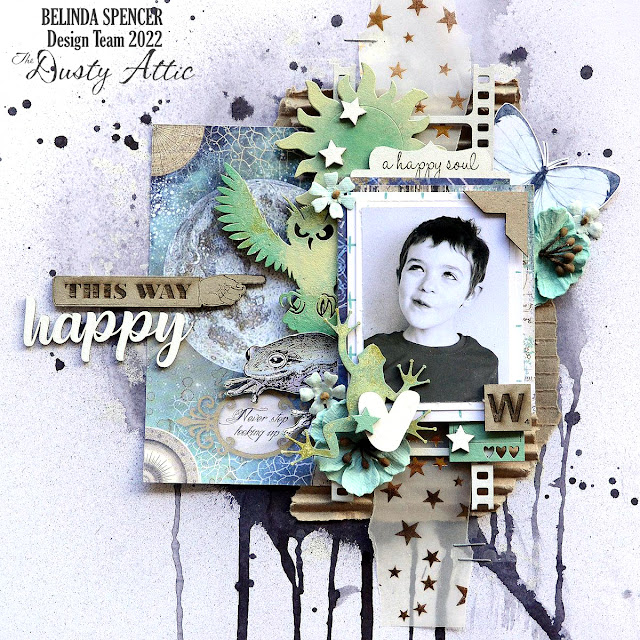
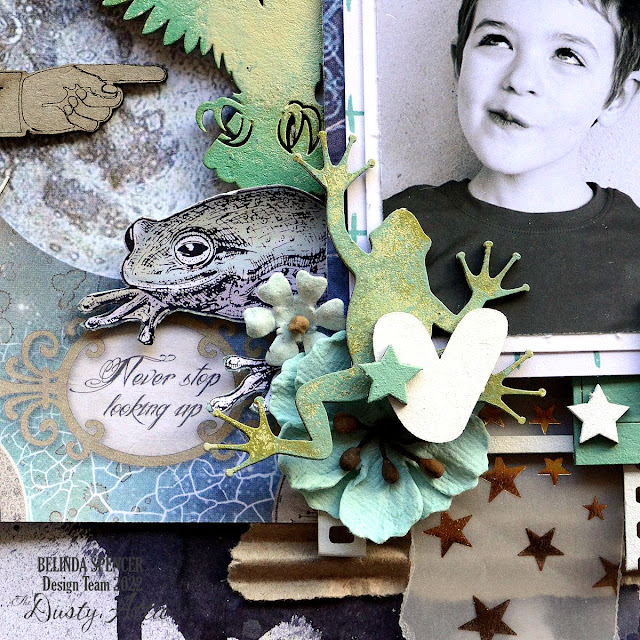
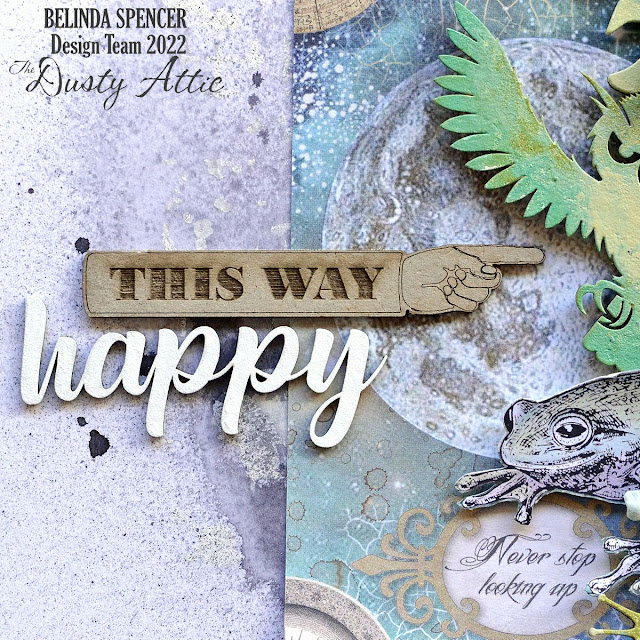
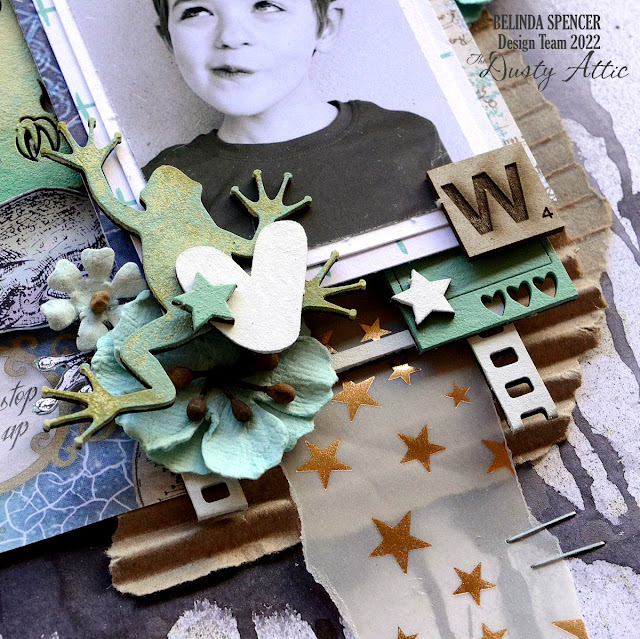
For this layout I wanted to use a whole lot of super cute chipboard pieces to frame my photo of my son when he was younger. I wanted the chipboard to co-ordinate with my patterned paper and to have a variety of finishes. I first worked out the pieces that would remain in their raw state and they were the ones that would form a visual triangle on my layout: the photo corner, alpha tile and pointer tag. I painted everything else with a few coats of gesso.


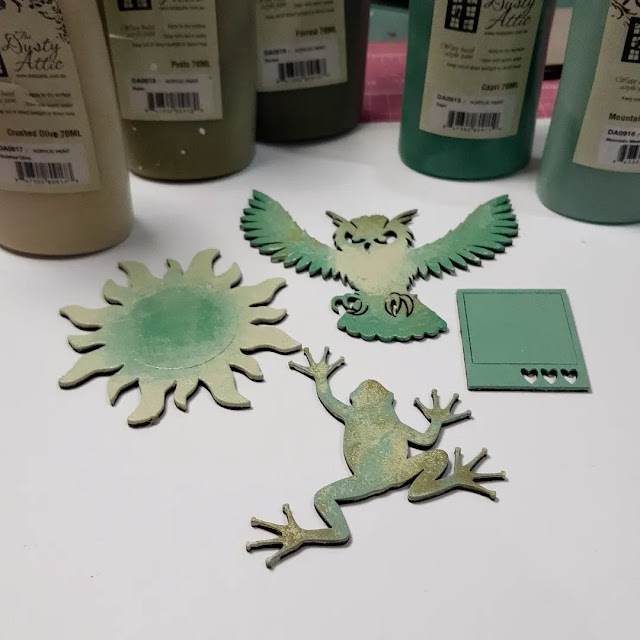
Next I pulled out the pieces that I wanted to remain white and put those aside. I painted the remaining pieces using a combination of matching Dusty in Colour paints.


I used the Distressed Grid Stencil on my background cardstock with white gesso. I then sprayed a black ink over the background, spritzed it with water, let it drip and then blotted it. The stencil didn't show up as much as I had hoped and then I ended up covering most of it up anyway!


Next it was time to assemble my layout. I love this part where I shuffle everything around until it seems right and has balance.


I liked the little quote on the patterned paper that says "Never stop looking up" so I wanted to make sure that didn't get covered up. It suits the photo of my darling boy perfectly.


Creating clusters of embellishments is fun. I love to layer my chipboard pieces.


Here are the Dusty Attic products I used:


Dusty in Colour:
DA0915 Capri
DA0916 Mountain Meadow
DA0917 Crushed Olive
DA0918 Pesto
DA0919 Forest

Thanks so much for stopping by the blog today. I hope you are inspired to go and have a play with some Dusty Attic chippies too.

Cheers
Belinda


Sunday, 28 November 2021

Make today so awesome ..._ Michelle Van Oudtshoorn - Mood Board inspiration

Hello lovely Dusty Attic Fans

For us down in New Zealand the days are getting longer and warmer - and I am loving the summery weather.

As we head to the end of the month, I thought I would pop in quickly with a layout for the November moodboard challenge - you still have some time, it's weekend and a perfect opportunity to create something for the monthly challenge and your chance to win AUD50 worth of Dusty Attic chipboard goodies. Post your entries to the Dusty FANattics facebook page - https://www.facebook.com/groups/1949690068580466

Here is the moodboard for November:

Here is my take on the moodboard:


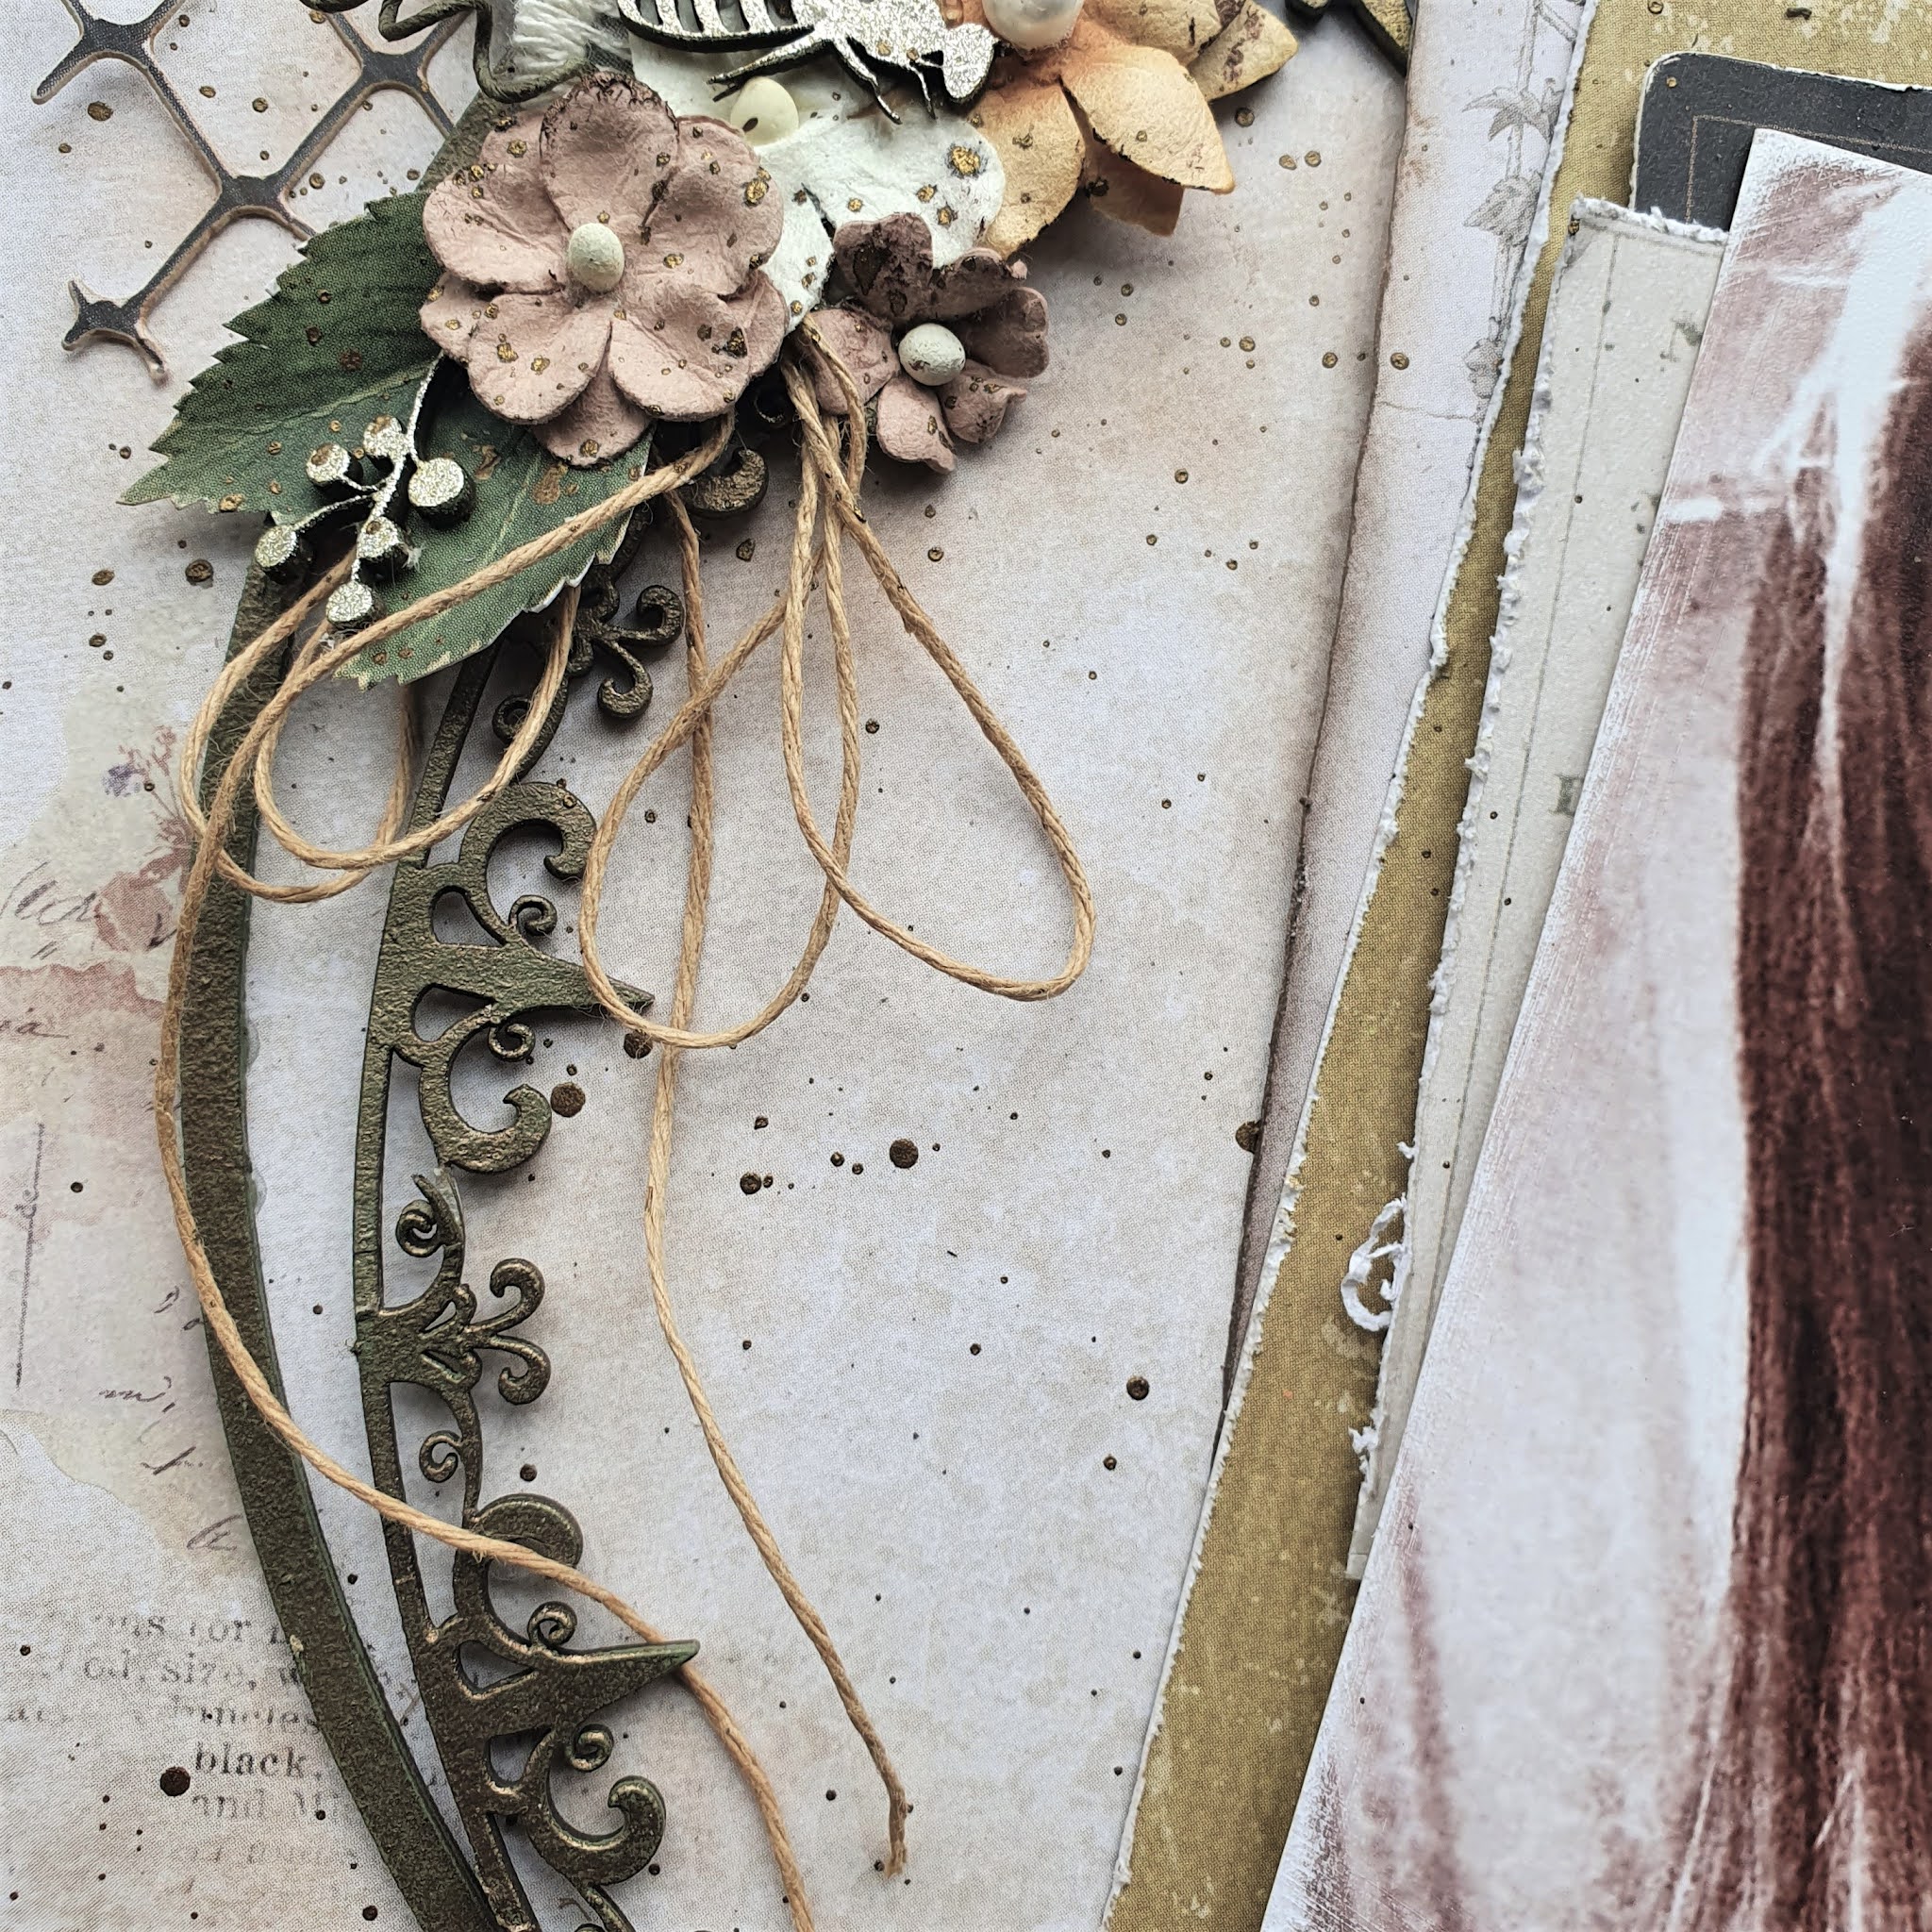
Using paper from the  49 and Market Vintage Artistry Everyday collection, I fussy cut some leaves first from the Zealous paper and used the paper Garden Variety as my base. I then paint all the chipboard, before putting my layout together. Firstly, I added layers of different paper and ephemera behind my photo. The Ornate Circle frame off DA2271 is the smaller of the two frames in the pack, plus I have used the negative of the circle between the large and smaller frame. These were painted in green and I added touches of Prima wax to these. I adhered these to the page first before adding my photo and paper layers.
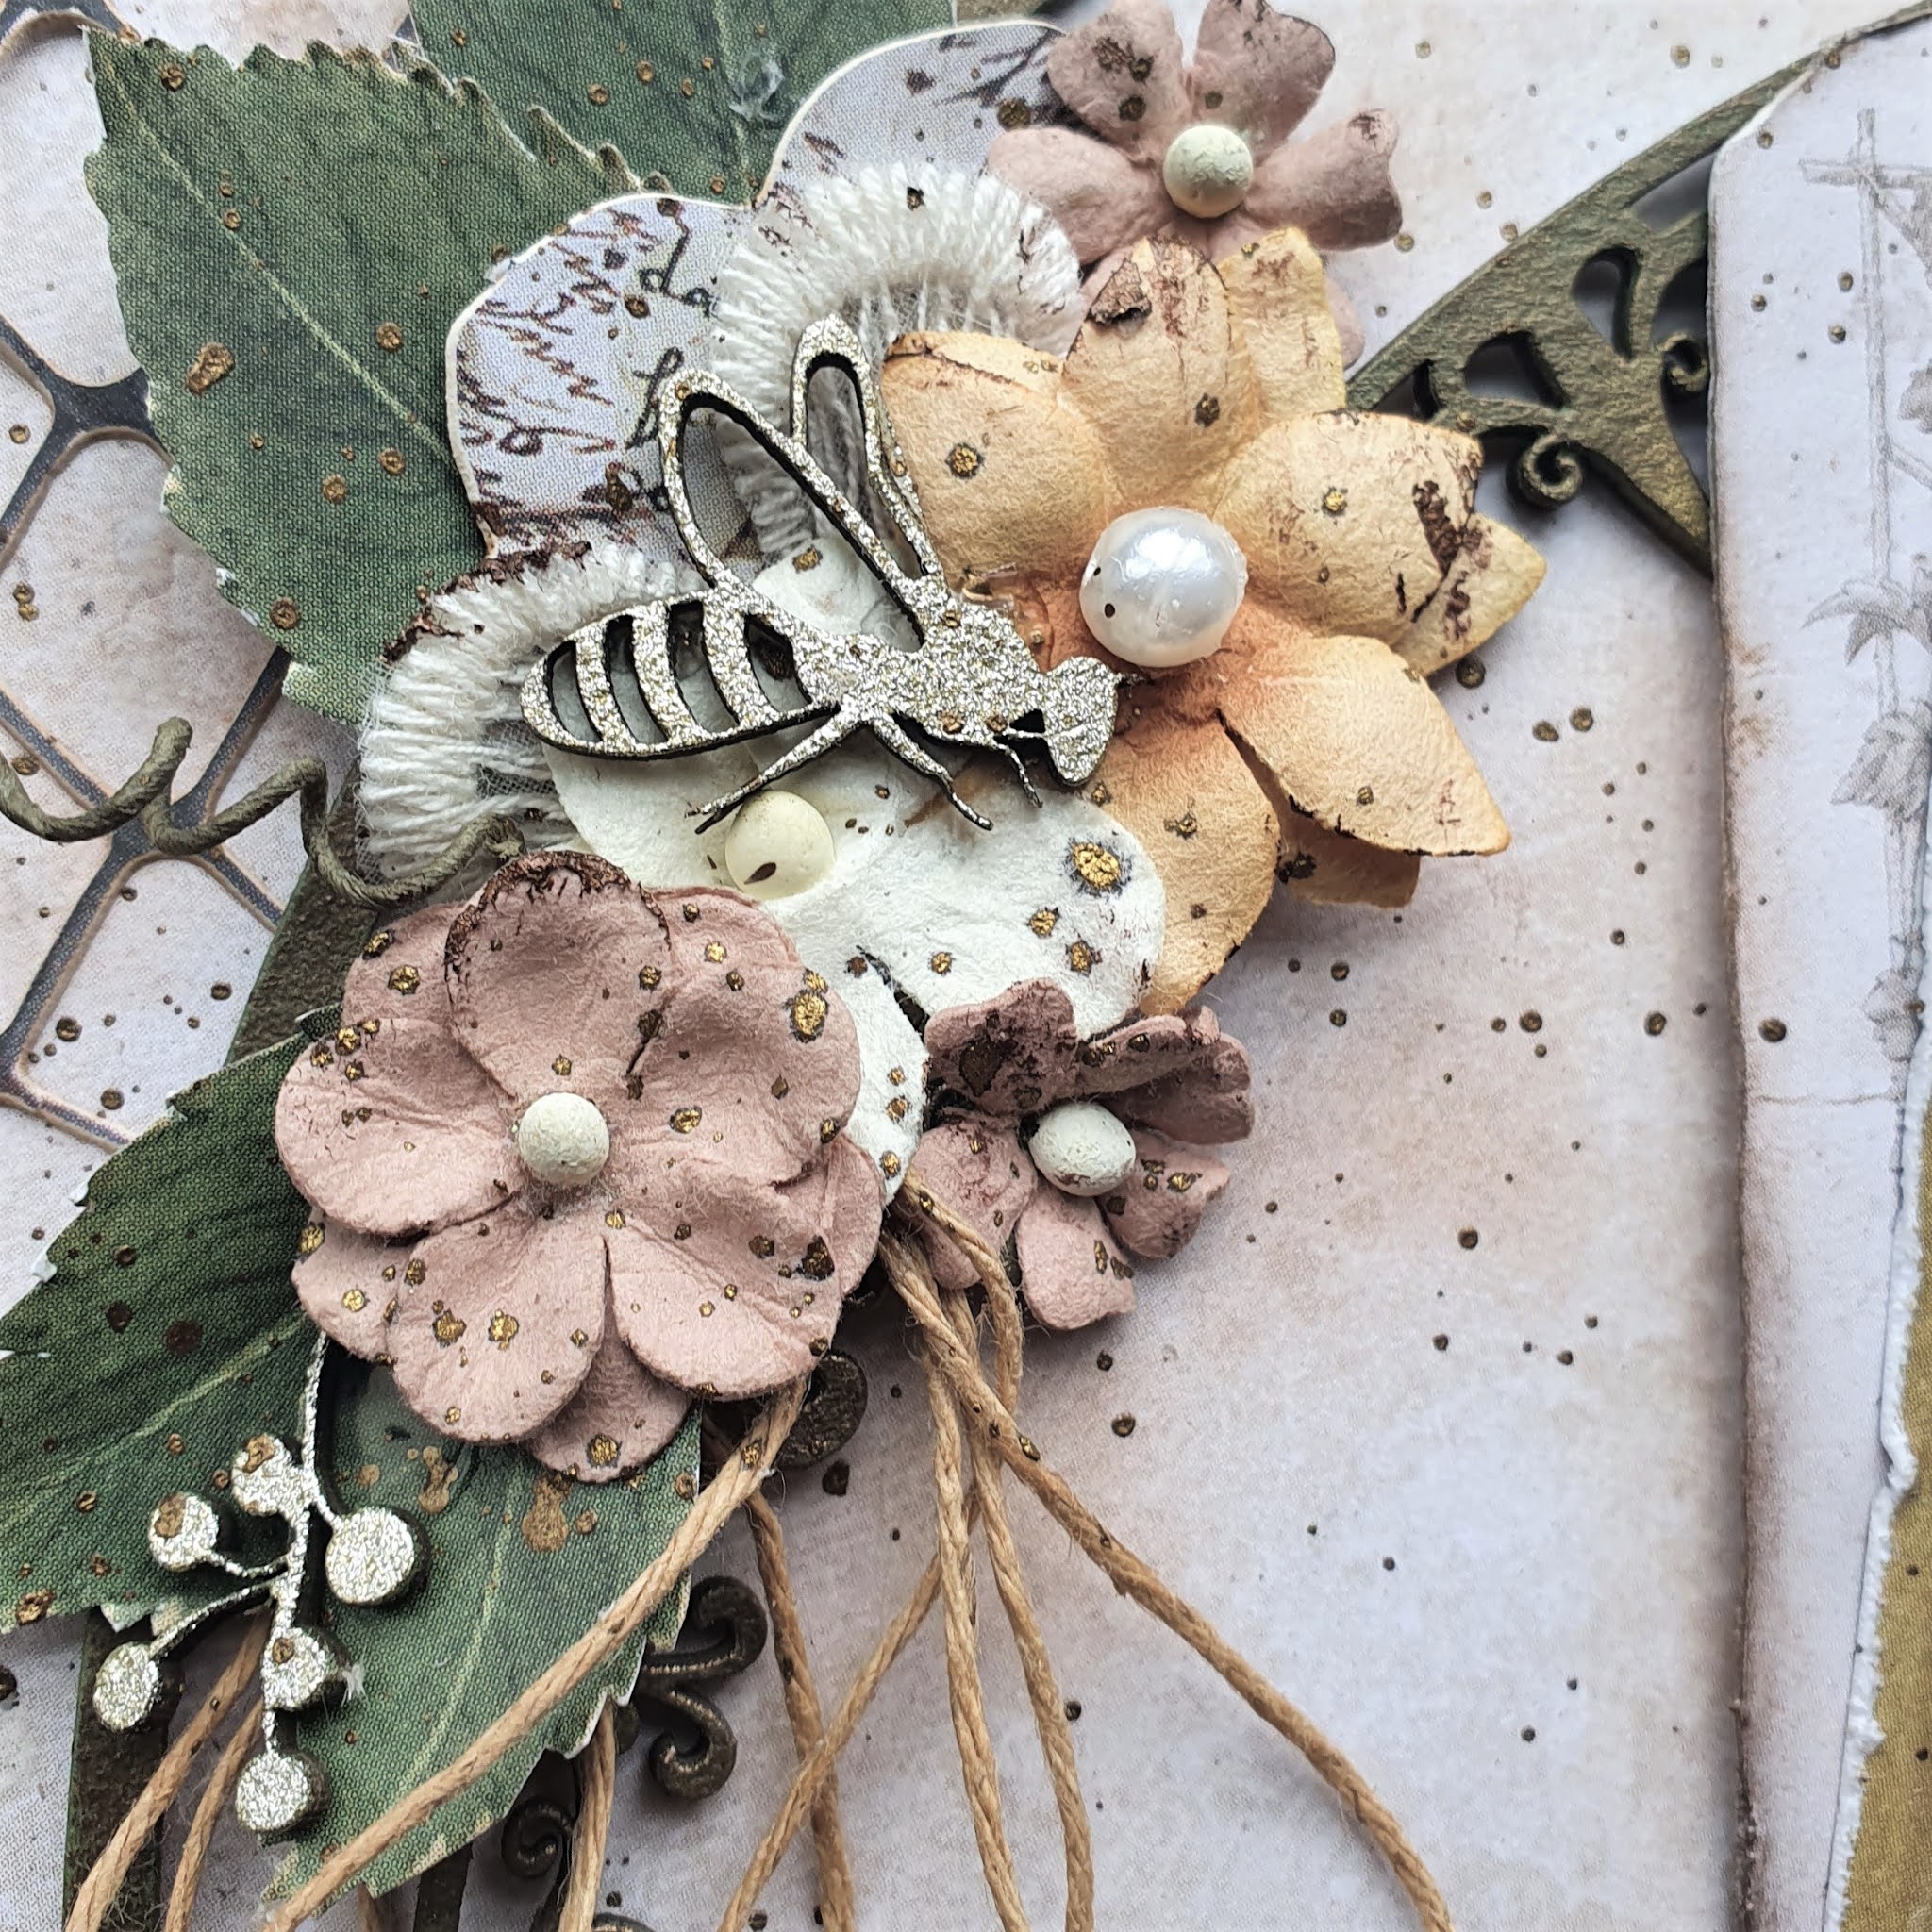
The flower clusters were then built up, and I added the mini film strips DA2511, the small wildflowers #3 DA1143, a bee DA1669 and a mini watering can DA2802 into the cluster


And isn't this quote sentiment off Sentiment pack #4 DA2585 just fabulous "make today so awesome that yesterday gets jealous" - I love it!

Once I completed the layout I added splatters of bronze paint to the layout. 

Dusty Attic chipboard used 


I hope that this inspires you to take part in the November moodbaord challenge - I would love to see your creations on the Dusty FANattics facebook page.

Take care,
Michelle