Showing posts with label tile abc. Show all posts

Wednesday, 23 February 2022

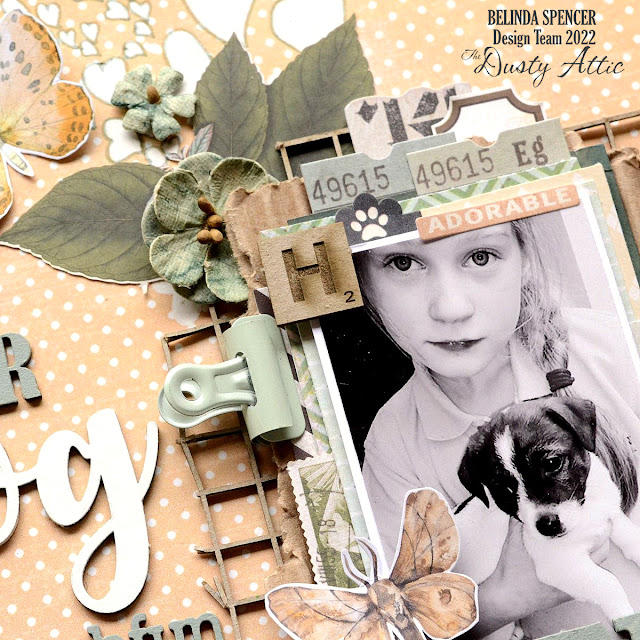
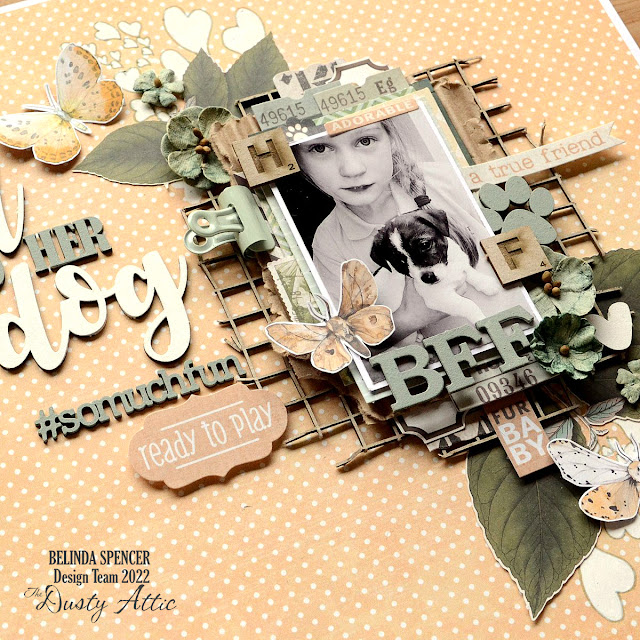
A Girl and her Dog - Belinda Spencer - Mood Board Inspiration

 Hello Dusty Attic fans!

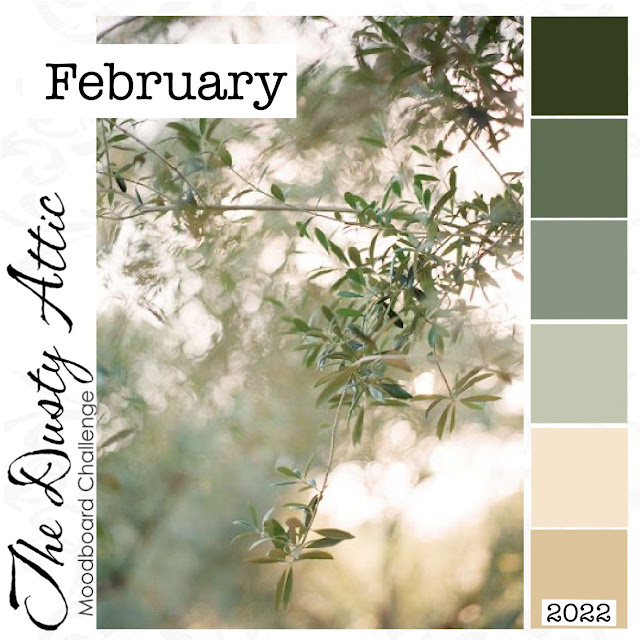
It's Belinda here with you today to share my layout inspired by the gorgeous February Mood Board using lots of fun Dusty Attic products.

Here's a peek at the Mood Board

'A Girl and her Dog'


For this layout I started by adding some stencilling to the background patterned paper using the Heart Attack Stencil with white gesso. The white spots on the paper made the love hearts look weird so I used a fineliner pen to add an outline.
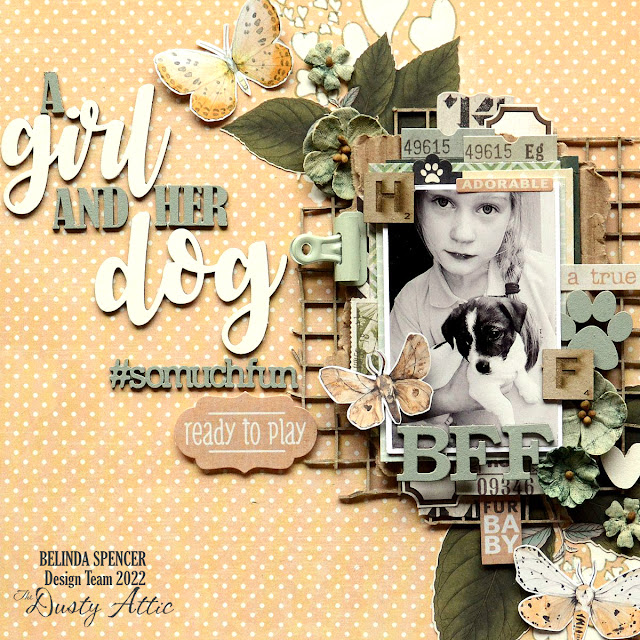

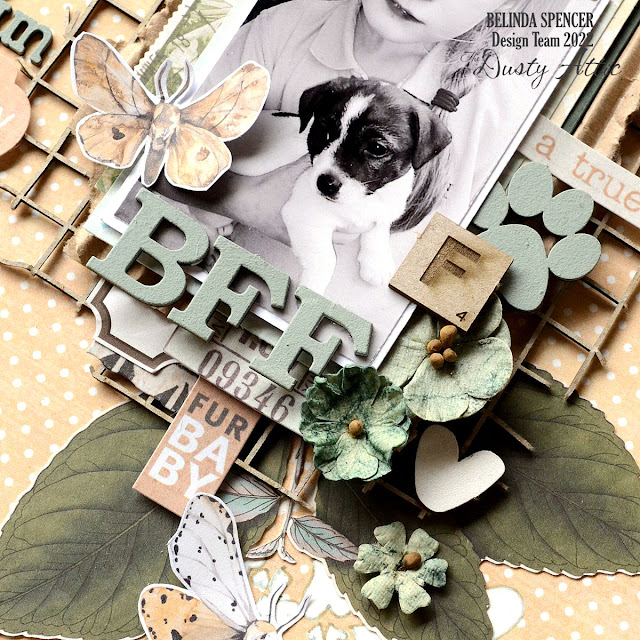
Next I created a stack of co-ordinating patterned paper, a torn piece of the corrugated card and a Grid Panel at the bottom. I tore the edges of the grid panel away in places to give it a more rustic look.

Next I painted the chipboard pieces that I wanted coloured. I gave those pieces a couple of coats of gesso first. Then I mixed up some acrylic paint to match the mood board and applied that to select pieces.
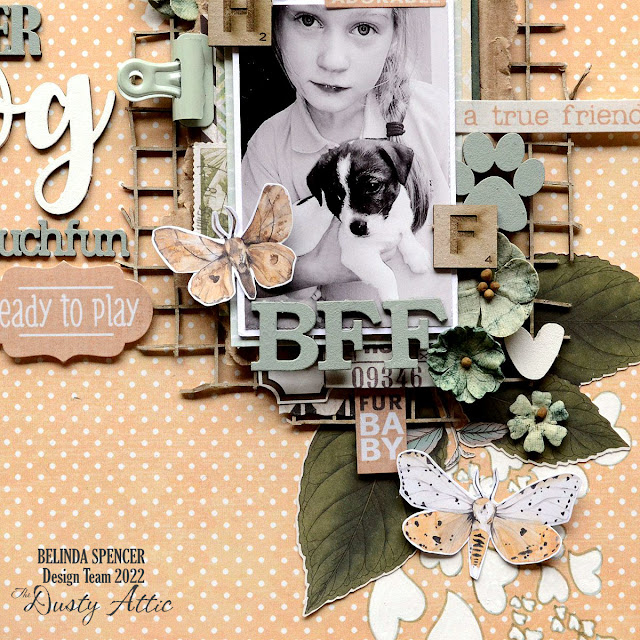

Finally I assembled my layout adding my photo and some extra embellishments.
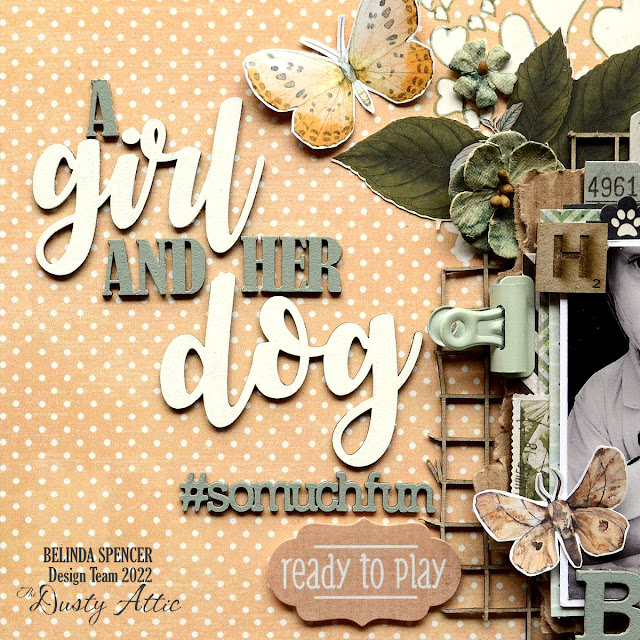


The Dusty Attic products used:


Thanks so much for stopping by the blog today. I hope you find some time to play with the mood board and some awesome Dusty Attic chipboard too.

Cheers
Belinda

Wednesday, 16 February 2022

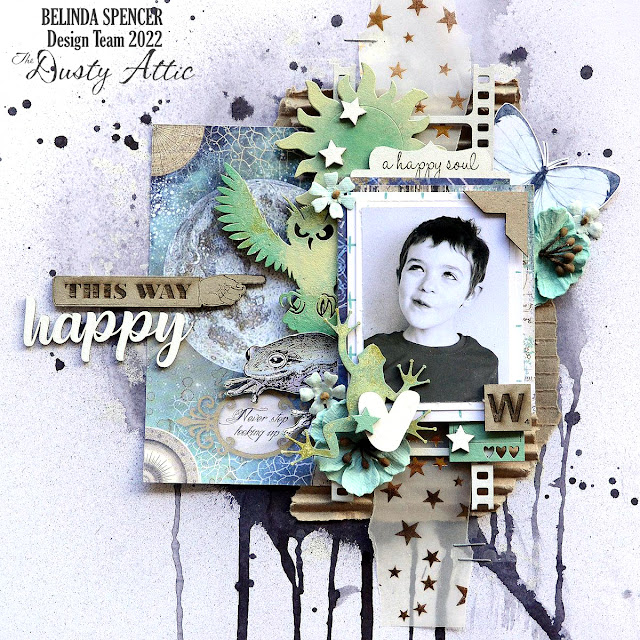
Happy - Belinda Spencer

 Hello Dusty Attic fans.

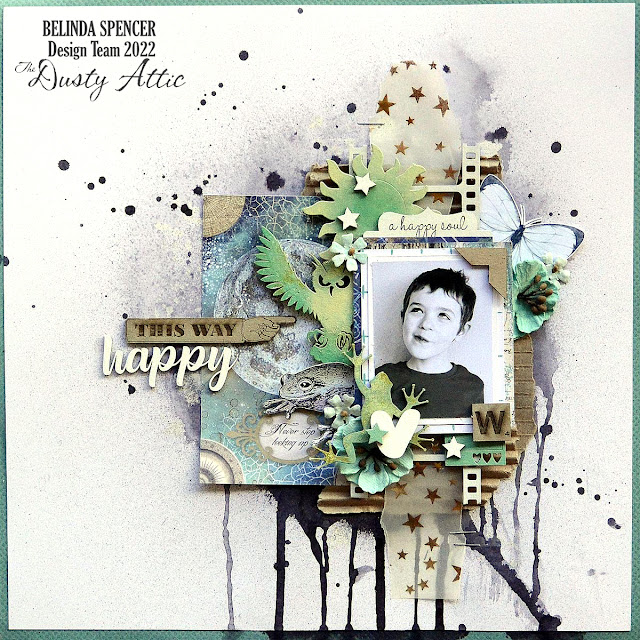
It's Belinda here with you today. Welcome to my February post where I share with you my latest layout featuring a whole lot of awesome Dusty Attic product.


Happy


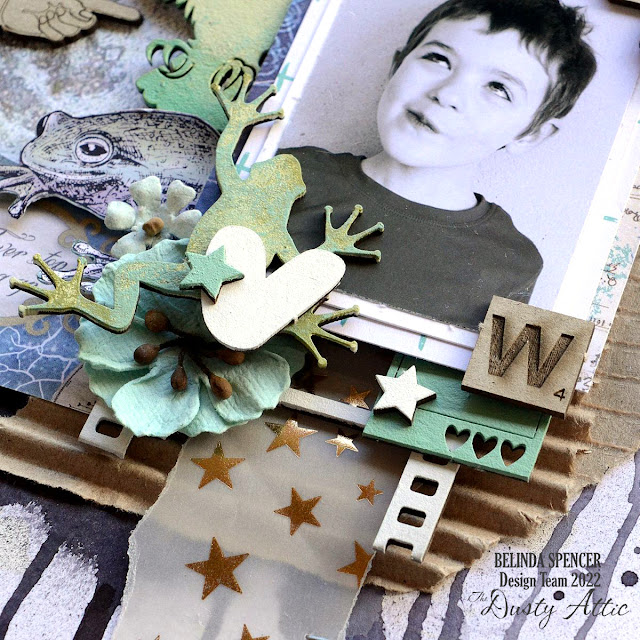
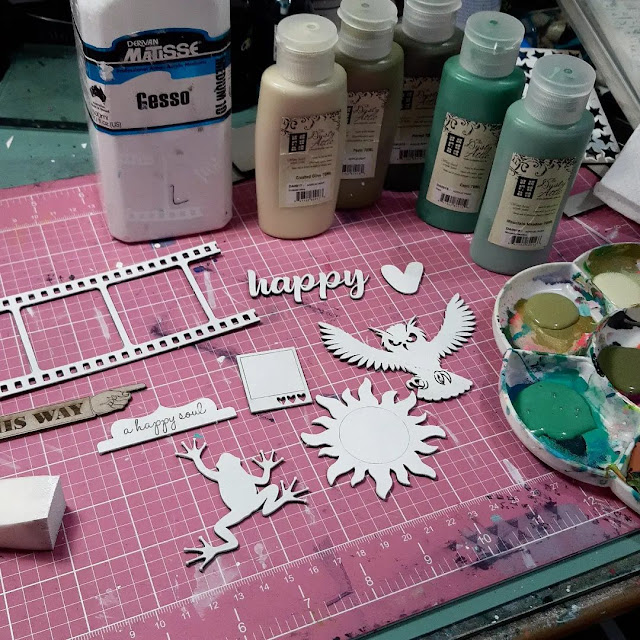
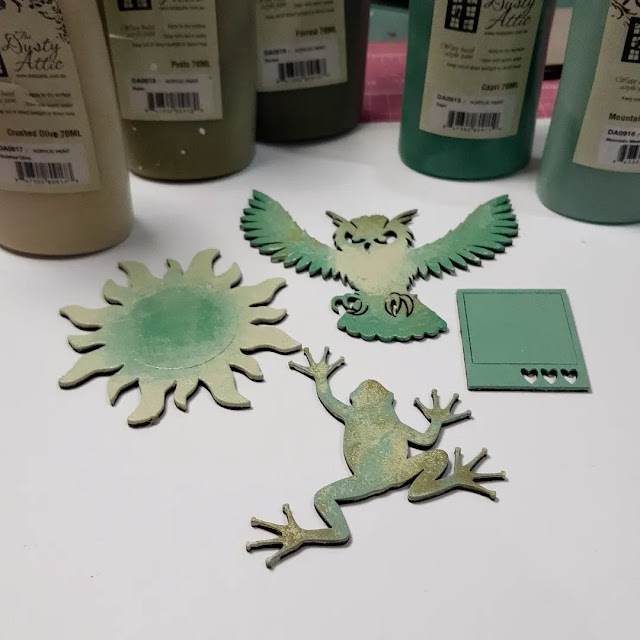
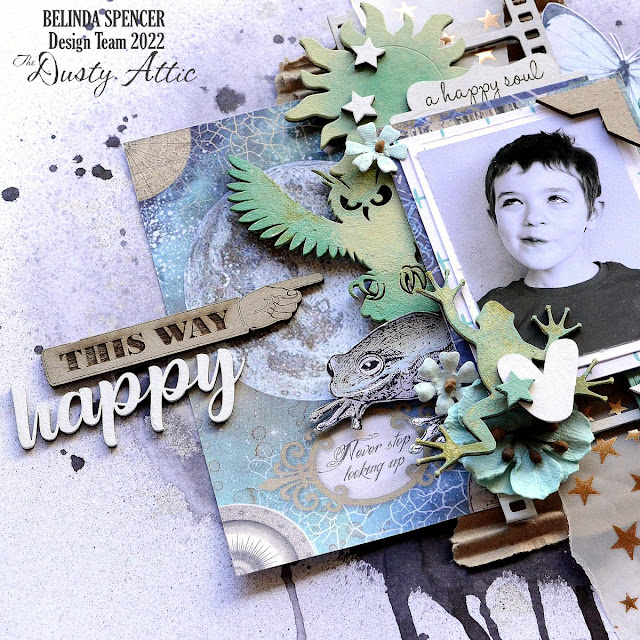
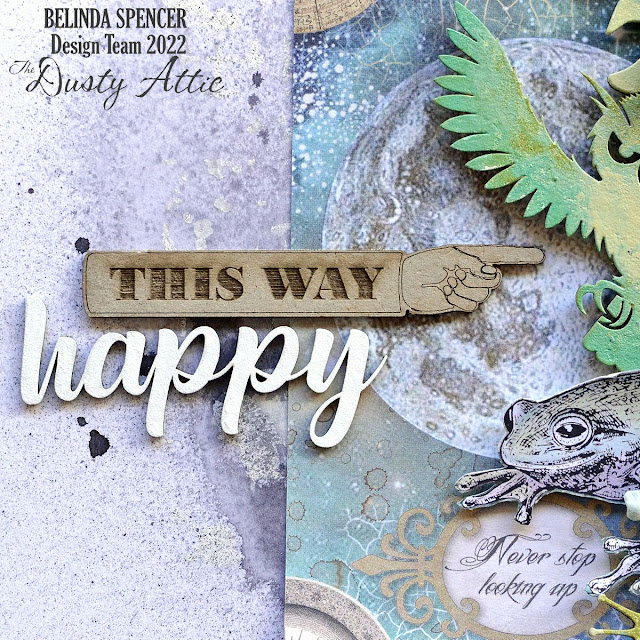
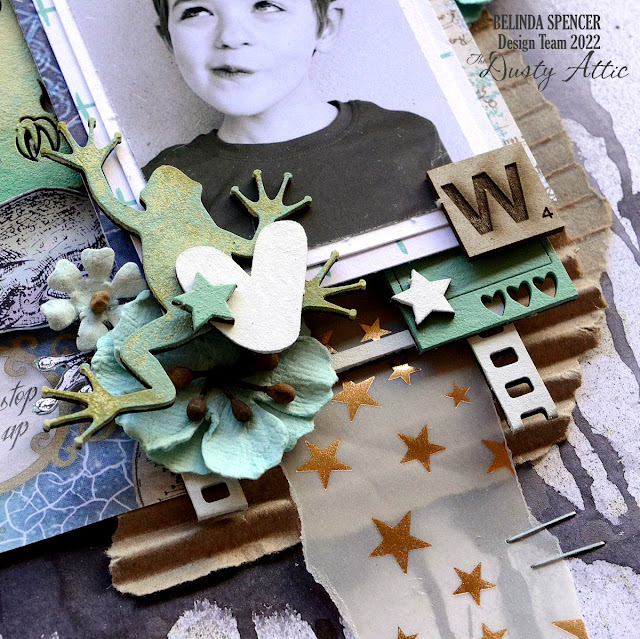
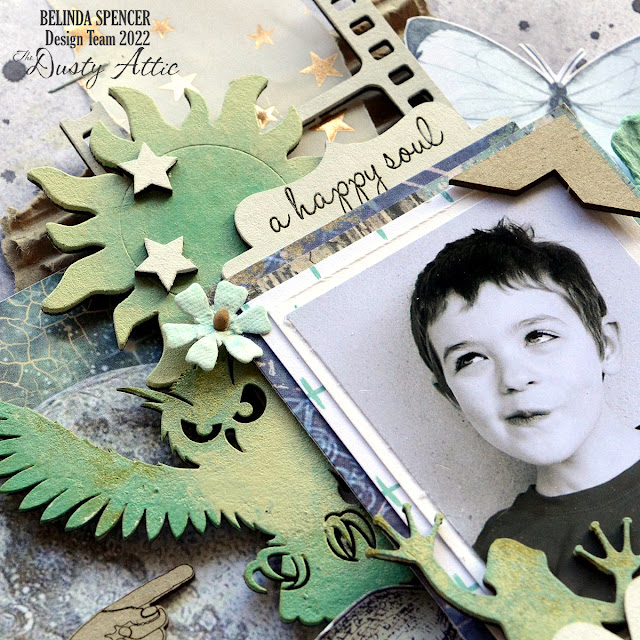
For this layout I wanted to use a whole lot of super cute chipboard pieces to frame my photo of my son when he was younger. I wanted the chipboard to co-ordinate with my patterned paper and to have a variety of finishes. I first worked out the pieces that would remain in their raw state and they were the ones that would form a visual triangle on my layout: the photo corner, alpha tile and pointer tag. I painted everything else with a few coats of gesso.


Next I pulled out the pieces that I wanted to remain white and put those aside. I painted the remaining pieces using a combination of matching Dusty in Colour paints.


I used the Distressed Grid Stencil on my background cardstock with white gesso. I then sprayed a black ink over the background, spritzed it with water, let it drip and then blotted it. The stencil didn't show up as much as I had hoped and then I ended up covering most of it up anyway!


Next it was time to assemble my layout. I love this part where I shuffle everything around until it seems right and has balance.


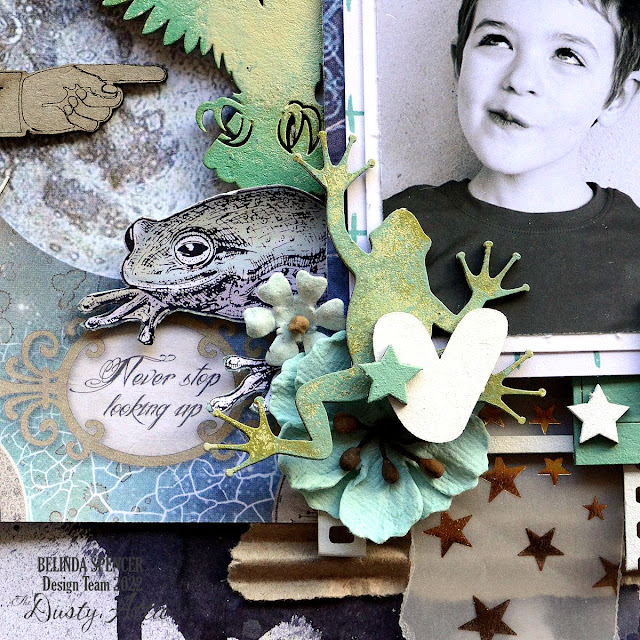
I liked the little quote on the patterned paper that says "Never stop looking up" so I wanted to make sure that didn't get covered up. It suits the photo of my darling boy perfectly.


Creating clusters of embellishments is fun. I love to layer my chipboard pieces.


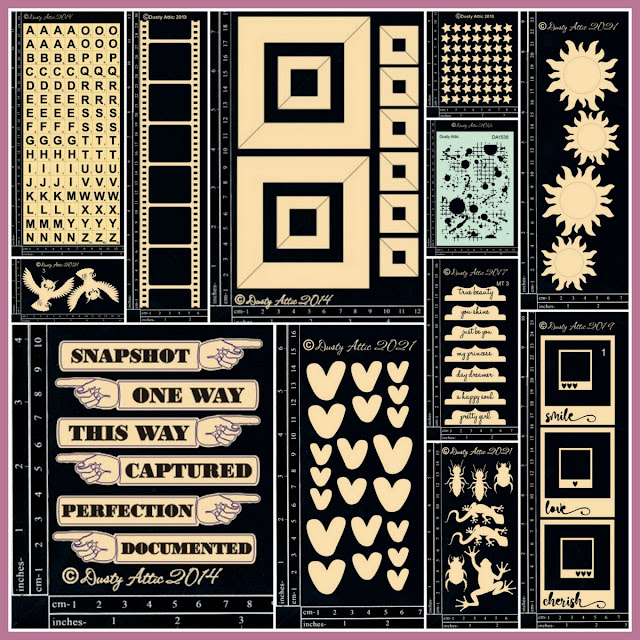
Here are the Dusty Attic products I used:


Dusty in Colour:
DA0915 Capri
DA0916 Mountain Meadow
DA0917 Crushed Olive
DA0918 Pesto
DA0919 Forest

Thanks so much for stopping by the blog today. I hope you are inspired to go and have a play with some Dusty Attic chippies too.

Cheers
Belinda