Hello Dusty Attic fans.
It's Belinda here with you today. Welcome to my February post where I share with you my latest layout featuring a whole lot of awesome Dusty Attic product.
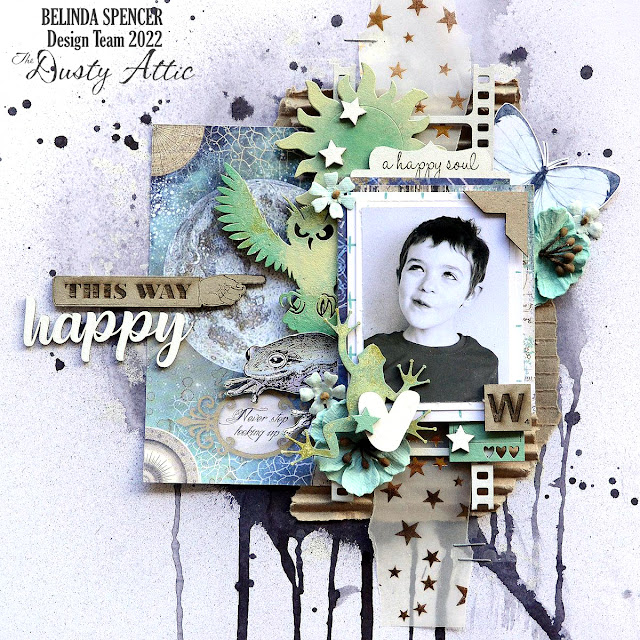
Happy
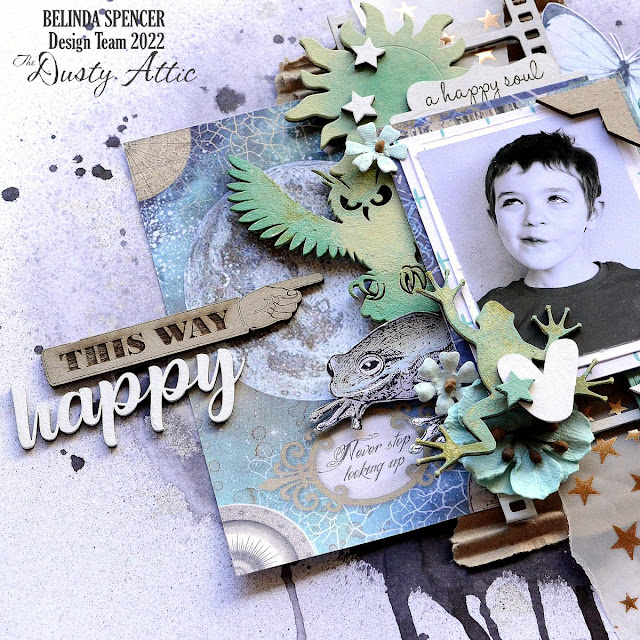
For this layout I wanted to use a whole lot of super cute chipboard pieces to frame my photo of my son when he was younger. I wanted the chipboard to co-ordinate with my patterned paper and to have a variety of finishes. I first worked out the pieces that would remain in their raw state and they were the ones that would form a visual triangle on my layout: the photo corner, alpha tile and pointer tag. I painted everything else with a few coats of gesso.
Next I pulled out the pieces that I wanted to remain white and put those aside. I painted the remaining pieces using a combination of matching Dusty in Colour paints.
I used the Distressed Grid Stencil on my background cardstock with white gesso. I then sprayed a black ink over the background, spritzed it with water, let it drip and then blotted it. The stencil didn't show up as much as I had hoped and then I ended up covering most of it up anyway!
Next it was time to assemble my layout. I love this part where I shuffle everything around until it seems right and has balance.
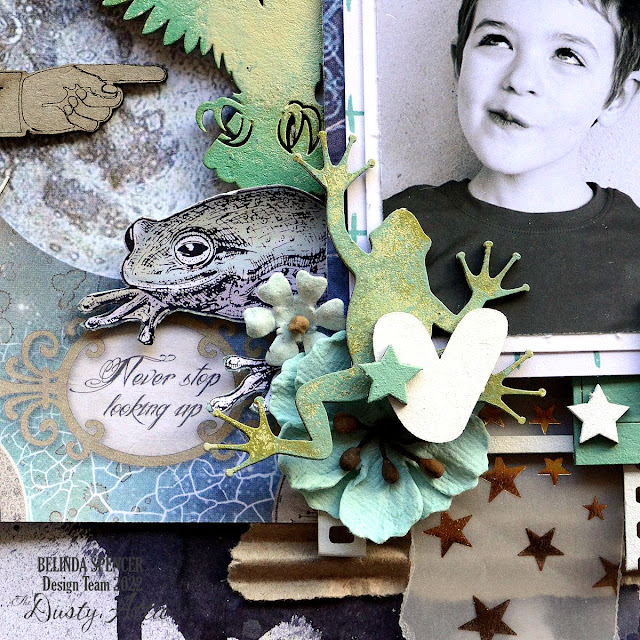
I liked the little quote on the patterned paper that says "Never stop looking up" so I wanted to make sure that didn't get covered up. It suits the photo of my darling boy perfectly.
Creating clusters of embellishments is fun. I love to layer my chipboard pieces.
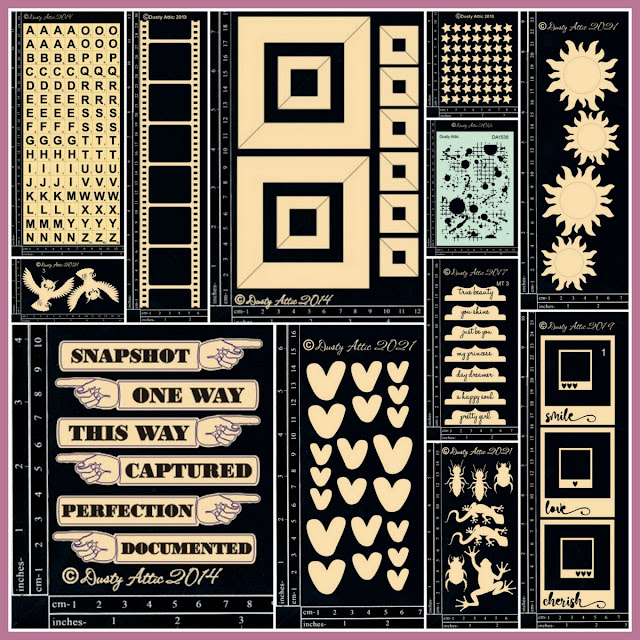
Here are the Dusty Attic products I used:
Dusty in Colour:
DA0915 Capri
DA0916 Mountain Meadow
DA0917 Crushed Olive
DA0918 Pesto
DA0919 Forest
Thanks so much for stopping by the blog today. I hope you are inspired to go and have a play with some Dusty Attic chippies too.
Cheers
Belinda








No comments:
Post a Comment