Showing posts with label Tea leaves. Show all posts

Thursday, 24 October 2024

You are Art - Pascale B Scrap

Hello Sweeties,

Today I'm up on Dusty Attic's blog with a new mixed-media panel featuring a photo from @ArtHouseWhimsy from the A kind of Christmas set.


I primed the canvas board with white gesso before adding a design using paper paste. I also added some paper paste to the edges. When dry, I covered the design with clear crackle paste. The result is a barely visible and subtle design that reminds the wing.


I painted the background with Deep Turquoise and Prussian Blue liquid acrylic paints. 


I primed all the chipboards with white gesso and decided to emboss the Geo Panel with grunge embossing powder.


I painted the Flower Posie #4, the Poppy Heads, and the Flower Buds #1 with nude and magenta liquid acrylic. 


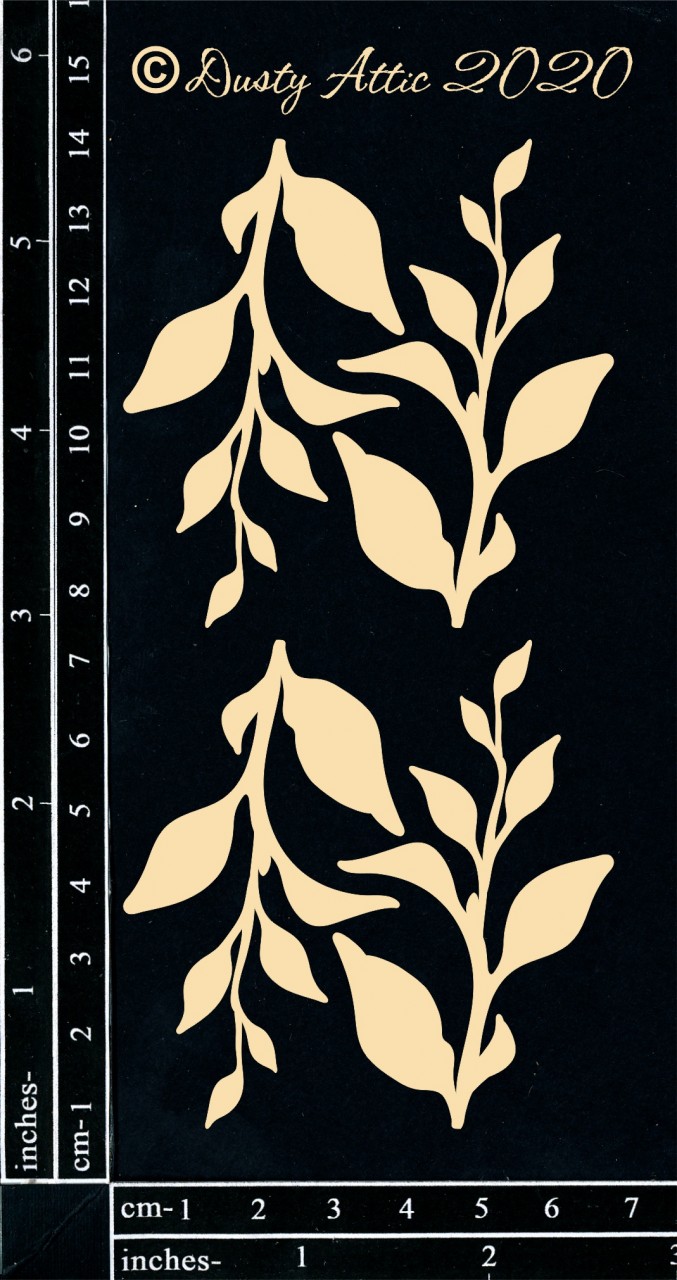
For the Tea Leaves and the branches of the previous, I added some black to the nude-magenta mix to obtain a brown. I used this brown to add some shadow to the background.


To finish, I added some pink and turquoise glitter.

Dusty Attic products:
Other products:
  • Embossing powder - Lindy's Gang (That's Marblelous!);
  • Art Ingredients - Finnabair Prima (Winter Glitter Set);
  • Art Alchemy Liquid Acrylic- Finnabair Prima (Deep turquoise, Prussian Blue, Ink Black, Nude, Magenta);
  • Art Extravagance - Finnabair Prima (Paper Paste, Clear Crackle Paste);
  • Art Basics - Finnabair Prima (White Heavy Gesso, Heavy Body Gel, Soft Gloss Gel).

Friday, 10 May 2024

Shine Brightly - Mixed Media canvas - Pascale B

Hello Sweeties,

Today I'm up on Dusty Attic blog with a new canvas. 


First I primed the canvas with white gesso, then added a design with the Fosiilised Stencil and modeling paste. When the modeling paste was completely dry, I covered the whole canvas with clear and white crackle paste, I was careful to remove all excess of the crackle pastes to allow the design to show. I let it dry naturally to allow the crackle to appear.


I painted the canvas with coral and Prussian blue liquid acrylic paints when the pastes were dry. 


I primed all the chipboards with white gesso. For the Floral Corners, I decided to use only copper, Firebird, and honey waxes.


I painted the Wildflowers #3 with the same colors of liquid acrylic paints I used for the background. For the Tea Leaves and the Mini Foliage #5, I used a combination of liquid acrylic paints and waxes.


I colored the flowers with diluted coral paint and distressed the edges with brown Distress ink.  


To finish, I added some gold and copper glitters. 


Dusty Atty products:
Other products:
  • Flowers - 49 and Market (Ivory Royal Posies);
  • Art Ingredients - Finnabair Prima (Luminous Glitter Set);
  • Art Alchemy Liquid Acrylic - Finnabair Prima (Prussian Blue, Coral, Burnt Sienna);
  • Art Alchemy Waxes - Finnabair Prima (Rich Copper, Honey, Firebird);
  • Art Extravagance - Finnabair Prima (Clear Crackle Paste, White Crackle Paste);
  • Art Basics - Finnabair Prima (White Heavy Gesso, Modeling Paste, 3D Gloss Gel, Soft Gloss Gel).

Sunday, 24 December 2023

MDF Caddy - Pascale B Scrap

Hello Sweeties,

Today I'm up on Dusty Attic blog with a caddy. Have you seen all the new MDF available?


Before assembling the Caddy, I primed it with white gesso and covered all the pieces with tissue paper. When done, I added a design with the Postcard stencil and a gold paste.


I selected different gears that I primed with black gesso. I primed also some Small Tea Leaves and Rose Leaves. I colored the leaves with bronze, gold, and silver waxes.


I created four clusters with the gears and cogs: one on each side of the caddy. When happy with the composition, I covered all the elements with rust paste. Next, I added the metallic flowers and the leaves.


To finish, I added some glitter.


Dusty Attic products:
Other products:
  • Tissue Paper - Finnabair Prima (Science Lover);
  • Mechanicals - Finnabair Prima (Metal Blooms);
  • Art Ingredients - Finnabair Prima (Luminous Glitter set);
  • Art Alchemy Waxes - Finnabair Prima (Aged Bronze, White Gold, Old Silver);
  • Art Extravagance - Finnabair Prima (Vintage Gold Icing Paste, Brown Rust Paste, Orange Rust Paste);
  • Art Basics - Finnabair Prima (White Heavy Gesso, Black Heavy Gesso, 3D Gloss Gel, Soft Gloss Gel).

Sunday, 10 December 2023

Listen to your Heart - Pascale B - Mixed Media canvas

Hello Sweeties,

Today I'm up on Dusty Attic blog with a new mixed-media canvas. This one is larger than the ones I used usually: this one is 5x45 cm


I primed the canvas with white gesso. Next, I added a design to the upper part of the canvas with a stencil and Emerald Jewel paste. I covered the lower part with paper paste and to the edge of the upper part. When dry, I paint the upper part with different green liquid acrylic paints and the bottom part with umber paint to match the background of the photo. Next, I added some gold metallic flakes to the lower flakes. Then, I added clear crackle paste to the edge. I added more colors when the crackle paste was dried.


I primed the chipboards with white gesso. I painted the Mandala with different shades of coral paint to match the color of the wall of the photo. 


I painted all the leaves with different shades of green.


I covered the Wrought Iron Fence Border and the Mini Morrocan Lamps with gold metallic flakes, and then I added some copper wax.


I added flowers in mango and pistachio to remind the colors of the dress.


To finish, I added some glitter. 

Dusty Attic products:
Other products:
  • Flowers - 49 and Market (Nature's Bounty: Pistachio, Mango);
  • Stencil - Finnabair Prima (Folk Florals);
  • Art Ingredients - Finnabair Prima (Luminous Glitter, Vintage Metallic Flakes);
  • Art Alchemy Liquid Acrylic - Finnabair Prima (Emerald, Advocado, Umber, Ochre, Lime Green, Carmin, Coral, Burn Sienna, Ink Black);
  • Art Alchemy Waxes - Finnabair Prima (Rich Copper, Vintage Gold);
  • Art Extravagance - Finnabair Prima (Paper Paste, Clear Acrylic Paste, True Emerald Jewel Paste, Gilding Glue);
  • Art Basics - Finnabair Prima (White Heavy Gesso, Soft Gloss Gel).

Thursday, 27 April 2023

The Simple life - Miss Carrie


Hello, crafting friends. It's Miss Carrie here with another scrapbook project for you to try. Today, I am working with a ren fest photo and chose to create a more fanciful scene with floral layers, bits of chipboard, transfers and texture paste.


I started by building background layers with stencils and floral chipboard pieces. I wanted to bring out the red hair in both our children., so I created a soft pattern in the background with the chicken wire stencil and mahogany ink. Over the top, I added a textured pattern using the distressed grid stencil. I mix opaque grit paste with walnut ink to create this lovely design.


After adding a few layers of ephemera paper, I added some chipboard elements from the wildflower 3 pack pack. I gave these a soft coat of white paint to help them stand out over the neutral papers.


 I did cut these chipboard pieces apart so that I could continue the stem potion below the photo. This also reduced some of the bulk on the page.

Behind the photo, I added layers of bookplate ephemera, floral rub on transfers, acetate leaves, and elements from the creative layers 9 collection. I shaded the chicken wire and flora pieces with a mix of blue distress oxide sprays to match the soft blue in the rub-on transfers.


I layered these items with small tea leaves, botanical leaves, and the flowerposie. To bring some more colour to the page, I painted the posies with distress oxide sprays. After prepping them with white gesso, I poured some ink into the paint palette and added a few layers of colour.

The title on this page also came from the creative layers collection. To make the phrase stand out, I painted this with a soft white, then added a coat of dark brown. Before the paint had a chance to dry, I wiped off the dark brown so that it only stayed within the letters on the chipboard.


I chose to keep the title simple and layered it over a few chipboard phrases with a little blue heart. I brought a few more phrases with a little adventure chipboard phrase with a little adventure chipboard phrase and a circular phrase from the designer disc 10 collection.

The word disc was painted in a soft white and then layered with a chipboard frame to help it stand out more again the botanical pieces. The script letters on the disc are beautifully designed and create a lovely statement piece on the page.


Throughout the page, I tucked more leaves and floral bits and added some texture with twine. I tucked the story behind the photo in a little pocket and topped it off with a tab. 


I hope this project inspired you to try something new. 

I cant wait to see what you create 

Botanic Mix 6 https://dustyattic.com.au/product/botanic-mix-6/ 

Designer Disc 10 https://dustyattic.com.au/product/designer-disc-10-words/ 

Chicken Wire Stencil https://dustyattic.com.au/product/chicken-wire-stencil/ 

Flower Posie https://dustyattic.com.au/product/flower-posie-4/ 

Wildflower 3 https://dustyattic.com.au/products.php/?product=Wildflower-%233 

Creative Layers 9 https://dustyattic.com.au/product/creative-layers-9/

Distress Grid Stencil https://dustyattic.com.au/product/distressed-grid-stencil/  


Friday, 24 February 2023

Beauty - Pascale B - Mood Board Inspiration

Hello Sweeties,

Today I'm on Dusty Attic blog with a new mixed media panel, inspired by the February color combo. I must confess that I stick to the purple and the light blue. 


Here is the colorful February color combo. 


I glued some collage sheets on the canvas board. Next, I added a design with paper paste and a stencil.  Finally, I added white crackle paste. When everything was dry, I painted the background with different acrylic paints to match the colors of the photo I have chose. 


I primed all the chipboard with white gesso. I covered the ATC Frame #5 with the Sterling Foundry wax. Then I added Denim Blue wax to give it a blue tone, then Soot Antiquing wax to aged it.


I sprayed the Floral Corner with Open Arms Amethyst, then covered it with UTEE. The ink make like bead of color under neath. I sprayed again the ink, then heat the UTEE one more time. The result is a marble effect. 


I painted the branch with a mix of Aubergine Impasto and Burnt Sienna liquid acrylic paint. For the Tea Leaves, I used Aubergine and Titanium White, then Old Silver wax. 


I select a few Nature's Bounty flowers that I colored with the Open Arms Amethyst. I want them to be darker as they were in the shadow side of the photo. I used the White Pearl wax to add some light and dark brown liquid acrylic to add shadow.


To finish, I added glitter.


Dusty Attic products:

Floral Corners
DA0848

     ATC Frame #5
DA1523

     Small Tea Leaves
DA2599
Branch #4 Small
DA1184


Other products:
  • Spray inks - Lindy's Gang (Open Arms Amethyst);
  • Embossing Powders - Ranger (UTEE);
  • Foundry Wax - Ranger (Sterling);
  • Stencil - Stencil Girls;
  • Floser - 49 and Market (Salt Nature's Bounty);
  • Art Ingredients - Finnabair Prima (Winter Glitter Set);
  • Art Alchemy Liquid Acrylic - Finnabair (Prussian Blue, Ultramarine, Violet, Ink Black, Burnt Sienna, Titanium White);
  • Art Alchemy Impasto - Finnabair (Linen, Aubergine);
  • Art Alchemy Waxes - Finnabair (Denim Blue, Soot, Old Silver, Withe Pearl);
  • Art Extravagance - Finnabair Prima (Paper Paste, White Crackle);
  • Art Basics - Finnabair Prima (White Heavy Gesso, 3D Matte Gel, Soft Gloss Gel).

Wednesday, 1 February 2023

Sweet Memory -Judith Tijsen - Mood Board Inspiration

Hi there everyone,

The month is not over yet so you still have time to make an entry for the moodboard challenge 
of the month of February at Dusty Attic.


For this layout this time I chose to use only the pink colours of the moodboard.


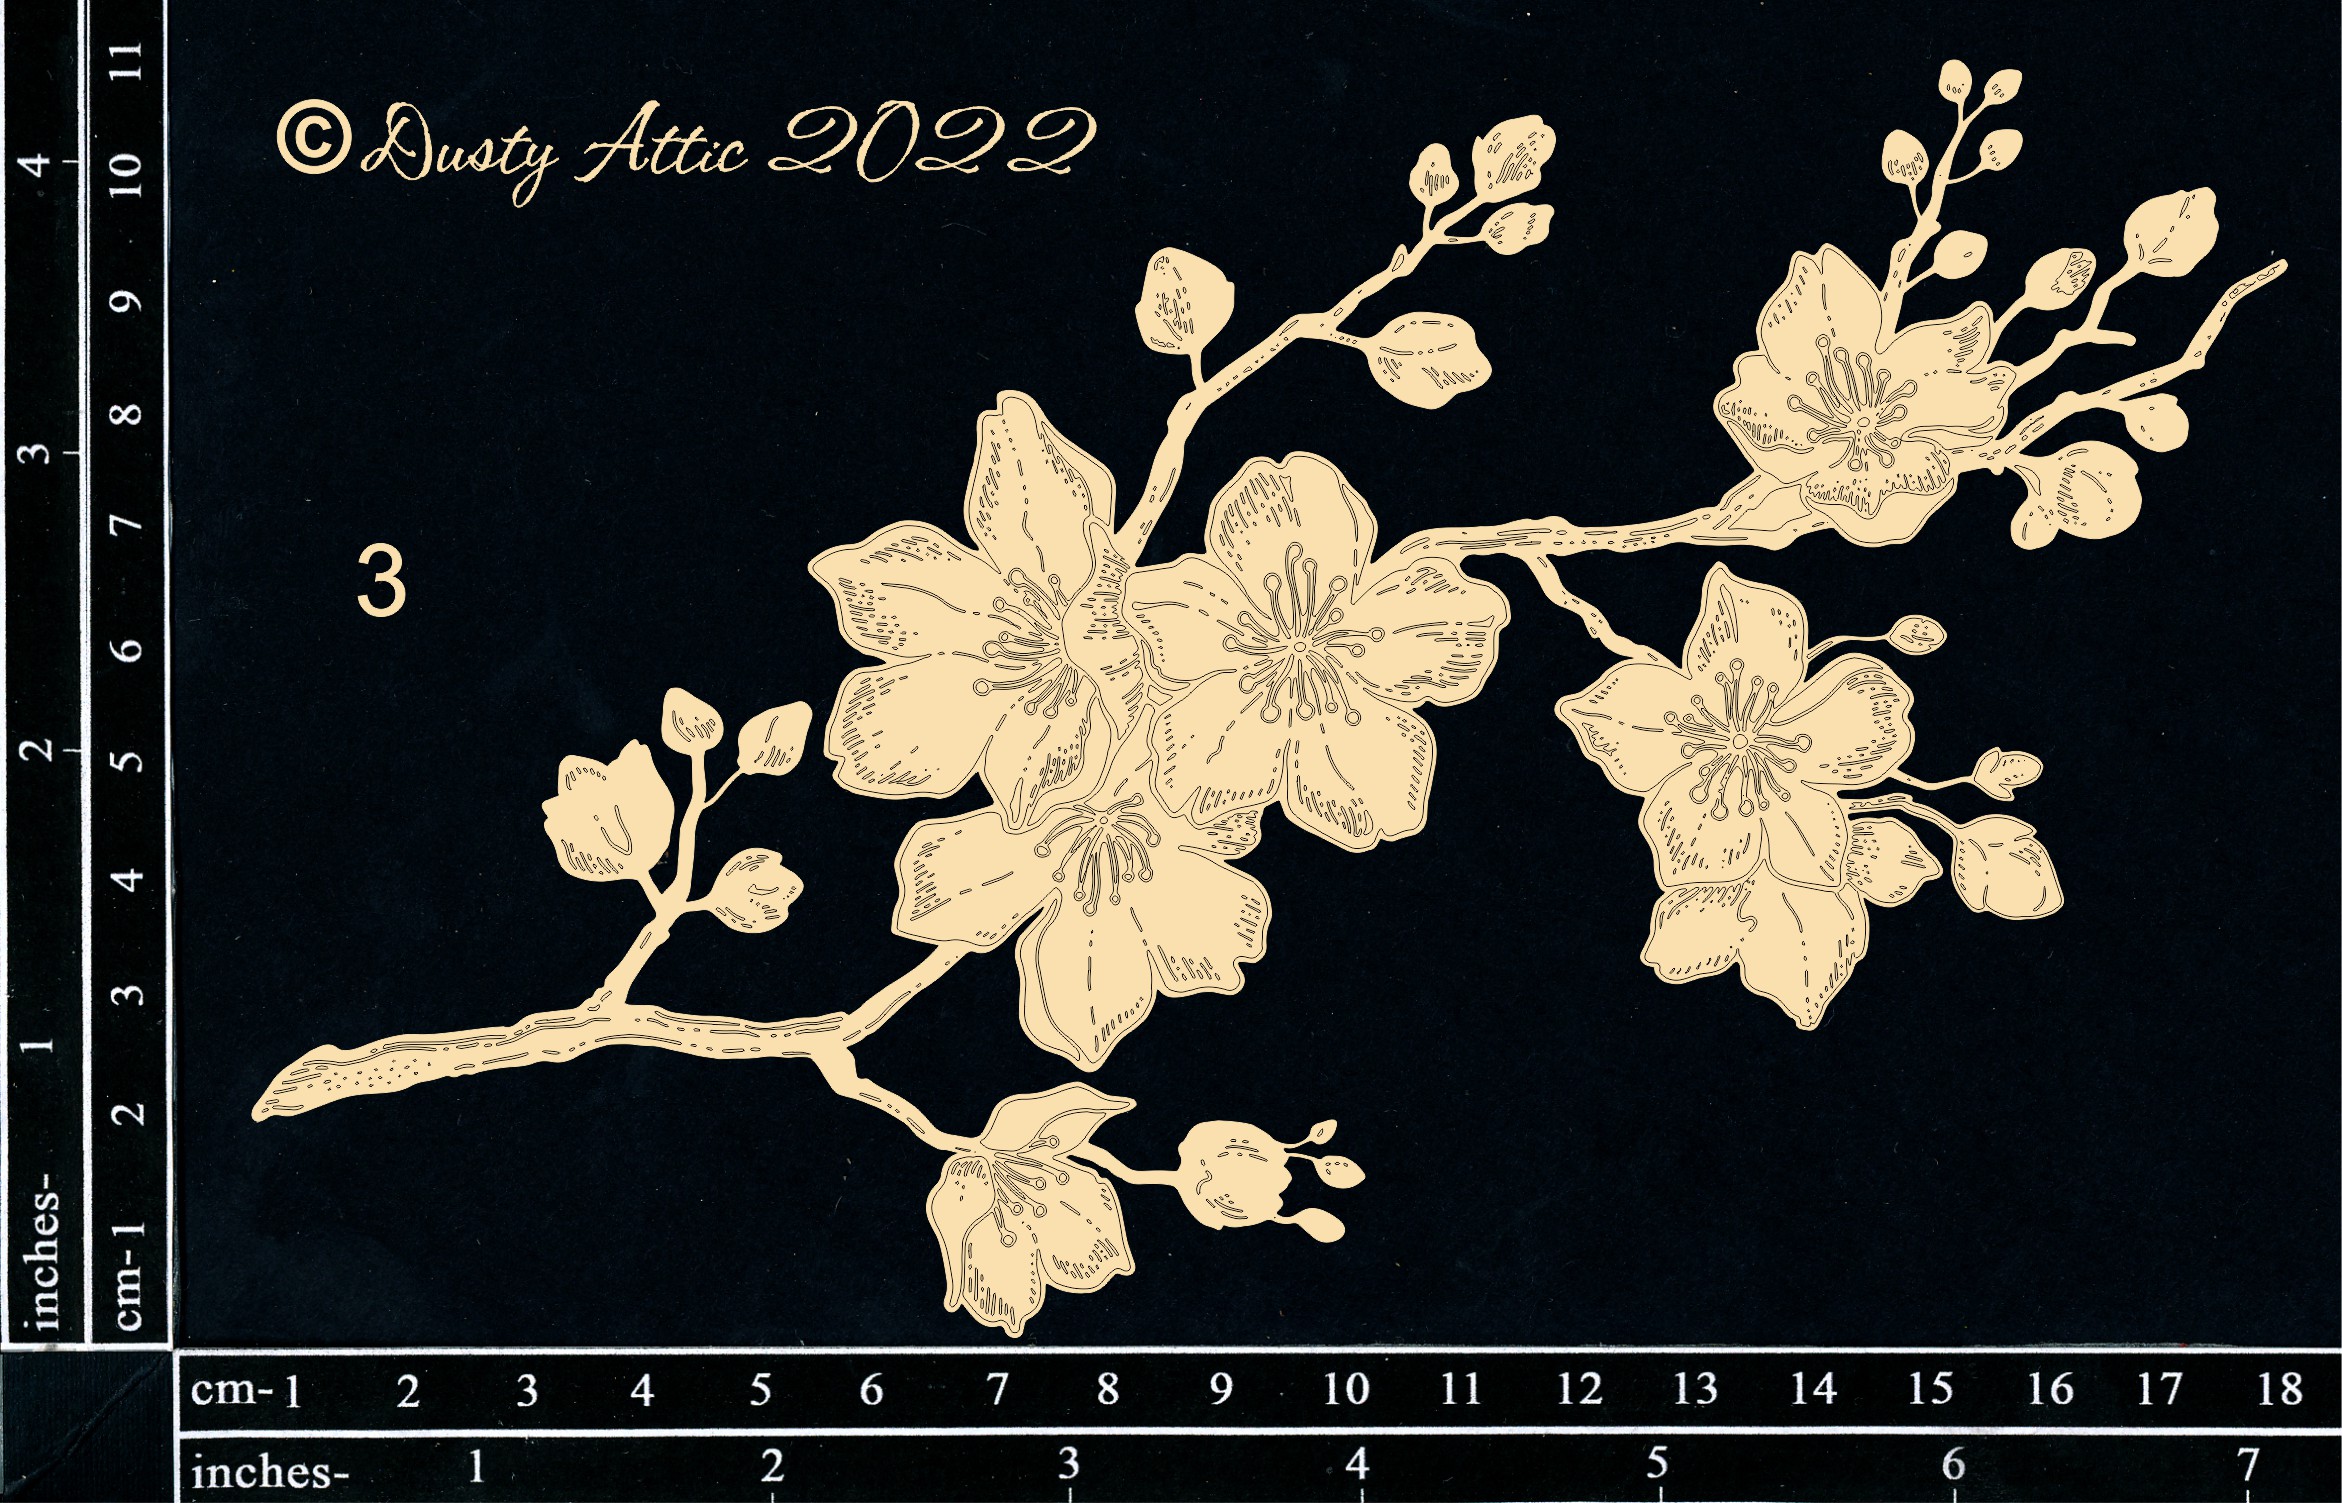
Don't you love the beautiful chipboard cherry blossoms. 


I treated them only with just embossing powder.

The first layer completely with only white embossing powder and the second layer only in the center of the flower with pink embossing powder.


They match perfectly with the paper die-cut flowers.


Used Dusty Attic products:


DA1320 - Fan Stencil

You could win $50 AUD credits to the Dusty Attic online store. The only requirement is that you have Dusty Attic chipboard on your creation and enter your project on the Dusty FANattics Page. 

This is the moodboard of the month February.


XXX Judith