Showing posts with label Mini Stars. Show all posts

Saturday, 30 December 2023

Magical Moments - Adri Du Preez

 Hello everyone!

Welcome to the blog today. 

My December design team layout and the last layout for 2023 are filled with beautiful Dusty Attic Christmas chipboard pieces.
  
I hope your Christmas Day was everything you expected and more. I love everything about Christmas, especially the time that we spend together as a family. 

I would like to wish everyone a very Happy New Year, full of love, light, and blessings!

This layout features my granddaughter Mila.  She was only four months old when I took this photo and it was her first Christmas.

Here is my layout.

I started on the background using the Starry Night stencil with Ranger Distress Oxide in Picked Raspberry.  On my layout, I glued jute and ric rac cut with my Silhouette as if wrapping a Christmas present.


All the chippies were first primed with a layer of white acrylic paint and then painted with Americana Acrylic paint.

I painted the title with Tuscan Red and the mini caption with Hauser Light Green.


What is a Christmas layout without stars?  The stars were painted with Tuscan Red, Boysenberry Pink, and Hauser Light Green, and then lightly rubbed with gold glitter glue.  I then covered all the stars with glossy accents.

The bow was painted with Boysenberry Pink and dry brushed with white acrylic paint.


The ornate and mini Christmas trees were painted with Hauser Light Green and dry brushed with white acrylic paint.

I dry brushed the houses with Slate Grey and the edges with Ranger Black Zoot. Some of the mini stars were glued around the houses.


The final touches to this layout included glitter, and splatters with diluted white gesso.

Dusty Attic products used.


Thank you for visiting the blog today. Visit the Dusty Attic online shop for more amazing chipboard designs.

Happy crafting!


Saturday, 9 December 2023

Christmas Bucket List - Kerstin Filou


 Hello everyone!


 December has started, and everyone is searching for the ideal present again. 

But there are more significant things, especially during this time of year.

 This is the focus of my project today. 

I created a canvas with a modified wish list that serves  as a reminder of the special moments of the Christmas season.


some close up's


  used chipboards  


Hanging Lamp #1
Wordpl@y #4 BLACK
Christmas Ornaments Mini
Ornate Pendants #1
Stars #4


 Thanks for your visit!
 
 
Happy Advent season!


Monday, 30 October 2023

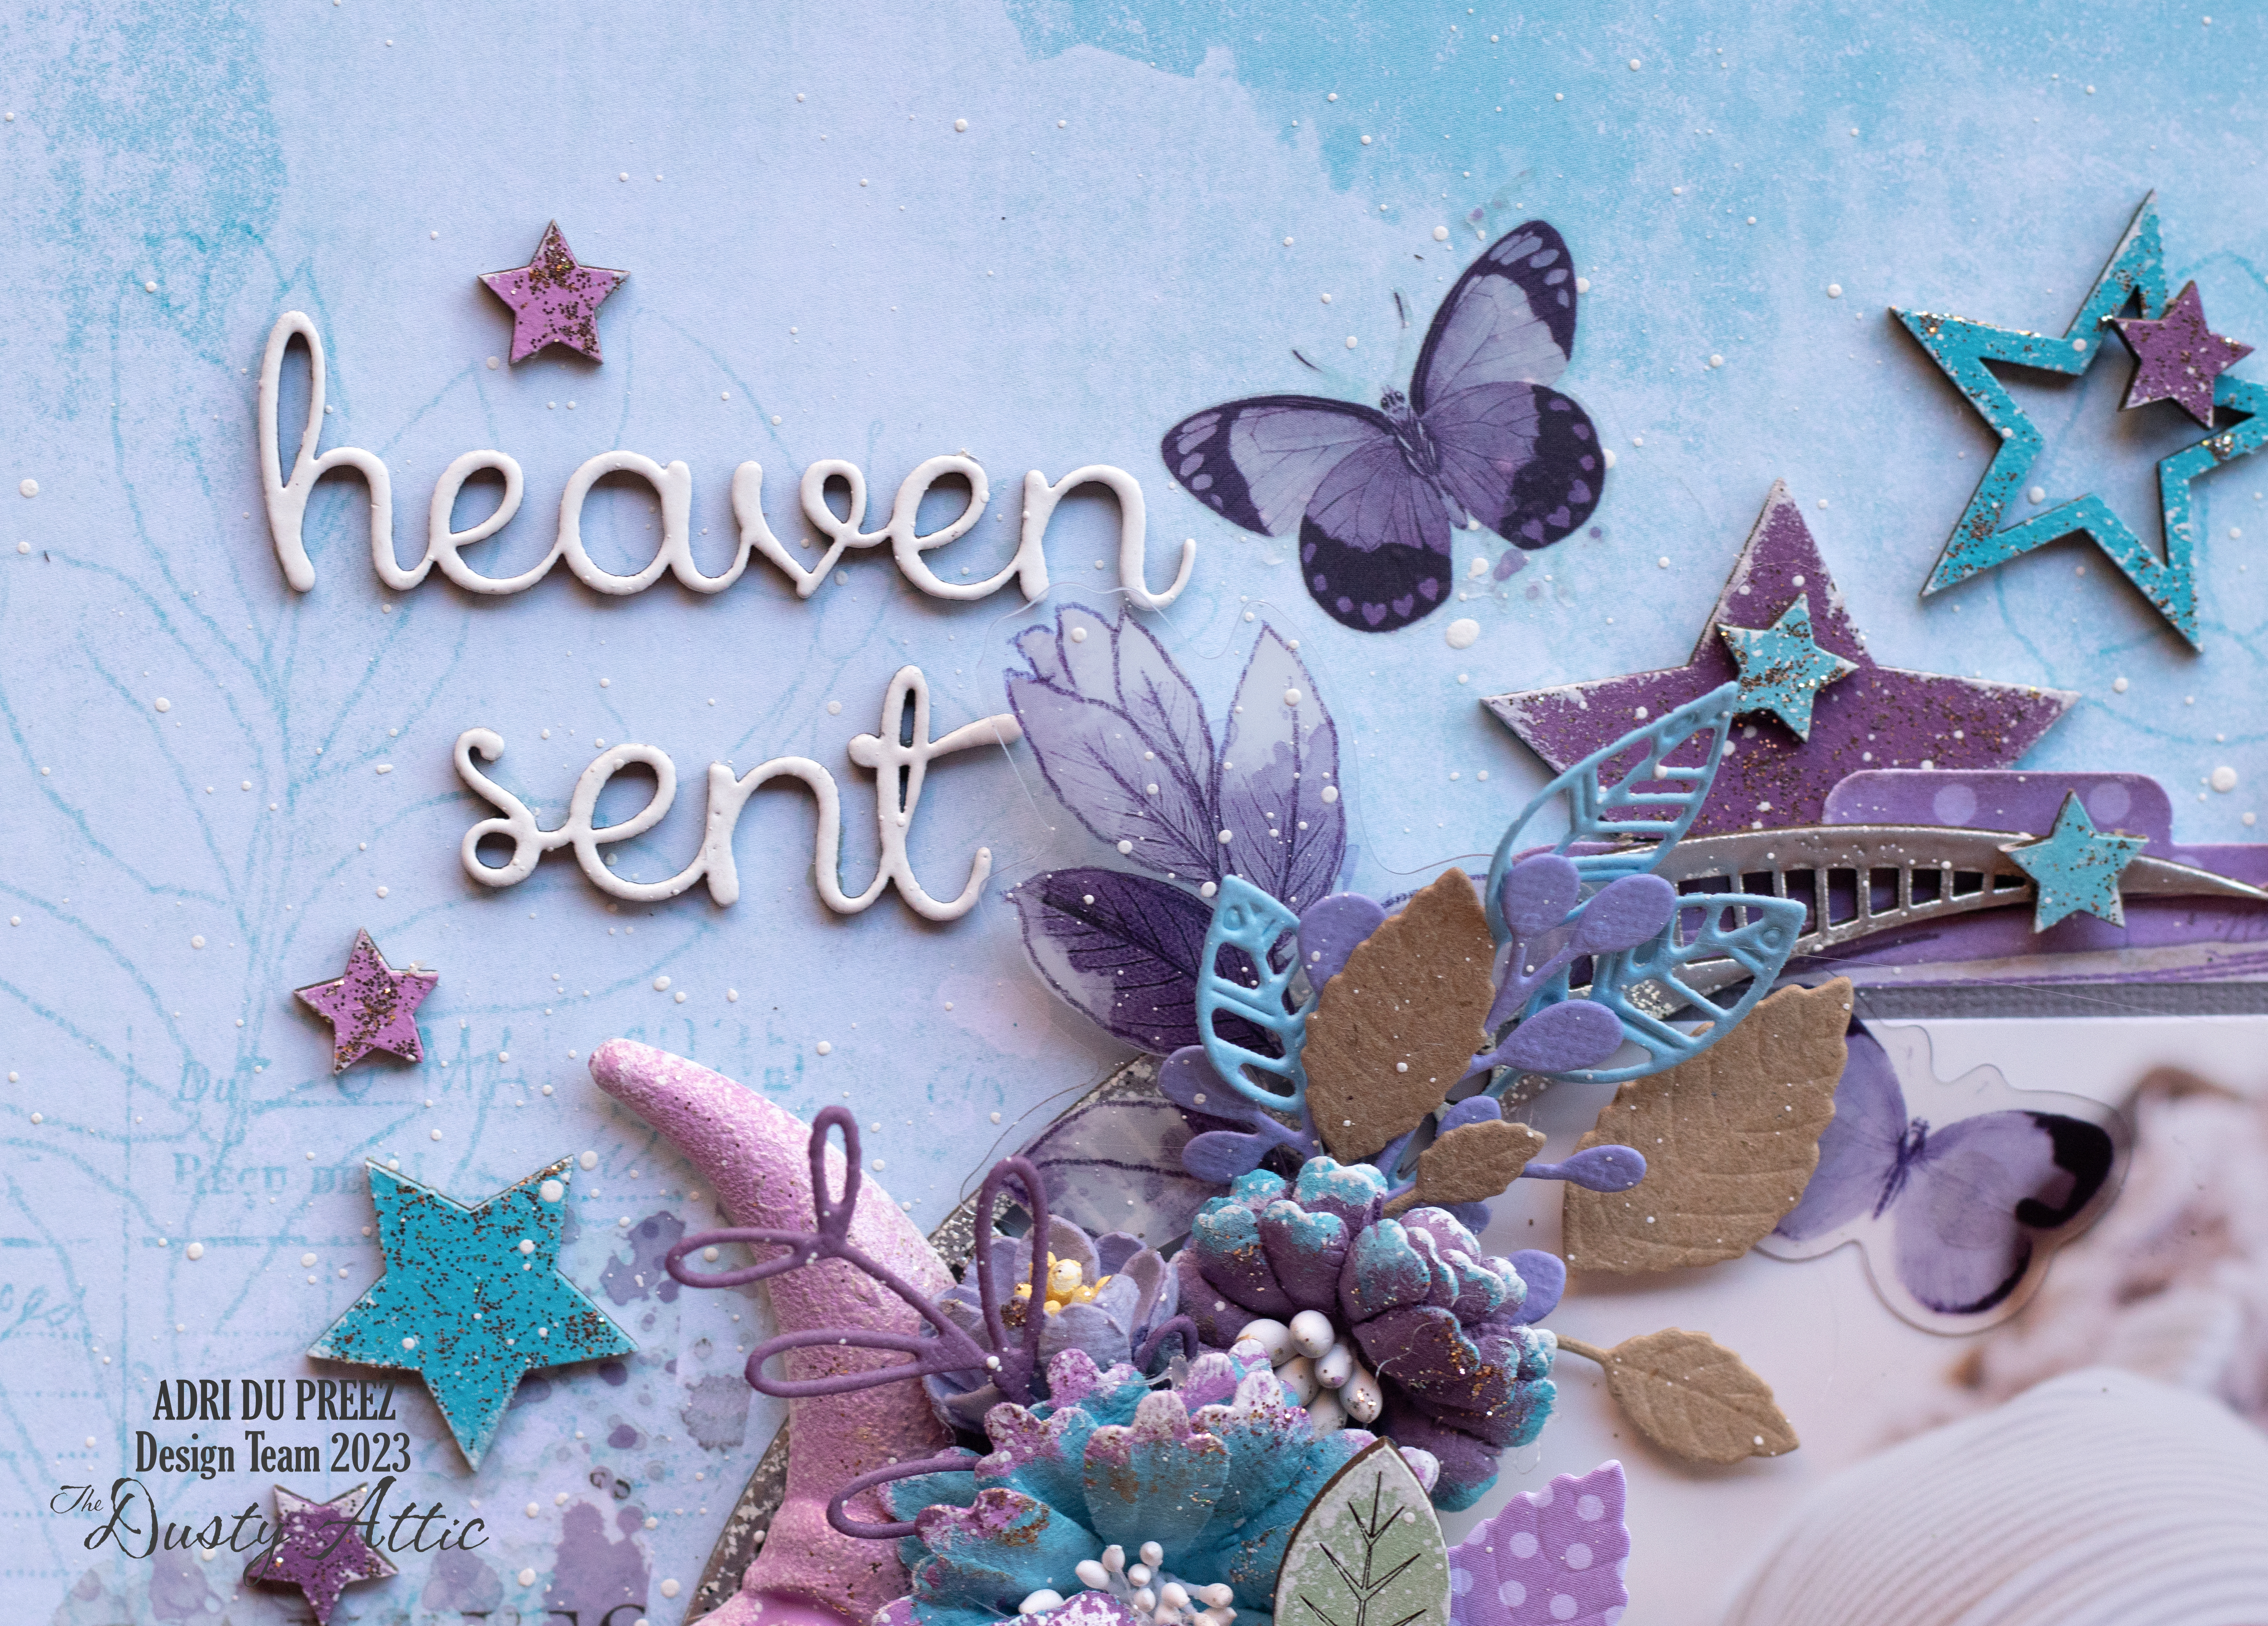
Dream with your eyes wide open - Adri Du Preez

 Hello everyone!

Welcome to the blog today. 

My October design team layout features beautiful Dusty Attic chipboard pieces.  

This photo is of my sweet granddaughter when she was only two weeks old.

Here is my layout.


All the chippies were first primed with a layer of white acrylic paint and then painted with Americana Acrylic paint.

The beautiful Big Moon was also heat embossed with embossing powder.  I used Silver, Lindy's Groovy Granite, and Iced Enamels Relique Powder in Ivory.


I painted the title with Orchid {dream} and Pansy Lavender {with your eyes wide open} and 
dry brushed with white acrylic paint.


The words from the It's a Girl set and Leaves #2 were heat embossed with white 
embossing powder.


The Seedlings were painted with Mint Julep Green and dry brushed with white acrylic paint. 
I snipped the foliage into pieces and tucked them into the flower clusters.  The Leaves #2 were heat embossed with white embossing powder.


The stars were painted with Orchid, Pansy Lavender, and Turquoise Blue and dry-brushed the edges with white acrylic paint. I then added Ranger Stickles in Platinum for a bit of shine. A few of the mini stars were glued onto the larger stars. I painted the Page Pebble with Orchid.


Dusty Attic products used.


The final touches to this layout included pearls, glitter, and splatters with diluted white gesso.

Thank you for visiting the blog today. Visit the Dusty Attic online shop for more amazing chipboard designs.

Happy crafting!


Sunday, 29 May 2022

Make a Wish - Adri Du Preez - Mood Board Inspiration


Hello everyone!

Here is my layout inspired by the beautiful May mood board. This is my little grandson on his first birthday.  

Jamesie, here is my message to you.

Today was extra special because you turned one and you spend the day with us. Grandpa, mommy, and I made a huge fuss to make sure you knew how precious you are to us.  It seems like just yesterday, that you were tiny and new. But the best thing of all is your life's only just begun. You bring so much joy to everyone's heart.  May every year of your life be filled with joy and happiness.

Here is the mood board.


and here is my layout.


All the chippies were first covered with a layer of white gesso.  To colour the chippies I used Americana Acrylic paint in Turquoise Blue, Whispering Turquoise, Baby Blue, Pineapple and Vintage Acrylic paint in Leopold Petrol. These balloon chippies are so cute, I love them. I added a few wordpl@y chippies, my favourite addition to my projects.


The edges of the painted chippies were dry brushed with white acrylic paint.  The polaroid frames are perfect for framing a photo that you want to highlight. Dusty Attic offers a collection of polaroid frames for different occasions. James is pictured here squeezing his cupcake.


As you can see in the photo below, Dusty Attic has a variety of stars.


Dusty Attic products used.


Thank you for visiting my blog.

Happy crafting!


Saturday, 16 April 2022

Happy Easter cards - Belinda Spencer

 Hello Dusty Attic fans and Happy Easter!

It's Belinda here with you today to share my latest project featuring some fabulous Dusty Attic products. This time I am sharing 6 altered project life cards with an Easter theme.


I started by swiping acrylic paint on to my backgrounds. I use a mix of bought project life cards and ones I have created myself from whatever scraps of cardstock/paper/packaging I have laying around.


After I paint the cards, I then add collage and stencilling. This time I used some Ranger Texture Paste along with the Dusty Attic stencils. Once the stencilling was dry, I went over it with a white Posca Paint Pen to make it brighter.


Here are the completed cards.


I layer some messy thread and patterned paper scraps on the cards before adding the chipboard. I have a box full of collage material. Whenever I am creating as project the leftovers go in the box and then I can just shuffle through the box for little bits and pieces when I need to.


I added some white gesso to a scrap of the Corrugated Card and tore it into pieces so I could add a little to each card.


I kept some chipboard pieces in their raw unaltered form.


Some chipboard pieces I painted with a few coats of white gesso. If I feel the gesso is not bright enough then I add white Posca Pen on top as well.


For some pieces I used paint pens on them to add a little colour.


These cards are so fun to make and I can't wait to use them for something. I think these would make lovely card fronts for Easter cards. It is also a great way to use up various chipboard pieces from different sets.

The Dusty Attic products used:


Thanks for stopping by the blog today. Happy Easter!

Cheers
Belinda