Showing posts with label Dusty Attic Industrial Chipboard. Show all posts

Saturday, 24 August 2024

Free Spirit - Pascale B Scrap

Hello Sweeties,

Today I'm up on Dusty Attic blog with a new mixed-media canvas. 


After priming the canvas with white gesso, I glued crumpled kraft paper to add texture. Next, I covered the paper with white gesso and added white crackle paste. I leave the canvas to dry naturally to allow the crackles to appear. I used black gesso and a lot of water to color the background.


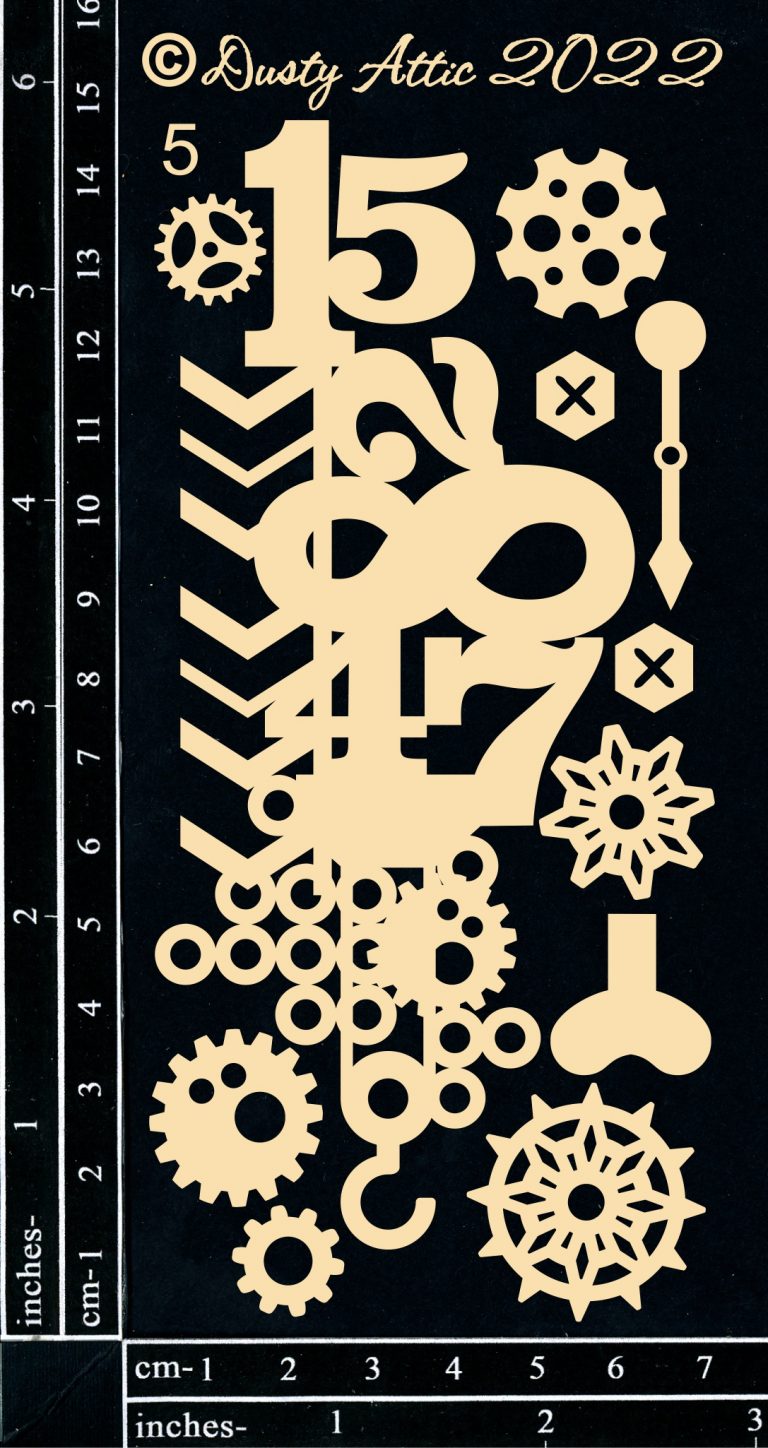
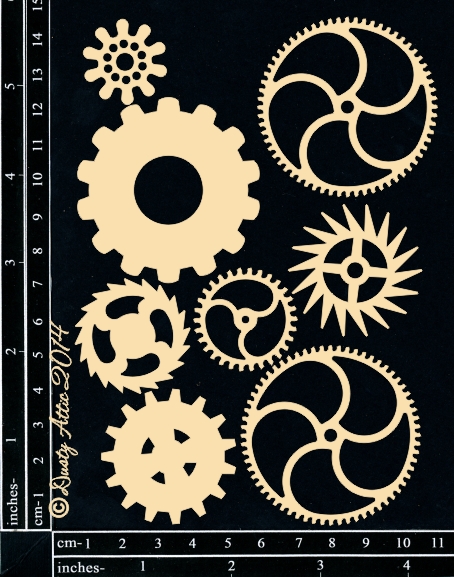
I primed all the cog chipboards with black gesso. I embossed the Fans with a silver grunge embossing powder. I covered the Jumbo Cogs, Mini Cogs, Cogs and Gears, ... with Graphite paste, then black gesso. I highlighted the details with Old Silver wax.


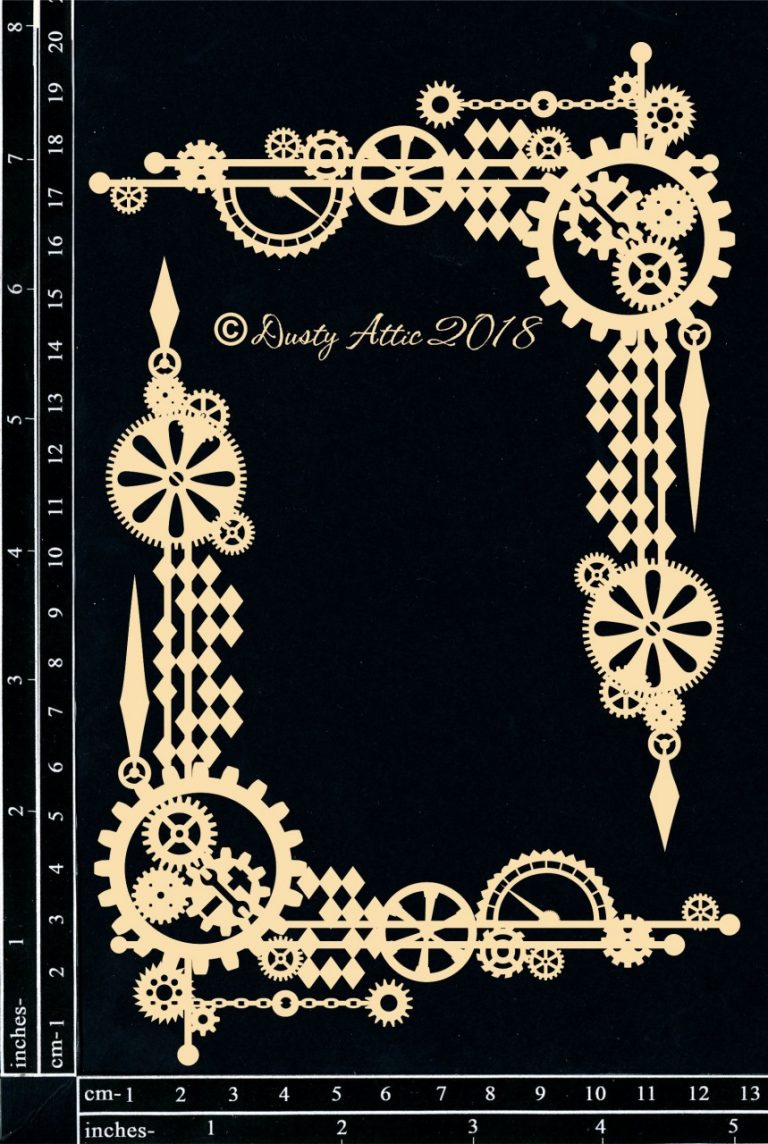
To alter the Cog Cluster and the Insdustrial Border #2 I used an old tip. I covered the chipboards with white glue, then with black gesso. When heated, bubbles will appear and give the texture of wrought iron. I highlighted the details with Brushed iron wax. 


I primed the Leaves #5 and Mini Foliage #5 with white gesso. I used black and brown Distress Inks to color them.


I glued all the elements of the composition with a 3D gel. I added shadows around the composition with a mix of black and brown paints. 


To finish, I added silver glitter.


Dusty Attic products:
Other products:
  • Flowers - 49 and Market (Salt Wildflowers, Salt Florets);
  • Embossing Powder - Lindy's Gang (Chrome Doesn't Pay);
  • Art Ingredients - Finnabair Prima (Winter Glitter Set);
  • Art Alchemy Waxes - Finnabair Prima (Old Silver, Brushed Iron);
  • Art Alchemy Liquid Acrylic - Finnabair Prima (Ink Jet, Burnt Sienna);
  • Art Extravagance - Finnabair Prima (White Crackle Paste, Graphite Paste);
  • Art Basics - Finnabair Prima (White Heavy Gesso, Black Heavy Gesso, 3D Gloss Gel).

Wednesday, 24 January 2024

Imagine - Mixed Media Panel - Pascale B Scrap

Hello Sweeties,

Today I'm up on Dusty attic blog with my first project for 2024: a mixed media panel.


To begin, I glued some paper sheets to the canvas board. I added a thin layer of white gesso to blend the papers and the background. I added a design with the Circuit stencil and paper paste. 


I embossed the Industrial Jumbo Gears, the Nuneka Gears, and the Blueprint Word.  


I primed the Leaves #3 and the Christmas Berries #1 with white gesso. I painted the leaves with green and orange liquid acrylic paints. 


I colored some flowers and the Christmas Berries #1 with red and gold Magicals. 


I painted the background with brown and black paints.


To finish I added some glitter.


Dusty Attic products:
Other products:
  • Collage Sheets - 49 and Market (Toast, Eucalyptus);
  • Flowers - 49 and Market (Royal Spray - Ivory);
  • Embossing Powders - Lindy's Gang (Gimme Five Gold, Silence is Golden);
  • Magical - Lindy's Gang (Peony Scarlet Red, Gleaming Gold);
  •       
  • Art Ingredients - Finnabair Prima (Luminous Glitter Set);
  •       
  • Art Alchemy Liquid Acrylic - Finnabair Prima (Umber, Burnt Sienna, Ink Black, Avocado, Emerald, Carmin, True Yellow);
  •       
  • Art Extravagance - Finnabair Prima (Paper Paste);
  •       
  • Art Basics - Finnabair Prima (White Gesso, 3D Matte Gel, Soft Matte Gel, Soft Gloss Gel).

Wednesday, 11 October 2023

Steampunk Set - Anat Weksler

 Hello sweeties!

It's Anat here with my new project - a Steampunk set.


I'm in love with these small tin boxes and as a chocolate maker I have so many of them, so I grabbed one and altered it, adding a matching card.
I have used so many of the Steampunk-industrial chipboards, which I love so much.
Both  card and tin box backgrounds were coloured with green texture paste, chippies and metal elements were covered with rust pastes, here are the chipboard I have used:


Thanks for stopping by!
xoxo


Monday, 11 September 2023

Escape Outdoors - Jen Burns


Hello Dusty FANattics 

Today I have a nature inspired layout of Kyden out and about last year at a park with Mason and Rivah. 


I started with adding circles from the Dots Stencil underneath and around the photos plus in the corners on the right top and bottom.


I have used dark brown paint as my main colour then used lighter shades from there. Using the Honeycomb panel and some of the pieces I have snipped part of it to add to the top left corner and right hand side of the photos as part of a cluster.


One of the Geo Tribal arrows has been added to the bottom with dry brushing and an added cog with a brad in the centre.


My title "Escape Outdoors" has been painting in Ombre browns then split to the top and bottom of the photographs.


The Industrial Clusters are amazing and add a huge variety of different elements, I have added some of the Broken Bits Rings and some cogs and brads. I have done the same with the Industrial corner piece at the top left.


I have then added 49 and Market laser cuts from the Vintage Artistry Nature Study collection into different clusters together with my chipboard elements 


Dusty Attic Products used


Industrial Cluster #5 


Mini Cogs #3


Hope you have enjoyed my layout today, we would love to see any of your creations on the Dusty FANattics Facebook page. 
While you are there why not enter one or both of the challenges for this month and win a $50 (AUD) credit to the Dusty Attic Online Store ? 

Mood Board 


Sketch


J xx 


Monday, 6 February 2023

Give it your all - Kim Arnold


Hi everyone! Some more boy layout inspiration today from me.


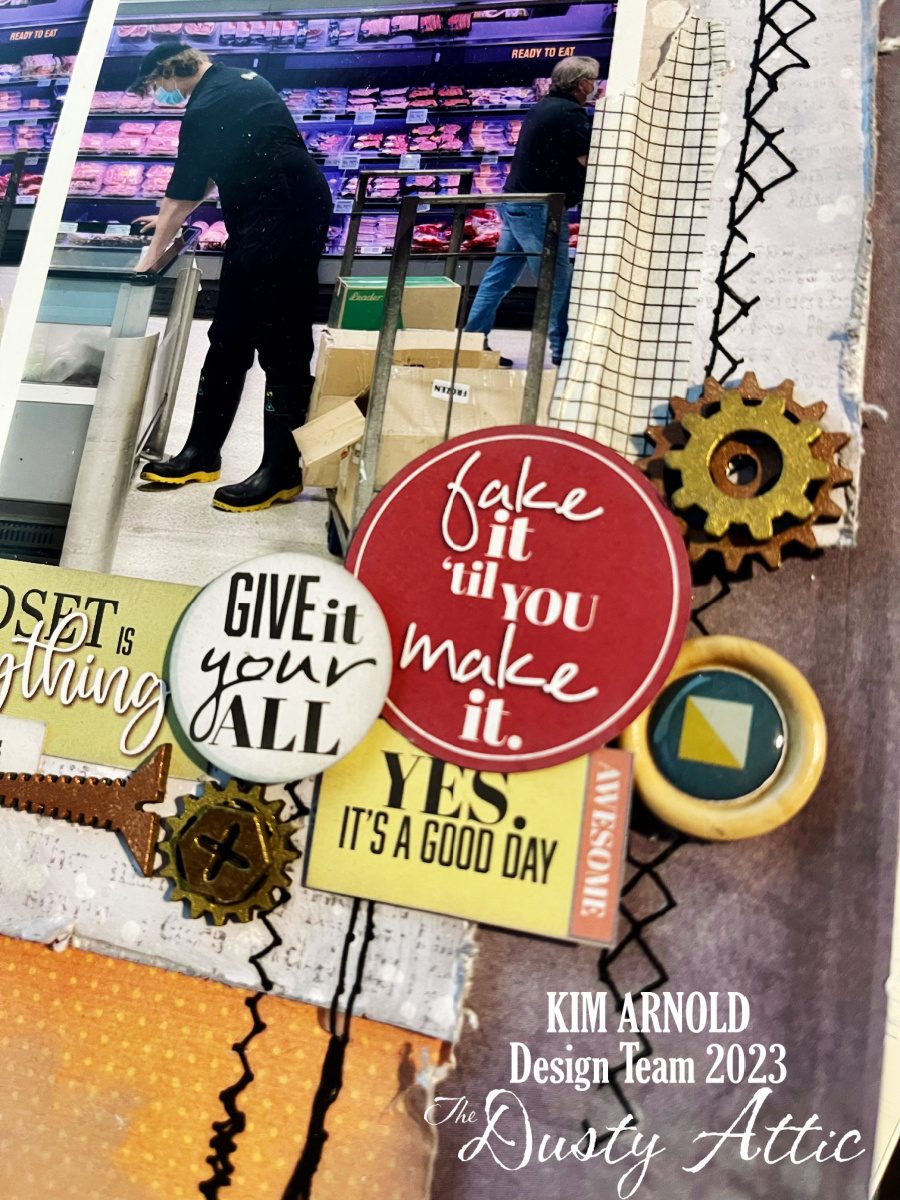
I have created a teenage boy layout documenting my son’s first part time job using lots of industrial Dusty Attic chipboard and I will take you through what I have used and what techniques I applied.


Starting with the Industrial boarder #1, I have used a dark grey wax to give it a metallic look.


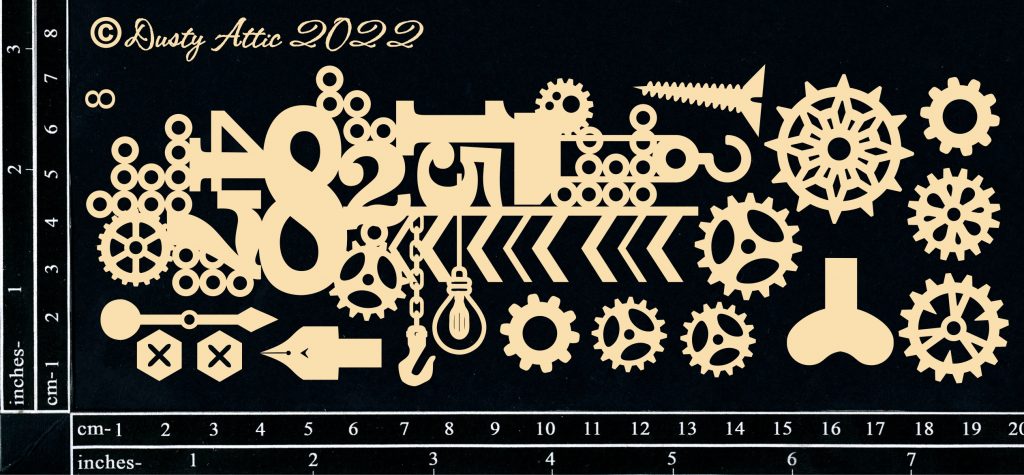
I love the various Industrial Clusters that are available and for this layout I used all of the bits and pieces that come with set #8, but let the actual cluster piece for another layout.


I finished each of the elements in the cluster with copper and vintage gold waxes, so that when the various pieces were layered over the boarder piece I was not layering the same coloured pieces. I layered up these pieces over the border piece to give it dimension and interest.


I then coloured the industrial globes using the same dark grey wax as the border piece for the top of the globes and the vintage gold wax on the filament. For the edge of the globe I used the sparkly prima paint in copper and then touched bits of gold wax on it once the paint was dry. I added the three globes on various places on the border piece so it looked like the globes were hanging from it.


Don’t be afraid to mix up some chipboard pieces with other embellishments. For this layout I have mixed some of the small chipboard elements in with sticker, diecut and wooden embellishments to create an interesting cluster at the bottom right of the photos.


I hope you have a chance to get some creative time in soon.

Happy scrapping
Kim x


Dusty attic products:

Industrial Globes – Dusty Attic – Australian owned and operated Laser Cutting business

Industrial Border #1 – Dusty Attic – Australian owned and operated Laser Cutting business

Industrial Cluster #8 – Dusty Attic – Australian owned and operated Laser Cutting business