Showing posts with label Large Tag. Show all posts

Tuesday, 22 March 2022

Mischief Managed - Deb Stephens

Hello everyone and welcome to my 2nd March, Dusty Attic DT Project. This one is a giant 12 x 5" Harry Potter Inspired Mixed media Tag, using plenty of beautiful Dusty Attic chipboard, Asuka Studio Spell Bound Scrapbook paper, resin and paper clay embellishments and The Daily Prophet newsprint front page that was printed on my printer at home.

The Small Suitcases (DA2958) ready to be loaded onto the Hogwarts Express, were detail painted with chalk and metallic paint accents. I love how the handles and corners build up to give a 3D effect. I used the painted bricks that popped out from the Brick Wall Panel DA0316 and the Decorative Panel #1 DA3254, to fill in spaces around my tag.

To fill other spaces, I used some textured paper clay in a thin Zuri mould that I painted when it dried. The printed front page of the Daily Prophet newspaper was inked and then cut up and mounted on various sized cardboard pieces so it was the same thickness as the chipboard.

The focal point was some painted Broomsticks (DA3091) with an embossed Owl from the Owl #3 Set (DA3084) clutching a letter in its claw's that was fussy cut from the Spellbound paper. This was mounted on a painted resin castle silhouetted in a crescent moon, that reminded me of Hogwarts Castle.

Other DA chipboard used were the DA0597 Bottles on a Shelf that was painted and labelled with various potion names from the HP series. This was then finished off with the DA0666 Bookman ABC Set, that was used to make the caption "Mischief Managed, " and a fussy cut witches hat, spell book and cauldron from the Spellbound Paper.

Looking forward to seeing your Harry Potter inspired projects!


Suitcases Small DA2958


Brick Wall Panel 


Decorative Panel #1 


Broomsticks


Owls #3


Bottles on a Shelf 


Bookman ABC Set 


Saturday, 24 April 2021

Faith - Joanne Simons - Mood Board Inspiration

Hello creative friends!  
Welcome to the blog today. 

It's Jo with you to share my take on this months gorgeous mood board. 


I decided to create a tag.


First I made my chipboard embellishments using the heart attack panel #1 to sit my foliage and flower on.  You will see in th final pic that I decided to change the flower to go with one that was more in the purple tones.  I tucked in a small birdcage and under my cluster I aslo added the broken bits - Marrakesh.  These are my favourite bits to use to tuck in places for extra texture.


I then covered my chipboard tag in some pretty paper and added some lace and other trims along with some paper foliage.

Here are a couple more close ups


I hope you find some time to play along with us this month!

Dusty Attic Products Used


Until next time
Happy crafting


Wednesday, 6 May 2020

Tags set - Nuneka Box - YOUTUBE VIDEO TUTORIAL
Hi there!!

Nuneka here with another project for The Dusty Attic. I don't know what's happening to me but lately I've been in love with vintage style and I decided to create these two beautiful mixed media tags. They're really fun to do and their big size allows you to add lot's of stuff to the composition, so I really enjoyed playing with The Dusty Attic chipboards in these pieces.


I started protecting a scrapbooking paper with clear gesso and sticking the cardboard pieces I've cut with an arrow shape. I cut the paper around, slightly bigger so I could tear the edges. Then I used the Distressed Diamonds Stencil and crackle texture paste to add some interest in the background.


I added beautiful vintage colors and a touch of shimmer with Lindy's Sprays, creating the perfect atmosphere for the composition. I chose soft tones to get a matching background that allows the compositions be the protagonists.


What makes this project special is the beautiful combination of The Dusty Attic chipboards. One of the things I like the most is that they're strong but easy to cut with a craft knife or the scissors. This way you can use just some parts of the chipboards (as I did with Fancy Trim nº 19), cut them in smaller pieces to place them where is better for the composition (as I did with Industrial Frame nº 3), or you can, of course, leave them as they are (as I did with Jumbo Cogs nº2).


I applied some texture paste to chipboards dabbing with my finger, dried well and cover them with ac paint. Then I color them with Lindy's vintage spray so I get a beautiful brown shade with a little green sparkle. I highlighted some areas with metallic waxes and added some sparkle with mica flakes and glass glitter. Finally I added some sentiments and placed star shaped eyelets.


These are The Dusty Attic chipboards and stencils I've used in this project, click on the images to go directly to the store!


You can watch the full video tutorial on the Dusty Attic YouTube channel:


Thanks for watching and see you very soon!

Nuneka


Thursday, 8 August 2019

Never have too much happy - Patricia Basson

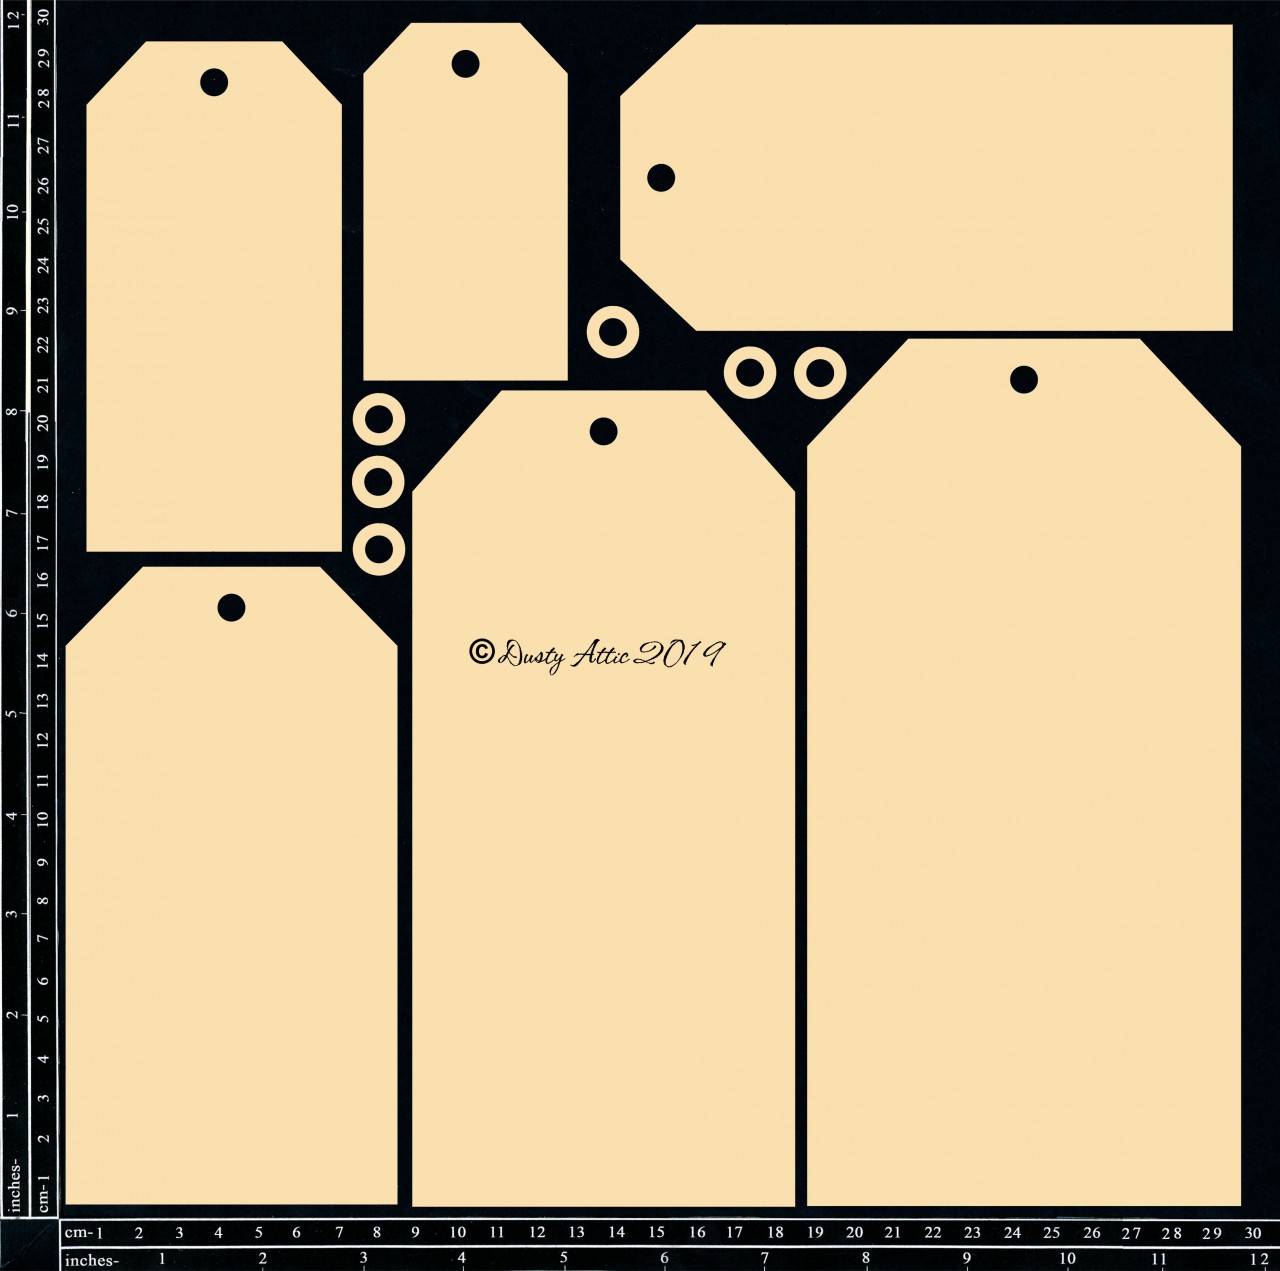
 One of the newly released designs from Dusy Attic is a lovely sheet with different size Tags on...When I saw them I knew they were going to be my first choice to use this month.


I used the largest of the Tags as my base. I covered it with paper from the Serendipitous collection by 49 and Market - After the Rain. Also cut a smaller tag to layer with. Seeing as I really love distressing my Chipboards, I dipped the edges of the Tag into some water and separated and curled the corners...Distressing Heaven for me...! Also added some Gilding Flakes to the edges to add some elegance to the Tag.


I embossed the Squiggly Frame and Brick Broken Bits with Perissa Embossing powder from WOW.


The window part of the Juliette Balcony #4 was treated with several colors of Rust Pastes. The Balcony part also got some Brown Rust paste and then embossed with aged Copper Enamel from Stampendous and Lindy's Lapis Lazuli Blue Gold. I colored a piece of acetate with Pesto and Stonewashed Alcohol Inks and placed it behind the window.


The Mini Foliage leaves were foiled in gold, also used a few leaves and flowers from the 49 and Marker Cut out sheet. A little gauze colored with 13Arts Navy Blue Ink and heat distressed netting was also added between my elements.


I hope this project has inspired you to go and visit our awesomely stocked Dusty Attic online shop to view all the amazing new Designs added recently...


Thank you for your visit today....

Smiling is infectious,
You can catch it like the flu.
Someone smiled at me today,
And I started smiling too.
~Author unknown~

Tuesday, 6 August 2019

Discover Tag - Farrel Tailor - Mood Board Inspiration

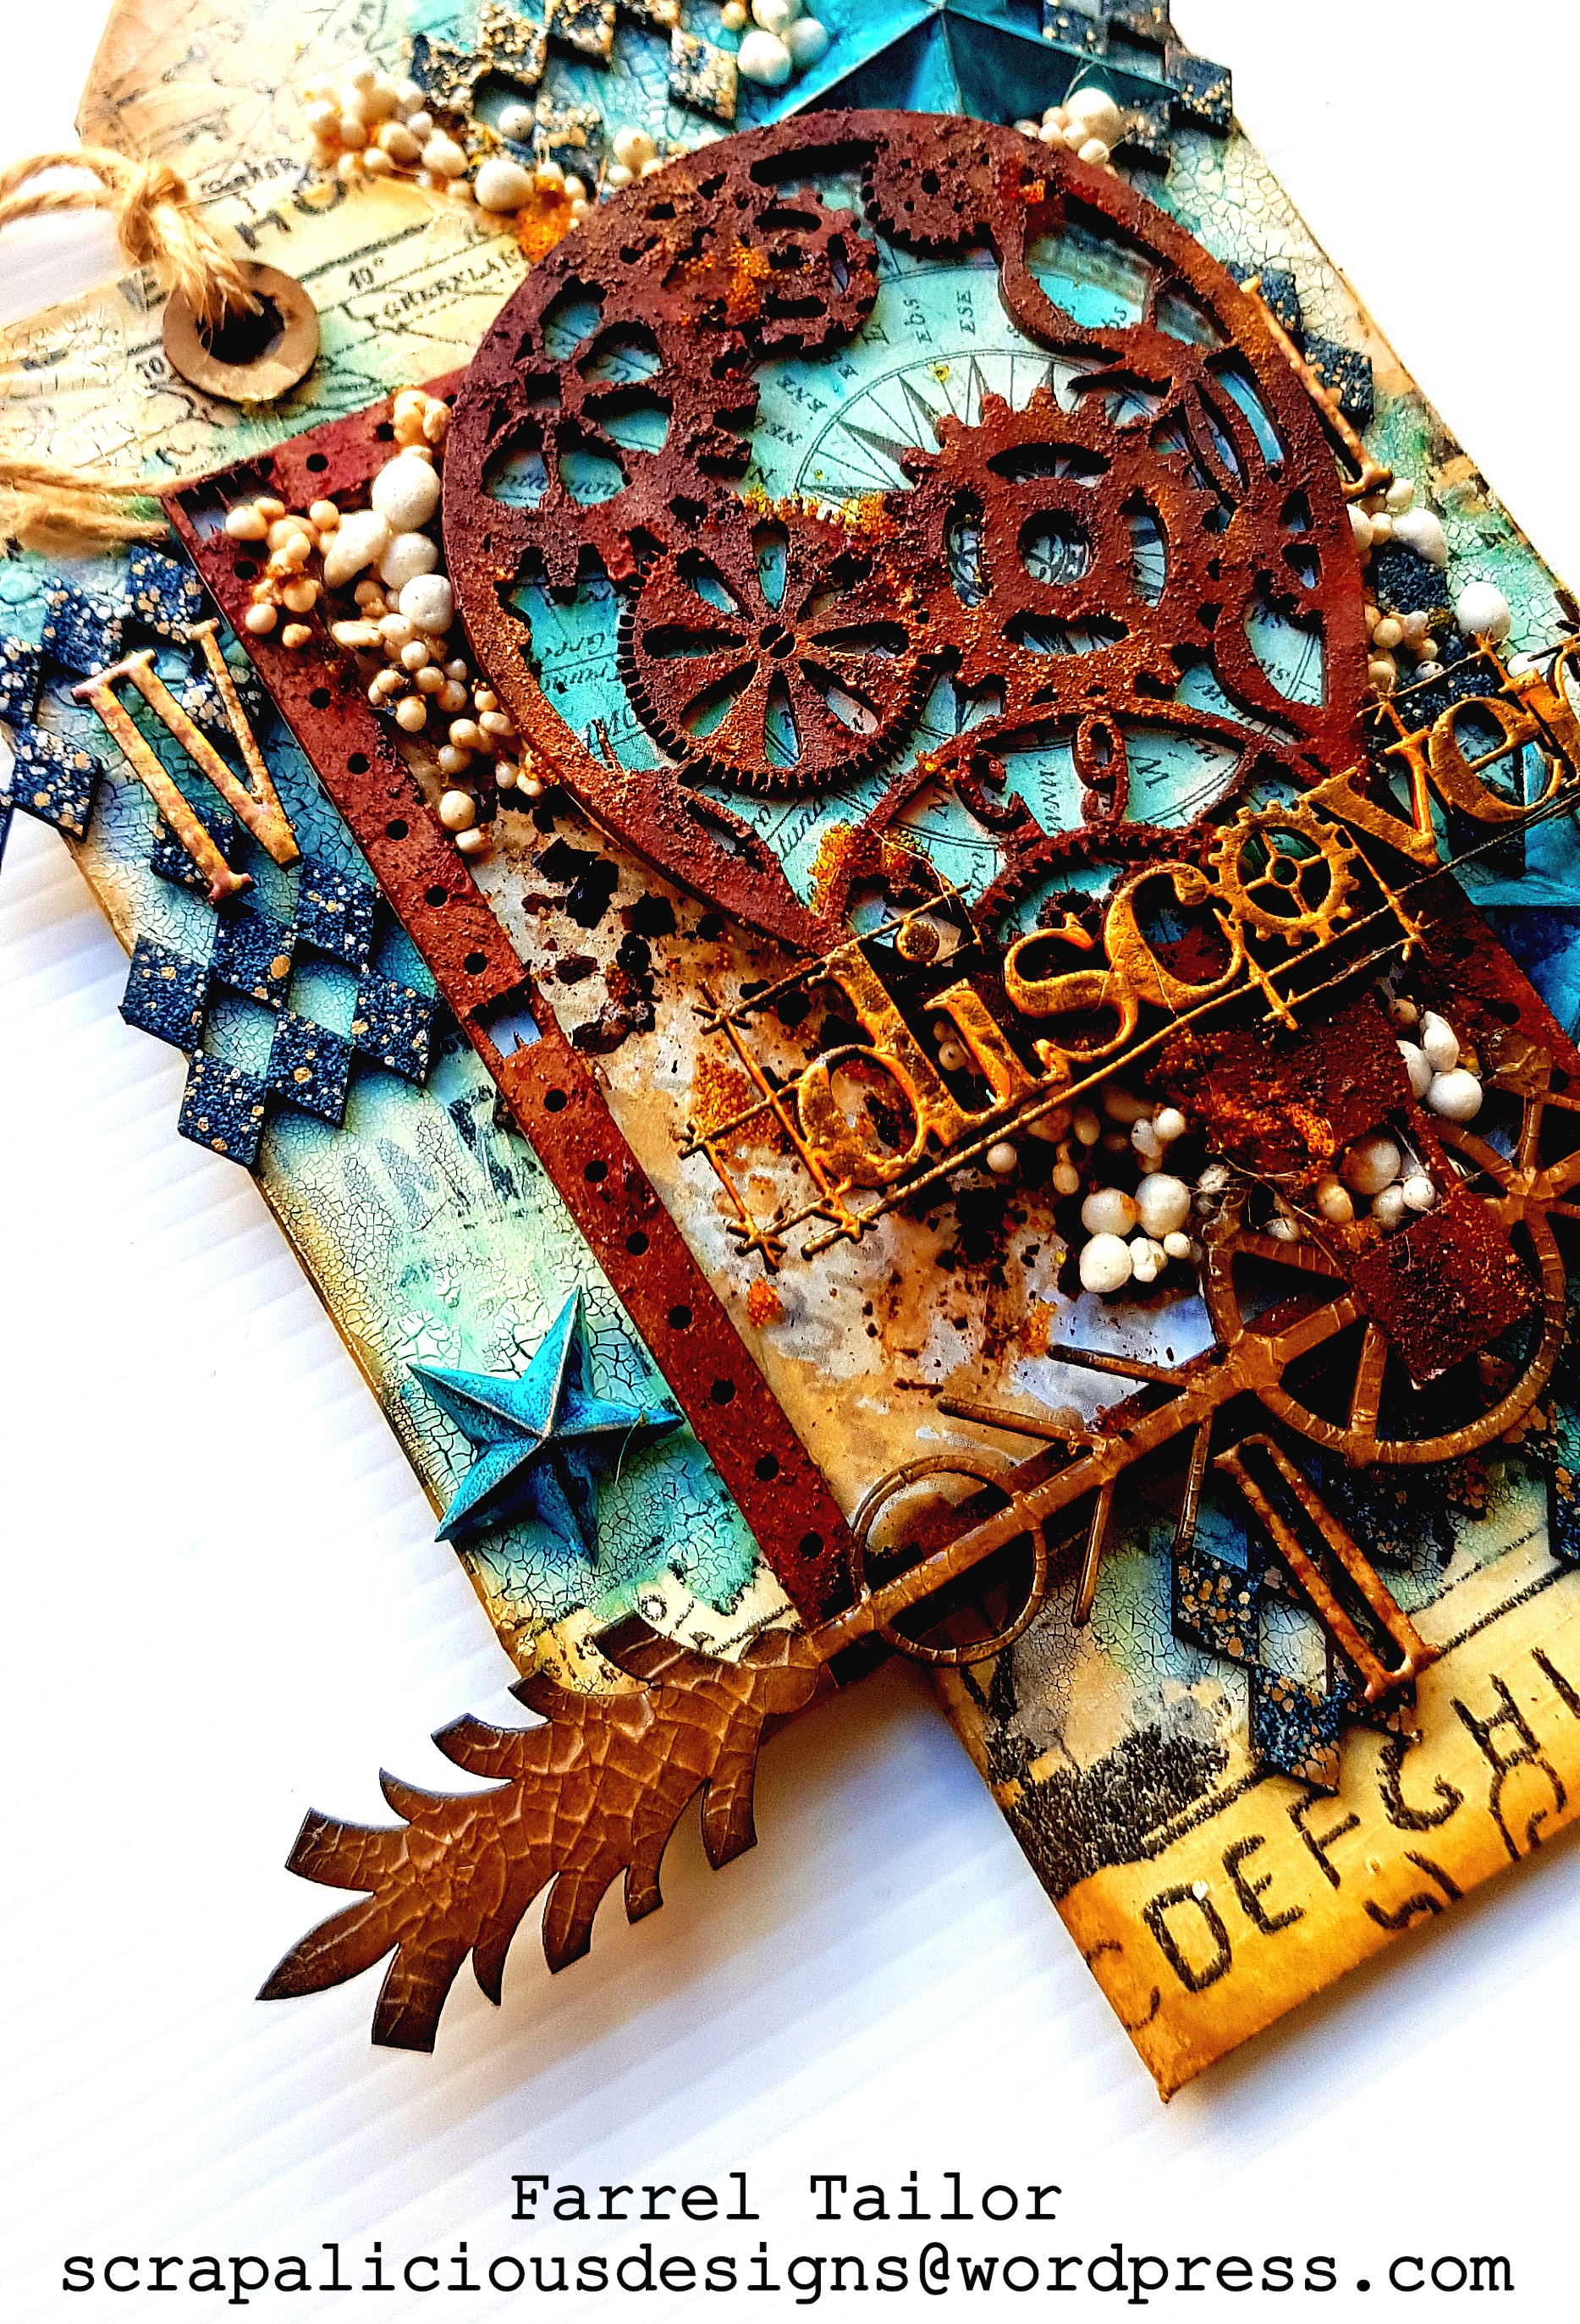
Hello there Dusty Attic Lovers!!! Farrel here to share my August mood board challenge project. 44035713_10216517096341108_154288878973353984_o
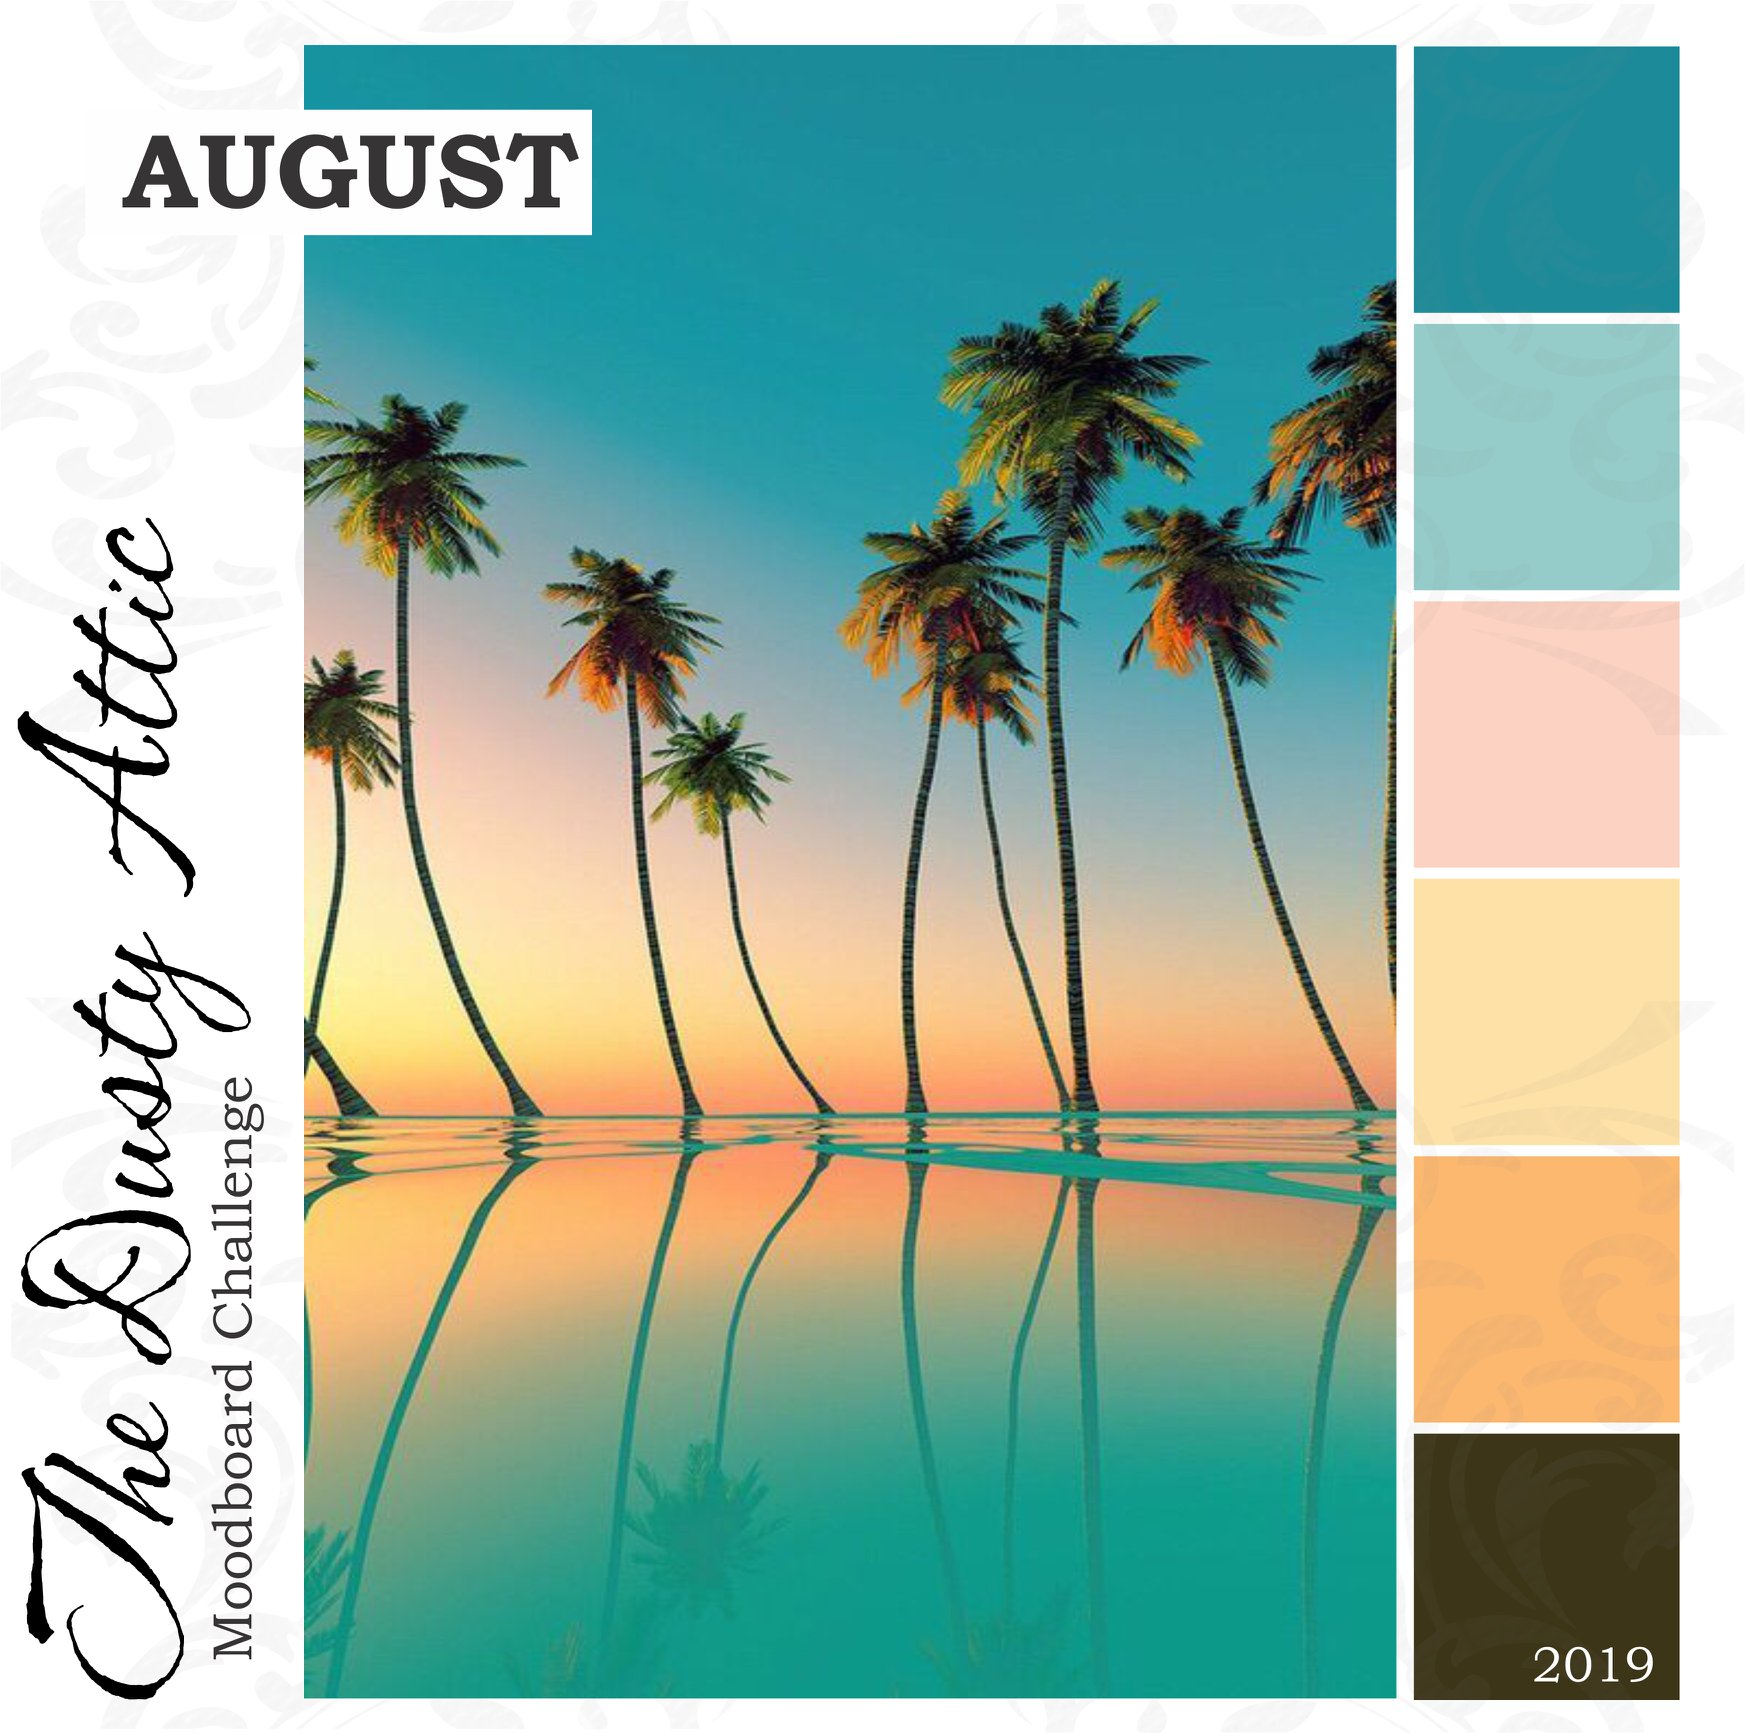
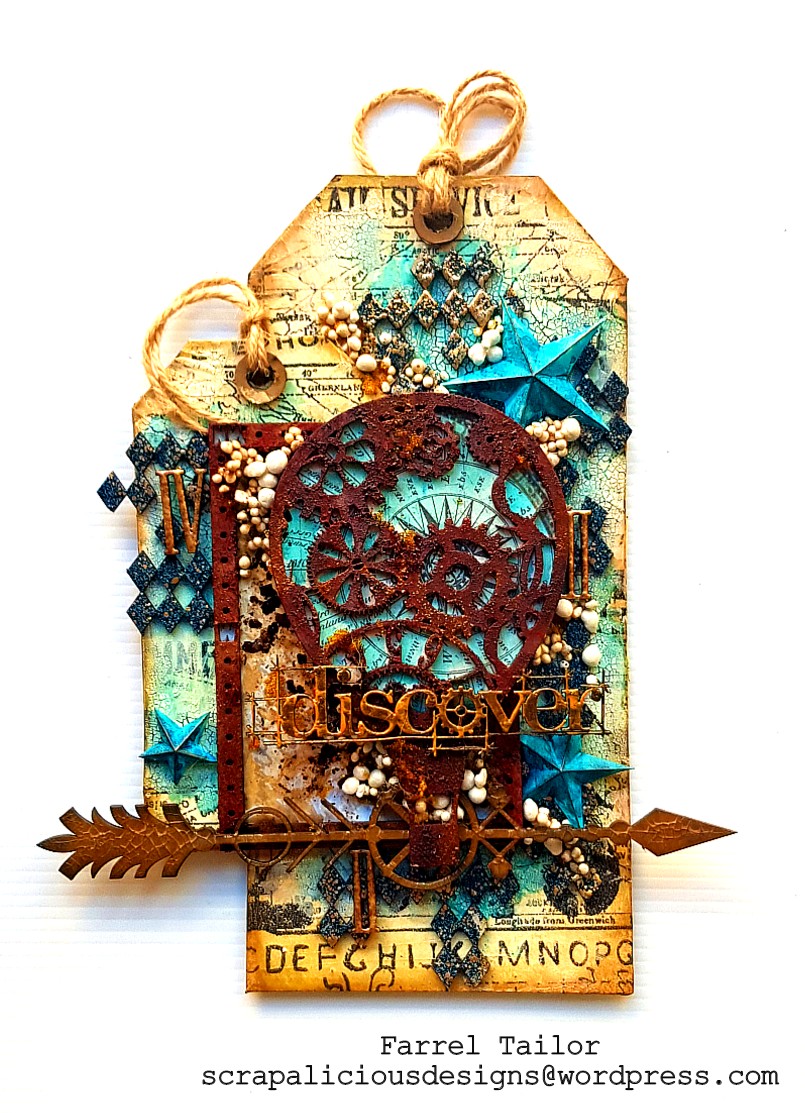
For my inspiration I used the picture and the some of the colours. When I look at this picture it makes me think of travelling somewhere tropical so my tag is just that..... travelling and discovering.
Discover Mixed Media Tag by Farrel Tailor
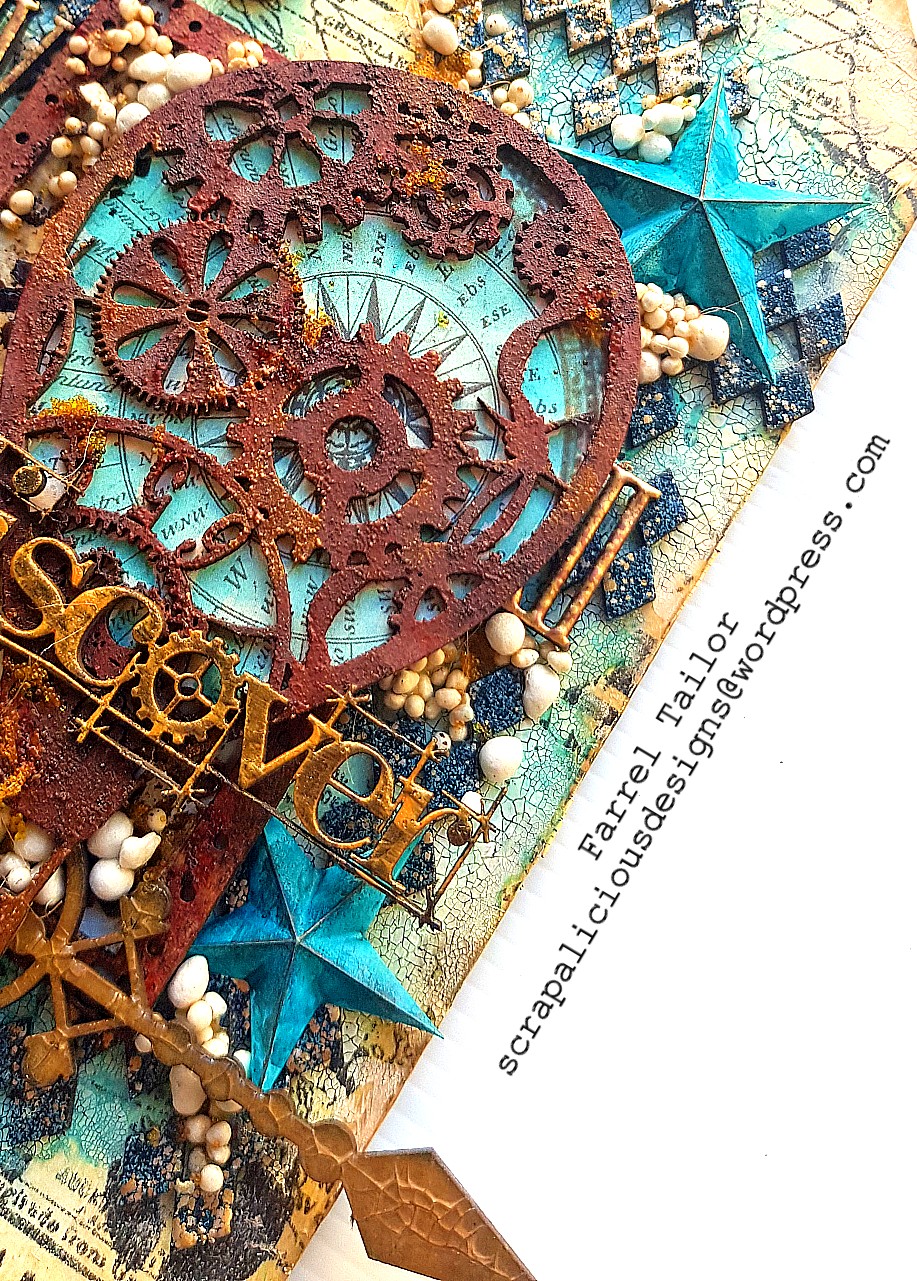
I covered the 2 tags with Tim Holtz Postale tissue wrap and inked them with Vintage Photo Distress Archival Ink. Then applied a white crackle paste. Once dry, I then added some blue ink to highlight the crackle. I used the same ink to colour the resin stars and highlighted with some bronze wax.
Mixed Media Tag for Dusty Attic by Farrel Tailor
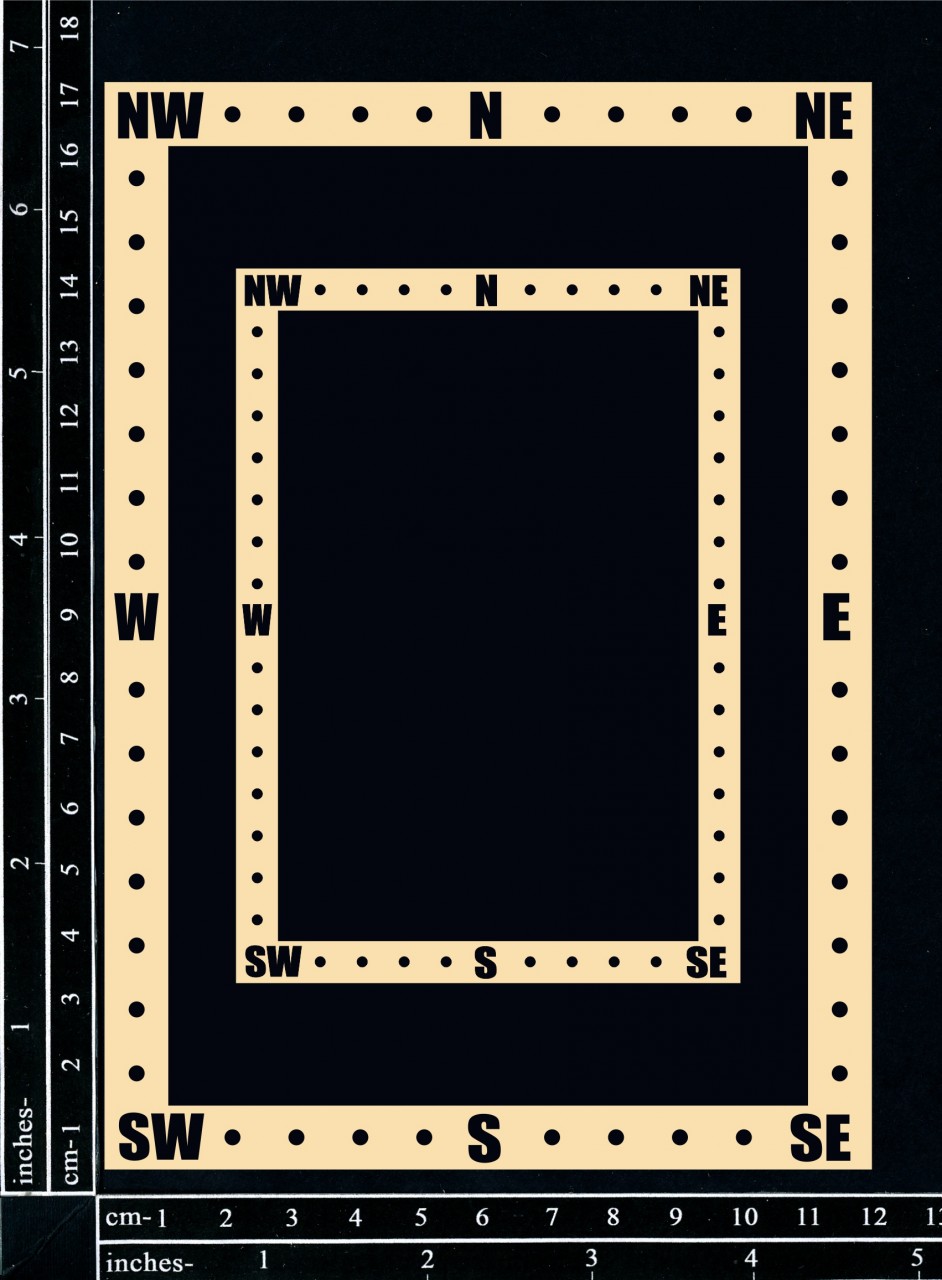
I covered the Industrial Balloon and Nautical Frame chipboard with Art Anthology Rust Effect Paste. Then I adhere paper to the back of the chipboard from Stamperia - Around The World Range. I also added some of the blue ink to the paper to match the background of the tag.
I heat embossed the Diamond Panel with Stampendous Marine Embossing Enamel and trimmed to fit the tag.
Dusty Attic August Challenge by Farrel Tailor
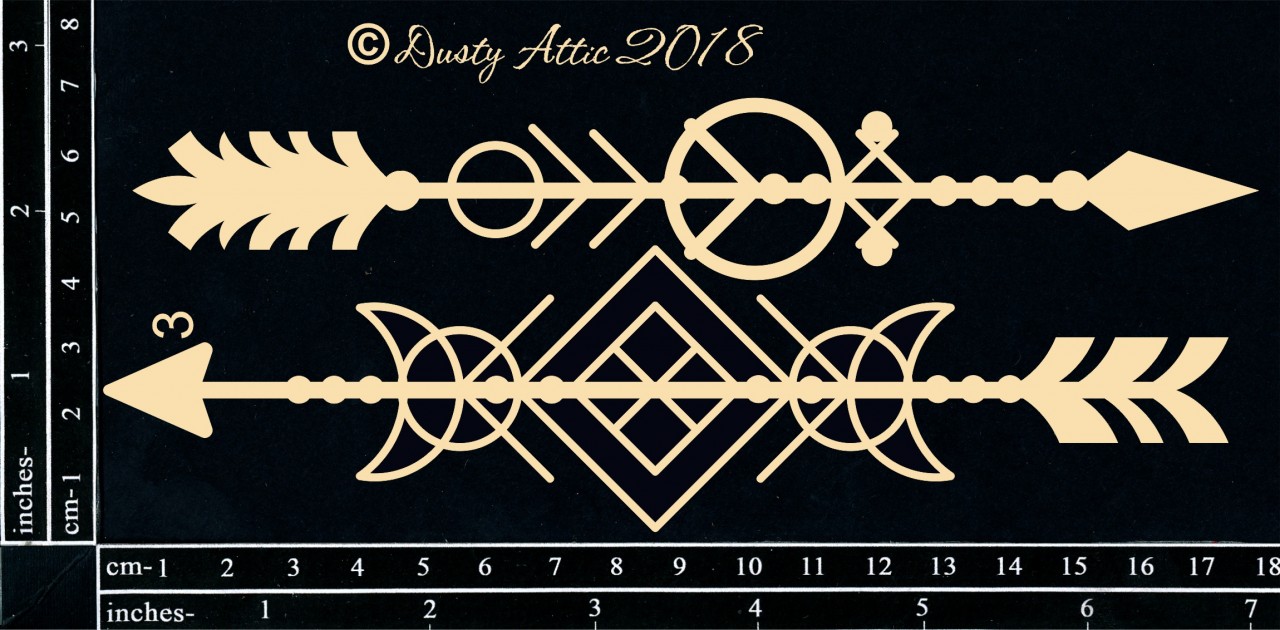
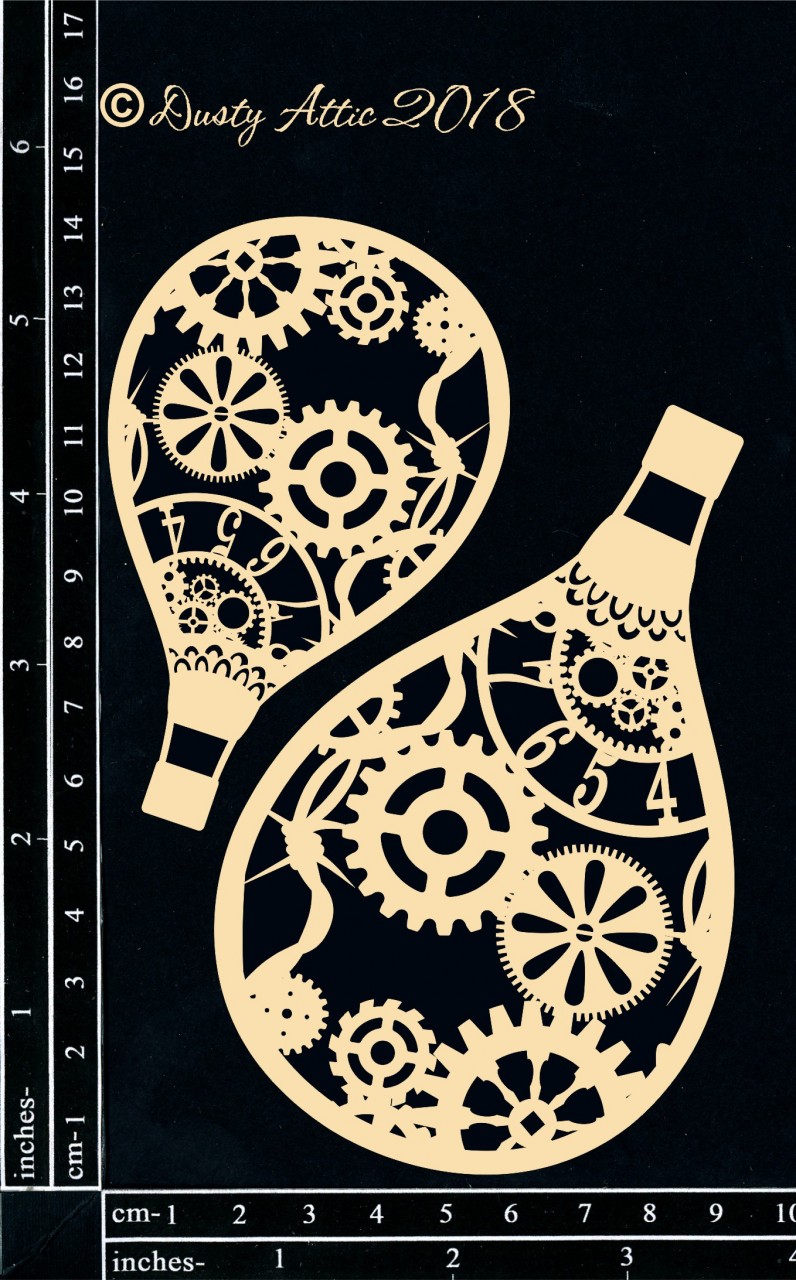
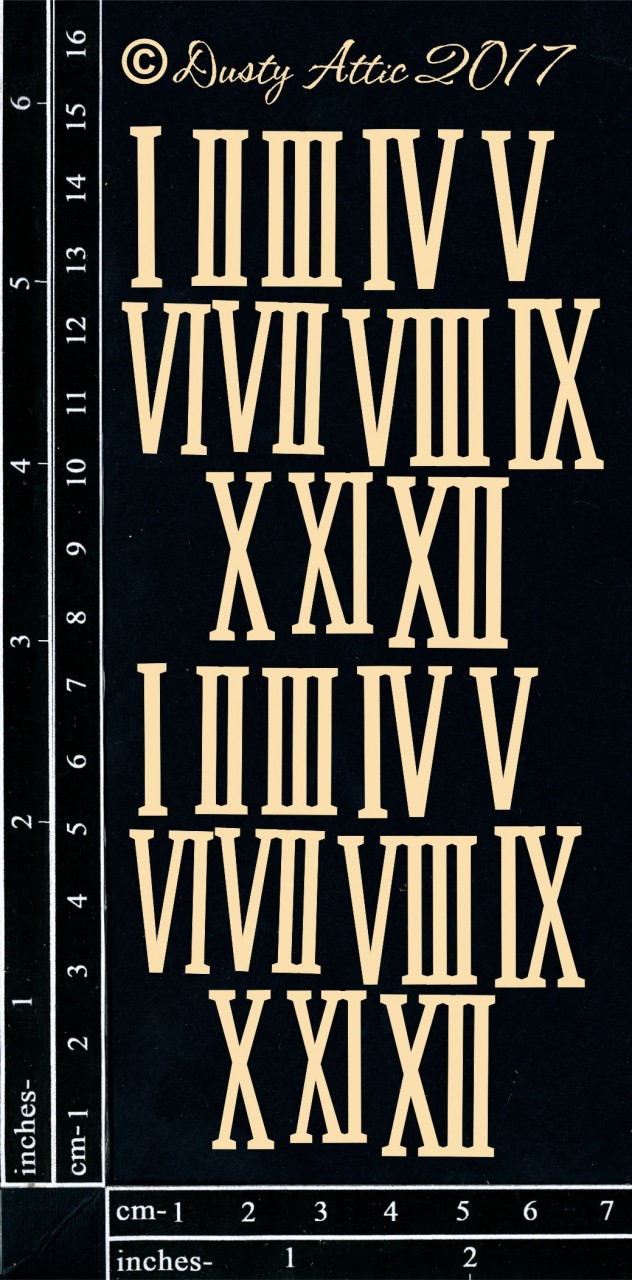
I inked the Geo Tribal Arrow with Vintage Photo Archival Ink and covered with Dusty Attic Clear Crackle Varnish. I heat embossed the Roman Numerals with a bronze embossing powder. For the Discover title, I used black embossing powder and then applied a light coat of orange metallic acrylic paint.
To finish off I added art stones and micro beads.
Dusty Attic Products Used
blueprint_word_pack__17133_zoom
diamond_panel__15305_thumb
geo_tribal_arrows_3_2260__17510_zoom
industrial_balloons__32355_zoom
Roman_numerals__05924_zoom
Tag_medley__81927_zoom
02005930_3788026__38242_zoom
nautical_frames_2147__60103_zoom
Make sure you enter your August challenge project for the chance to win a $50 voucher from Dusty Attic. We all look forward to seeing everyone's creations and thanks for dropping by xx
Farrel Tailor