Showing posts with label Squiggly Frame. Show all posts

Wednesday, 30 August 2023

PRECIOUS Moments - Adri Du Preez

Hello everyone!

Welcome to the blog today. 

My August design team layout features beautiful Dusty Attic chipboard pieces.   This is a photo of my daughter and grandson.  This photo reflects so much love and happiness.

Here is my layout.


All the chippies were first primed with a layer of white gesso and then painted 
with Americana Acrylic paint.

The Squiggly frame was left white and cut in half and glued between the paper layers.

I painted the title with Whispering Turquoise and Turquoise Blue and dry brushed with white acrylic paint.


The heart banners were painted with Peaches 'n Cream, Green Lagoon and Whispering Turquoise.


I painted Foliage #27 with  Whispering Turquoise and Turquoise Blue.


I also used my favorite Wordpl@y elements.


The butterflies were painted with Peaches 'n Cream and Coral.


After everything glued down I added splatters with diluted white gesso.

Dusty Attic products used.


Thank you for visiting the blog. 

Visit the Dusty Attic online shop for more amazing chipboard designs.


Sunday, 20 November 2022

Strike a Pose - Adri Du Preez - Mood Board Inspiration

 Hello everyone!

Here is my layout inspired by the beautiful and bright November mood board for Dusty Attic. 

For this layout, I used paper and elements from the 49 and Market Spectrum Sherbet collection.

Here is the mood board.

and here is the layout of my sweet granddaughter.


All the chippies were first covered in white gesso and Americana Acrylic paint.

The Squiggly frame, title, and butterflies were painted in Peaches 'n Cream, Pineapple, Bahama Blue, and Boysenberry Pink, and then dry brushed with white acrylic paint.


As you can see from these photos, Mila loves to pose, and this title is perfect for them.


The Foliage #23 and Seedling #2 were painted in Mint Julep Green and Sour Apple and dry brushed with white acrylic paint.

I painted the daisies with white acrylic paint, and dry brushed them with Pineapple Yellow.  The center of the daisies was painted with a yellow Posca pen.


A close-up.


To finish off my layout I added pearls, glitter and splatters with diluted 
white gesso.

Dusty Attic products used.


  I hope you find time to play along with this mood board.  Share your projects on 
our Facebook Page here for your chance to win a $50 (AUD) credit for two lucky winners 
to the Dusty Attic online shop so you can choose your very own chippies you would like 
to use.

Thank you for visiting the blog today.

Happy crafting!


Sunday, 30 May 2021

Today's Memories - Kristy Abela - Mood Board Inspiration

Once a year we have a very special day to Celebrate... 

When I visited my now hubby's parents for the first time, Nine years ago, I noticed memorabilia on the wall referring to my birthday. I casually asked and discovered my in-laws were married on my birthday. Its been a big day of double celebration ever since... This was a few years back... However, this year they celebrate 50 years together... Congrats to them!


I have used this months Mood Board as inspiration for my page.
You can enter your own creation into the comments section on the 


I used the background to help bring the page to life. In this collection there was also a sheet that had abstract cut out elements that I fussy cut. I used them to shadow the original page. I added some modelling paste and sprinkled embossing powder on it. Once dry I heated it and got a variegated look. 

 
Here are the elements I used to bring my page to life.


I have always loved matting... Modern pages have stopped using a quick easy way to draw the eye to a focal point so I thought I would play around with it on this months layouts. I added a squiggly frame to the photograph to help block out some of the background noise.


My favorite element was the title.I used chalk paint and paint pens to create a weathered looking title and used white pen to accent it. I love the way the white lines give dimension to the 2D embellishments. 
 

I used lots of layering and foam tape to recreate the effect of layered flower. Stars were for wishes and hearts for happiness.


Check in on the Dusty Attic Facebook page - Dusty Fanattics...a place to share and inspire... I look forward to seeing your creations!! Thanks for looking!!


 Products used

Stars #4 

Squiggly Frames #6 

Today's Memories - TITLE

 Industrial Star -2

Swirl #1 

Swirl #2 

Friday, 19 February 2021

Memories Documented - Kristy Abela - Mood Board Inspiration


Welcome to February!!! The gorgeous pair I am posing with were attending the Year 6 Farewell. Aksel's now in year 12 and Ruby has grown into a lovely young woman and has left school. I had so much fun shopping with Ruby for her dress, her first Big Girl Dress. Yet all Aksel wanted to wear was boots!! Isn't it funny how these moments only seem like yesterday. For all of us, slightly different memories. Nevertheless... DOCUMENTED. 


Anyhoo... here is a rundown on my creative process.. I started my background with some book pages and scrapbook collage papers I have on my desk. I used some clear gesso to seal them and then added some highlights with some Neo Colour crayons in a similar colour. While the gesso is still wet it blends the pigment nicely and allows it to move around the page. I then added texture paste that I tinted with some chalk paint.

 Once dry I used some blue and green Neo Colour to add some contrast to the scribble circles in the stencil. I added a spritz of water to the crayon and it welled up and filled in the troughs.  

I kept the frames simple and used some golds acrylic paint to draw attention to the images.   


To decorate the wildflowers I used a chunky layer of gesso ensuring that the peaks and ridges were well defined. I used my Lindy's sprays and applied directly from the dropper onto the buds. I used two layers to get the colour intensity I liked. Once it was dry I used some gold wax and applied it lightly from my fingertip.


I used chalk paint to colour the flowers. to create the stamens I used a gel pen to add definition. later in the project I added a cabochon to the center. It magnifies the detail and makes it a cool 3D look.
 

I had fun digging deep and finding some memories. I hope you enjoy them too... 
 
Abela Artistry

 Products Used

Wildflower #3

Blooms #1

Wild grass #3 Small 

Squiggly Frame #3 

Squiggly frame #2 

Mini Seagulls

Mini Captions #18

Circle Stencil DA1608 


Sunday, 29 November 2020

Love, Dream & Believe - Kerstin Filou

 Hello creative friends!

Where has time gone, today is already the first Sunday in advent. In these difficult times one sometimes believes that time stands still, but we have reached almost December, the Christmas month.

Christmas is for us also the time to read fairy tales and stories before the shining eyes of children.

If you are lucky, the first snow falls outside and envelops the landscape in a magical light.


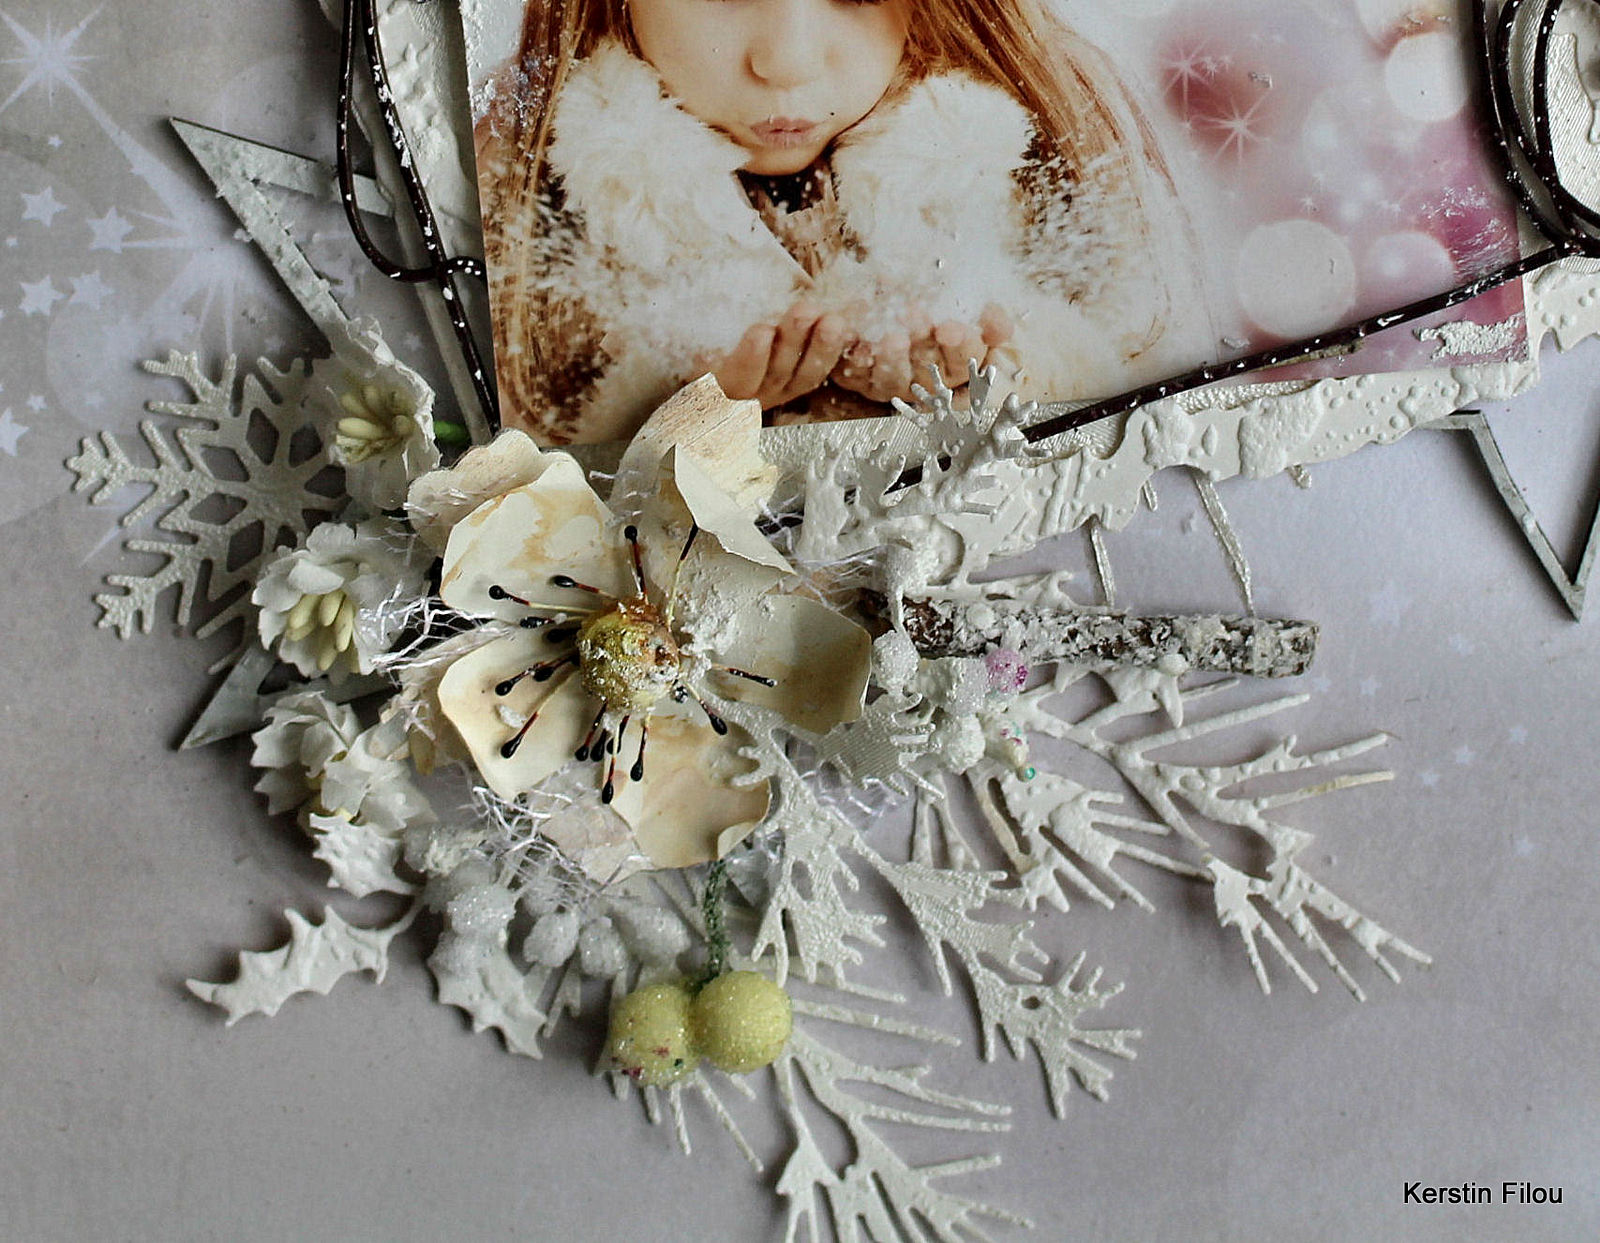
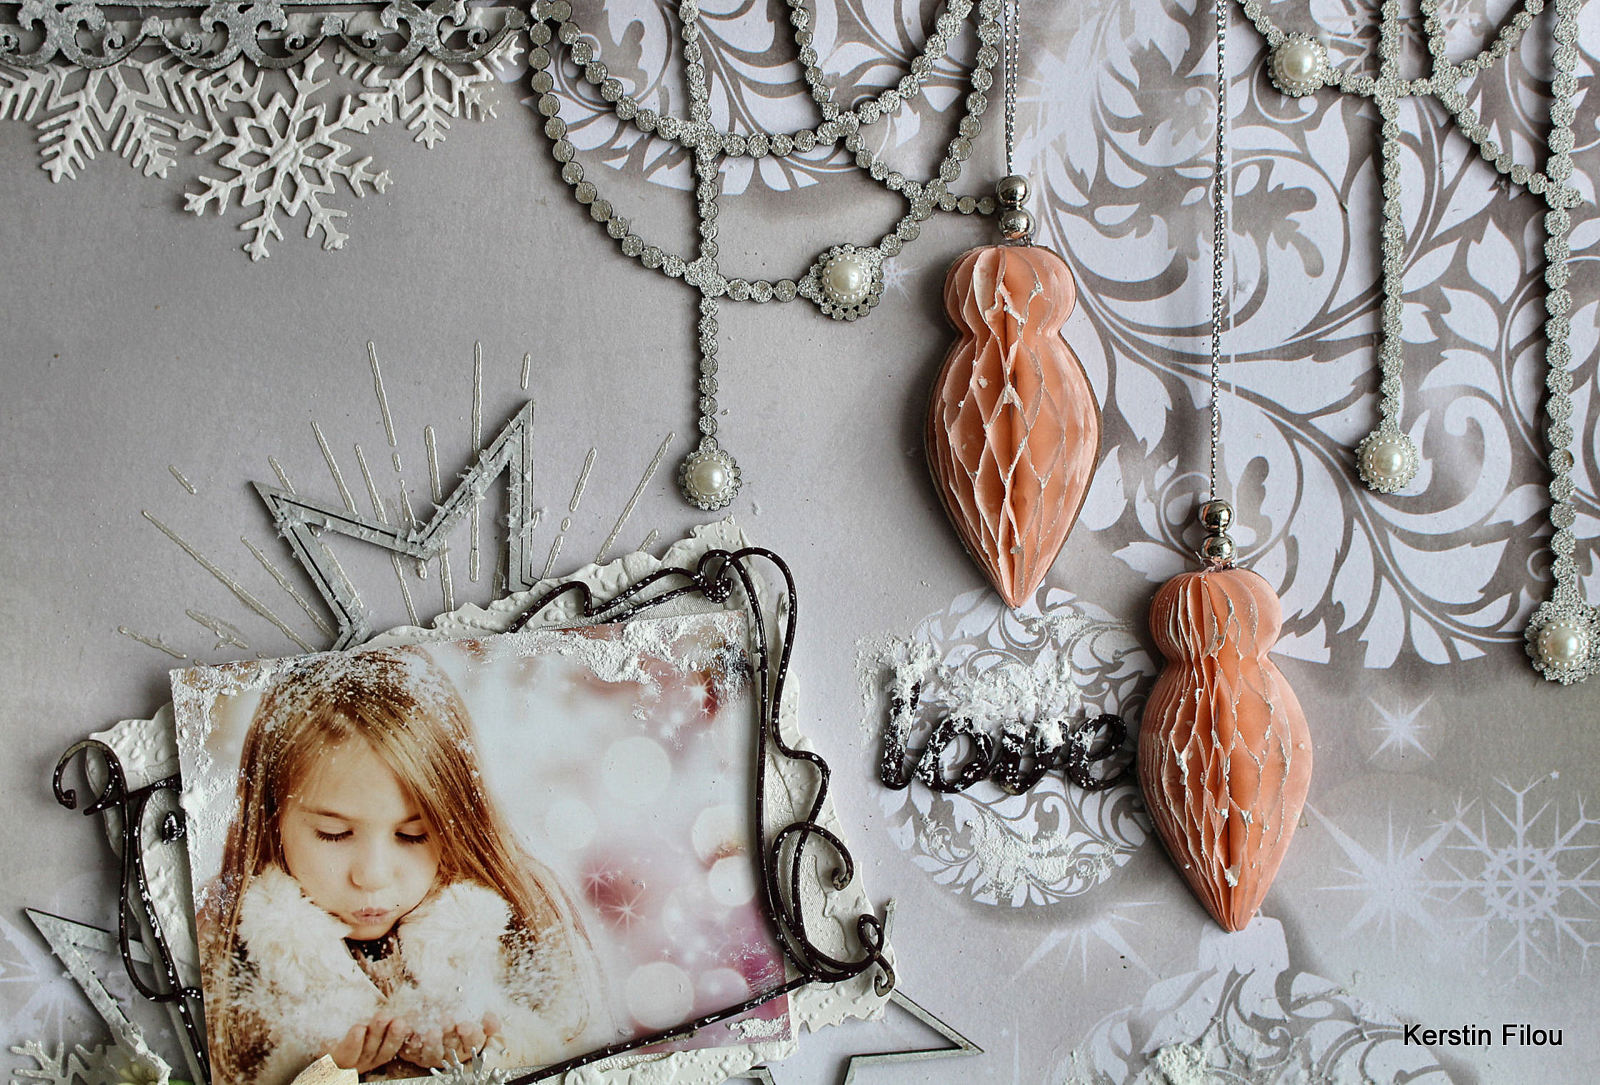
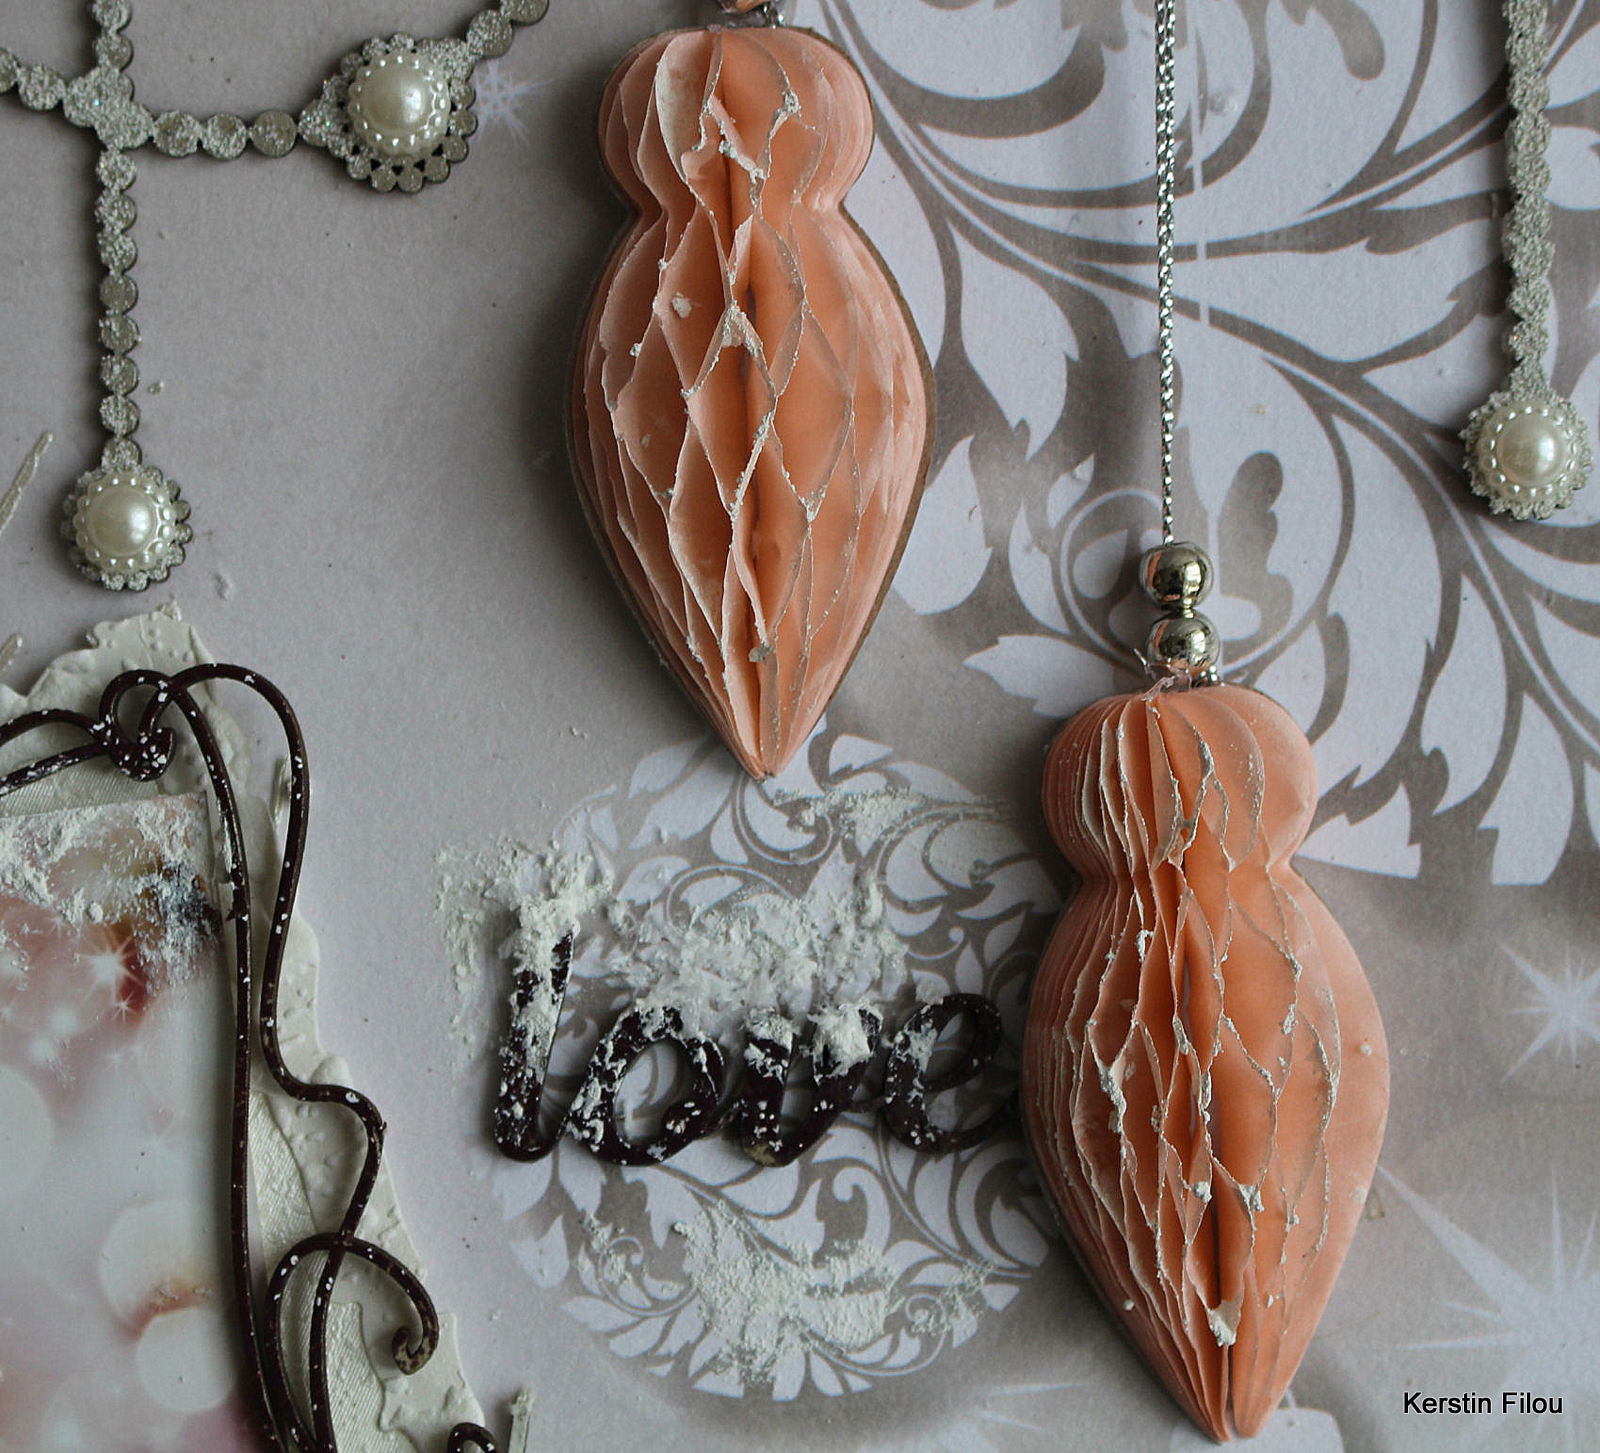
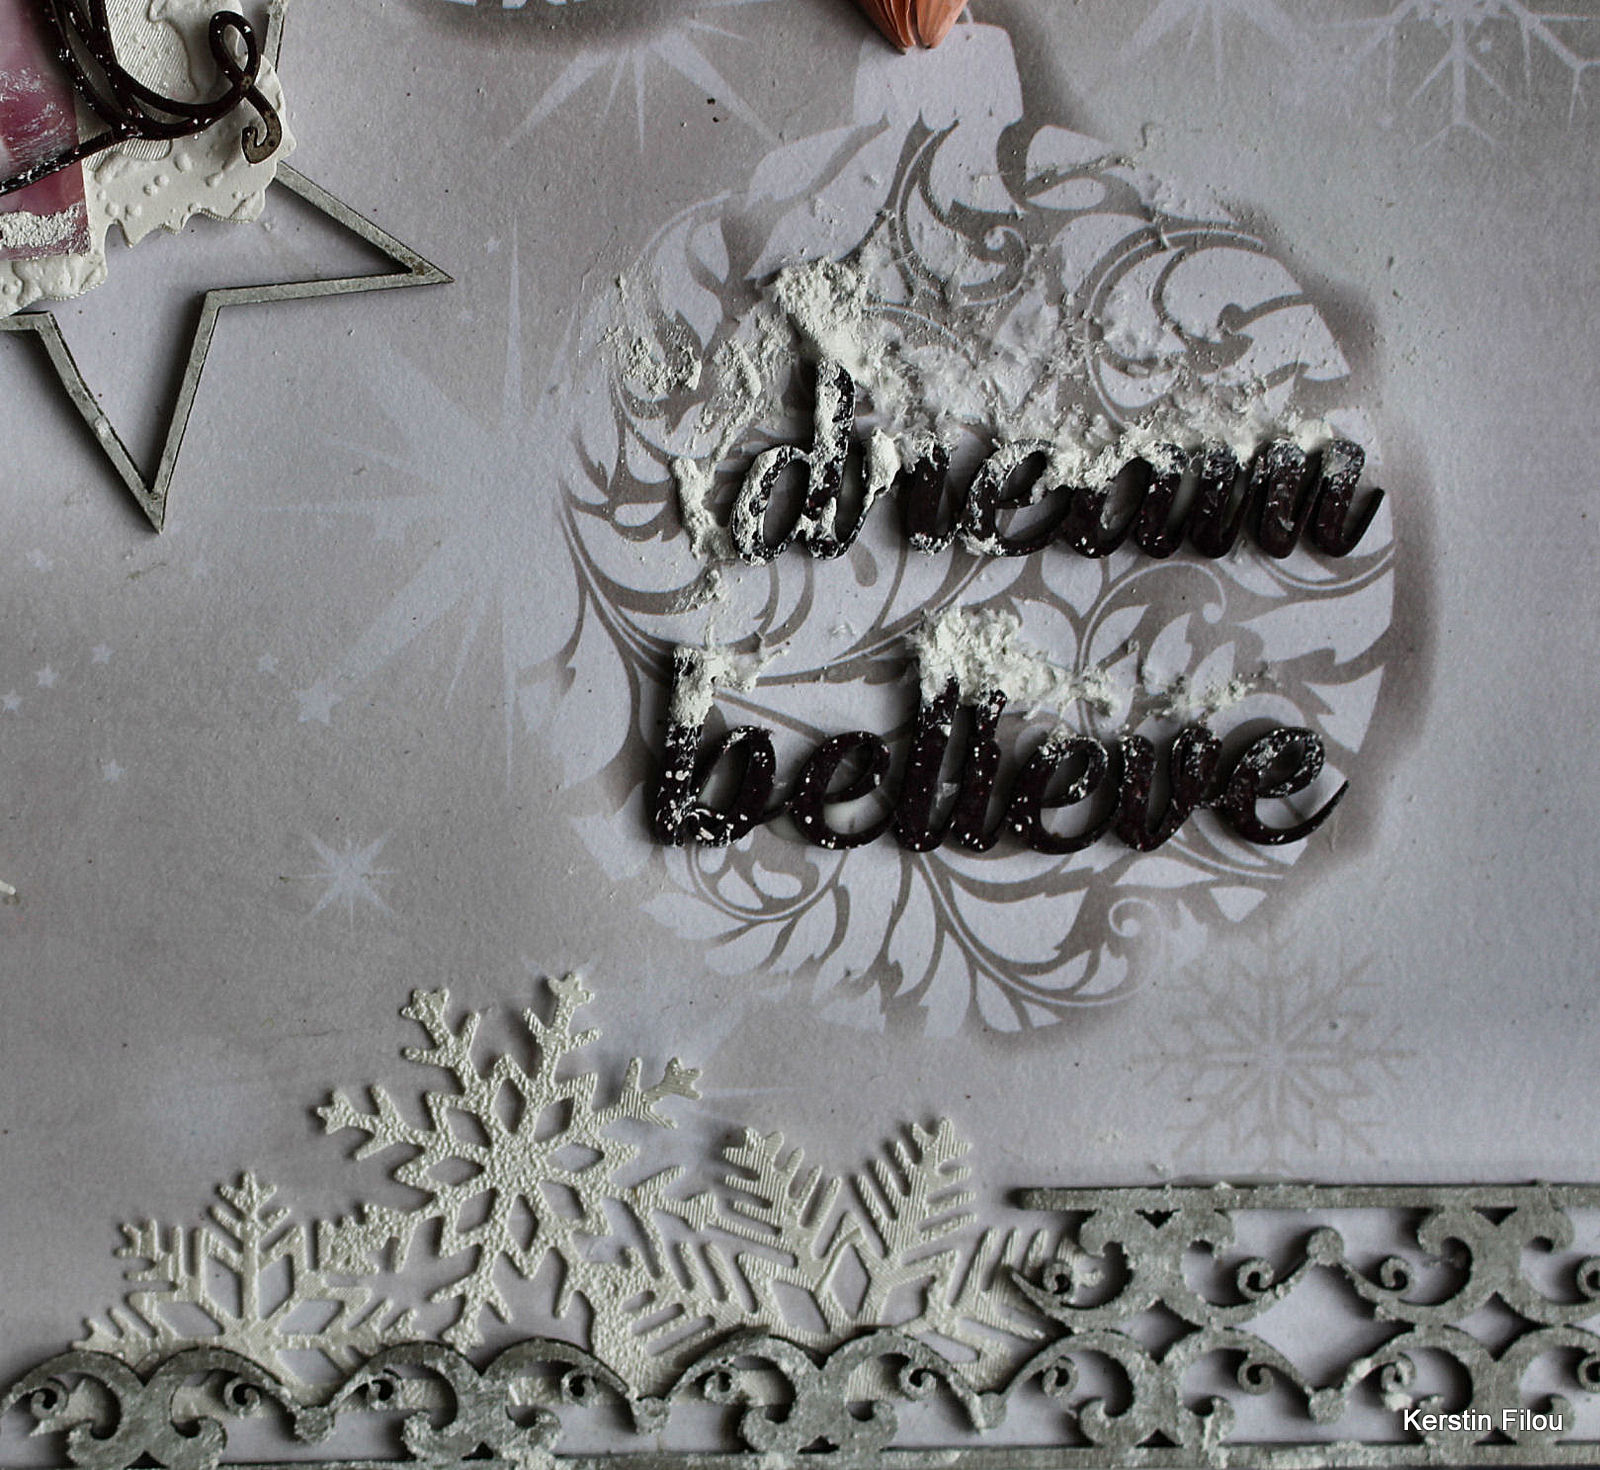
some close up's


I used some of my fav chippies from Dusty Attic, e.g.

Elegant Pearls

They were once splited, I treated with white embossing powder and highlighted with pearls

 I supplemented it with two honeycomb ornaments, which were bought as gift tags.


For the words I used a dark red embossing powder,

additionally I used some snow paste for a magical effect.


Dusty Attic chipboards  and stencils 


Star Frames

Fancy Trim #19

 Elegant Pearls

 Squiggly Frame #4

 Mini Titles #1 – Love

Sunburst Stencil


Have a wonderful advent season!!


Monday, 26 October 2020

ATC's - Kristy Abela

 Hey there Fanattics!

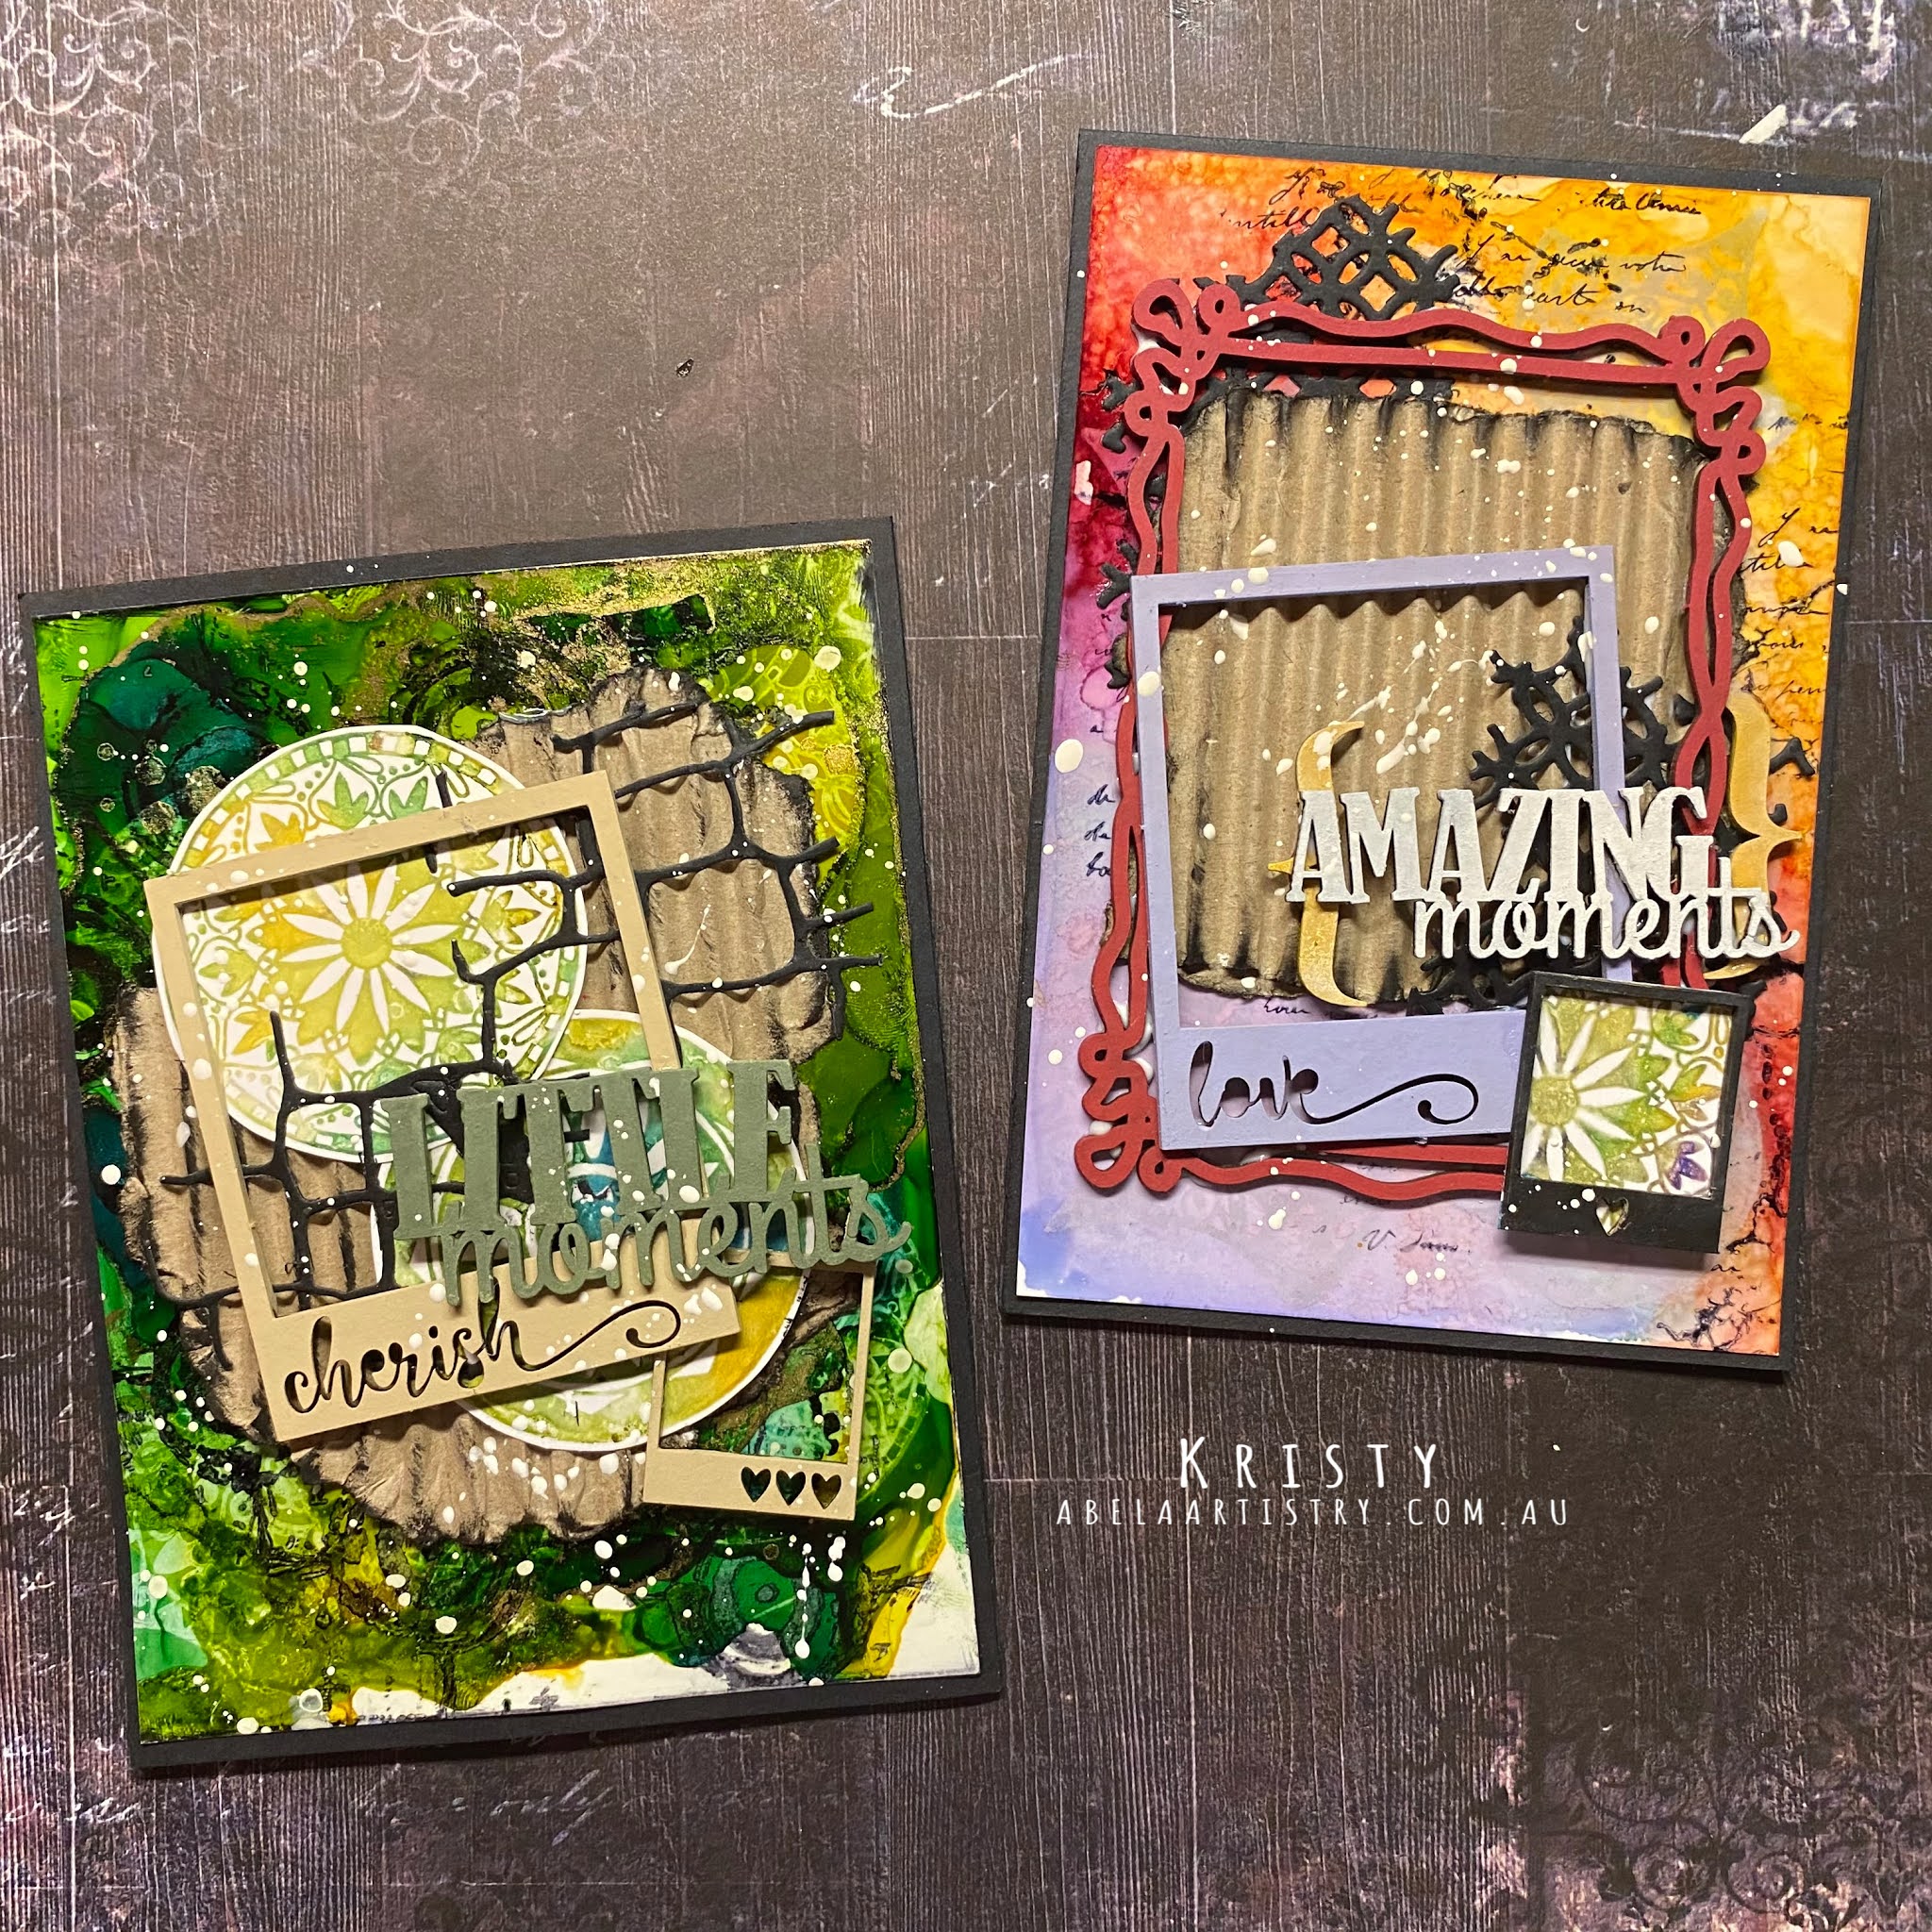
Nothing beats the excitement of getting new mediums and testing their limits... but what then? This month I wanted to show you how to use up some of those "experiments" with your products and turn them into easy and interesting cards with our favourite chip boards. As an avid art journaller... yep,  pages and pages of play, some great and some I would rather forget (those become collage papers...) but that's another story! 


I created these backgrounds out of Alcohol ink and a Lift Off stamp pad. The aim was to use the stamping as coordinating embellishments. I find Alcohol ink an unforgiving medium to work with but when you get it right the effects are well worth the effort. Dusty Attics corrugated card stock is a perfect matt for me. It has texture and only needs a little highlighting with a stamp pad to create some amazing effects.  

 
I didn't want to cover up the stamped images and the Polaroid Frame along with the baby polaroid was perfect to draw the eye and the frame quote was a perfect compliment to the Mini Caption. Now we Cherish little memories...
 

I had added some splatters to the Alcohol ink background and added some to the foreground as well. This helps to integrate all the elements into one as well as to reinforce the "unisex" possibilities of the card.
 
 Here I repeated the process. I used some texture & script stamping on the background and coloured my chipboard to match this one. I coloured my chipboard to contrast in the previous card.


Here is the final product! Check out the chip board I used below.


Chipboard


 Dusty Attic Chipboard

 Polaroid frame set #1

Corrugated Cardstock

Mini Captions #6

Squiggly frame #5

Mini Brackets


-- Kristy - Abela Artistry https://abelaartistry.com.au https://abelaartistry.blogspot.com.au https://www.instagram.com/abela.artistry https://www.facebook.com/abela.artistry