Showing posts with label Dusty Crackle Varnish. Show all posts

Tuesday, 6 August 2019

Discover Tag - Farrel Tailor - Mood Board Inspiration

Hello there Dusty Attic Lovers!!! Farrel here to share my August mood board challenge project. 44035713_10216517096341108_154288878973353984_o
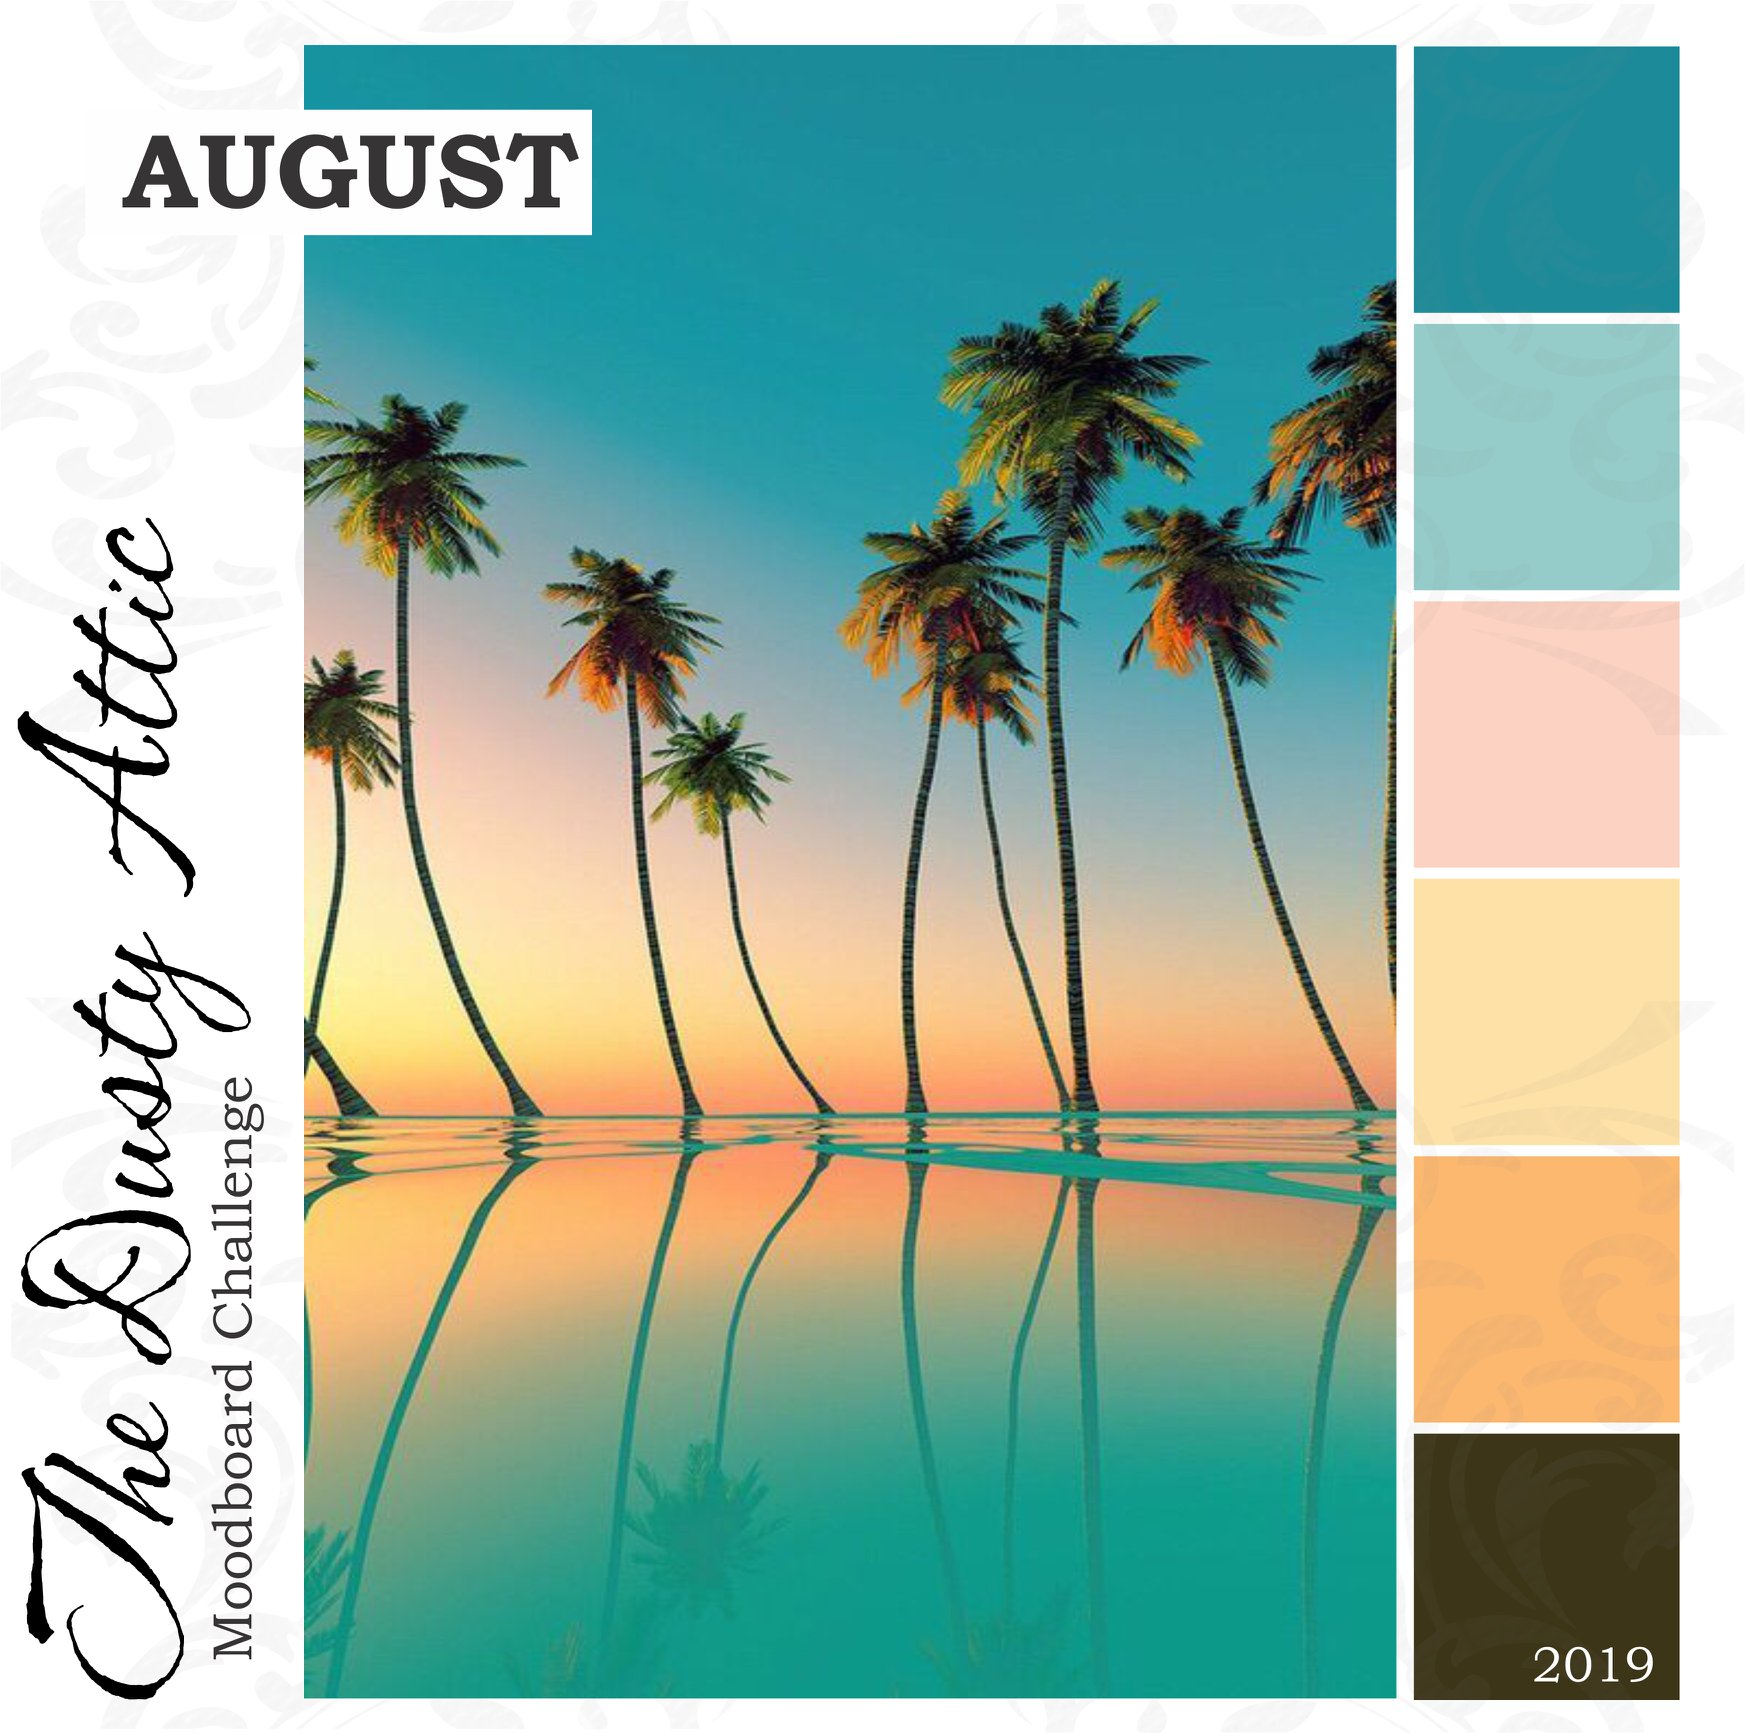
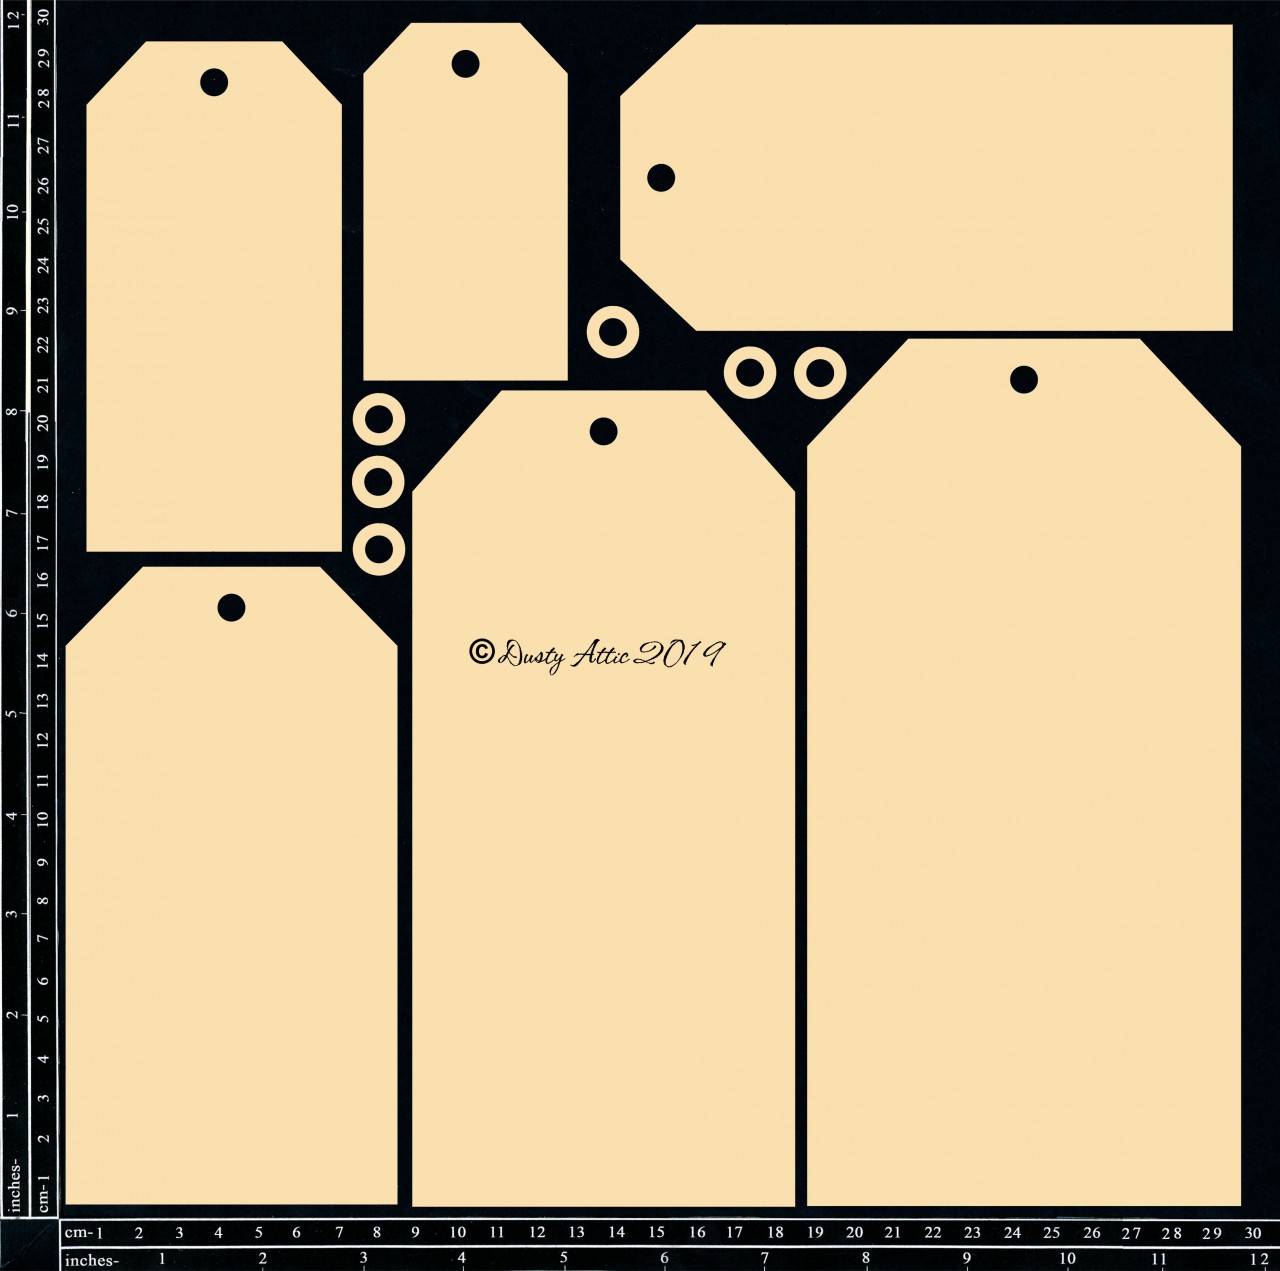
For my inspiration I used the picture and the some of the colours. When I look at this picture it makes me think of travelling somewhere tropical so my tag is just that..... travelling and discovering.
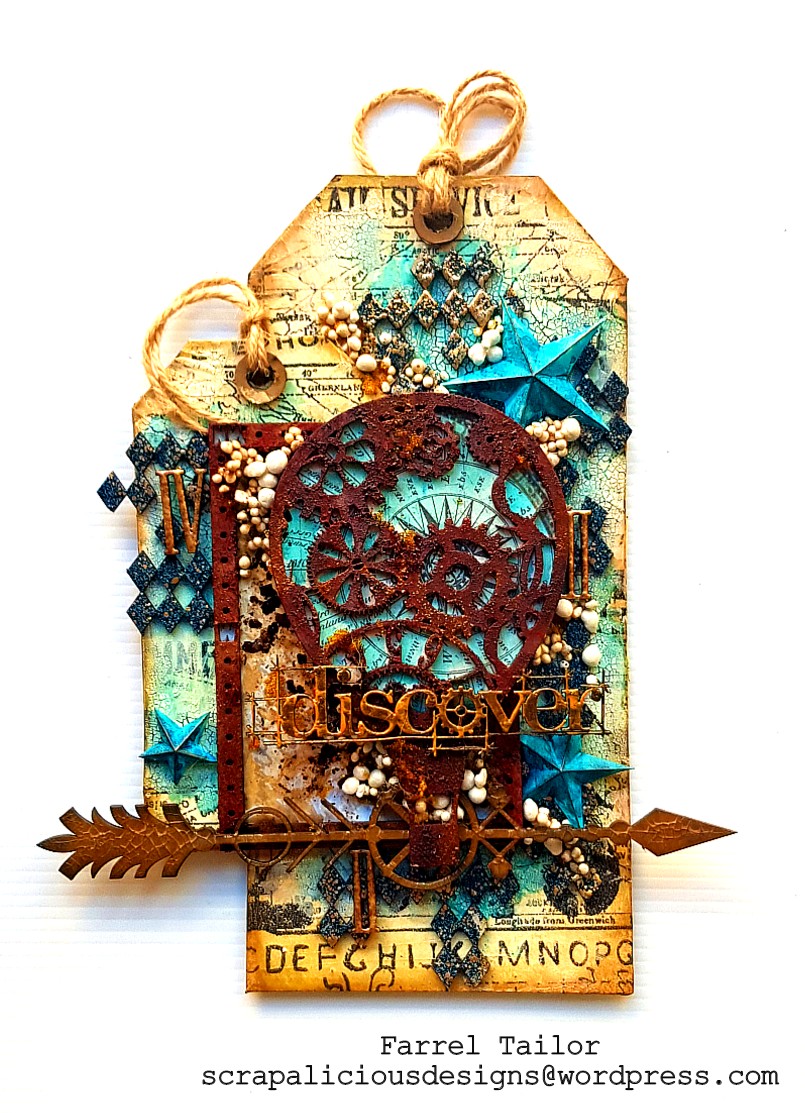
Discover Mixed Media Tag by Farrel Tailor
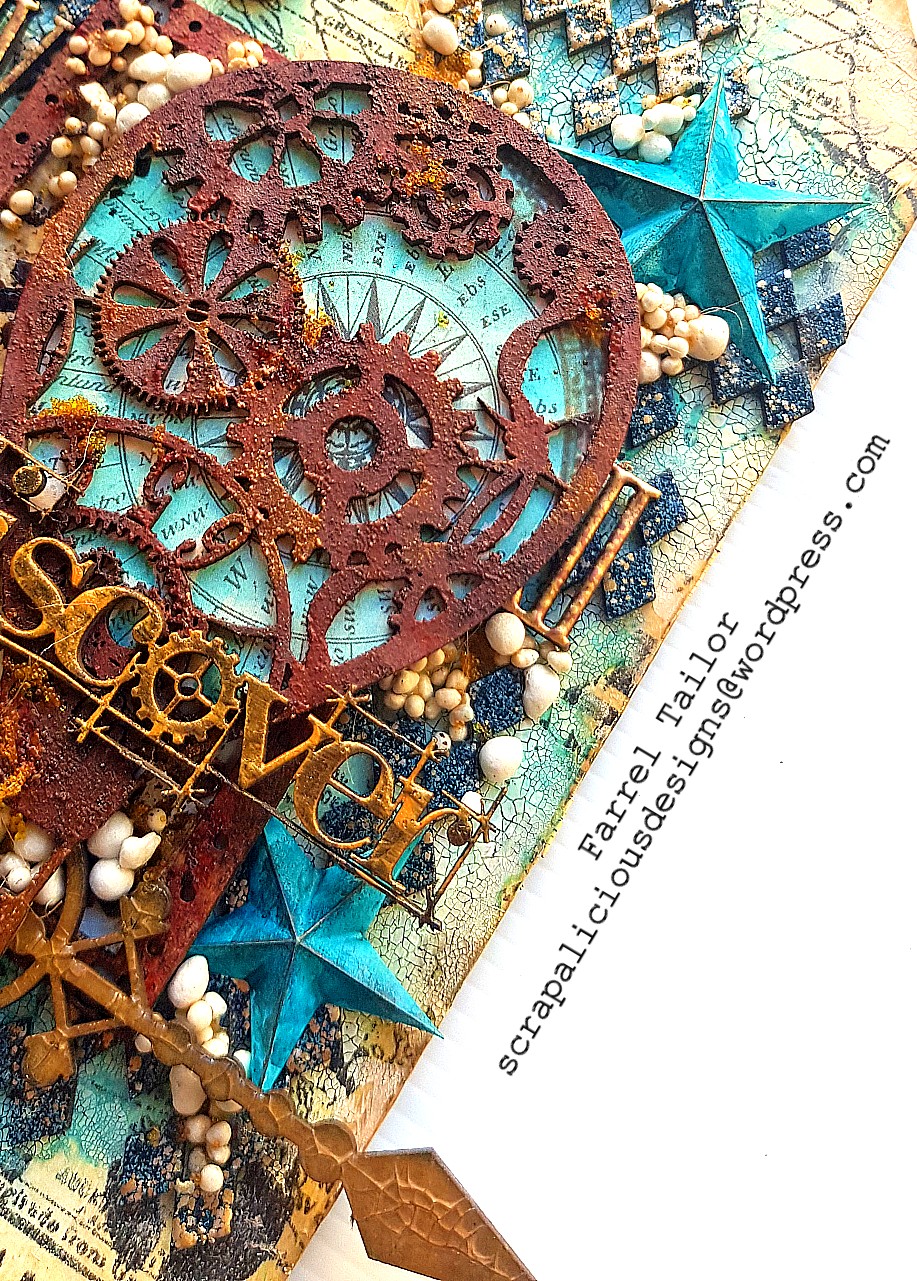
I covered the 2 tags with Tim Holtz Postale tissue wrap and inked them with Vintage Photo Distress Archival Ink. Then applied a white crackle paste. Once dry, I then added some blue ink to highlight the crackle. I used the same ink to colour the resin stars and highlighted with some bronze wax.
Mixed Media Tag for Dusty Attic by Farrel Tailor
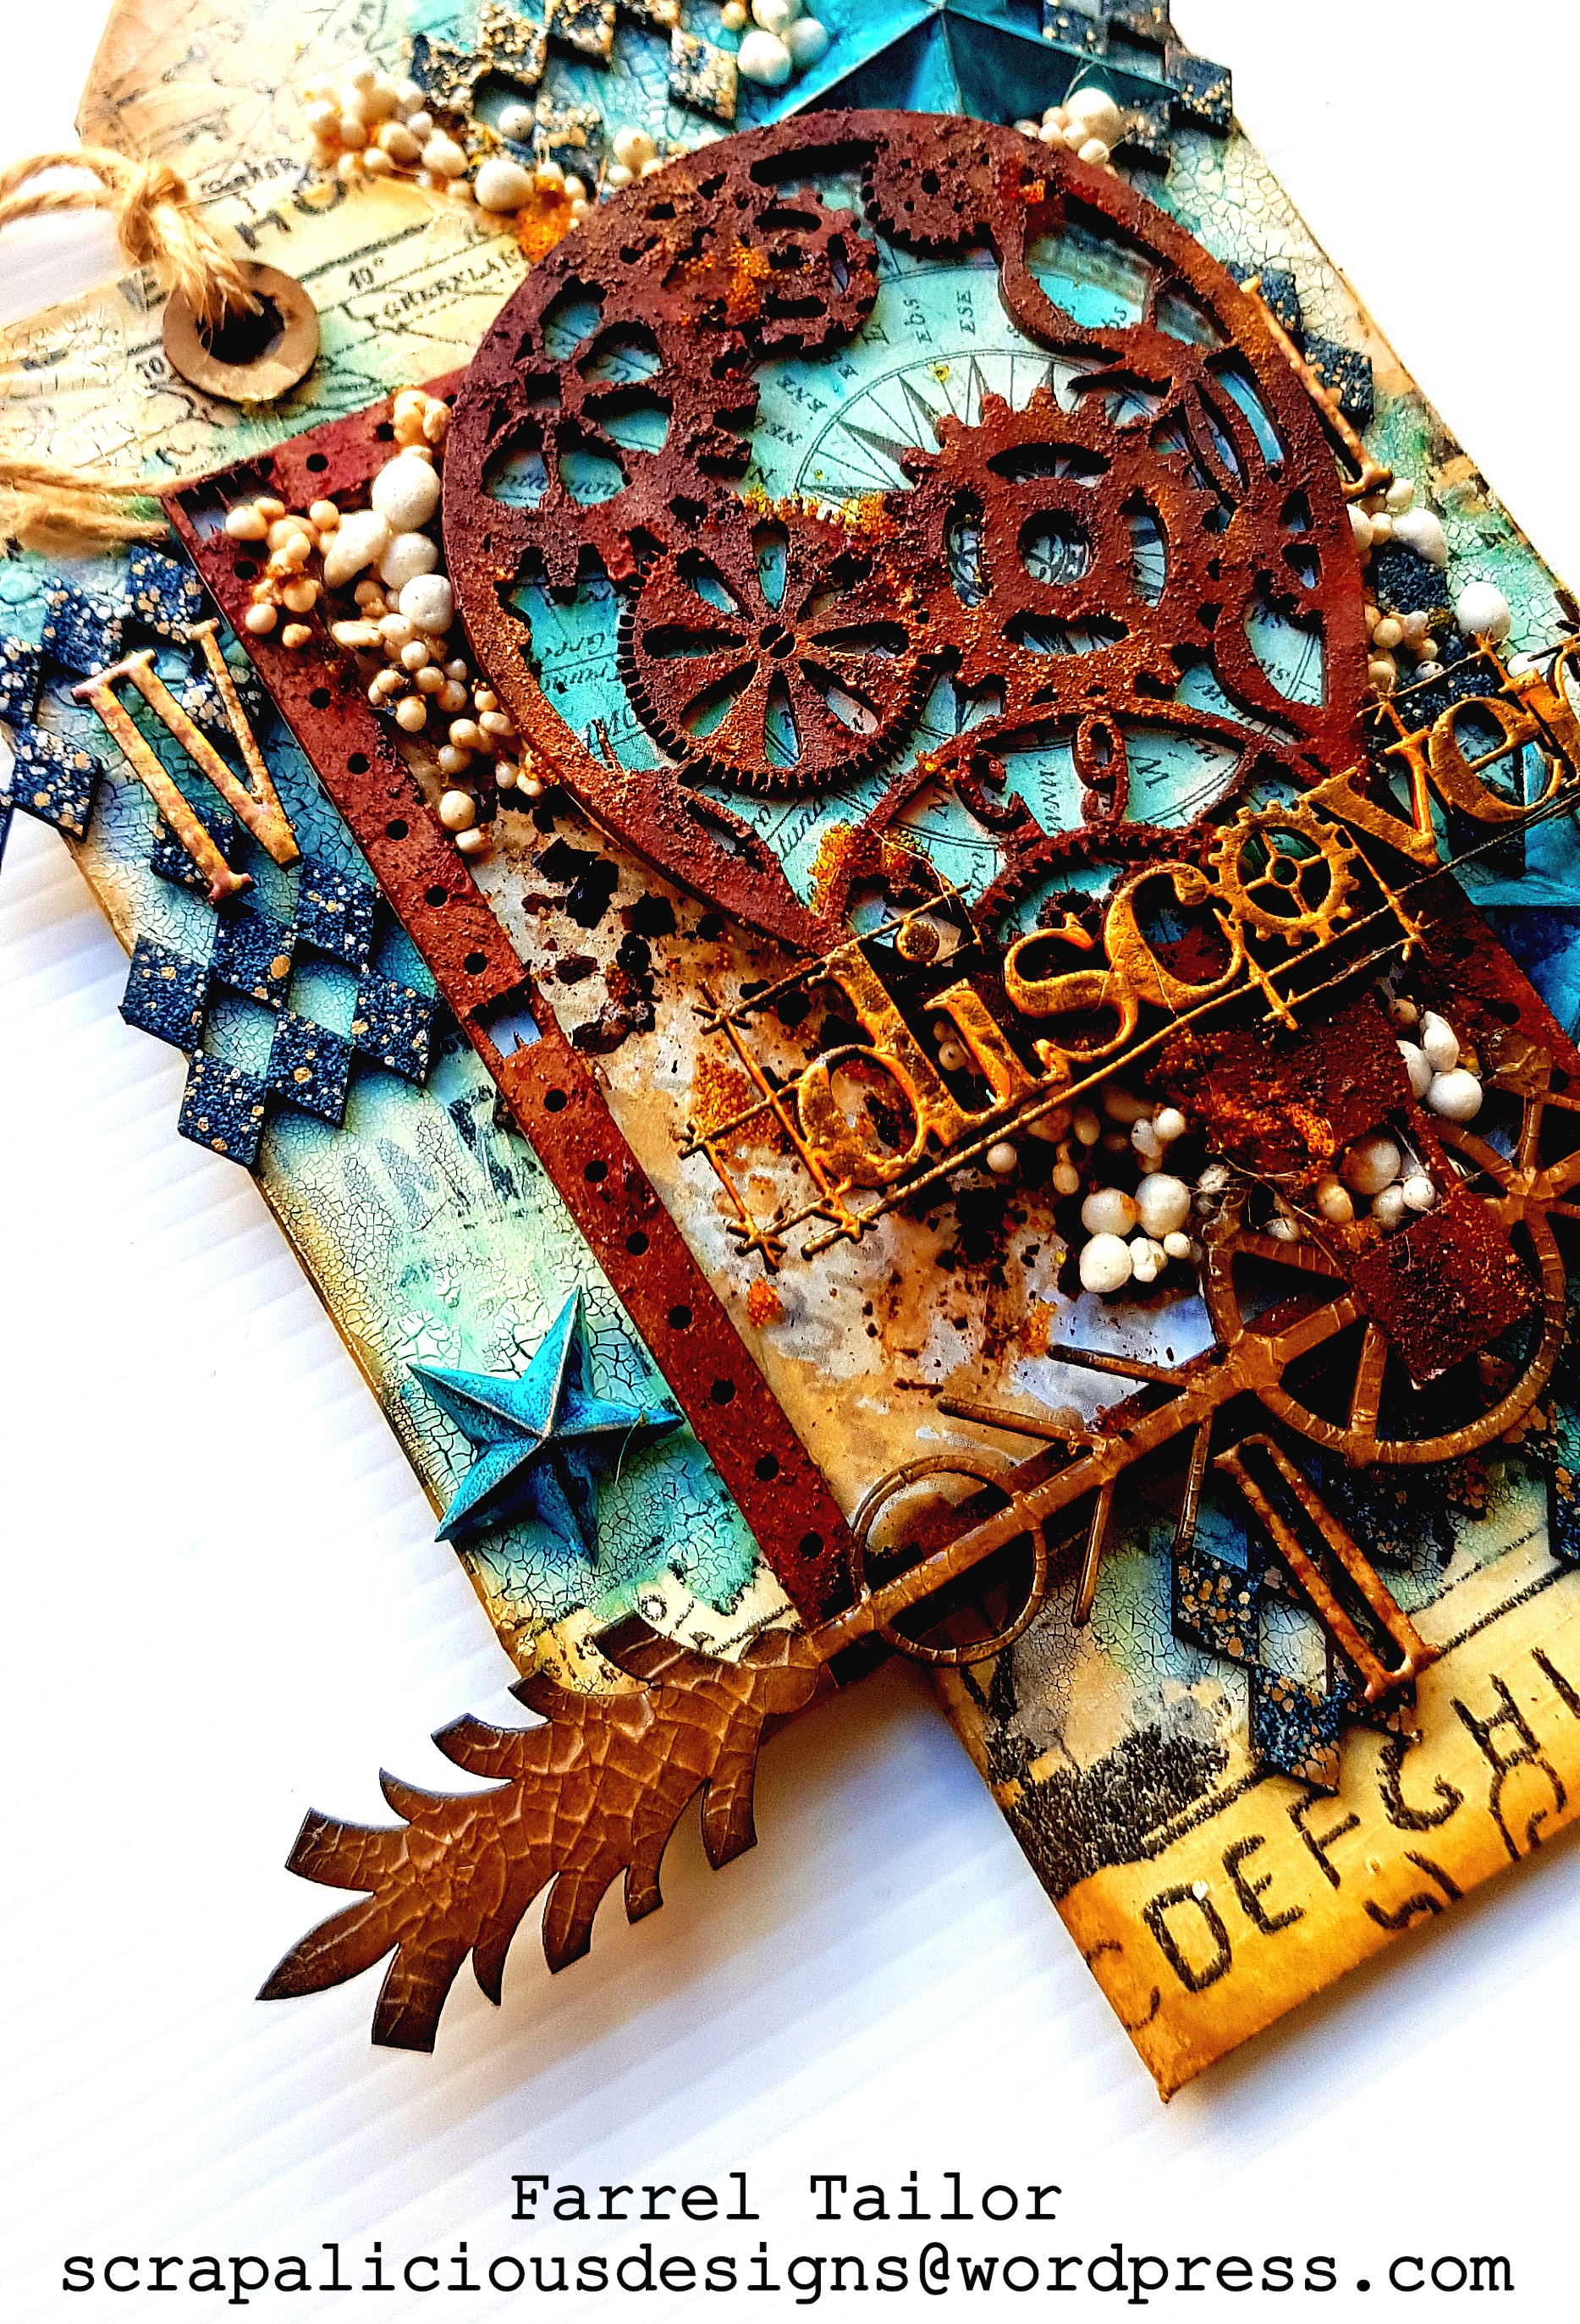
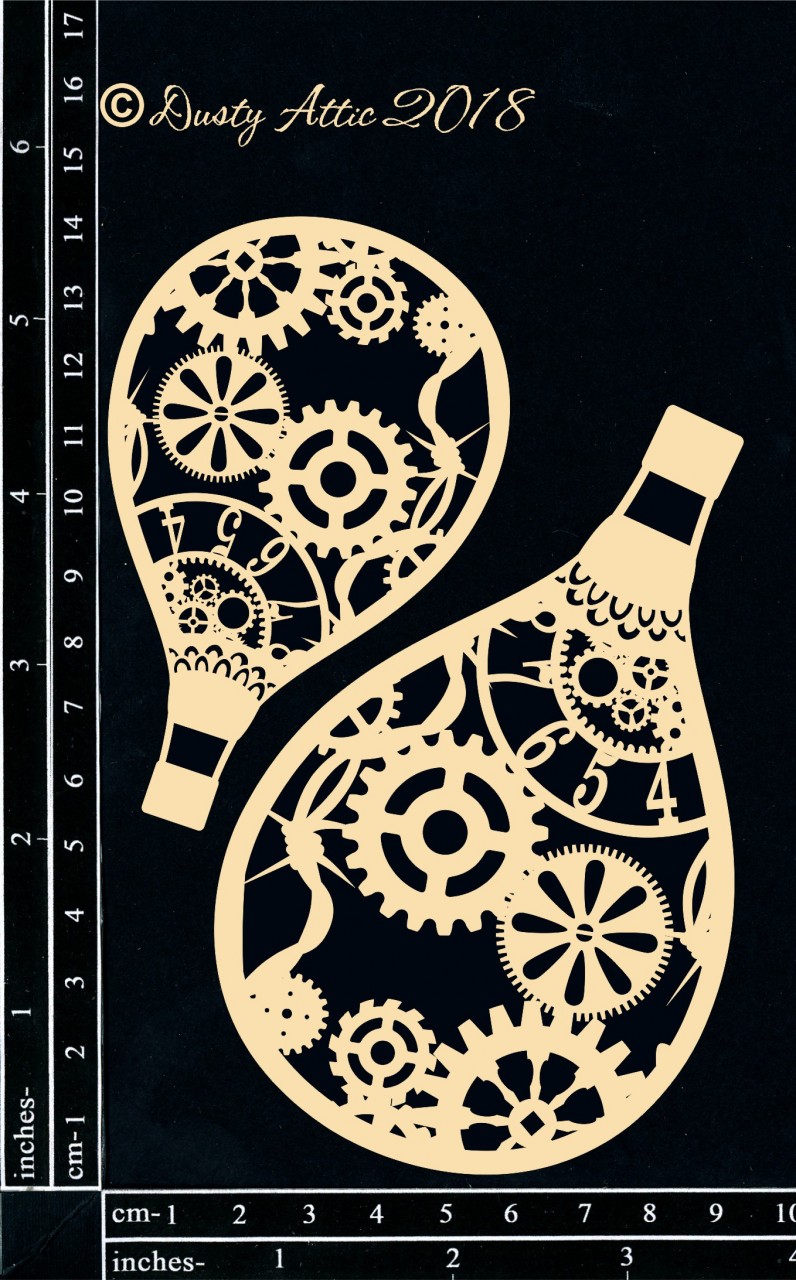
I covered the Industrial Balloon and Nautical Frame chipboard with Art Anthology Rust Effect Paste. Then I adhere paper to the back of the chipboard from Stamperia - Around The World Range. I also added some of the blue ink to the paper to match the background of the tag.
I heat embossed the Diamond Panel with Stampendous Marine Embossing Enamel and trimmed to fit the tag.
Dusty Attic August Challenge by Farrel Tailor
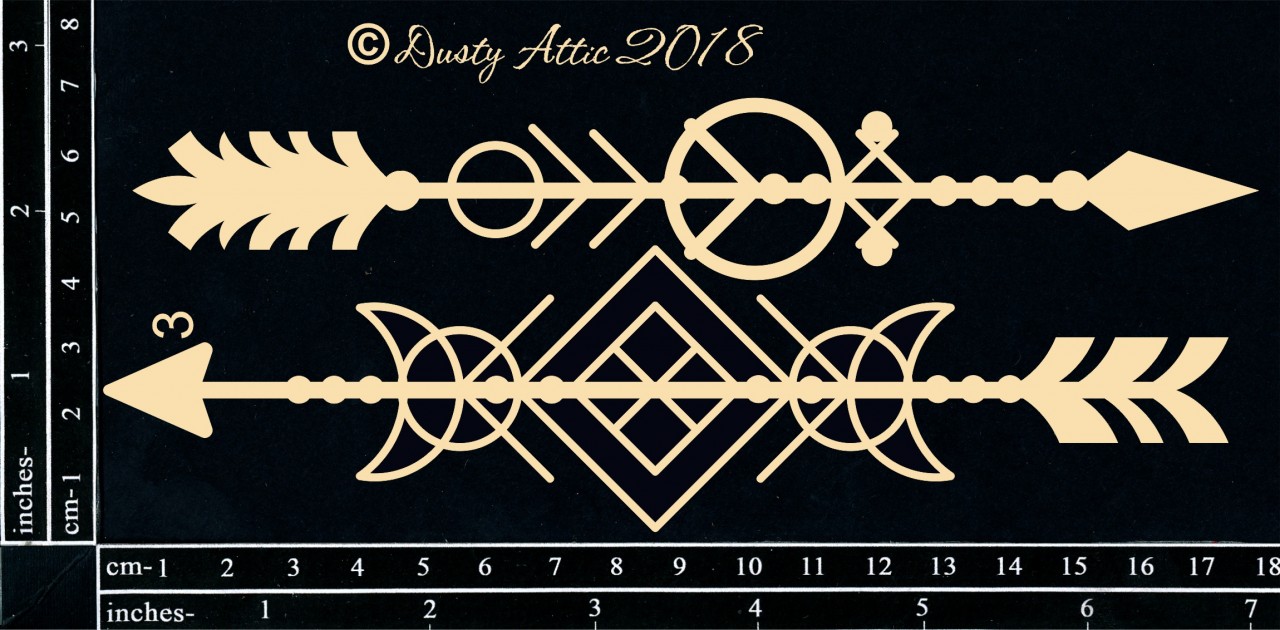
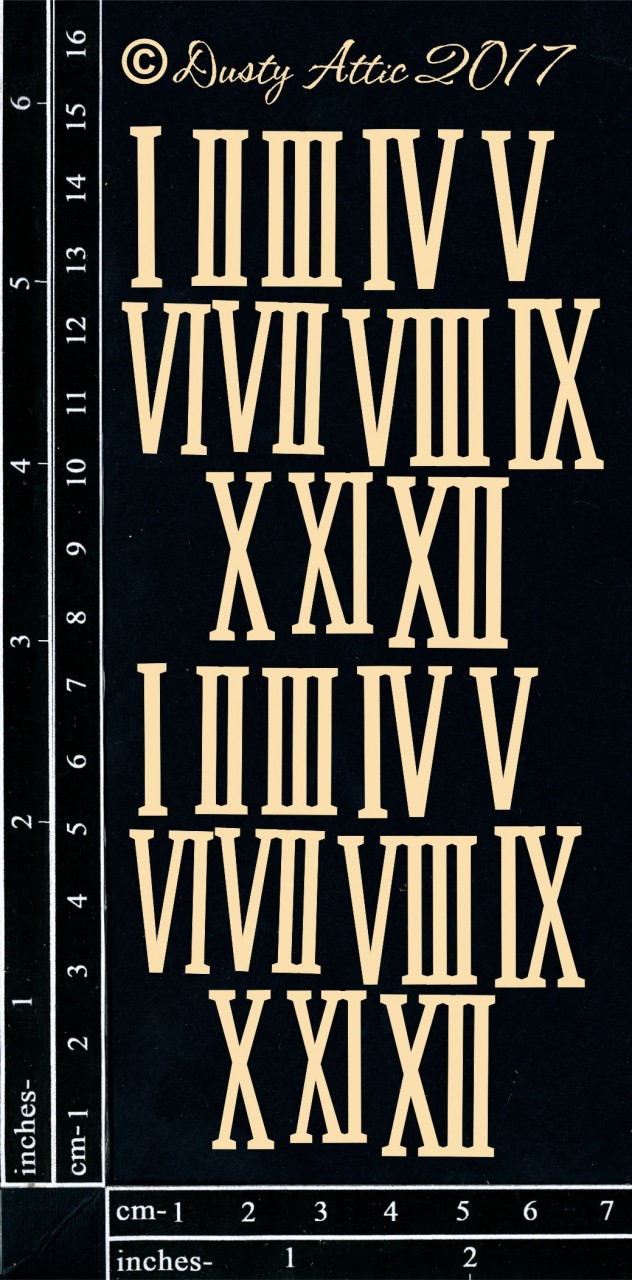
I inked the Geo Tribal Arrow with Vintage Photo Archival Ink and covered with Dusty Attic Clear Crackle Varnish. I heat embossed the Roman Numerals with a bronze embossing powder. For the Discover title, I used black embossing powder and then applied a light coat of orange metallic acrylic paint.
To finish off I added art stones and micro beads.
Dusty Attic Products Used
blueprint_word_pack__17133_zoom
diamond_panel__15305_thumb
geo_tribal_arrows_3_2260__17510_zoom
industrial_balloons__32355_zoom
Roman_numerals__05924_zoom
Tag_medley__81927_zoom
02005930_3788026__38242_zoom
nautical_frames_2147__60103_zoom
Make sure you enter your August challenge project for the chance to win a $50 voucher from Dusty Attic. We all look forward to seeing everyone's creations and thanks for dropping by xx
Farrel Tailor

Friday, 19 July 2019

Everyday Life - Tina Ollett - Mood Board Inspiration


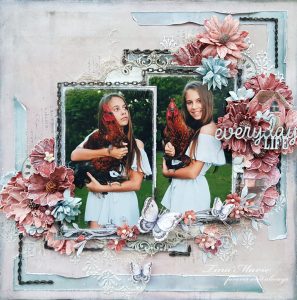
Hello and welcome to the Dusty blog today. I am glad you can join me here to see my latest layout created for the Dusty Attic using this month's gorgeous moodboard. To be quite honest when I first looked at it I was a little stumped and then during the week I was cleaning out some papers and come across an older collection of my 49andMarket papers. Then penny then dropped ...... and this is what I came up with.
Remember you still have plenty of time to create a little something to add to the challenge site to be in the running to win some fabulous Dusty Attic. All the details of how to enter can be found here.


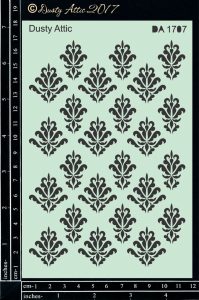
To start off my project I built up a background using a combination of papers from the Heirloom Botanicals collection. My background was then primed and I added in some texture with moulding paste using Dusty Attics beautiful Damask stencil.
This was then heat set and I then went on to colour the texture with Distress Inks and acrylic paints.
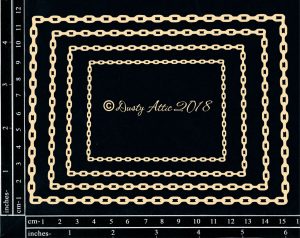
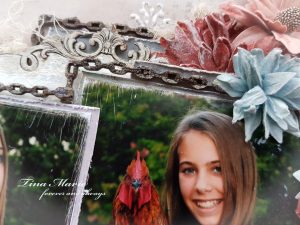
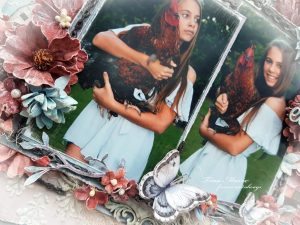
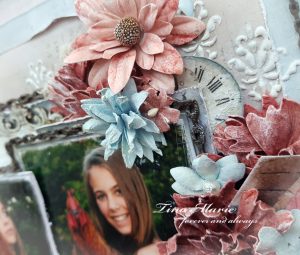
My next piece of Dusty Attic goodies to use was the new Chain Rectangles . I created more texture on these using some Dusty Attic Rusting Powder. Once the colour of the rust powder had changed and dried I then added in more colour using acrylic paints to give the textures some definition. The pieces were cut up to add around my background and photos to help frame and bring the attention to the photos.
It is a little difficult to see but below is the chain cut up and framing the photos. The add texture on these produced by the rusting powder is really cool.
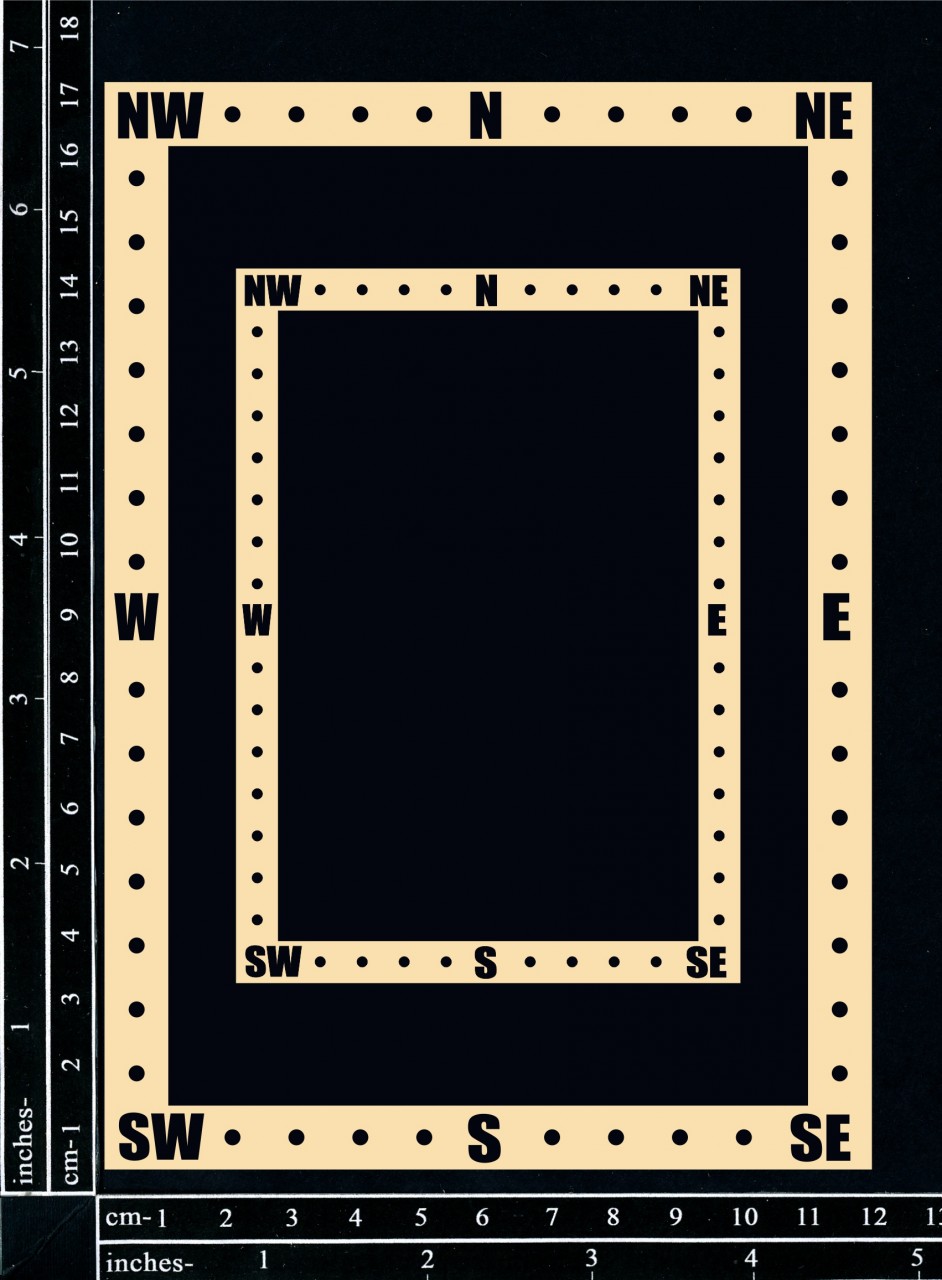
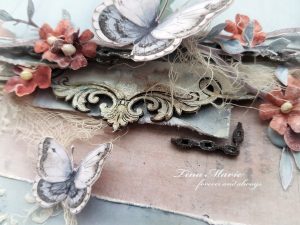
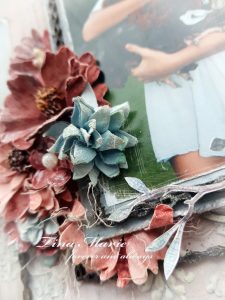
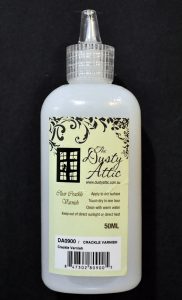
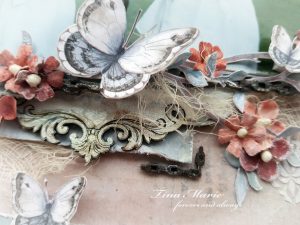
I was nearly finished my layout when I decided to pop in some more Dusty Attic. This time a Decorative Frame. I love this new release piece. It is just stunning with the adding engraved elements to the pieces. Of course you need to be quite careful when colouring as to not colour it too heavily as you will cover these engraved highlights. It is always a good idea to add colours gradually. I have coloured mine here simply with white gesso. I gave it three coats and then ensured it was dry and added in colour using Distress Inks with a craft nib. I wanted the colour to stand out a little more so I then went on to add some Dusty Crackle Varnish. This was added in using my finger to dab it on and it was left to dry and crackle.
You can see below the effect that it makes to the Decorative Frame #4. I only had to use one of these but cutting it in half. Cutting the chipboards is always a good alternative to make them go further.
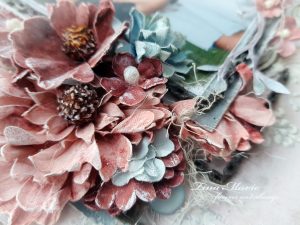
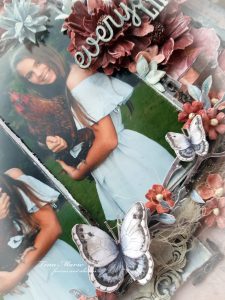
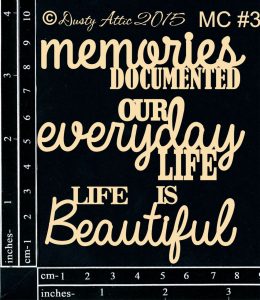
I added in lots of ephemera cut from the remaining 49andMarket papers and finished up by adding in flowers and topped it all off with the Dusty Attic chipboard title from the Mini Captions pack #3. "Everyday life". 
I cut the "Our" off to change the title to suit my page a little better.
And there you have it. My take on this months moodboard. I hope you have enjoyed my post today.

Monday, 22 October 2018

Remember the Journey - Tina Ollett

Welcome friends and thankyou for visiting here today.
I am here today to share my latest project designed around a beautiful photo taken on our trip to New Zealand earlier this year. We saw and did many fabulous things while touring around but this definitely was a huge highlight for me. We didn't get too close as not to scare the seals that were happily lazing around (some sleeping). My daughter was just mesmerised by these beautiful creatures of the sea. There were some with babies too, so beautiful !!


My first part to start this project was to prime my background page "The Journey" which I selected from the Captured Adventures collection. Have been wanting to use this piece for so very long. I used clear gesso along with white gesso and clear crackle firstly. I then coloured some sections with Faded Denim and Storm Cloud acrylic paints and then wiped away excess with a baby wipe.


I also inked the edges of this piece with Black Soot distress ink. While I had the ink out I also did some stamping using Pascales Tickets and Numbers Stamp set. This is my new fave... love it!! I also used Vintage Photo and Walnut Stain distress inks as well to bring the colours together from my background paper.

PB-87698 Pascale's Tickets and Numbers Stamp SetSS-86424 Sand and Sea Sea Creatures B


I have also used a section of the Sand and Sea collection to use as matting for my photo. I then went ahead and added in some very nice 49andMarket / Dusty Attic archival boards along with Dusty Attic chipboards ......lots of them...... all dressed in Walnut Stain Distress Ink and Faded Denim acrylic paints. I made lots of layers with my chipboards and also some lace today. I painted my lace a little also.

The Dusty Chipboards used are as follows :


Mini Chains - 10pk DA 0405


Mini Seagulls DA1176


Ornamental Trim Set DA1347


49andMarket Archival Board 


Compass Rose


Ornamental Trim #2


Mini Portholes


Dusty in Colour Paint Bisque


Dusty in Colour Paint Faded Denim


Dusty in Colour Paint Storm Grey


Dusty Attic Clear Crackle Varnish


I used the barcode strip as my title for this project. I painted the edges with a little Bisque and Gingernut acrylic paints and popped it up on some mounting tape.


The project from another view.


Here you can see the left hand corner of the layout where I have added in a variety of gorgeous 49andMarket flowers. They are as follows:


Floral Mixology Galway Gray


                                                          Floral Mixology Pina Colada


                                                                   Floral Mixology      Ocean Breeze


I love to change my flowers up a little sometimes. And today I added some dry brushing of acrylic paints over the top of the Pina Colada's to give them the greyish blue colour coming from the rocks in the photo. Also a little Bisque and gingernut as you can see on the shells and the flowers below.


And as I just mentioned shells ...... I added in some art stones too. These were also painted.


And I teastained some cheesecloth to give the bisque colour to match with my project.


And here below you can see the stamping done with Distress Inks. I did a little extra stamping and colouring after I was finished as it didn't have the darkness I was looking for.


Well that is all from me today. I hope you have enjoyed my post and project.
Until next time take care. Hugs Tina x