Wednesday 31 May 2023

A Lifetime is not long enough ... - Adri Du Preeez

Hello everyone!

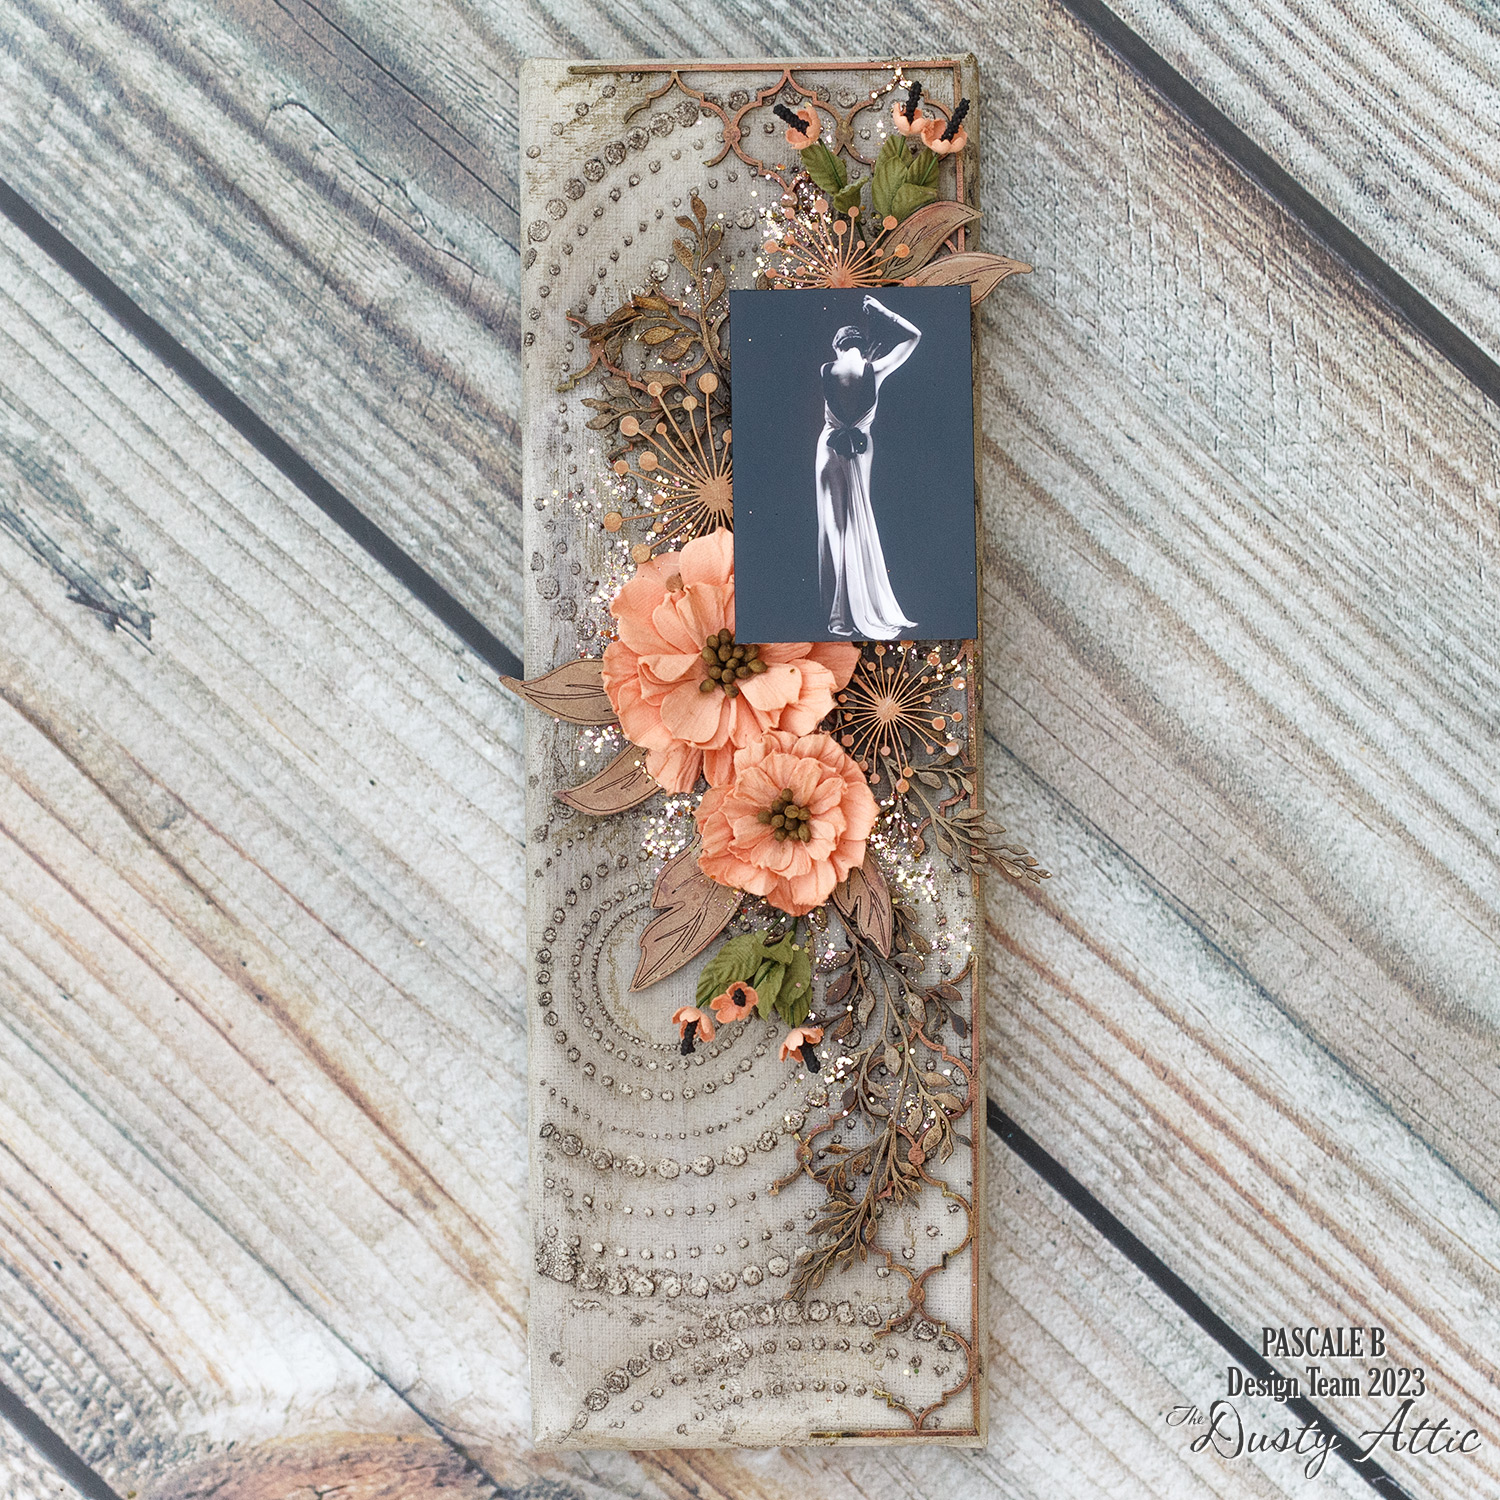
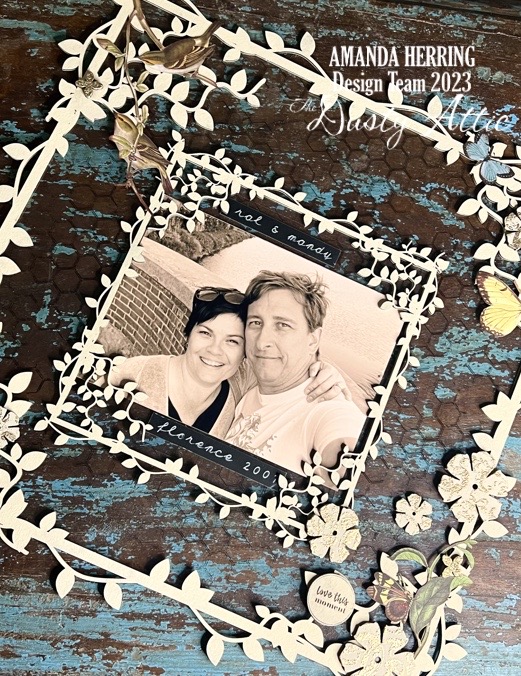
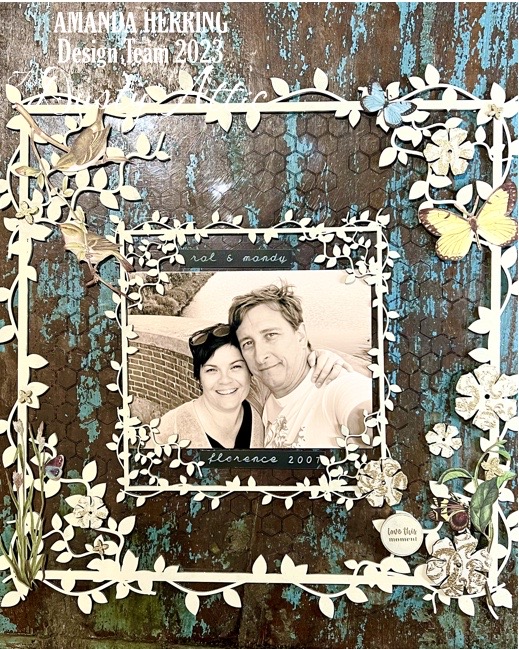
Welcome to the blog today. My May design team layout features beautiful Dusty Attic chipboard pieces.

 I made this layout to celebrate our 40th wedding anniversary on the 7th May.

Here is my layout.


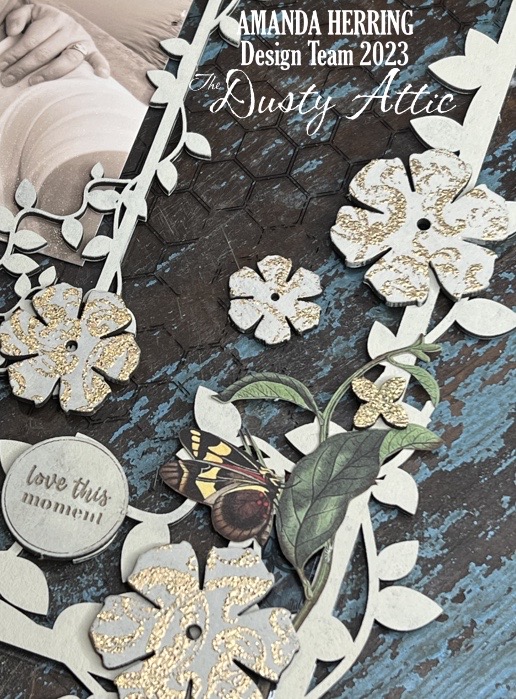
The branches, wildflowers, and wild grass were first covered with cleared gesso and then Distress Oxide in Vintage Photo and Iced Spruce. Press the two Distress Oxide Ink pads onto a craft mat and spritz them with water creating small droplets.  I started with Iced Spruce for the base color and slid the chippies through the droplets a few times and dried them with a heat tool. Repeat with Vintage Photo and dry in between. 

The beautiful and perfect title was heat embossed with white embossing powder.


I chalked the two bird's nests with Chocolate Versa Magic Ink and the edges with Americana Acrylic paint in Slate Grey. The eggs were painted with white acrylic paint and Americana Acrylic paint in Slate Grey.

The butterflies and polaroid frame were first covered with white gesso and then painted with Americana Acrylic paint in Peaches 'n Cream and Spa Blue.


To color the Wordpl@y words I lightly covered them with white acrylic paint and Americana Acrylic paint in Peaches 'n Cream and Spa Blue.

A

After everything glued down I added art stones and splatters with diluted white gesso.

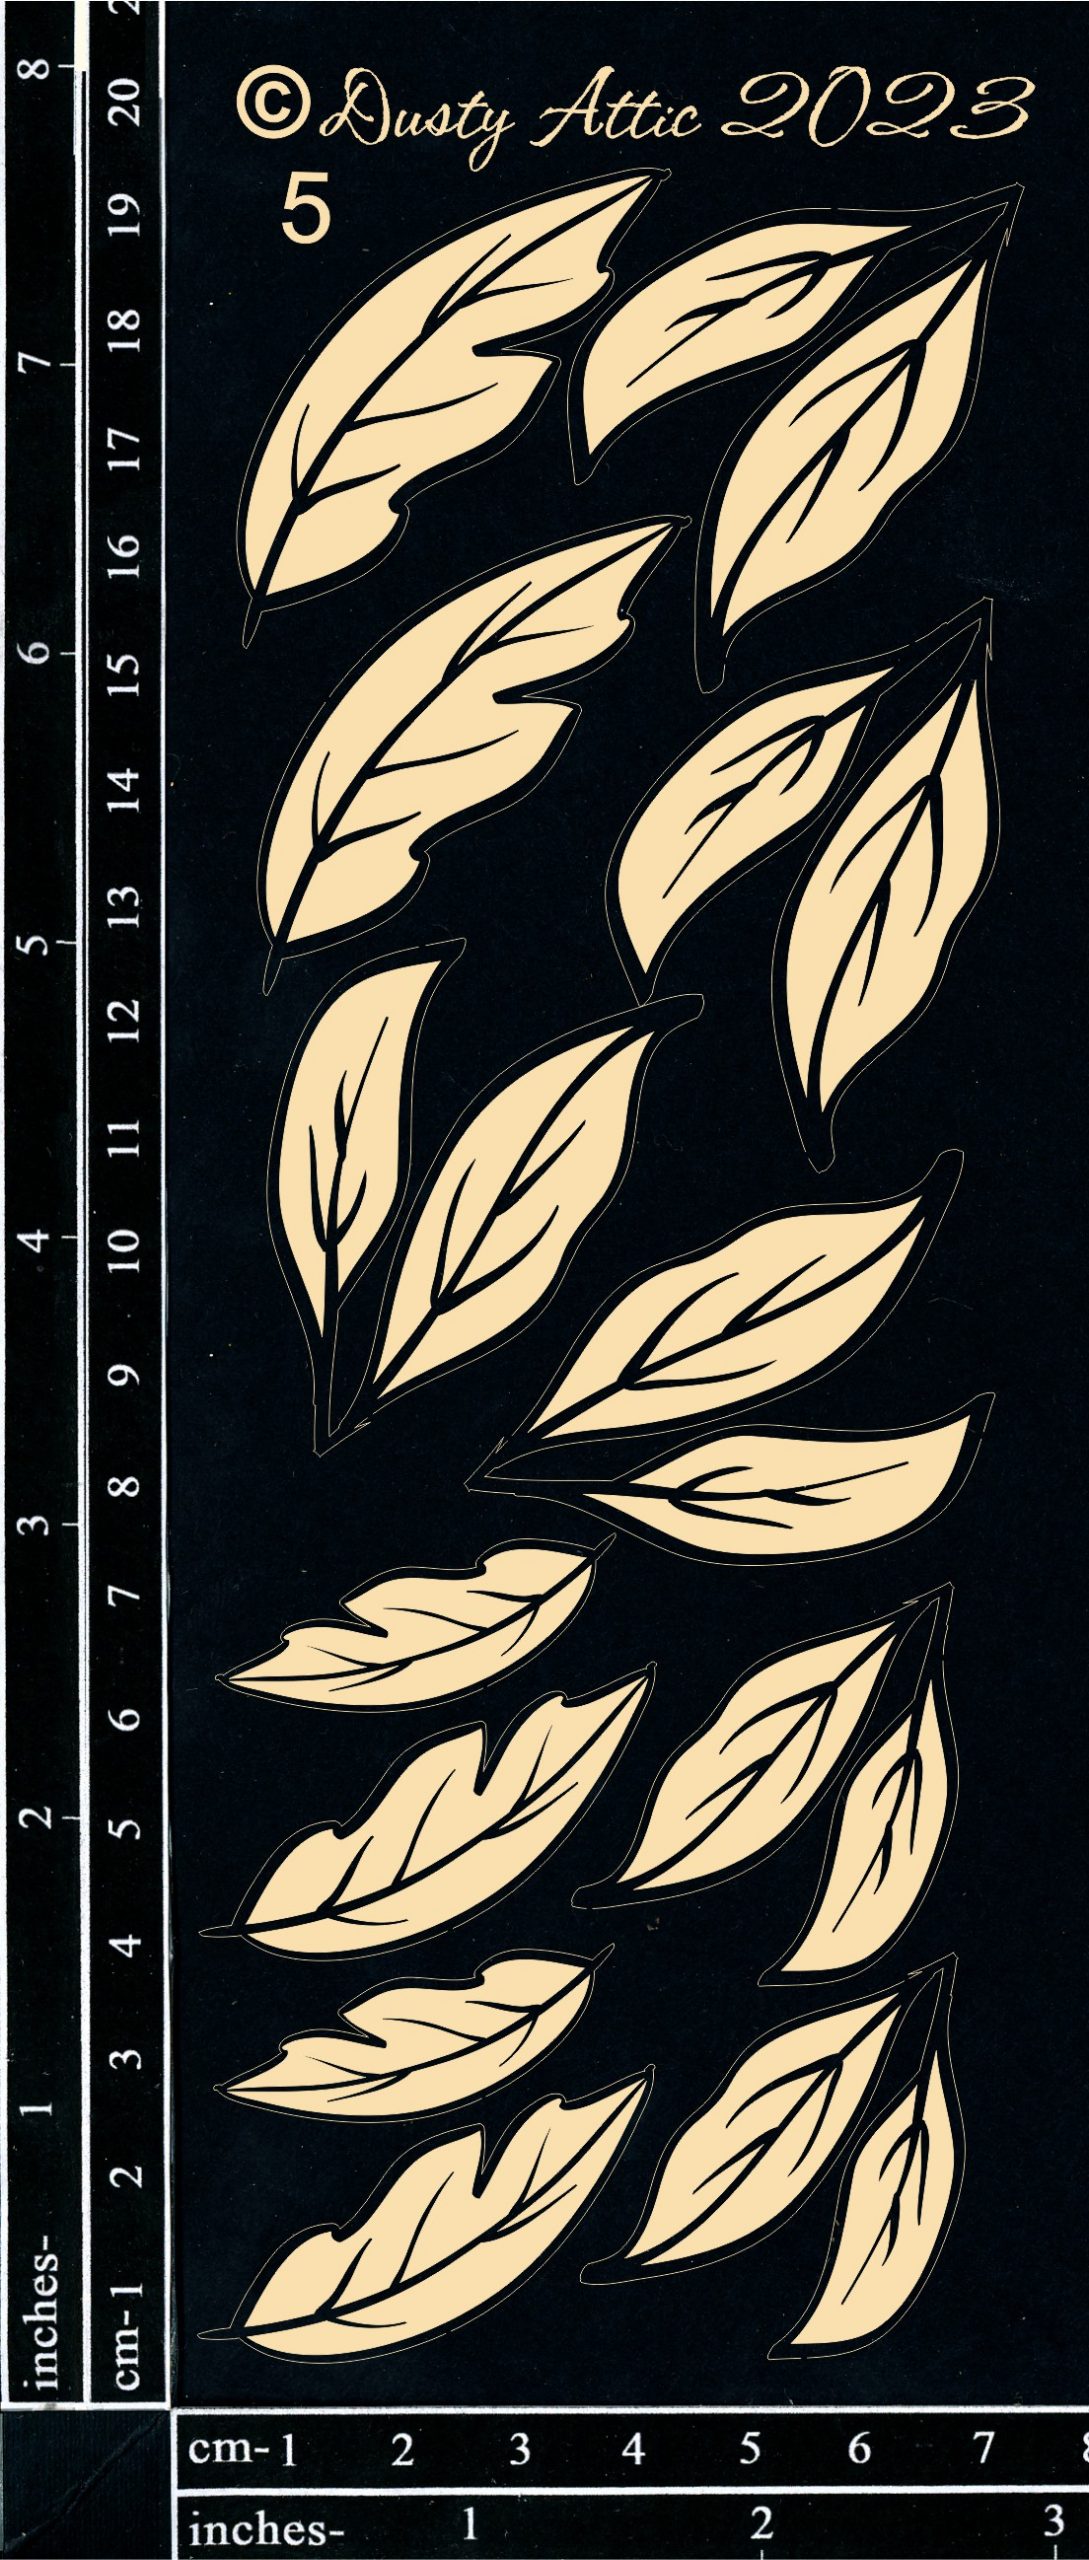
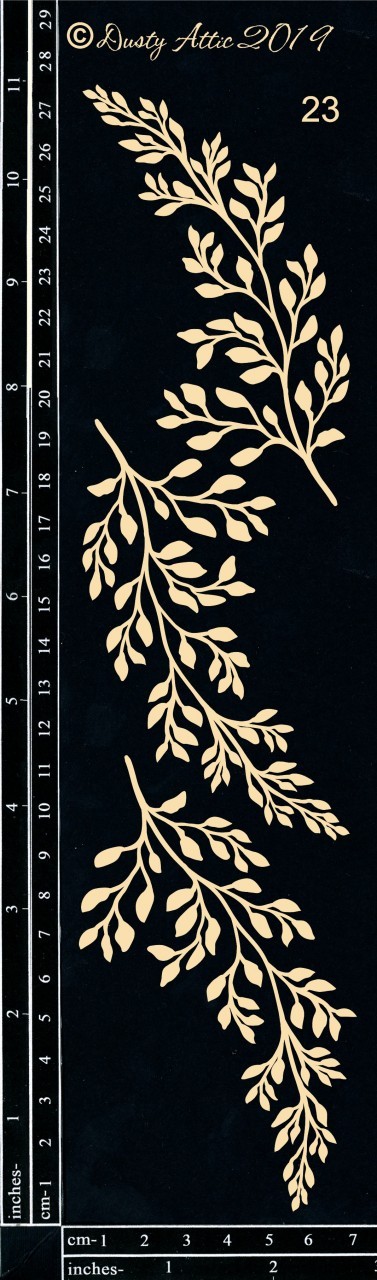
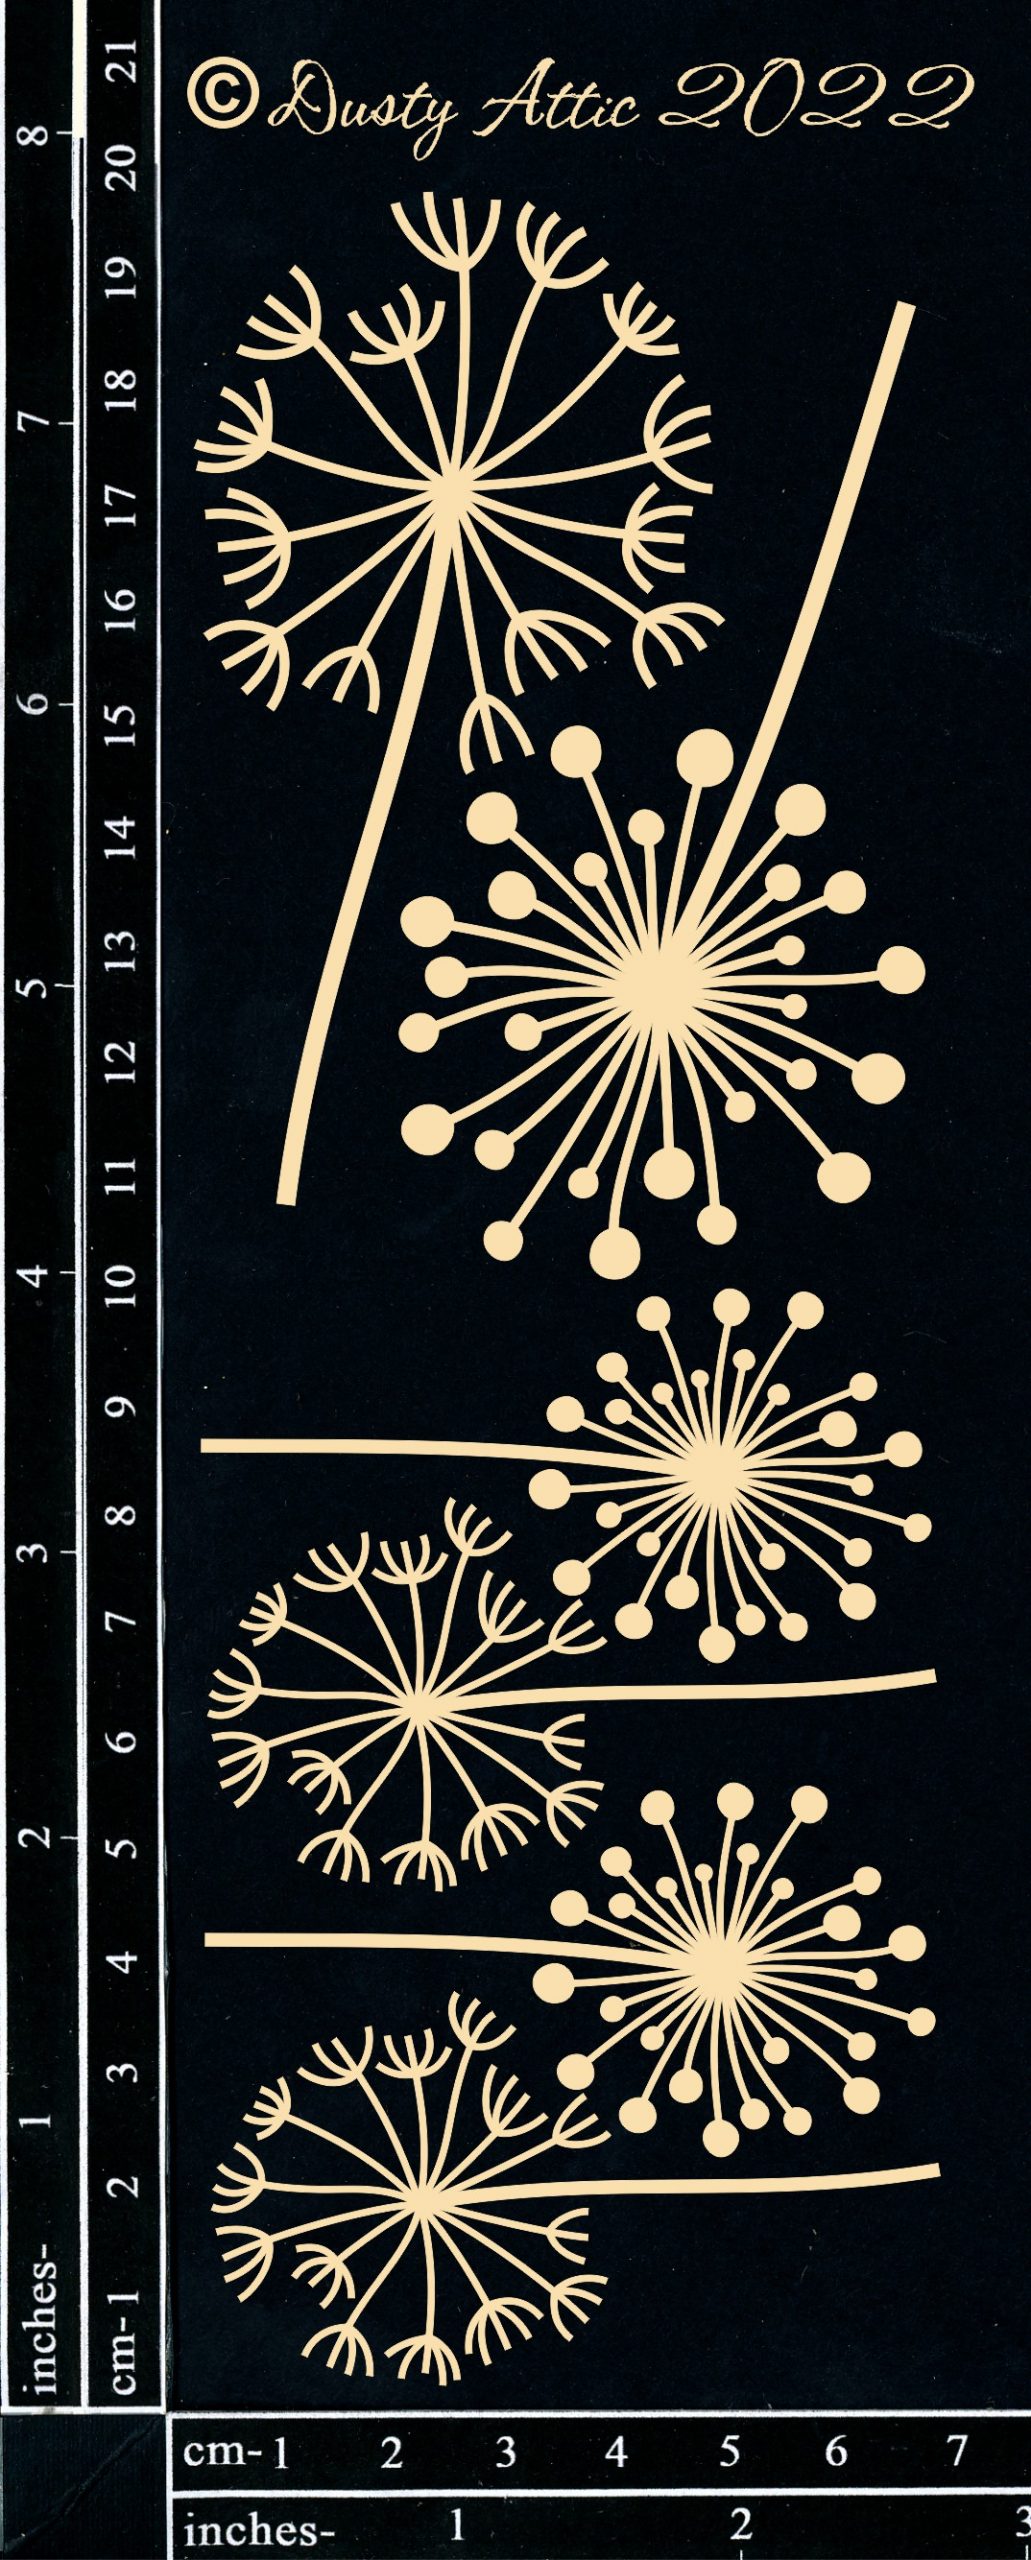
Dusty Attic products used.


Thank you for visiting the blog. 

Visit the Dusty Attic online shop for more amazing chipboard designs.


Monday 29 May 2023

Memories - Mariusz Gierszewski - Mood Board Inspiration


Today, based on Mood board inspiration, I have prepared a layout full of Dusty Attic chipboard.


Mood Board


 I had a lot of fun creating it, but it was also a bit difficult for me because the last layout I did was probably a few years ago. 

I hope you enjoy my work today and I'm signing you up to do some work for yourself.


 They are : Mystic Flourish and Clockworks small which I have left in their raw state colour, Federation Frame Set that I have coloured brown and then added one of the Mini Tags #3 BLACK as a title for my page.


Mini tags #3 black


Federation Frame Set


Clockworks small


Have a nice day! 

Mariusz - Scrap Hobby


Sunday 28 May 2023

Mothers hold their children's hands .... - Deb Stephens - Mood Board Inspiration

Hello Dusty Friends. This layout was inspired by both the Monthly sketch and Mood board. These photos were taken on Mothers day with my mum and my husband and kids and I decided to use them as I like having multiple photos on one layout and printing photos in odd shapes brings more interest. I used DA0932 Polaroid frames for the small photos.

Although I have a love for beautiful patterned paper, (and have a decent stash, as I am sure we all do) more and more I find myself reaching for a blank sheet of white or black 12 x 12 so that I can customize it to my photos' colour scheme. I sprayed and flicked some distress Oxide Sprays in yellow and green tones to tie in the colour of the dress I wore in the main photo.

The ephemera was a fussy cut file that I purchased online from the WhiteCatJournal store, printed onto white cardstock and fussy cut. These were inked and layered up with foam. I also used a Stitched rectangle frame from 49 & Market, some assorted small flowers and fussy cut tickets from one of their patterned papers.

DA2659 Mothers hold their childrens hands chipboard sentiment was painted and attached to the frame.

I hope you enjoyed this simple layout and get inspired by the Mood Board and the Sketch Challenge. Dusty Attic products used are shown below.

Saturday 27 May 2023

Coral - Pascale B Scrap - Mood Board Inspiration

Hello Sweeties,

Today I'm up on dusty Attic blog with a canvas inspired by the May color combo.

Here is the beautiful color combo for May:


I primed the canvas with white gesso before adding a design with the Circle Dot stencil and paste. While the paper paste was still wet I sprinkled with embossing powder. I let it dry before heat embossing the powder.  


I primed also all the chipboard with white gesso. I used different shades of brown to paint the Foliage #23 and the Leaves #5. I added White Gold wax to both and some Mahogany to the Leaves #5.


I painted the Dandelions with Nude and Carmin to match the color of the flowers. I painted the Marrakesh Treillis with Umber and add Copper wax when dry. 


For my background, I want to obtain a color similar to the color of the wall that can be seen in the color combo, but I want to give it a dirtier look. So first, I painted the background with Umber liquid acrylic that I removed partially. When the paint was completely dry, I covered the whole canvas with a mix of antiquing waxes: Soot and Sepia. I added clear wax as well to dilute the color as I want the background to have a light shade of brownish grey. When done, I glued all the elements with 3D gel.


To finish, I added some glitter.


Marrakesh Trellis Small
DA0821
Leaves #5
DA3401

Foliage #23
DA2594
Dandelion
DA3309
Circle Dot Stencil
DA2625

Other products:
  • Flowers - 49 and Market (Nature's Bounty);
  • Embossing powder - Lindy's Gang (Angel Wings Gold);
  • Art Alchemy Liquid Acrylic - Finnabair Prima (Burnt Sienna, Umber, Nude, Carmin);
  • Art Alchemy Waxes - Finnabair Prima (Antiquing Soot, Antiquing Sepia, Mahogany, Copper, White Gold);
  • Art Extravagance - Finnabair Prima (Paper Paste);
  • Art Basics - Finnabair Prima (White Heavy Gesso, 3D Matte Gel, Soft Gloss Gel).


Friday 26 May 2023

Love this moment - Amanda Herring


Hello 

I am back with another project for Dusty Attic 

I decided to make a decorative frame with a transparent background to showcase one of 

My favourite holiday pictures when I was in Florence.


It is a really simple piece but I love how it turned out, especially the transparent base. 
The clear acetate I used for my base has a distressed honeycomb design on it. 

To begin I have painted all my pieces of chipboard with cream acrylic paint. 
Once dry I have stamped and heat embossed the flowers with gold embossing powder 
for some extra texture.


Detail showing the embossing texture 


I think the really simple layout helps enhance the sepia toned photo, allowing it 
To remain  the main focus.


I have also added butterflies and leaf die cuts for a small pop of colour 


Supplies Used: 

DA0733 DeVine frame set
DACCo7R Garden Time Custom Mixed #7 
DA3321 Word Discs #3

49 & Market Meadow Laser Die cuts 
Stamperia Allegro acrylic paint Old Ivory 
Ranger embossing powder Gold Tinsel
Honeycomb Acetate sheet ( Kaiser Craft )


Thanks for stopping by 
Until next time 

Mandy x


Thursday 25 May 2023

Wild at Heart - Rikki G - Mood Board Inspiration

 Good morning how are you?  Nearing the end of another month, and as promised at the start of the month, I have a process video showing how I start a basic interactive layout. 

I love interactive layout as they allow you to add journaling (which I add after so my family has some hidden things out of the public eye), and the advantage is you get the best off both worlds with a nice single photo layout while having plenty of other photos.


To Follow along watch the video below:


My process is a little backwards sometimes, I tend to create spaces for photos before I worry about adding the photos. This allows me to get more creative with the art of it......


rikk


Once again this layout style is perfect for using the left over bits and pieces like the Dusty Attic Toadstools.


Wild At Heart


Toadstools #1


Dont forget you still have time to enter this months challenges.....

Till next time have a creative day.


All you need to do is add your take of the challenge into the comments section on the Dusty FANattics Facebook page HERE for your chance to win one of two amazing $50 Credits to choose any. 

Good Luck and have fun creating.