Showing posts with label Blooms. Show all posts

Saturday, 16 April 2022

Happy Easter cards - Belinda Spencer

 Hello Dusty Attic fans and Happy Easter!

It's Belinda here with you today to share my latest project featuring some fabulous Dusty Attic products. This time I am sharing 6 altered project life cards with an Easter theme.


I started by swiping acrylic paint on to my backgrounds. I use a mix of bought project life cards and ones I have created myself from whatever scraps of cardstock/paper/packaging I have laying around.


After I paint the cards, I then add collage and stencilling. This time I used some Ranger Texture Paste along with the Dusty Attic stencils. Once the stencilling was dry, I went over it with a white Posca Paint Pen to make it brighter.


Here are the completed cards.


I layer some messy thread and patterned paper scraps on the cards before adding the chipboard. I have a box full of collage material. Whenever I am creating as project the leftovers go in the box and then I can just shuffle through the box for little bits and pieces when I need to.


I added some white gesso to a scrap of the Corrugated Card and tore it into pieces so I could add a little to each card.


I kept some chipboard pieces in their raw unaltered form.


Some chipboard pieces I painted with a few coats of white gesso. If I feel the gesso is not bright enough then I add white Posca Pen on top as well.


For some pieces I used paint pens on them to add a little colour.


These cards are so fun to make and I can't wait to use them for something. I think these would make lovely card fronts for Easter cards. It is also a great way to use up various chipboard pieces from different sets.

The Dusty Attic products used:


Thanks for stopping by the blog today. Happy Easter!

Cheers
Belinda


Thursday, 9 September 2021

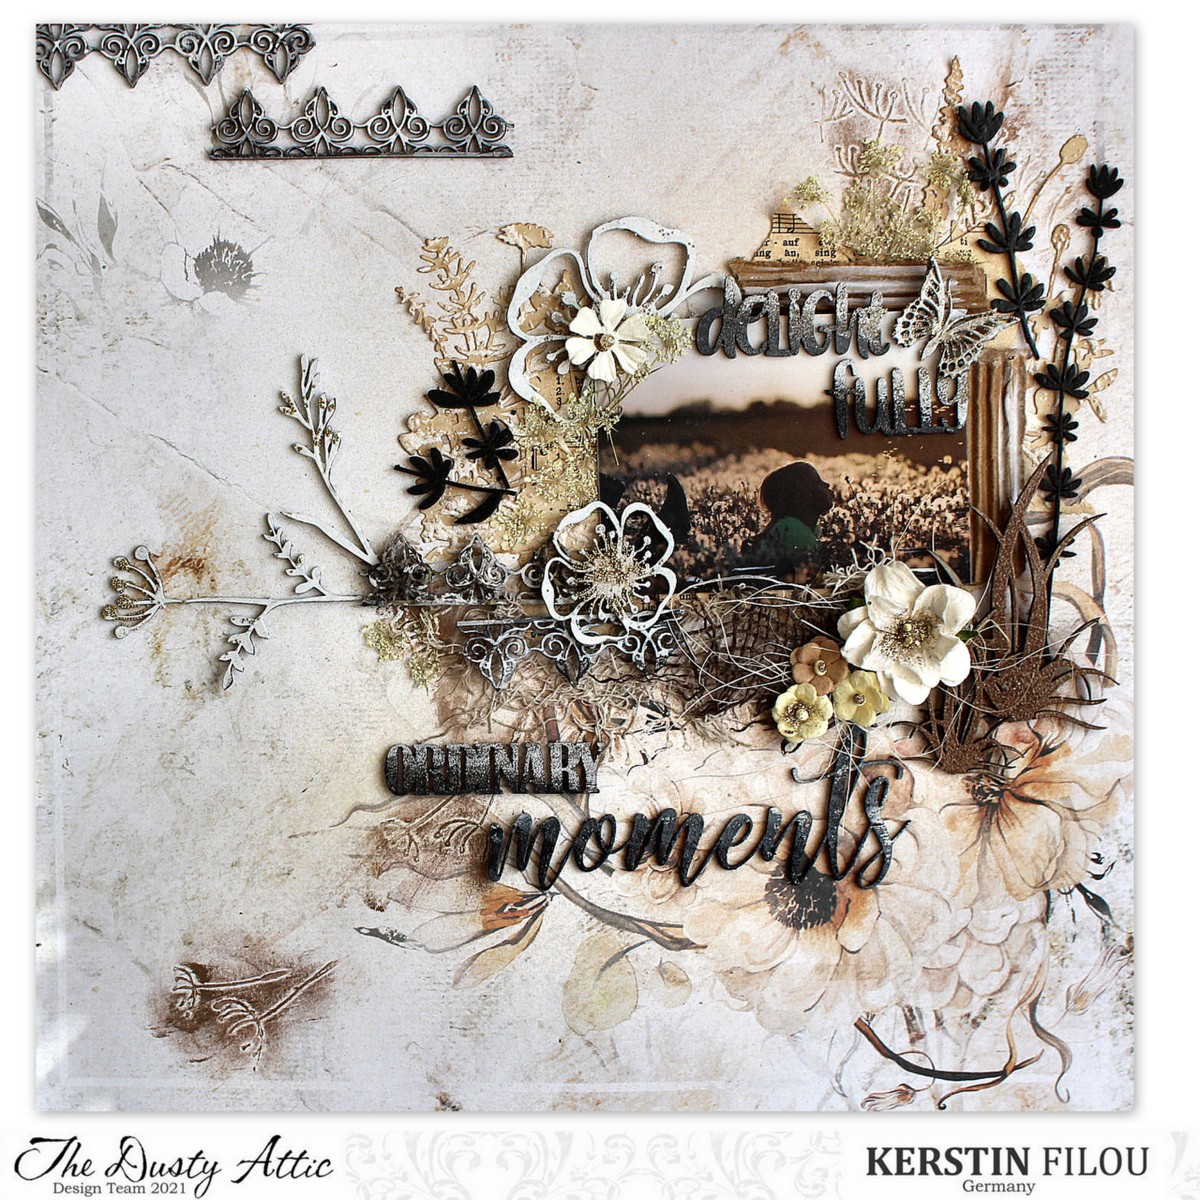
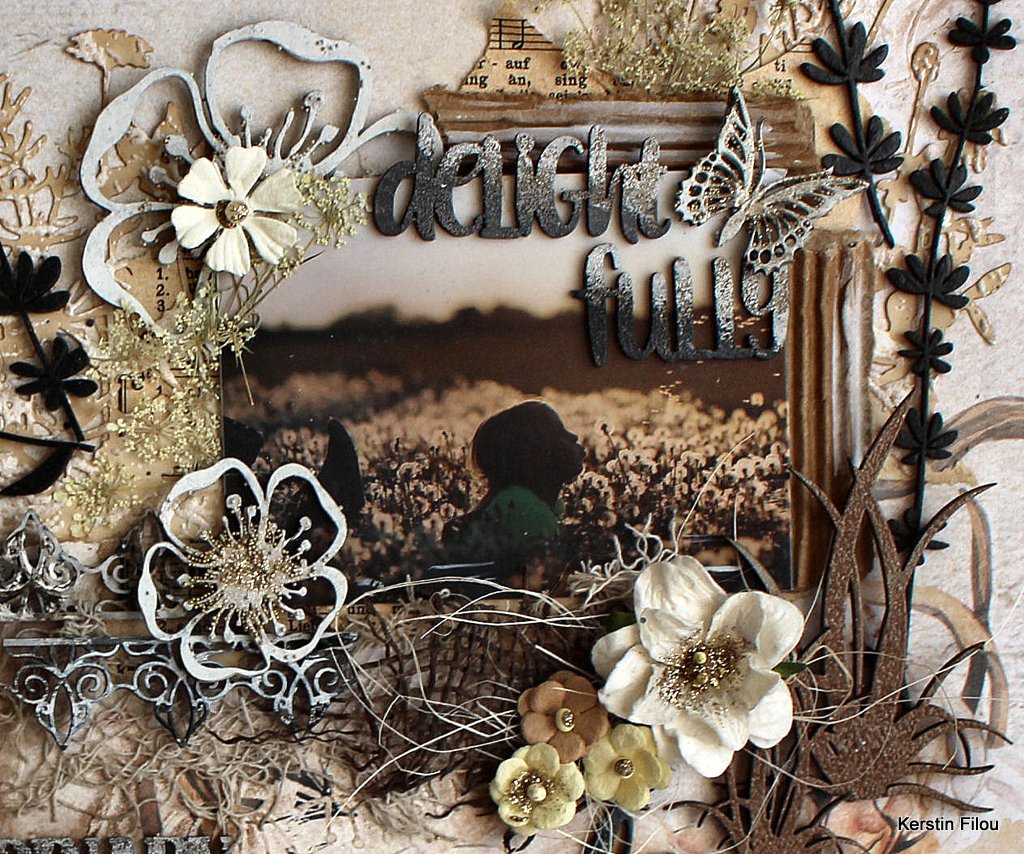
Delight in the ordinary moments - Kerstin Filou


Welcome creative friends!


Kerstin here, to share a new inspiration layout with Dusty Attic chipboards.

I was inspired to create a romantic and dreamy layout in monochrome colour scheme from this months mood board challenge.

Love to work with a few colours, so the photo is more in focus, it radiates calmness and harmony. I used an amazing background paperf rom 13arts collection "Dreamland". Suitable to this natural theme I found Dusty Attic matching chipboards like wildflowers, leaves and grasses.


 Foliage, Flowers & Branches


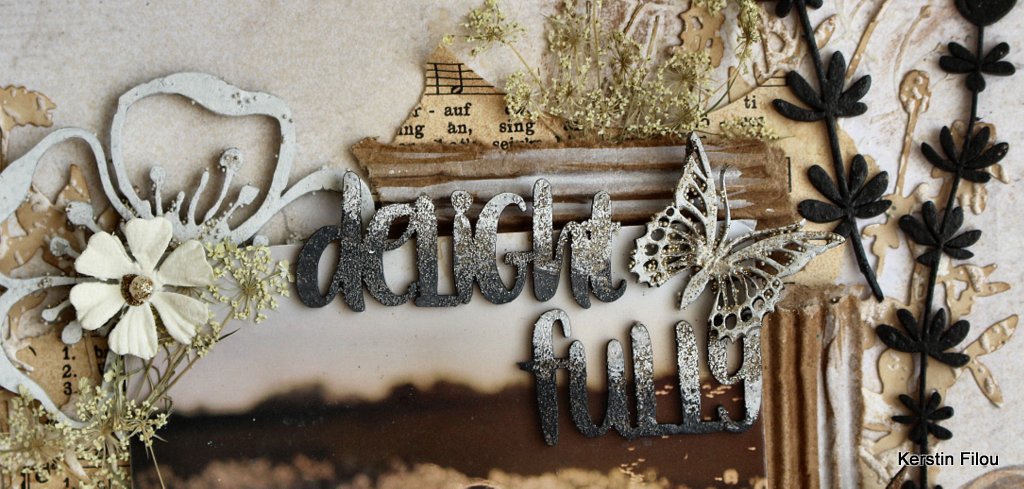
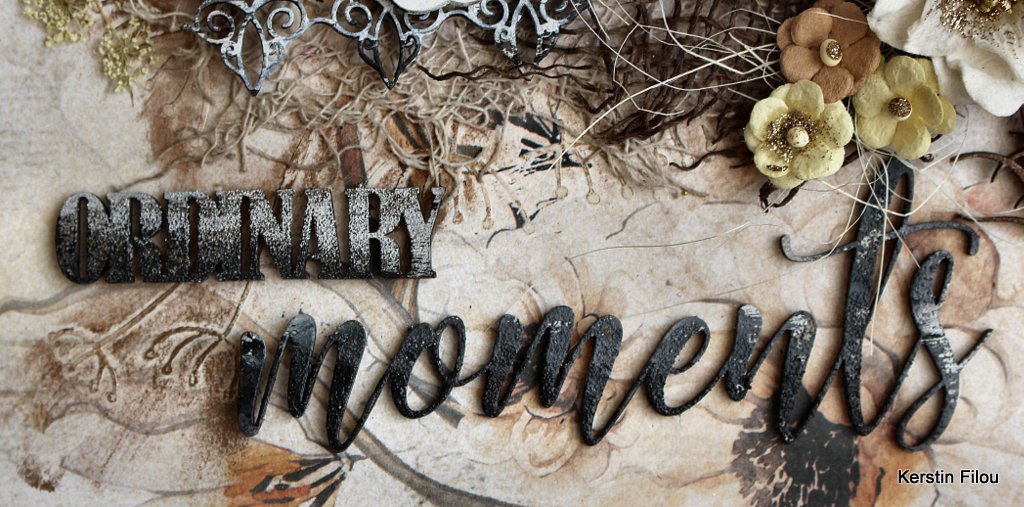
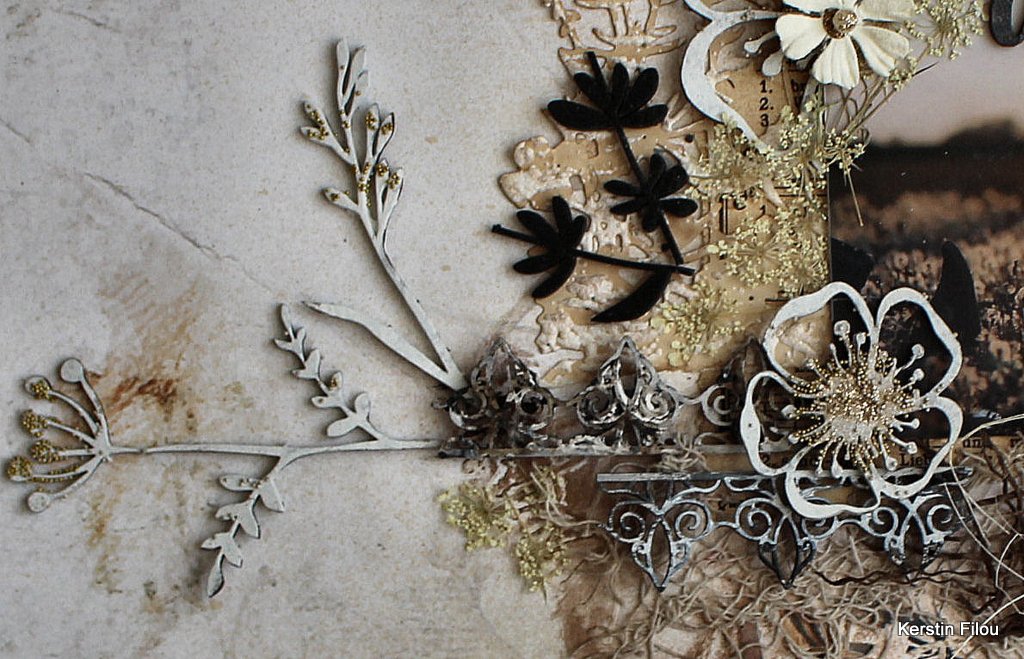
some close up's 


used Dusty Attic chipboards


Fancy Trim #19

 Blooms #1

Wildflower #1

Delightfully Ordinary Moments

Grass Clusters #2


I hope I could inspire you!

Thanks for your visit!


Thursday, 15 July 2021

Perfect moment - Adri Du Preez

 Hello everyone!

I am sharing my July design team layout with you, using stunning Dusty Attic chipboard pieces.

This is my granddaughter Mila all dressed up in her princess dress and Unicorn crown.  She is so enchanted by everything Unicorn. With everything going on in the world we all need a little magic.

Here is my layout.


All the chipboard pieces were first covered with white gesso.

Using half of the large clock, I have painted this with Americana Acrylic paint in Poodleskirt Pink, Boysenberry Pink and Baby Blue and dry brushed with white and Gold Metallic acylic paint.

For the ombre effect on the title I used American Acrylic paint in Poodleskirt Pink, Boysenberry Pink and dry bushed with white acrylic paint.


To color the Wordpl@y elements and blooms I used Americana Acryl paint in Poodleskirt Pink, Boysenberry Pink and Baby Blue and dry brushed with white acrylic paint.


I painted the foliage with Americana Acrylic paint in Mint Julep Green and dry brushed with Gold Acrylic paint.
The Leaves #2 were painted with white acrylic paint.


The final touches to this layout included pearl beads, glitter and splatters with diluted white gesso.

some close ups.


There are the Dusty Attic chipboard pieces that I have used.


Thank you for visiting the blog.  Visit the Dusty Attic online shop for more amazing designs.

Happy crafting!


Wednesday, 9 June 2021

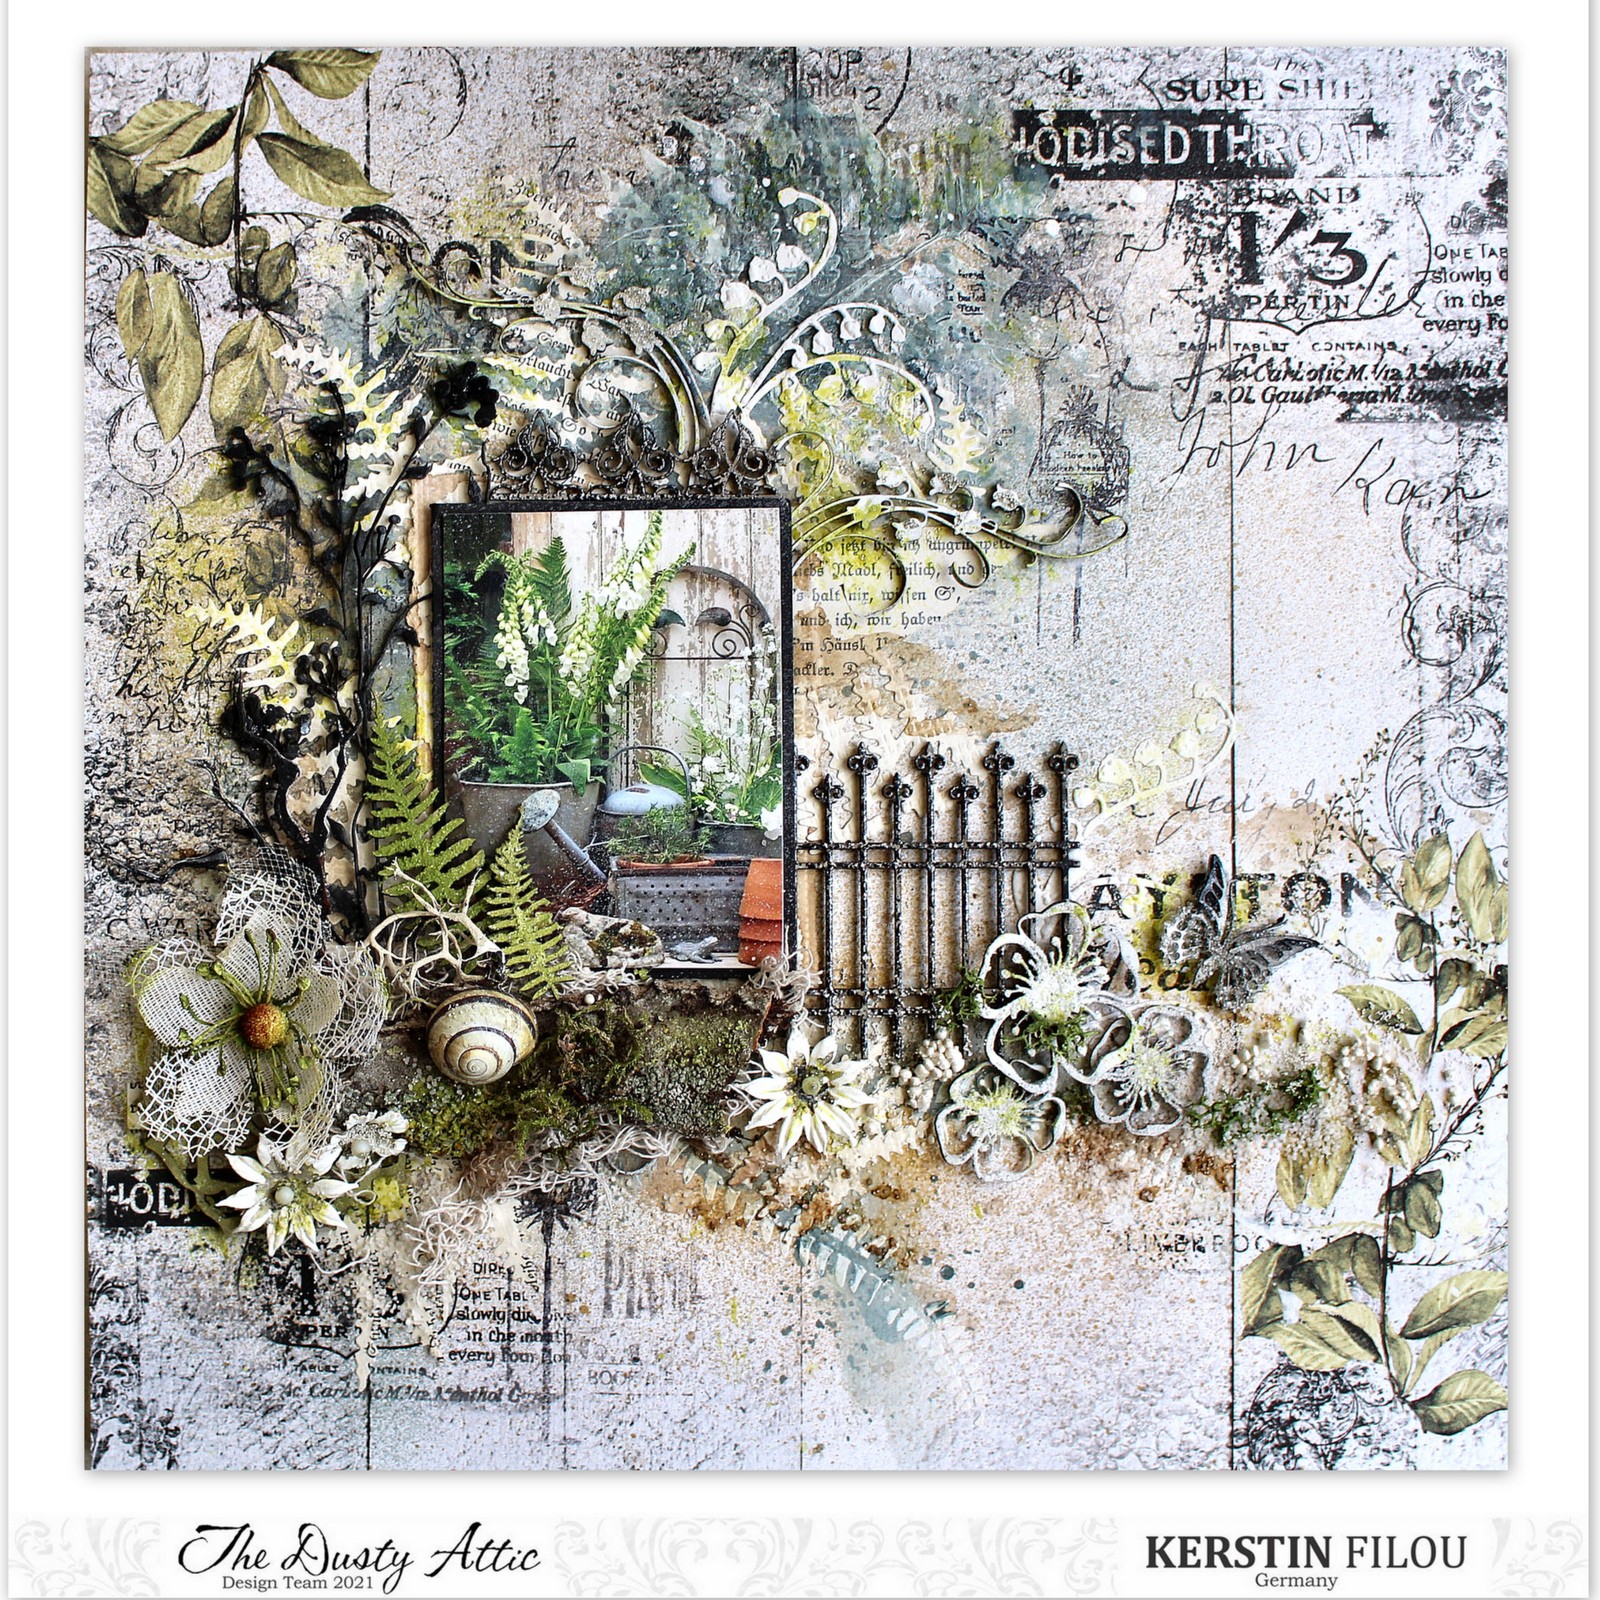
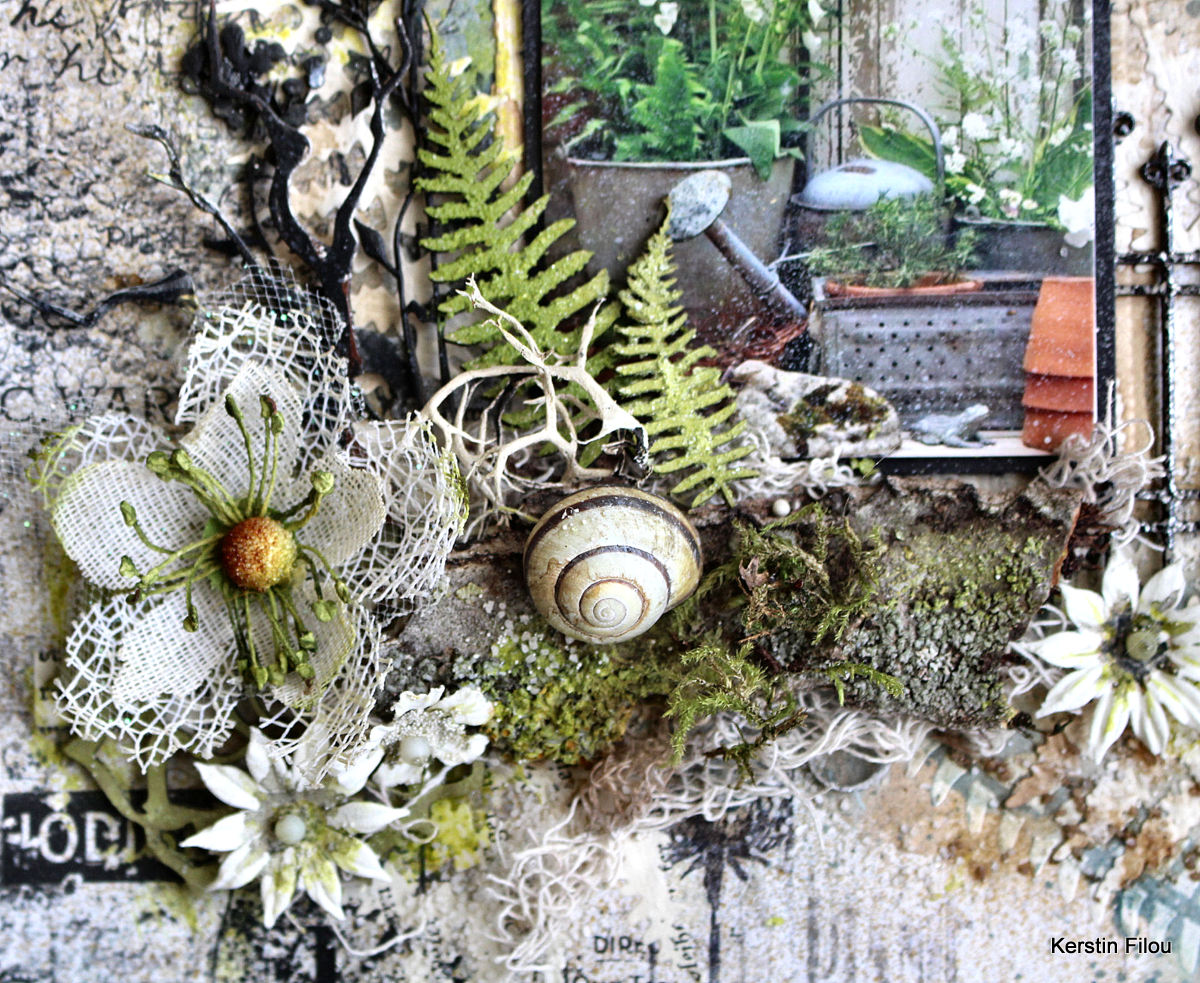
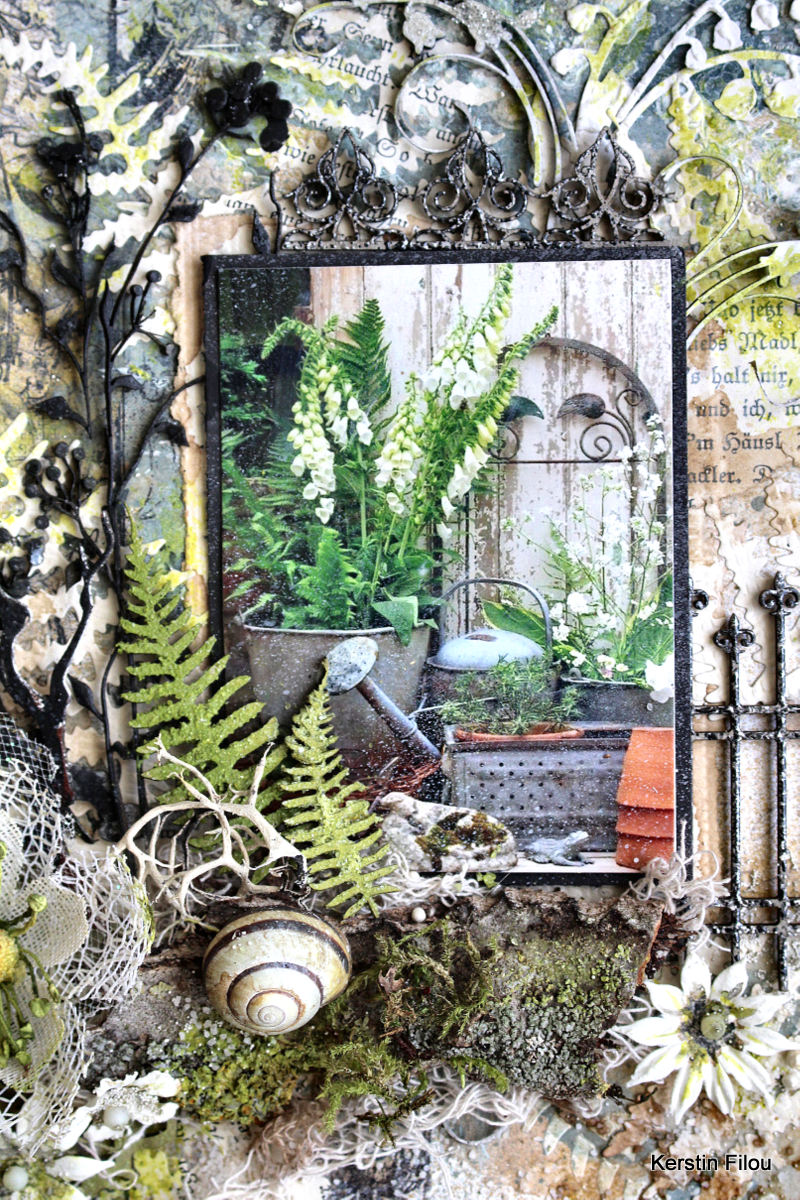
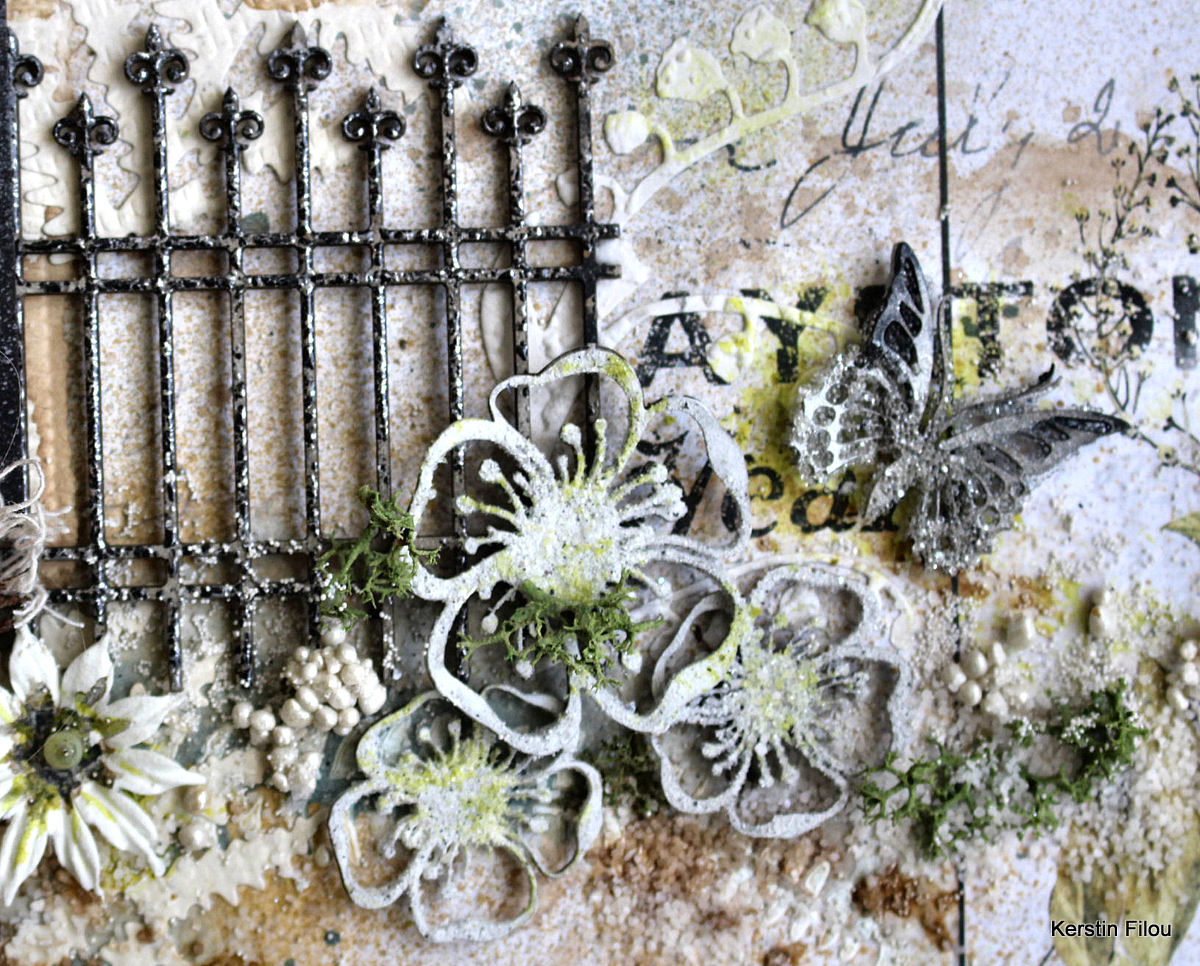
Garden dreams - Kerstin Filou


 Welcome creative friends!


 Kerstin here, to share a new inspiration layout in mixed media style  with Dusty Attic chipboards.

I love gardens that are not so neat and perfect. 

Plants that self-seed or wander from the meadow into my garden are always welcome.


I used an amazing background paper from a 13arts  collection.

Suitable to this natural garden theme I found at Dusty Attic  a lot of matching chipboards like wildflowers, leaves and grasses. 

Foliage, Flowers & Branches

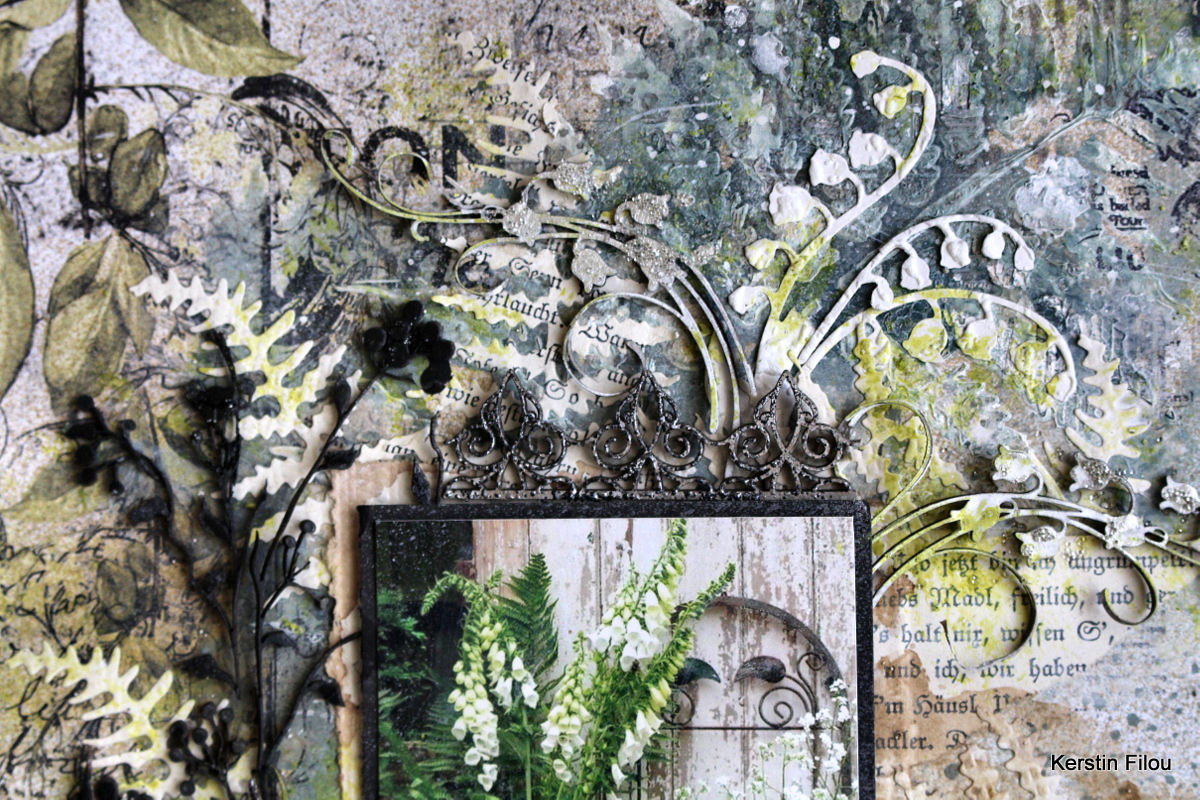
I also added some cutting dies suitable to the chipboards, such as ferns or Lily at the valley flowers. 


some close up's


used the wonderful Wildflower #3  as silhouette, therefore she was only painted with black acrylic color  


Ferns  with olive green mixed with a little bit texture paste 


Lace Border #3 Small  as piece of an iron gate with a special embossing powder

 (Hammered Metal) 


Blooms #1  with white and a little bit oliv green acrylic paint white silvery decosand was sprinkled into the still damp paint 


used Dusty Attic chipboards

Bluebells #2

 Mini Monarch Butterflies

Wrought Iron Fence Border

Ferns

Wildflower #3

Blooms #1

Lace Border #3 Small


I hope I could inspire you!

Thanks for your visit!


Friday, 19 February 2021

Memories Documented - Kristy Abela - Mood Board Inspiration


Welcome to February!!! The gorgeous pair I am posing with were attending the Year 6 Farewell. Aksel's now in year 12 and Ruby has grown into a lovely young woman and has left school. I had so much fun shopping with Ruby for her dress, her first Big Girl Dress. Yet all Aksel wanted to wear was boots!! Isn't it funny how these moments only seem like yesterday. For all of us, slightly different memories. Nevertheless... DOCUMENTED. 


Anyhoo... here is a rundown on my creative process.. I started my background with some book pages and scrapbook collage papers I have on my desk. I used some clear gesso to seal them and then added some highlights with some Neo Colour crayons in a similar colour. While the gesso is still wet it blends the pigment nicely and allows it to move around the page. I then added texture paste that I tinted with some chalk paint.

 Once dry I used some blue and green Neo Colour to add some contrast to the scribble circles in the stencil. I added a spritz of water to the crayon and it welled up and filled in the troughs.  

I kept the frames simple and used some golds acrylic paint to draw attention to the images.   


To decorate the wildflowers I used a chunky layer of gesso ensuring that the peaks and ridges were well defined. I used my Lindy's sprays and applied directly from the dropper onto the buds. I used two layers to get the colour intensity I liked. Once it was dry I used some gold wax and applied it lightly from my fingertip.


I used chalk paint to colour the flowers. to create the stamens I used a gel pen to add definition. later in the project I added a cabochon to the center. It magnifies the detail and makes it a cool 3D look.
 

I had fun digging deep and finding some memories. I hope you enjoy them too... 
 
Abela Artistry

 Products Used

Wildflower #3

Blooms #1

Wild grass #3 Small 

Squiggly Frame #3 

Squiggly frame #2 

Mini Seagulls

Mini Captions #18

Circle Stencil DA1608