Tuesday 29 November 2016

Dream Big Mini Album - Lisa Gregory


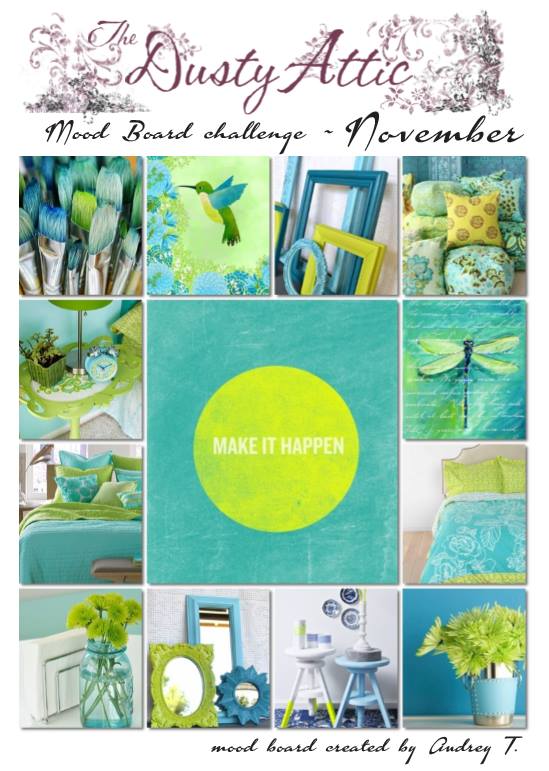
 The Dusty Attic Mood Board Challenge colors are so beautiful!!! I knew exactly what I wanted to do using the blue and green. I had been wanting to do a new mini album using those 2 colors. This was my chance! Did you know Dusty Attic has more than chipboard?? Yup... Flowers, stencils, pearls and texture paint are just more of the products I used on this mini album cover. I used neutral colored patterned paper for the album so that I can use color any way I wanted on it.


Here is a view of the spine. The mini album is a little over 1 inch thick. There is room to expand before the album is tied closed, so adding a few bulking items will not interfere with the closure.


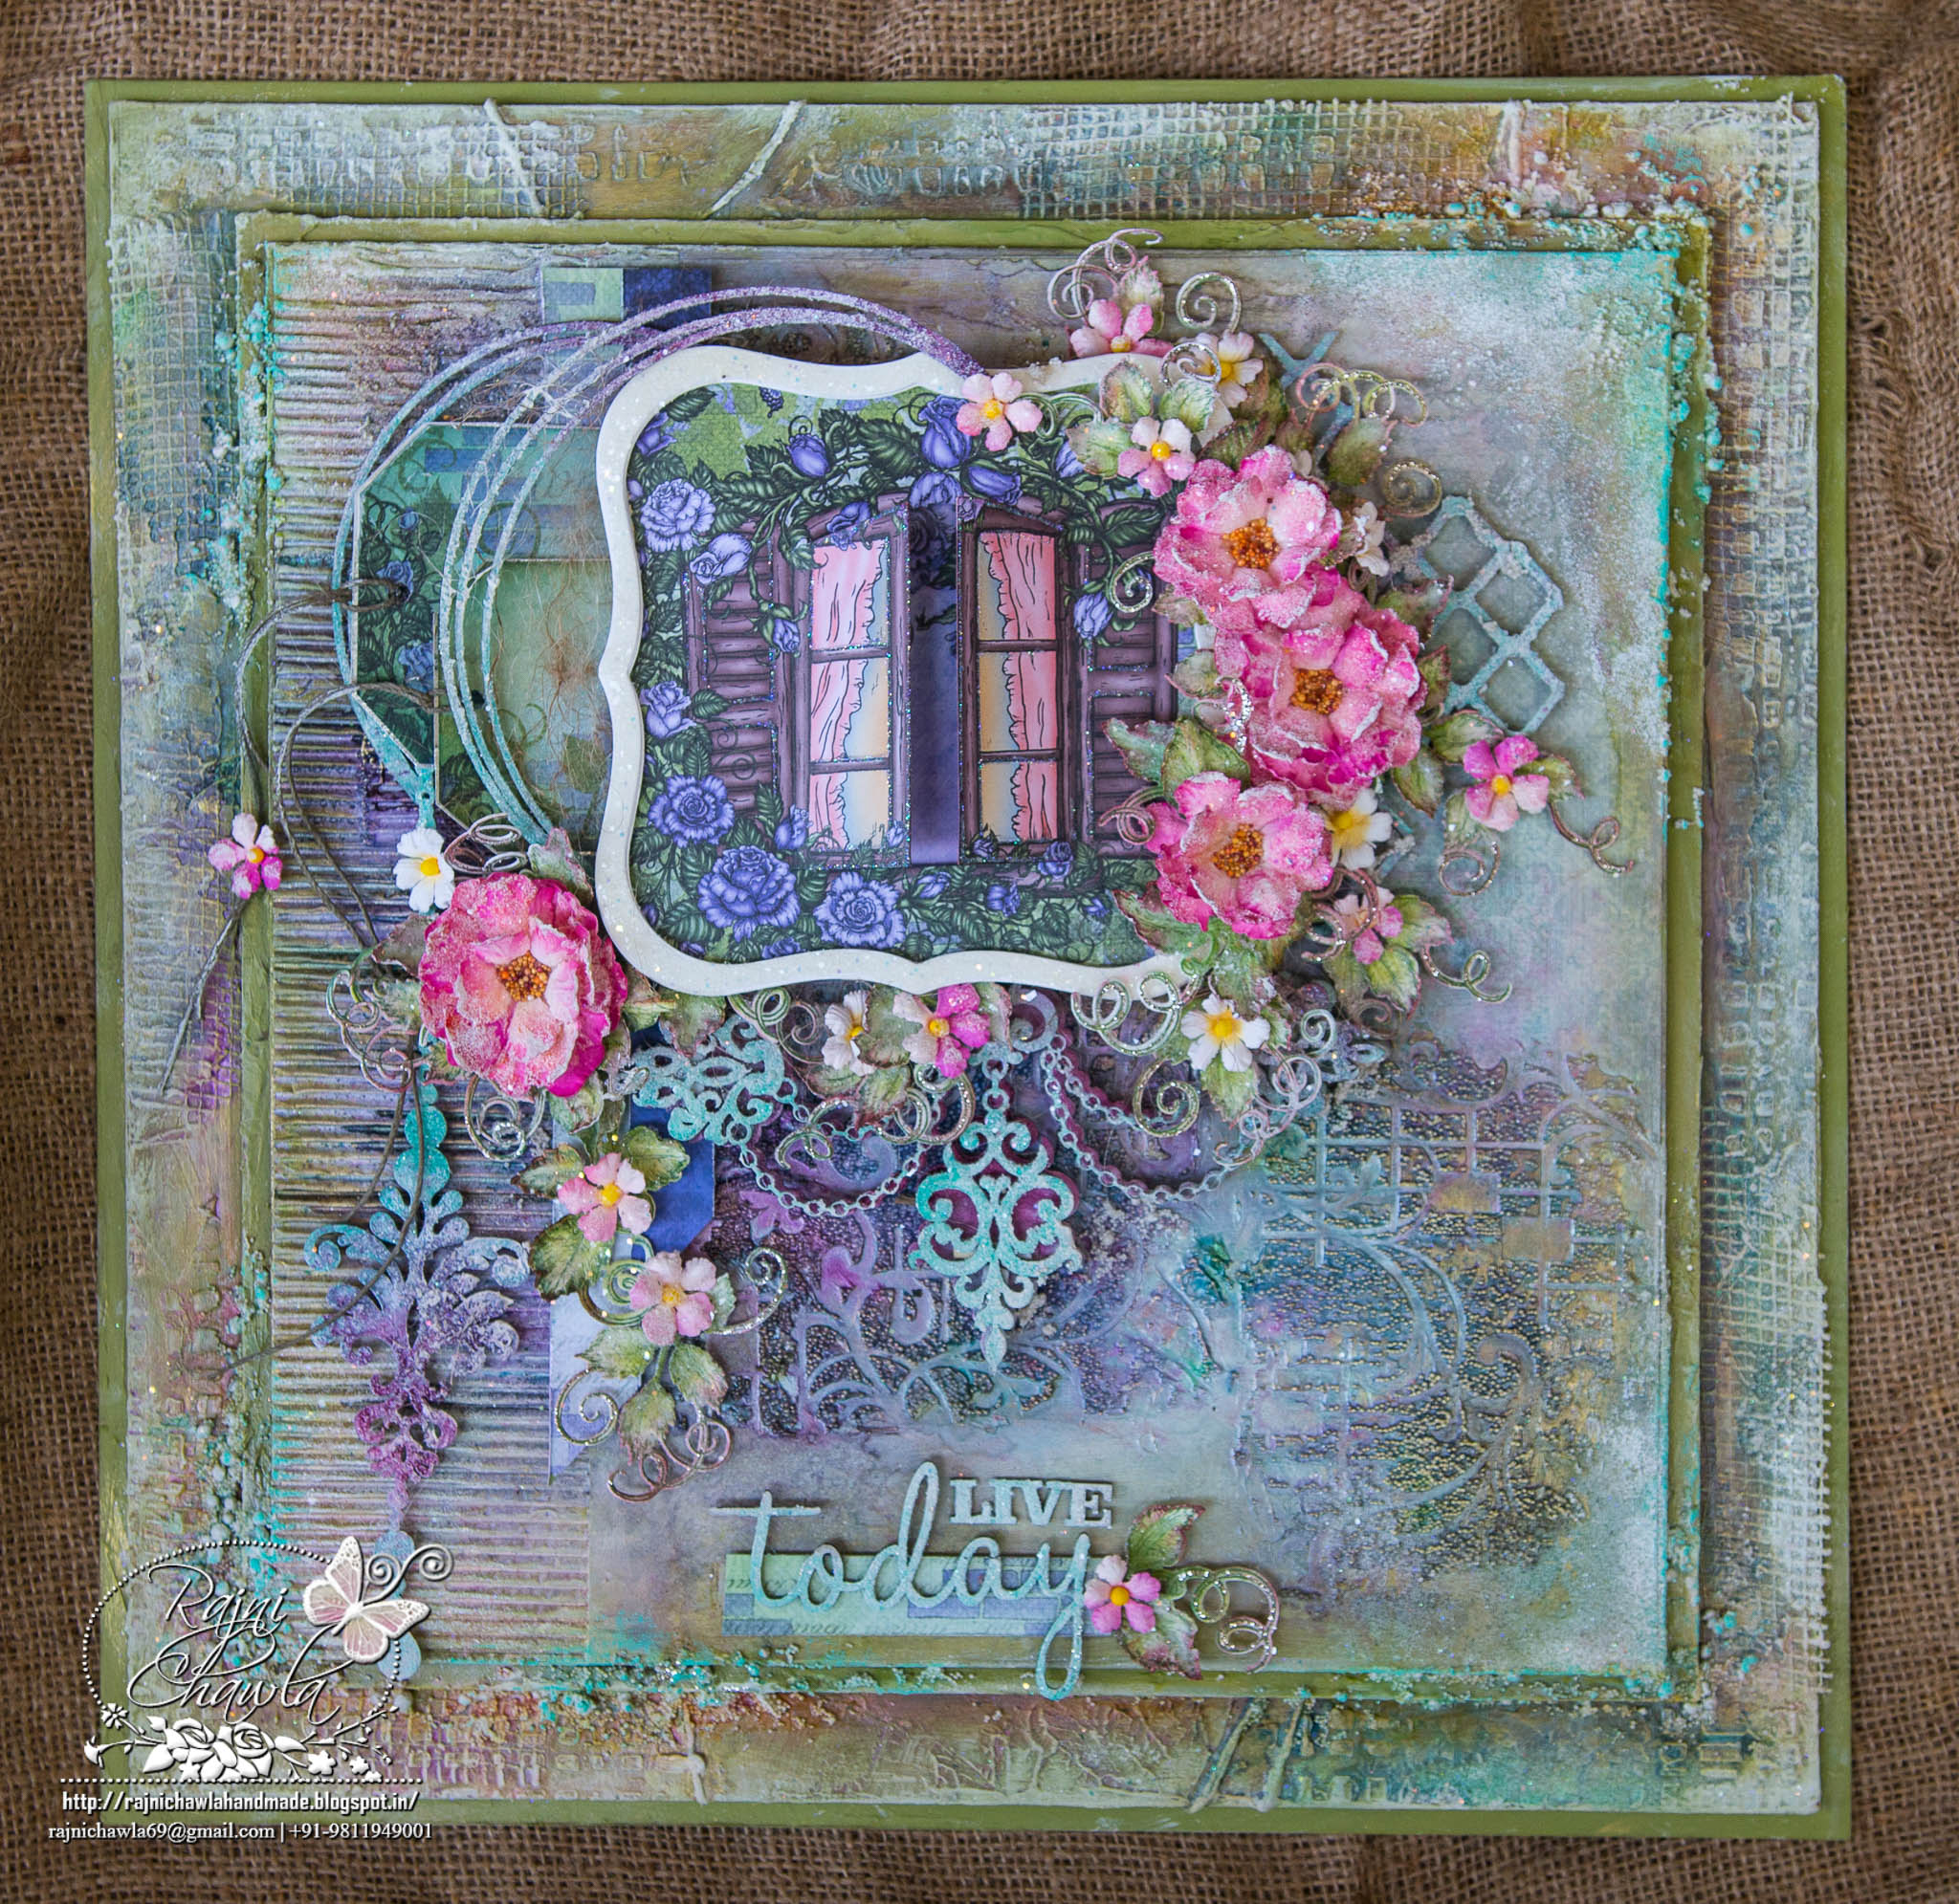
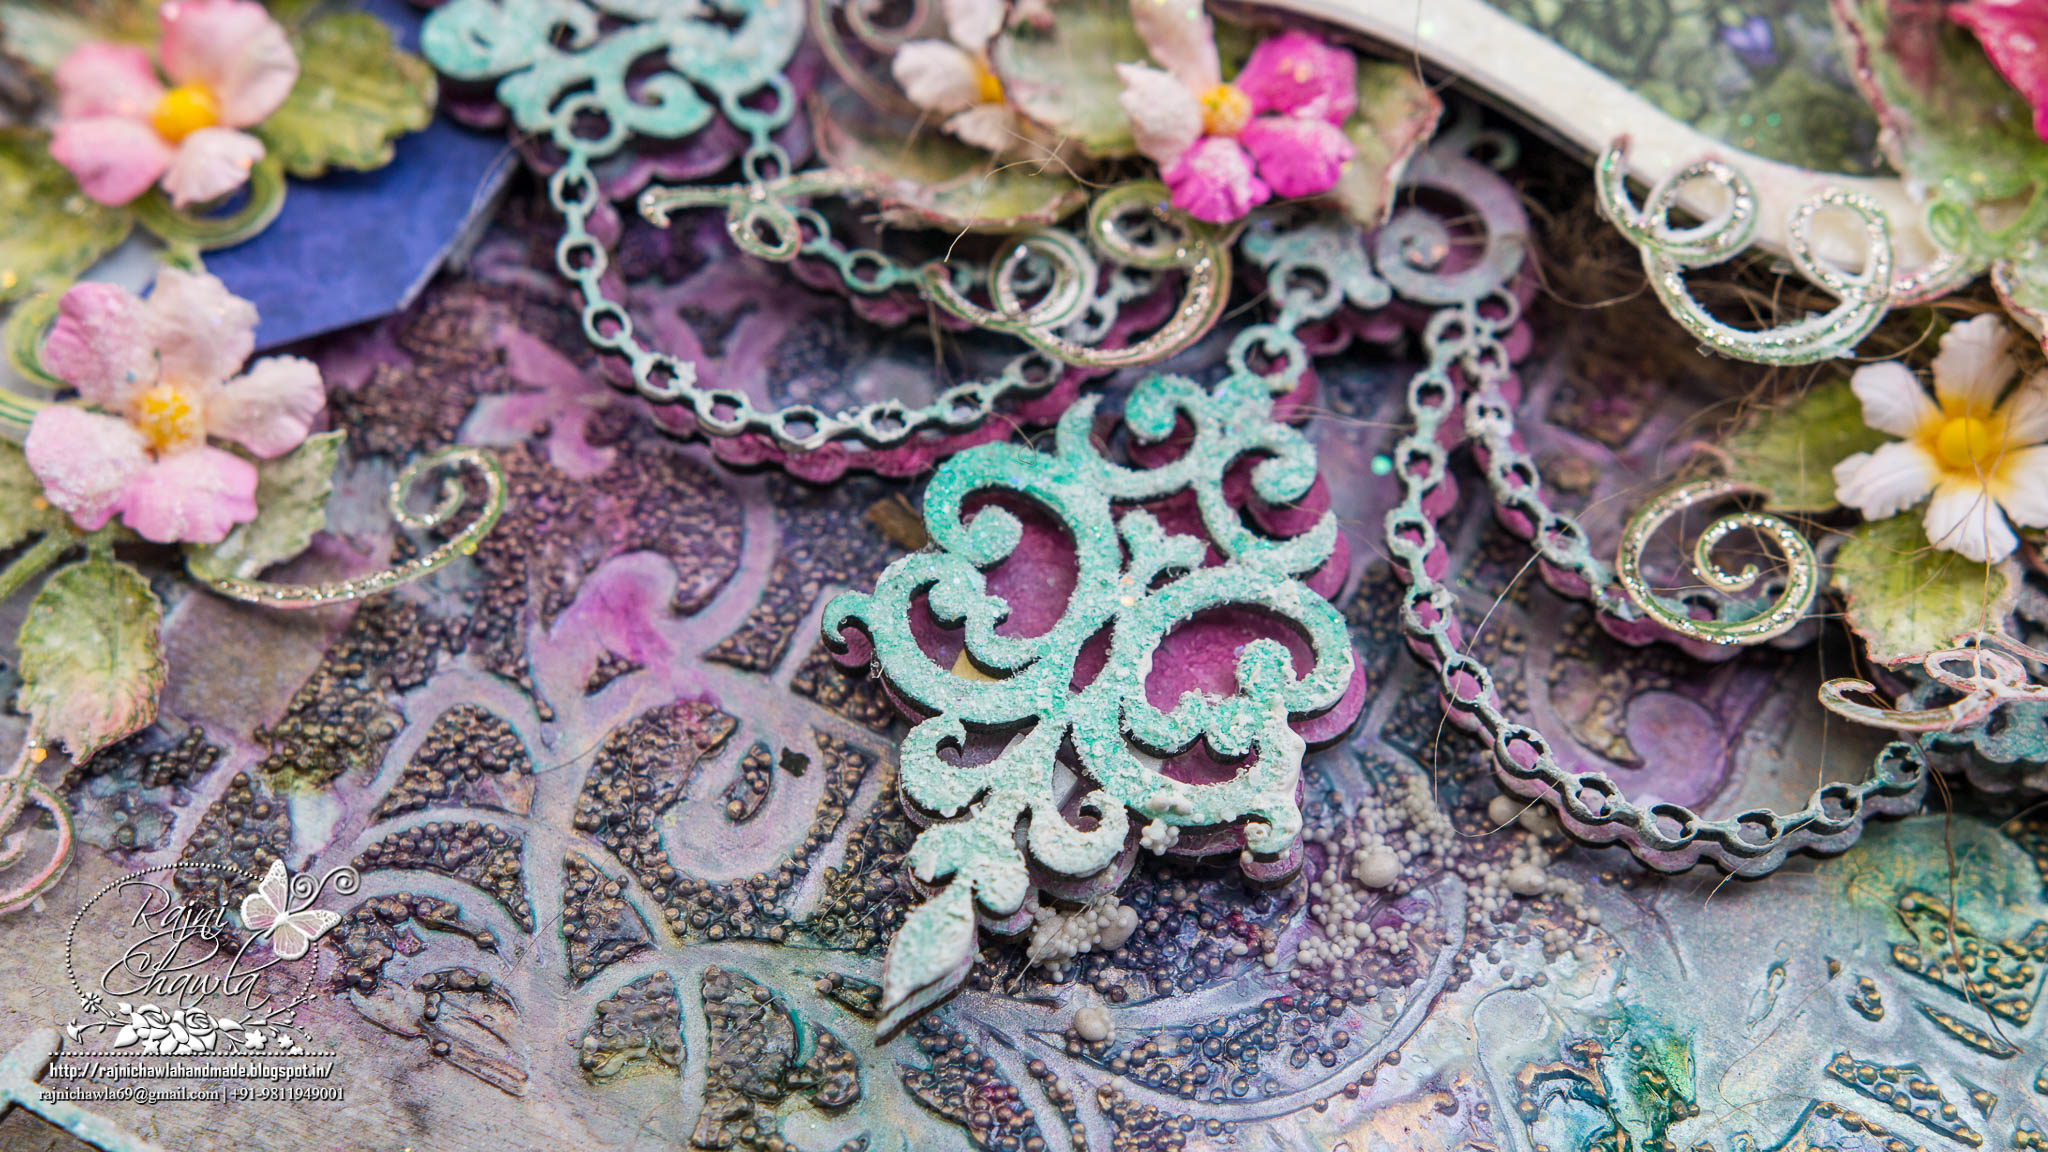
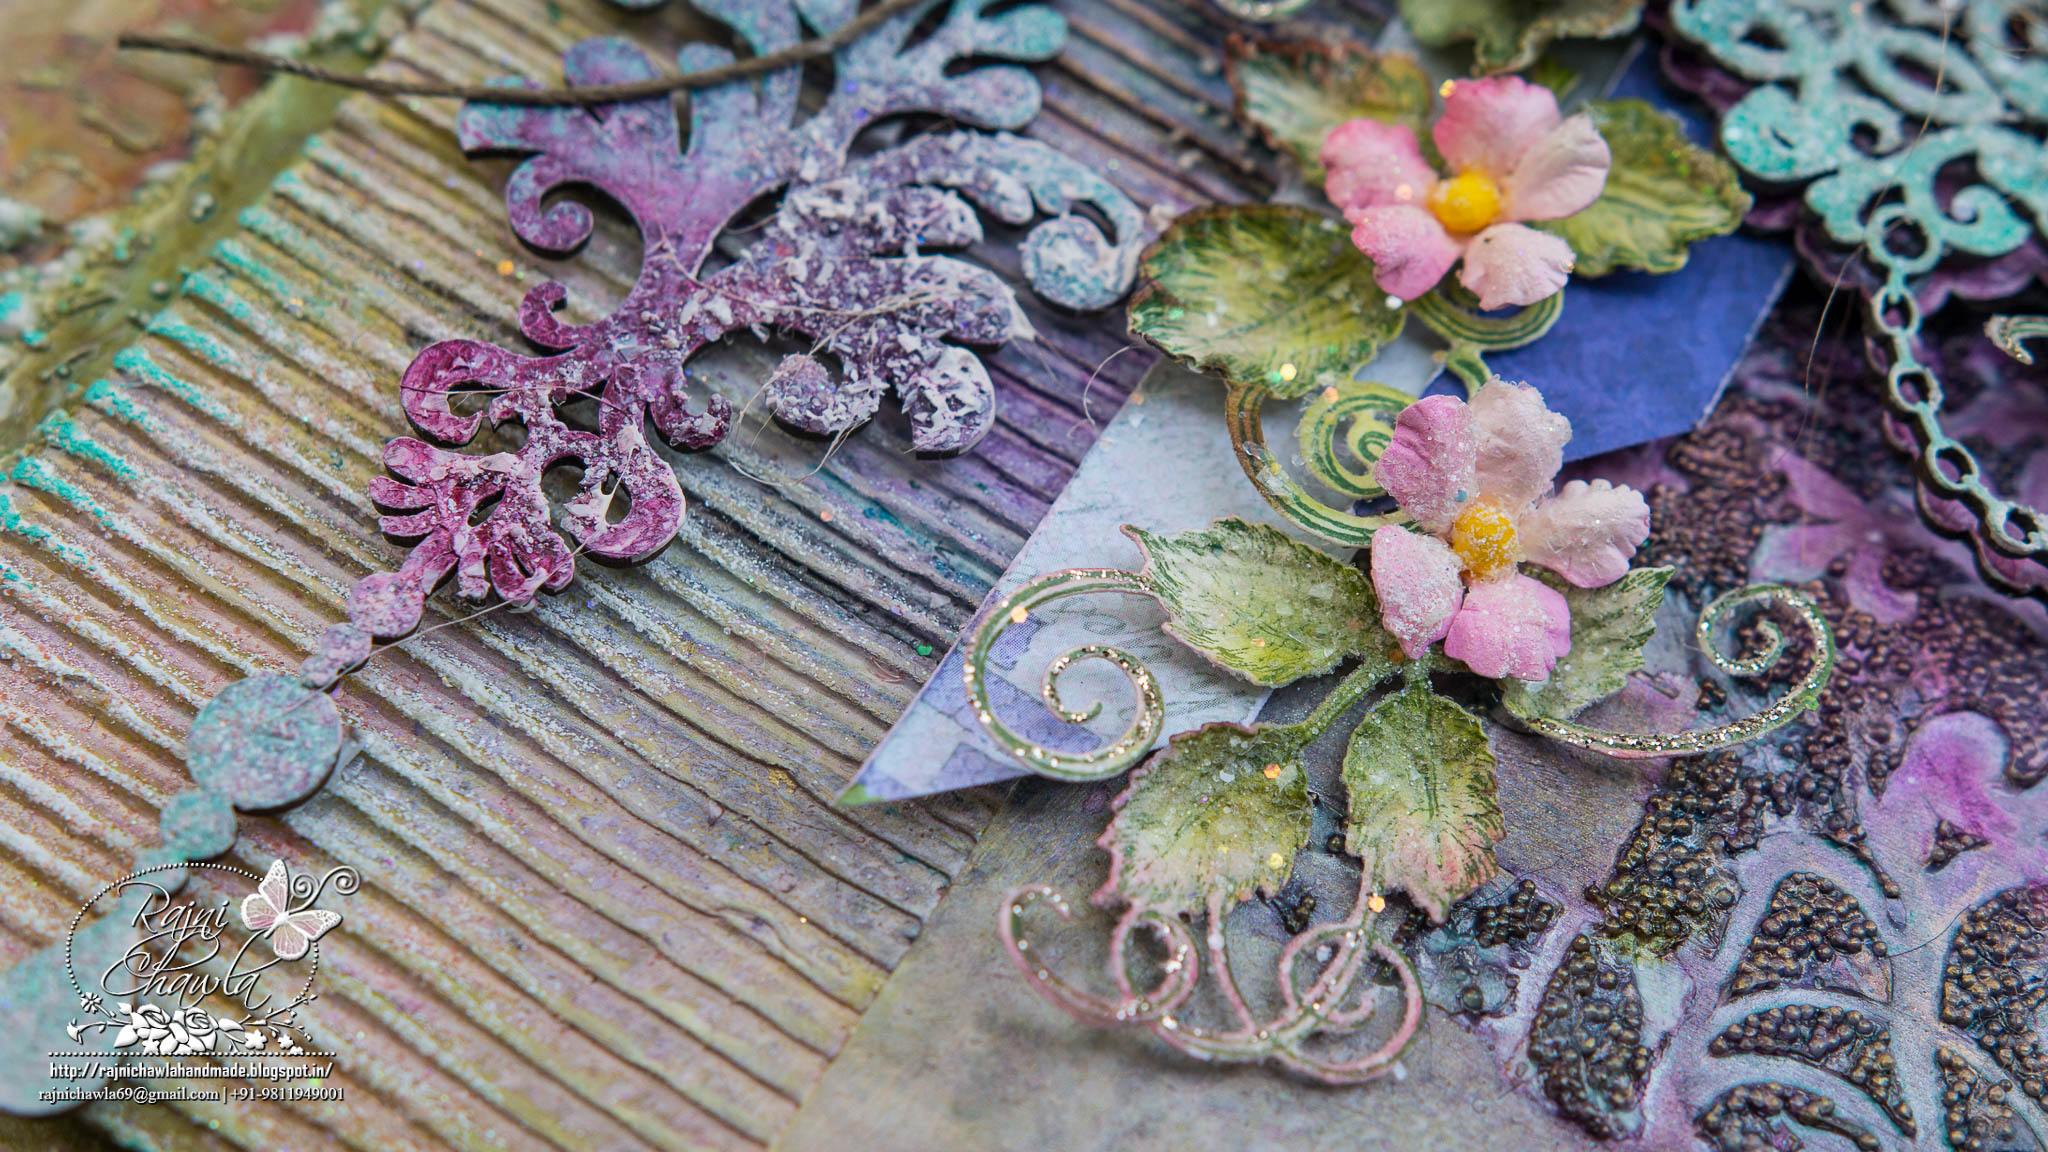
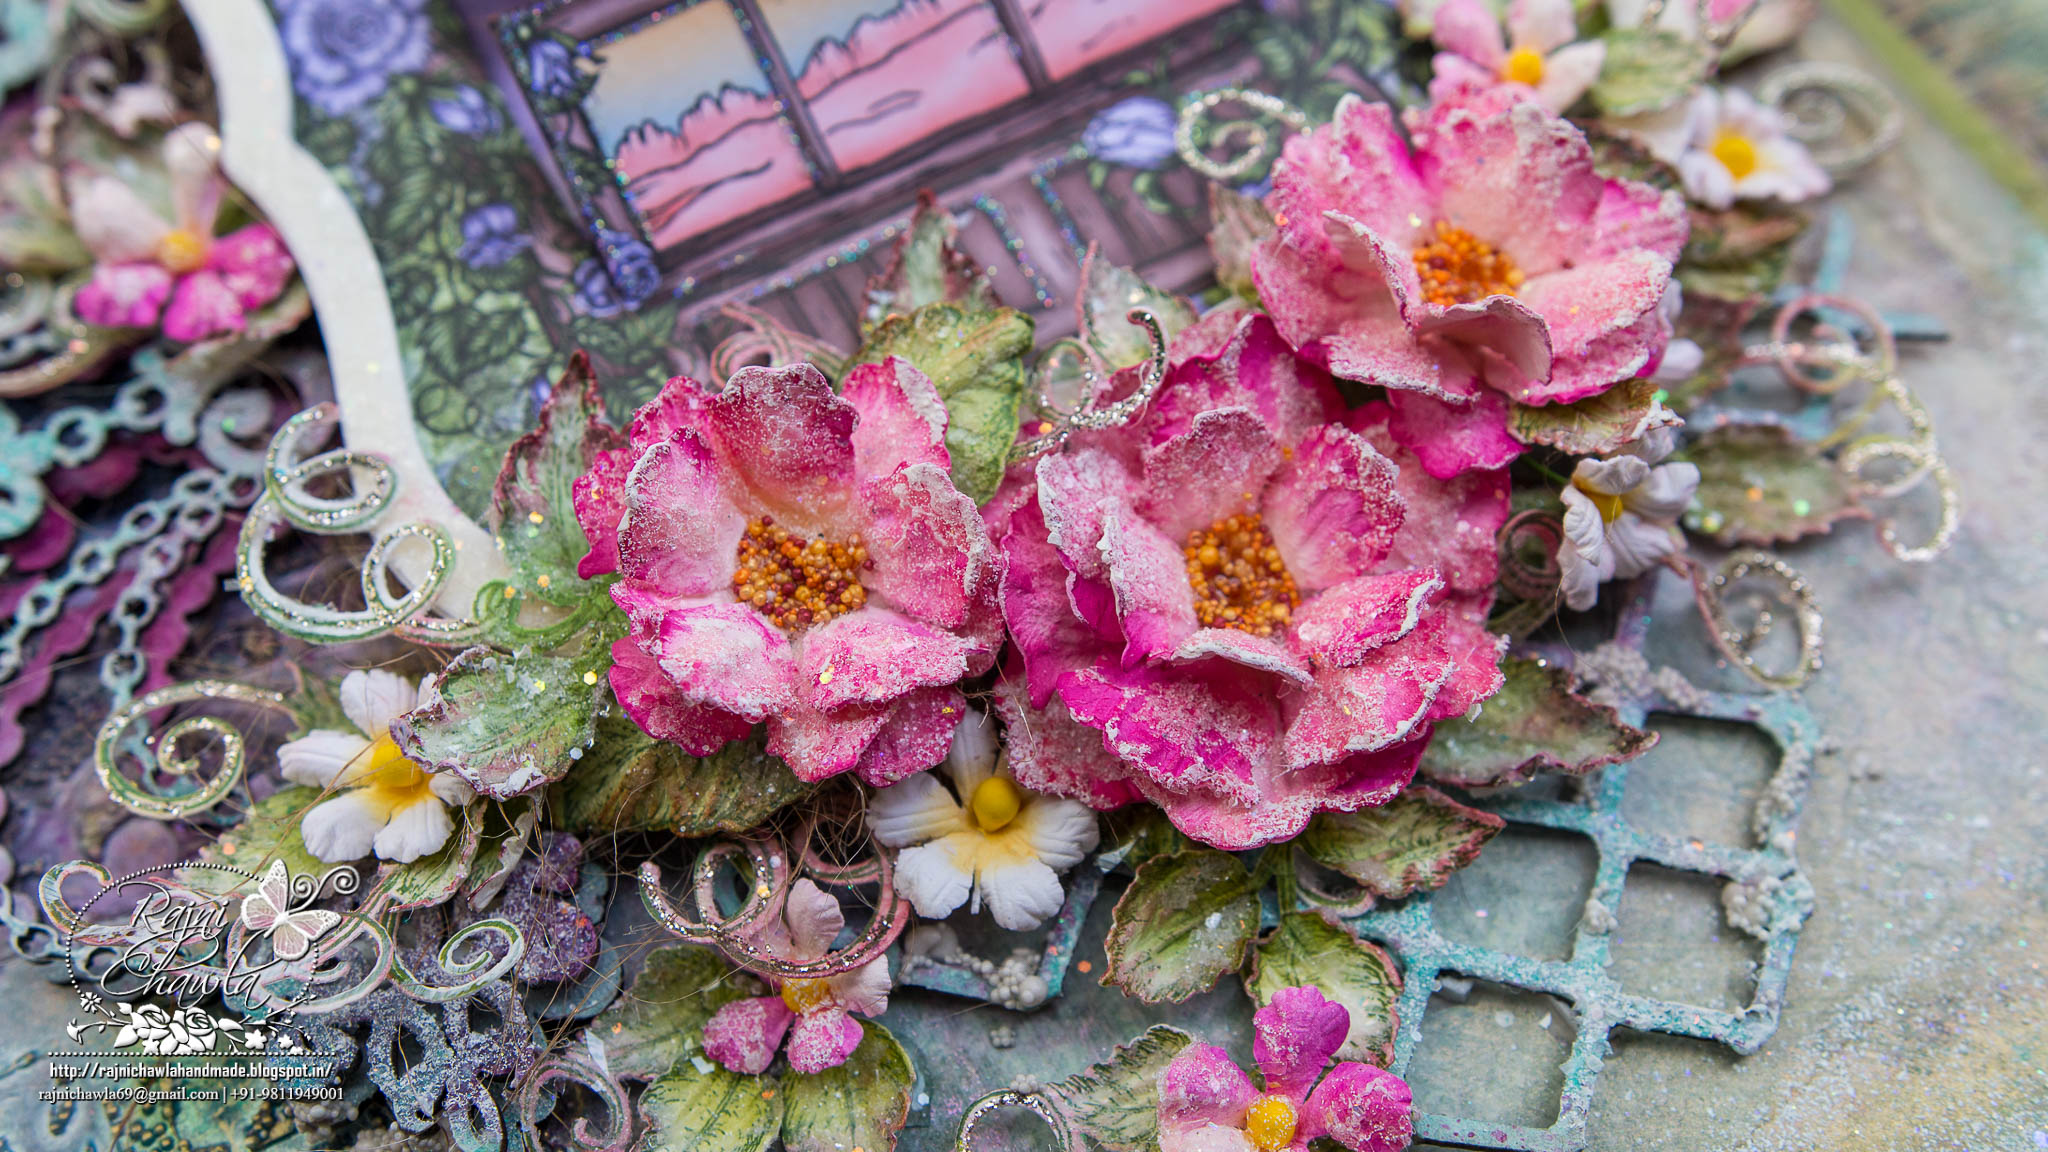
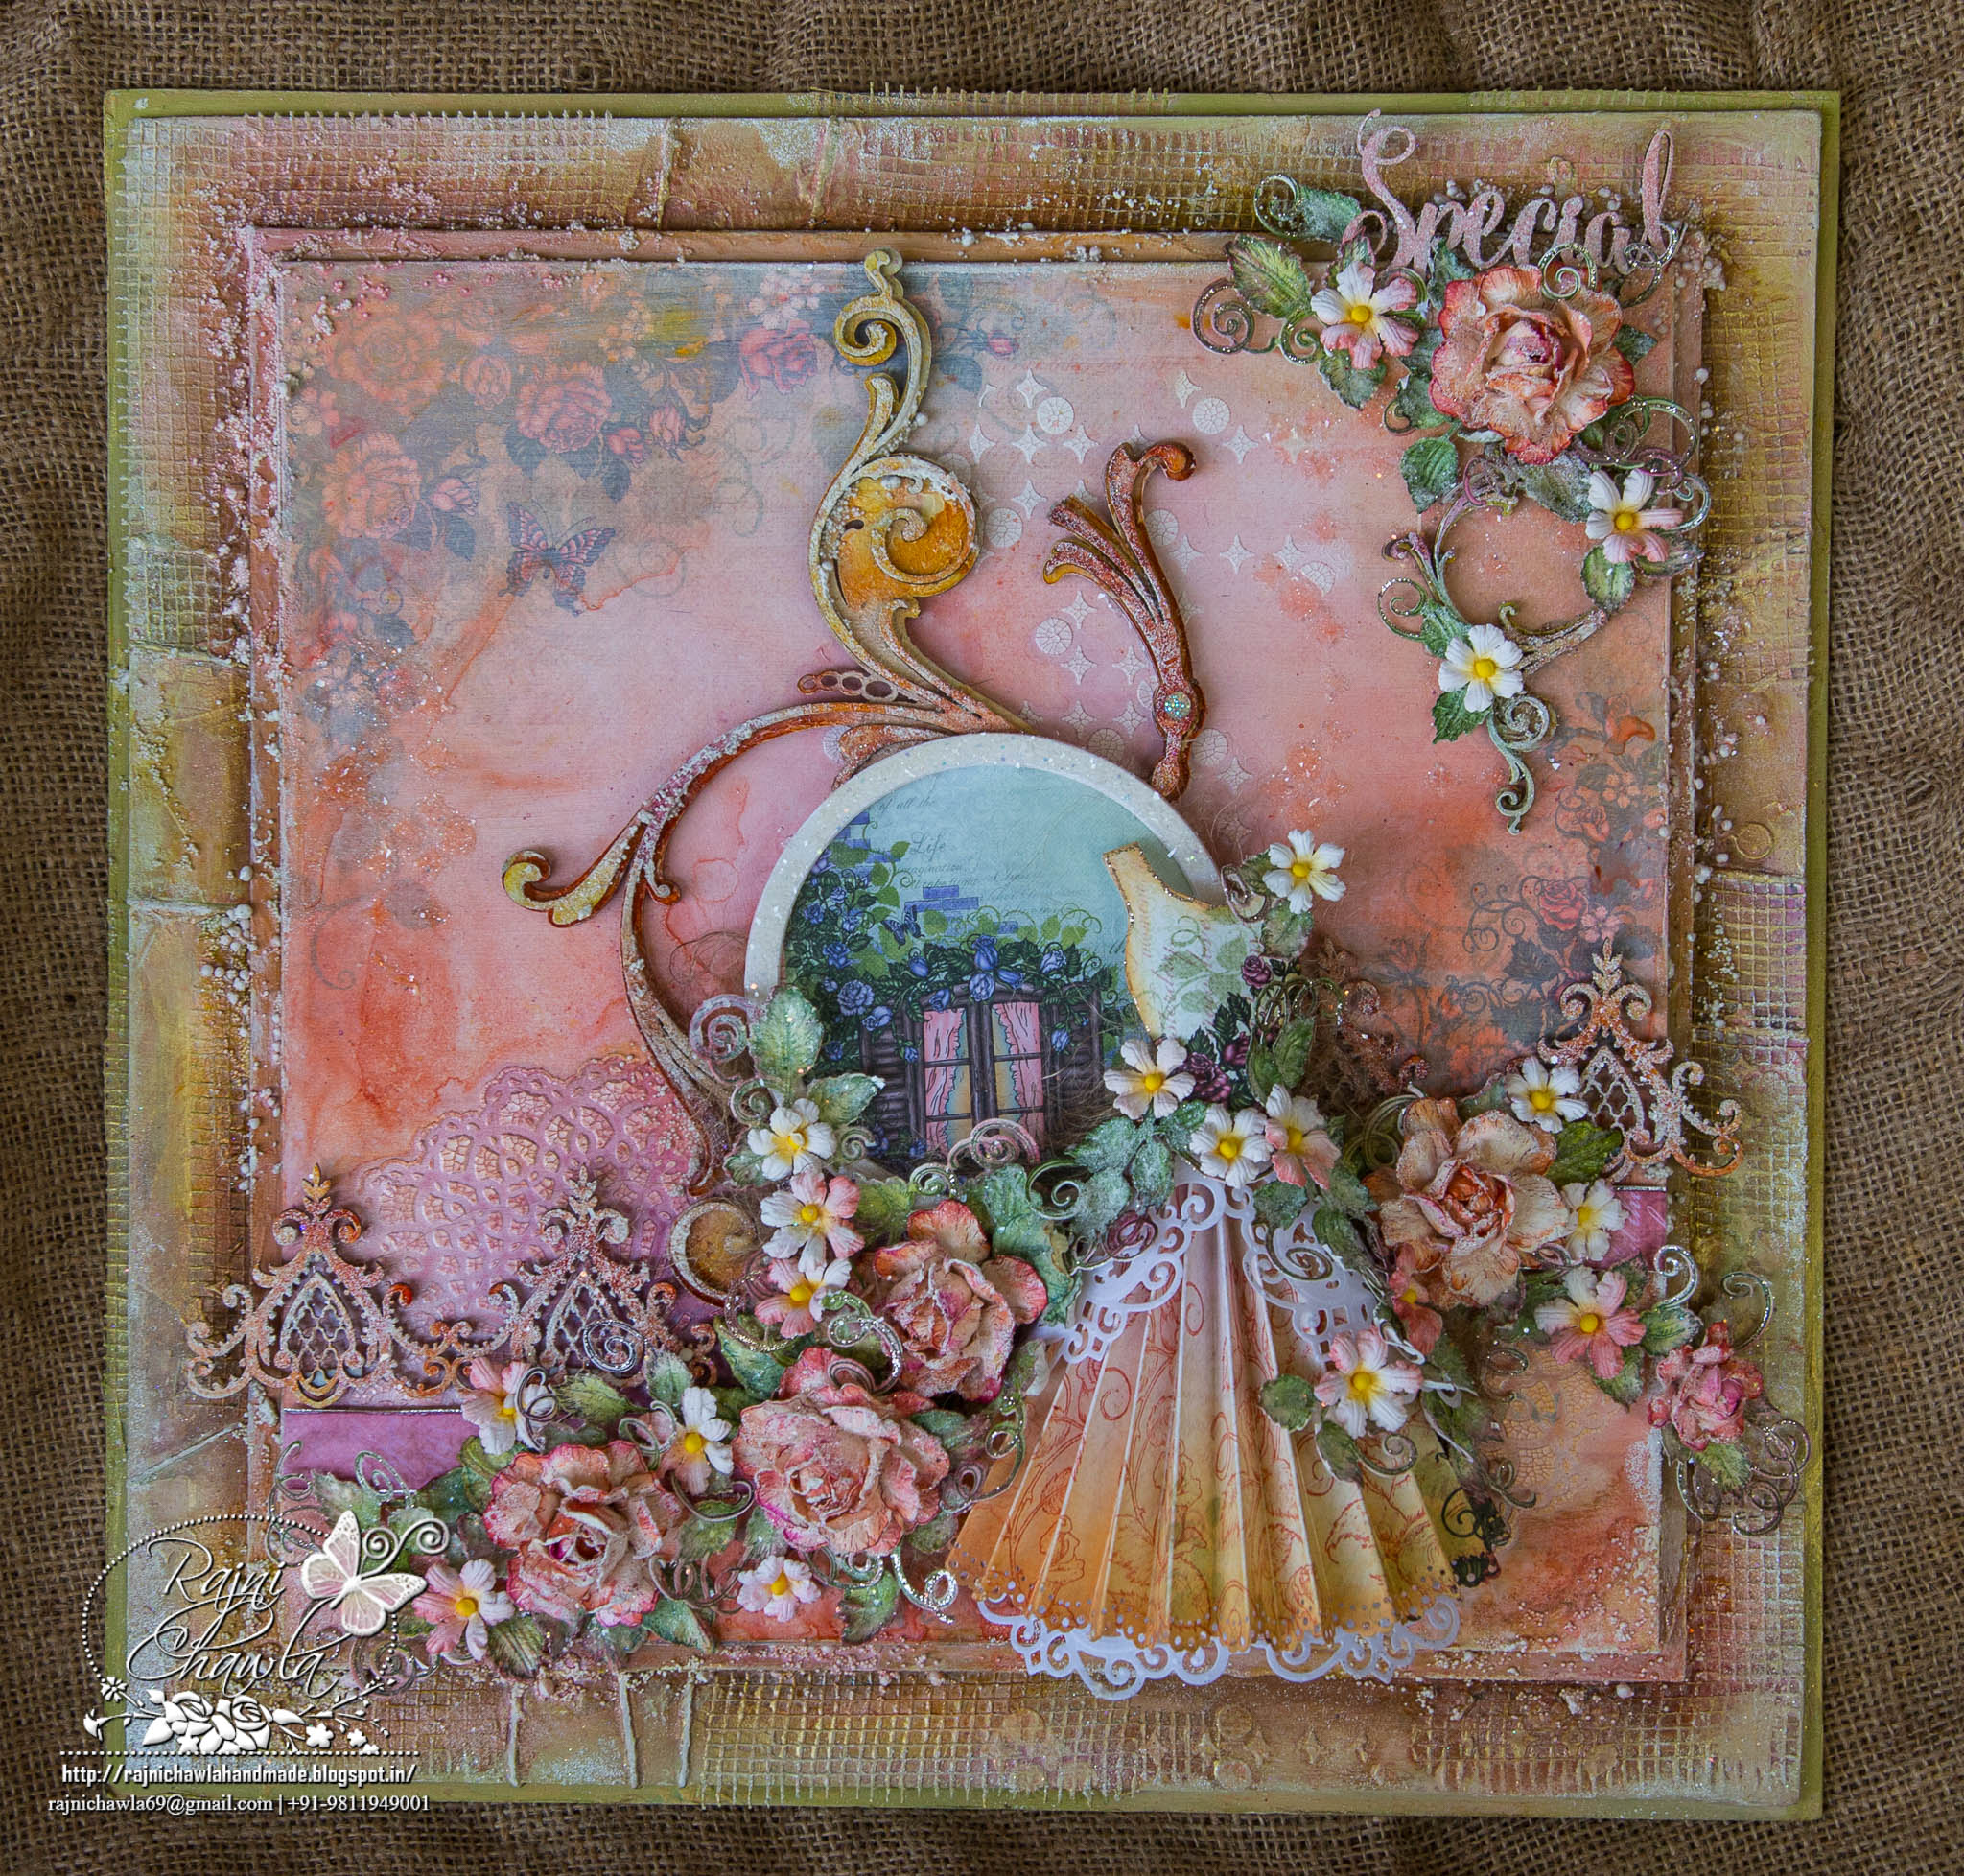
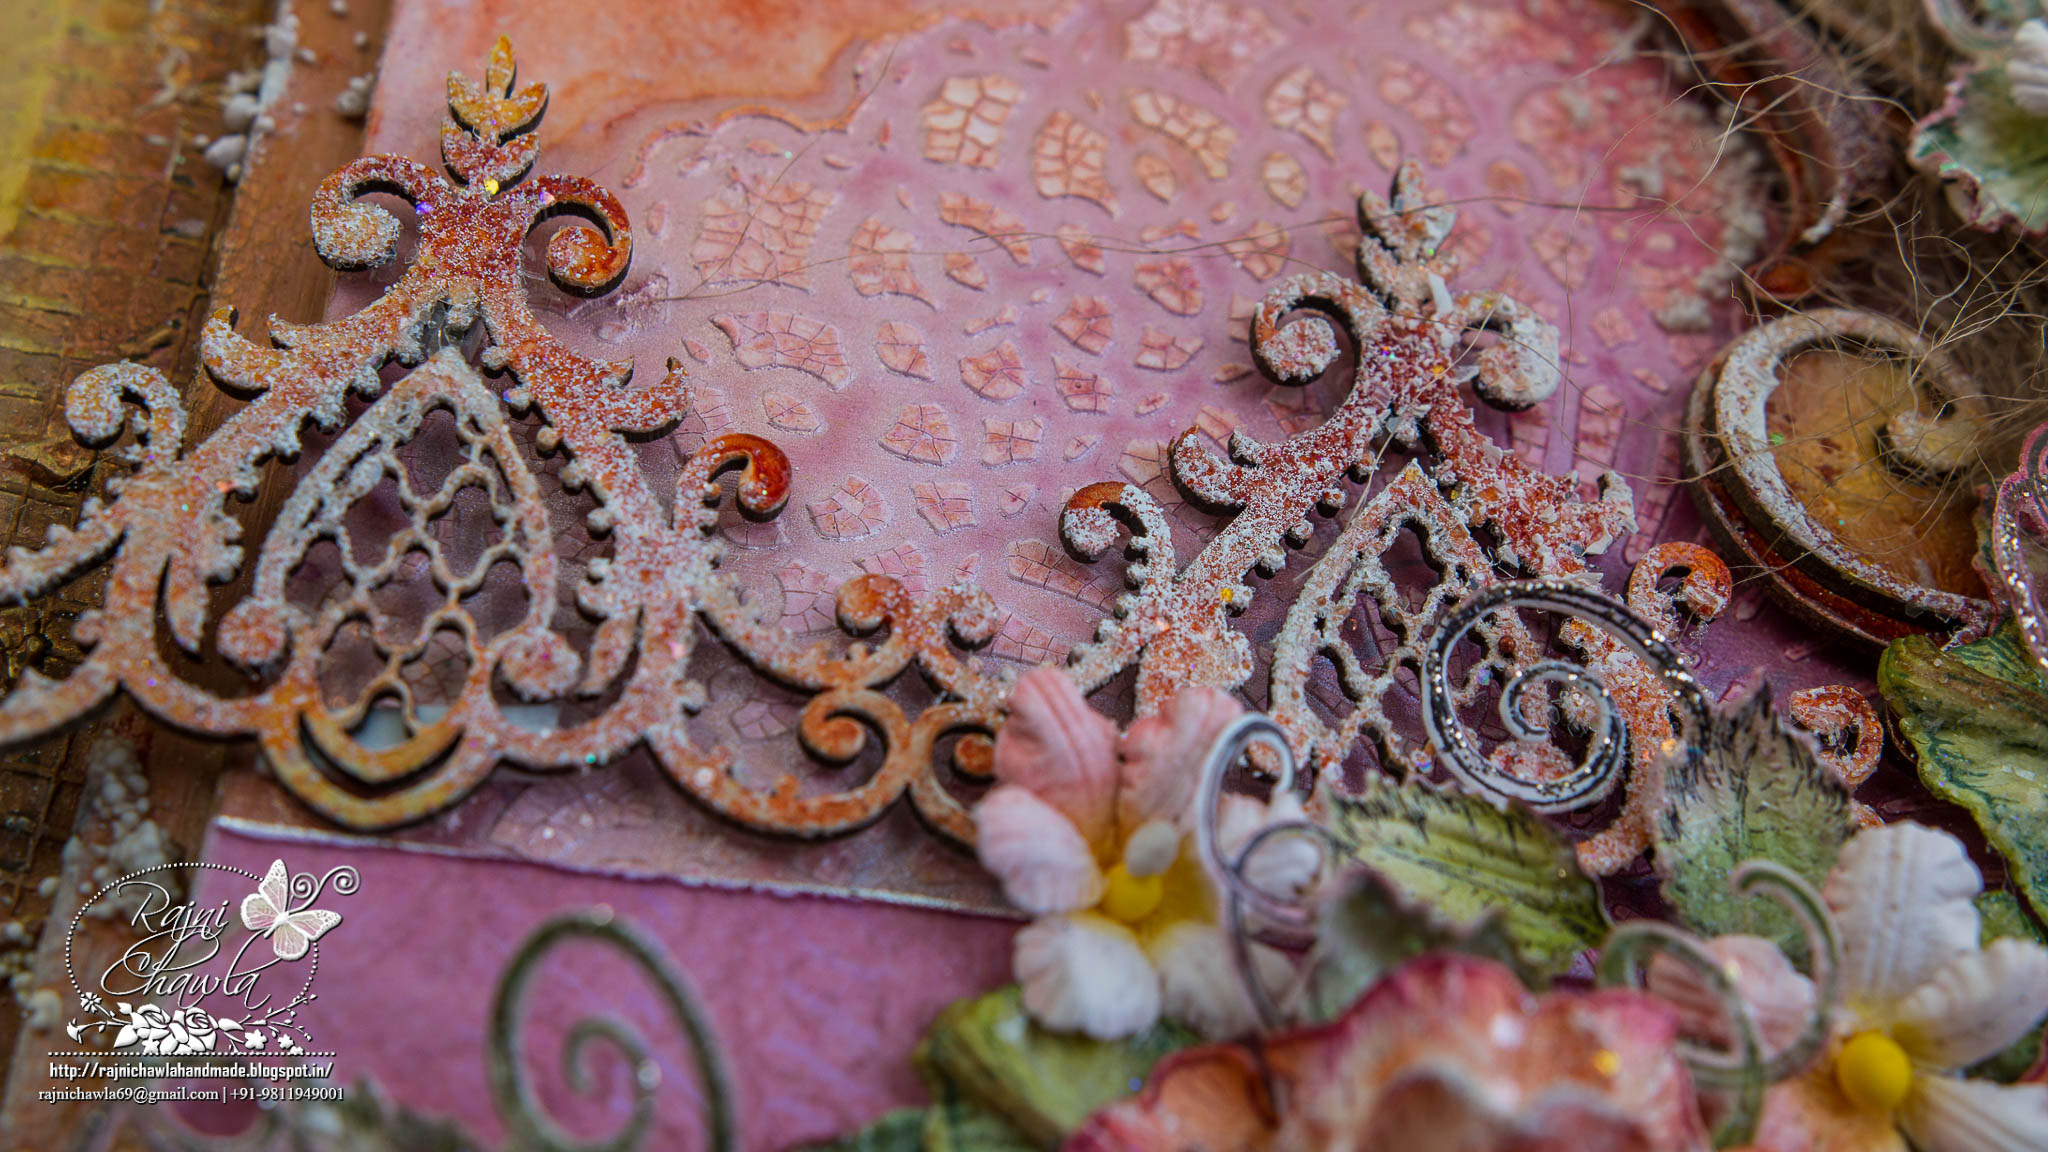
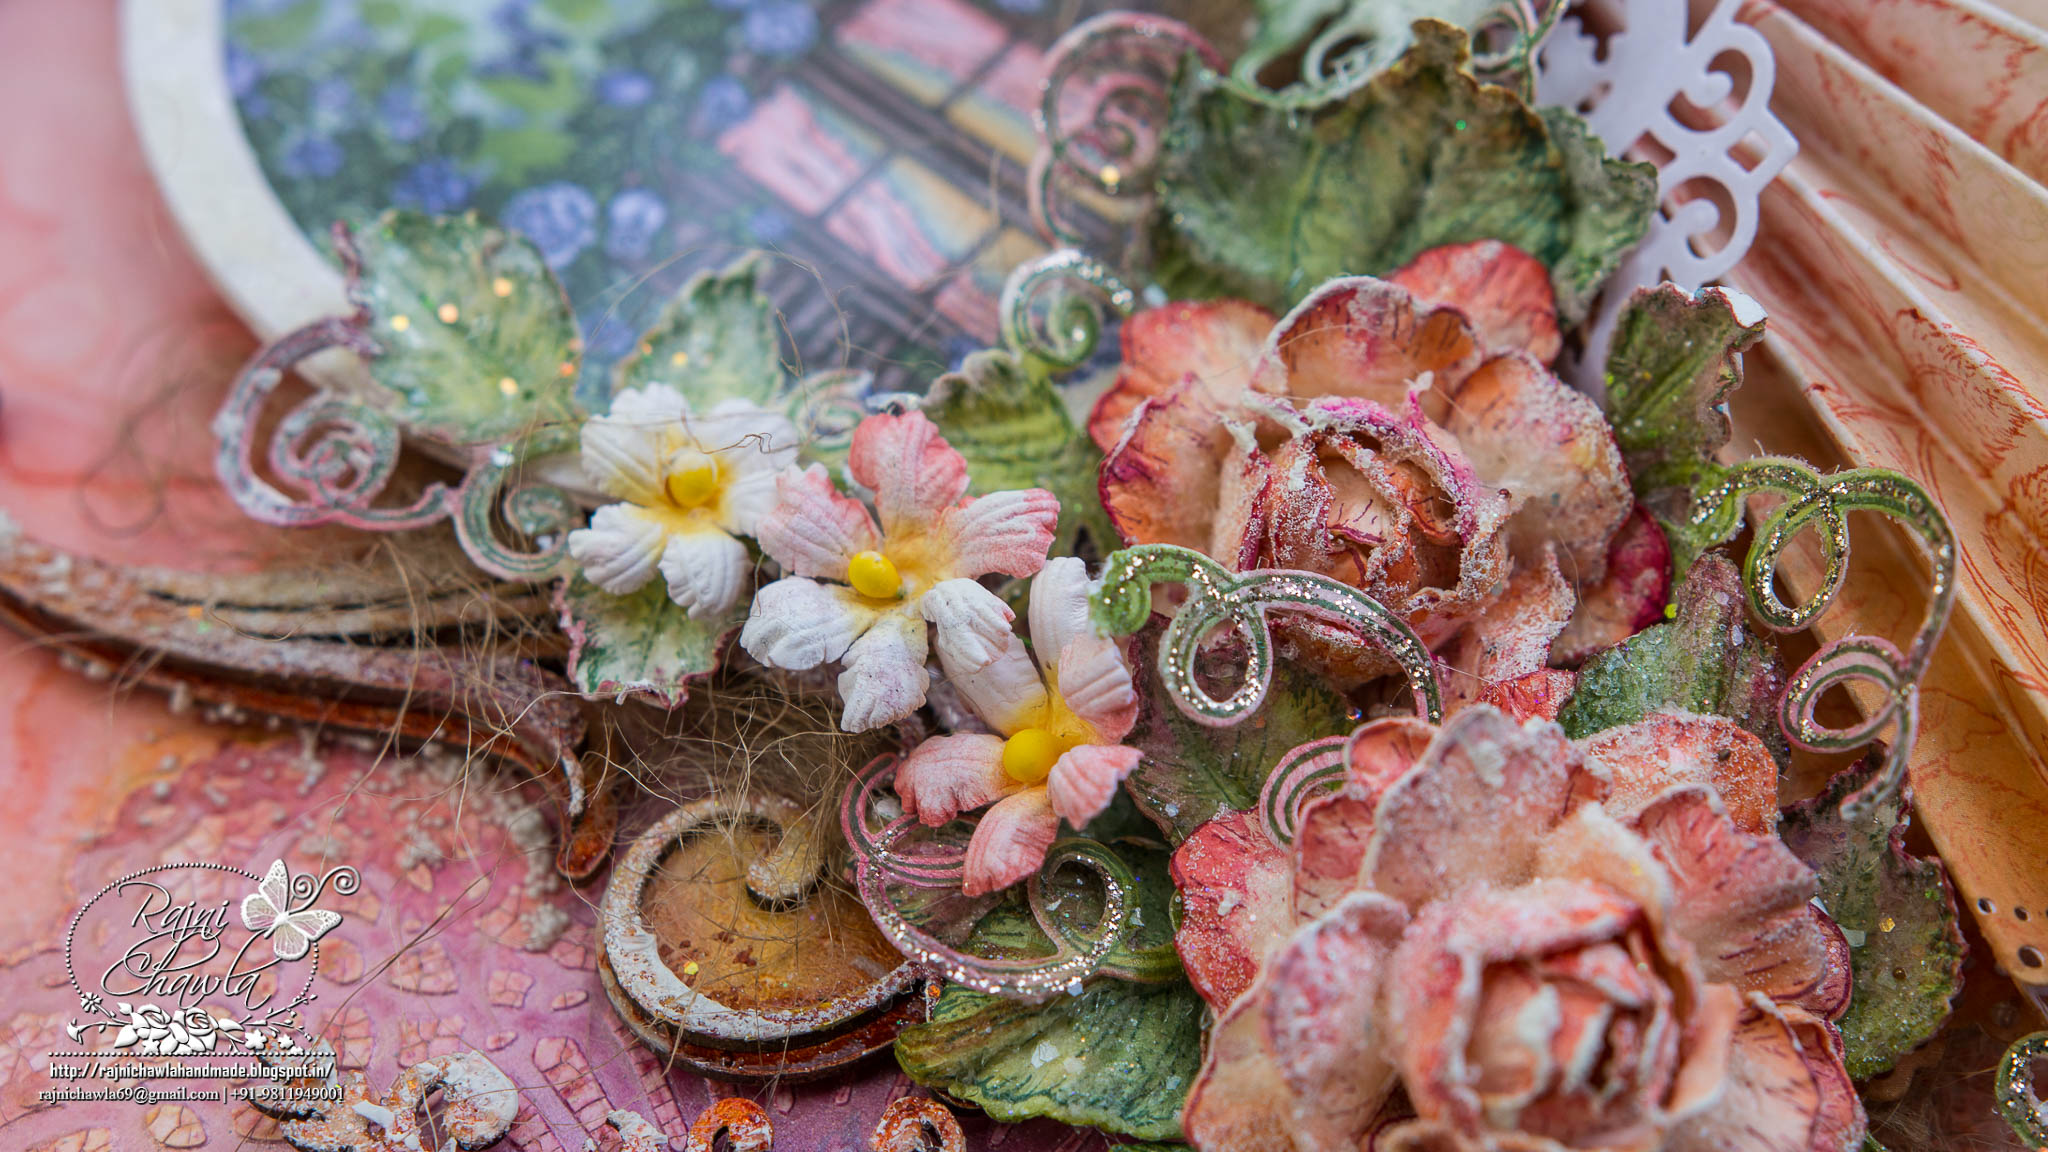
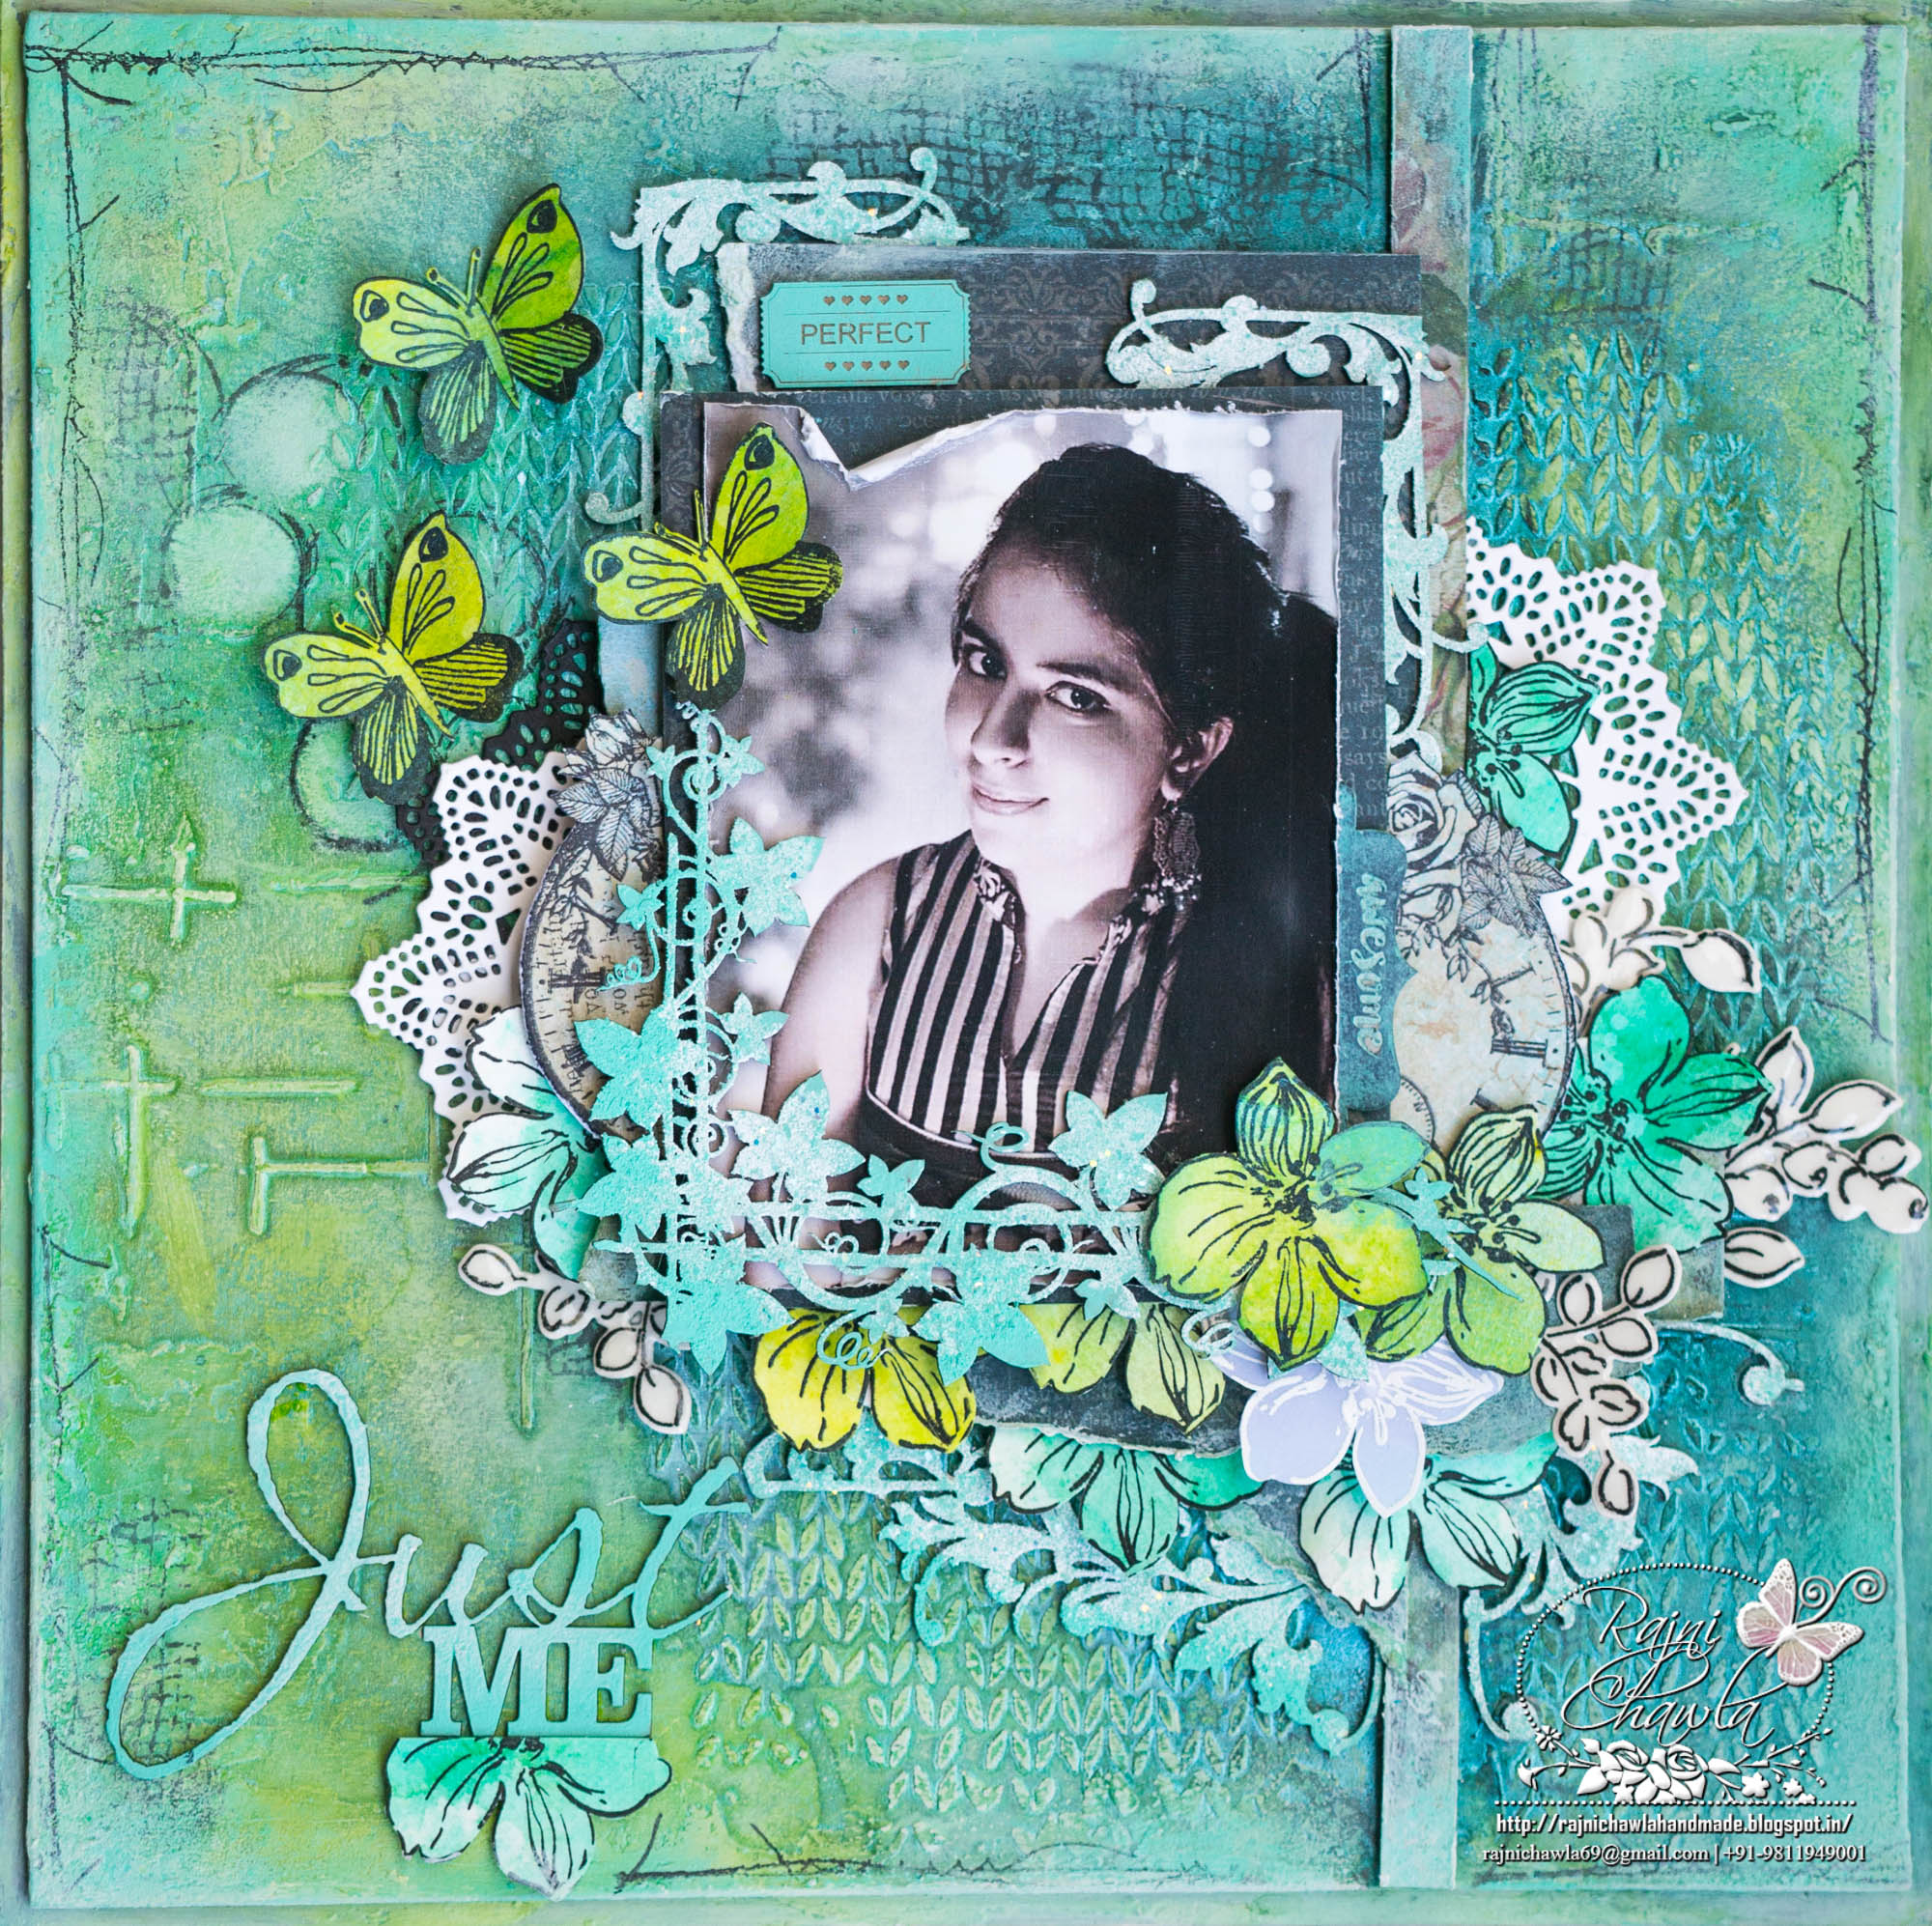
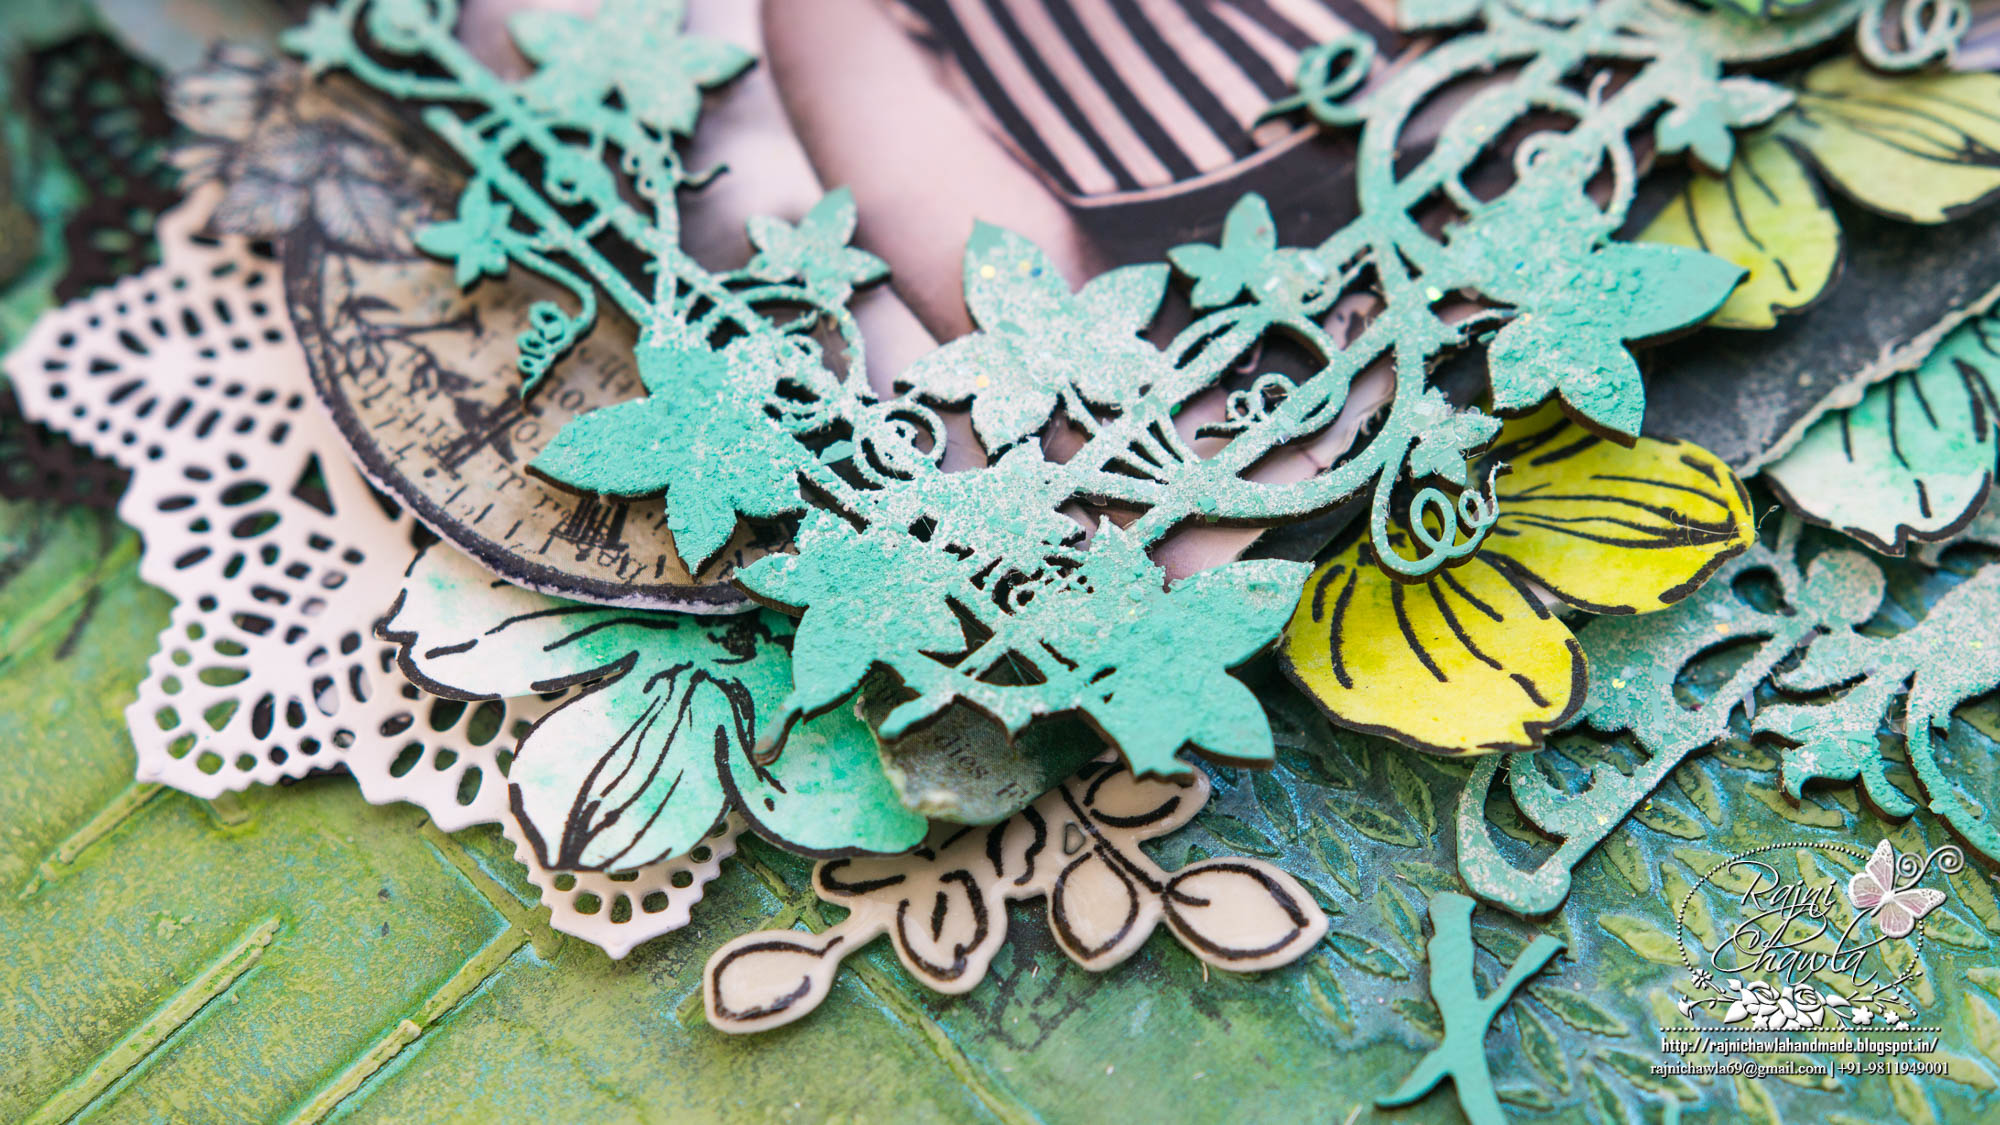
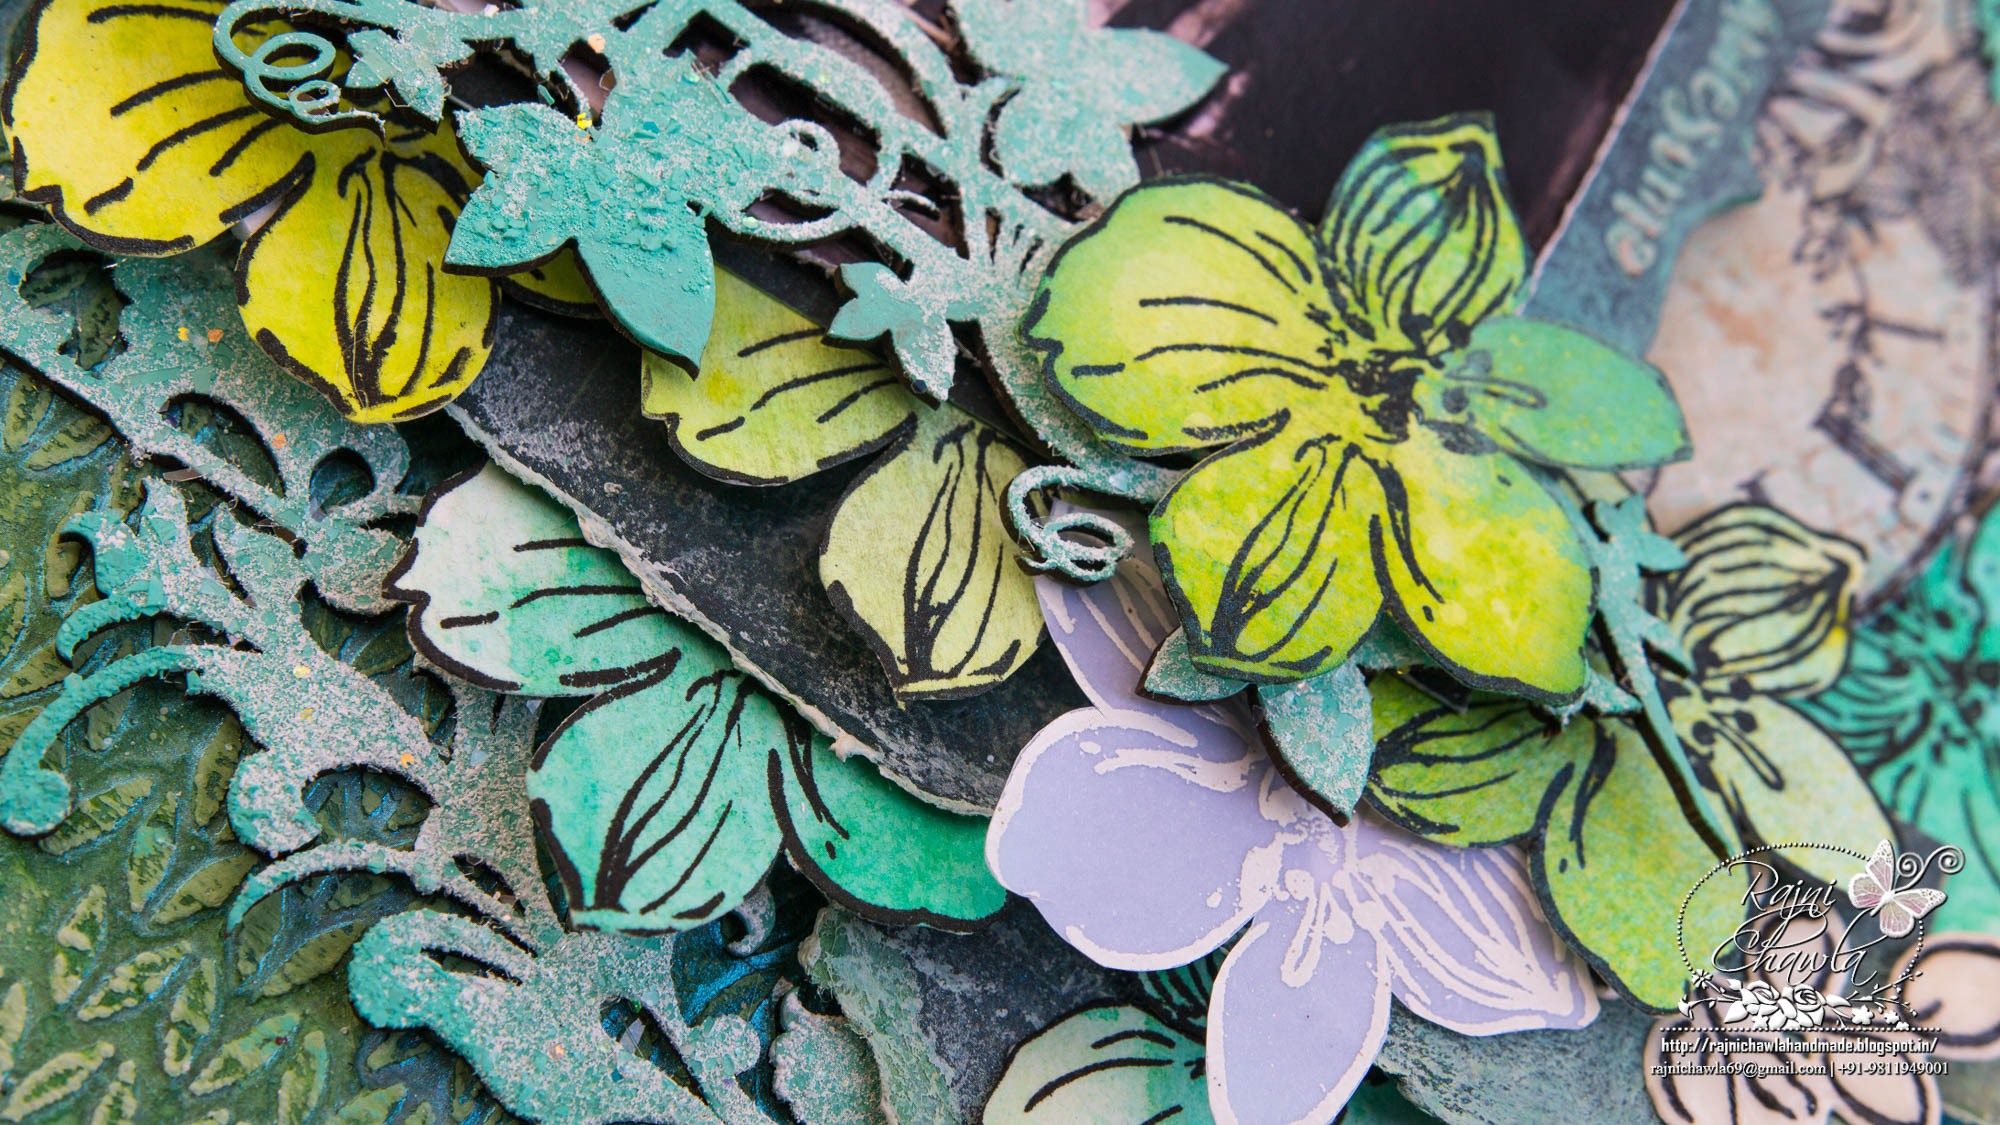
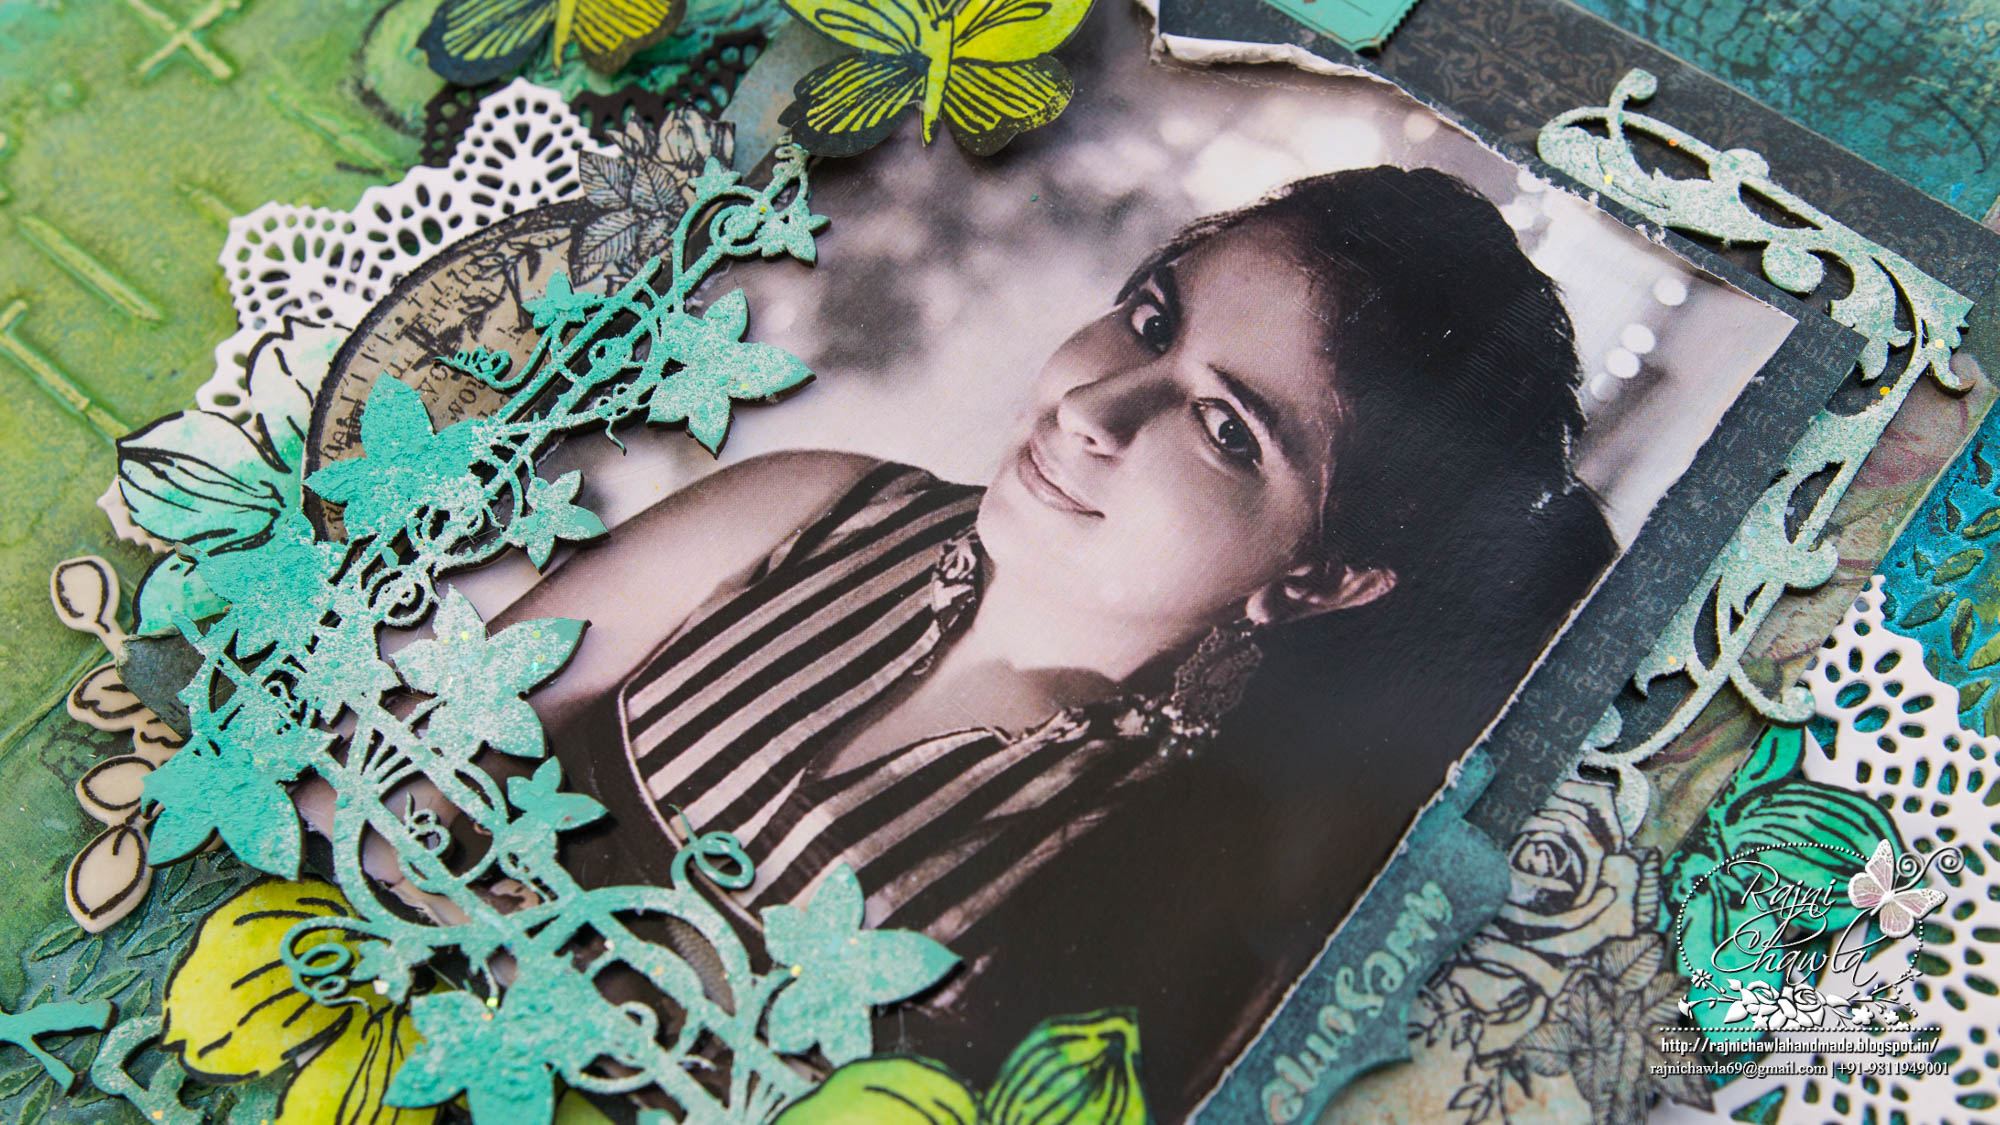
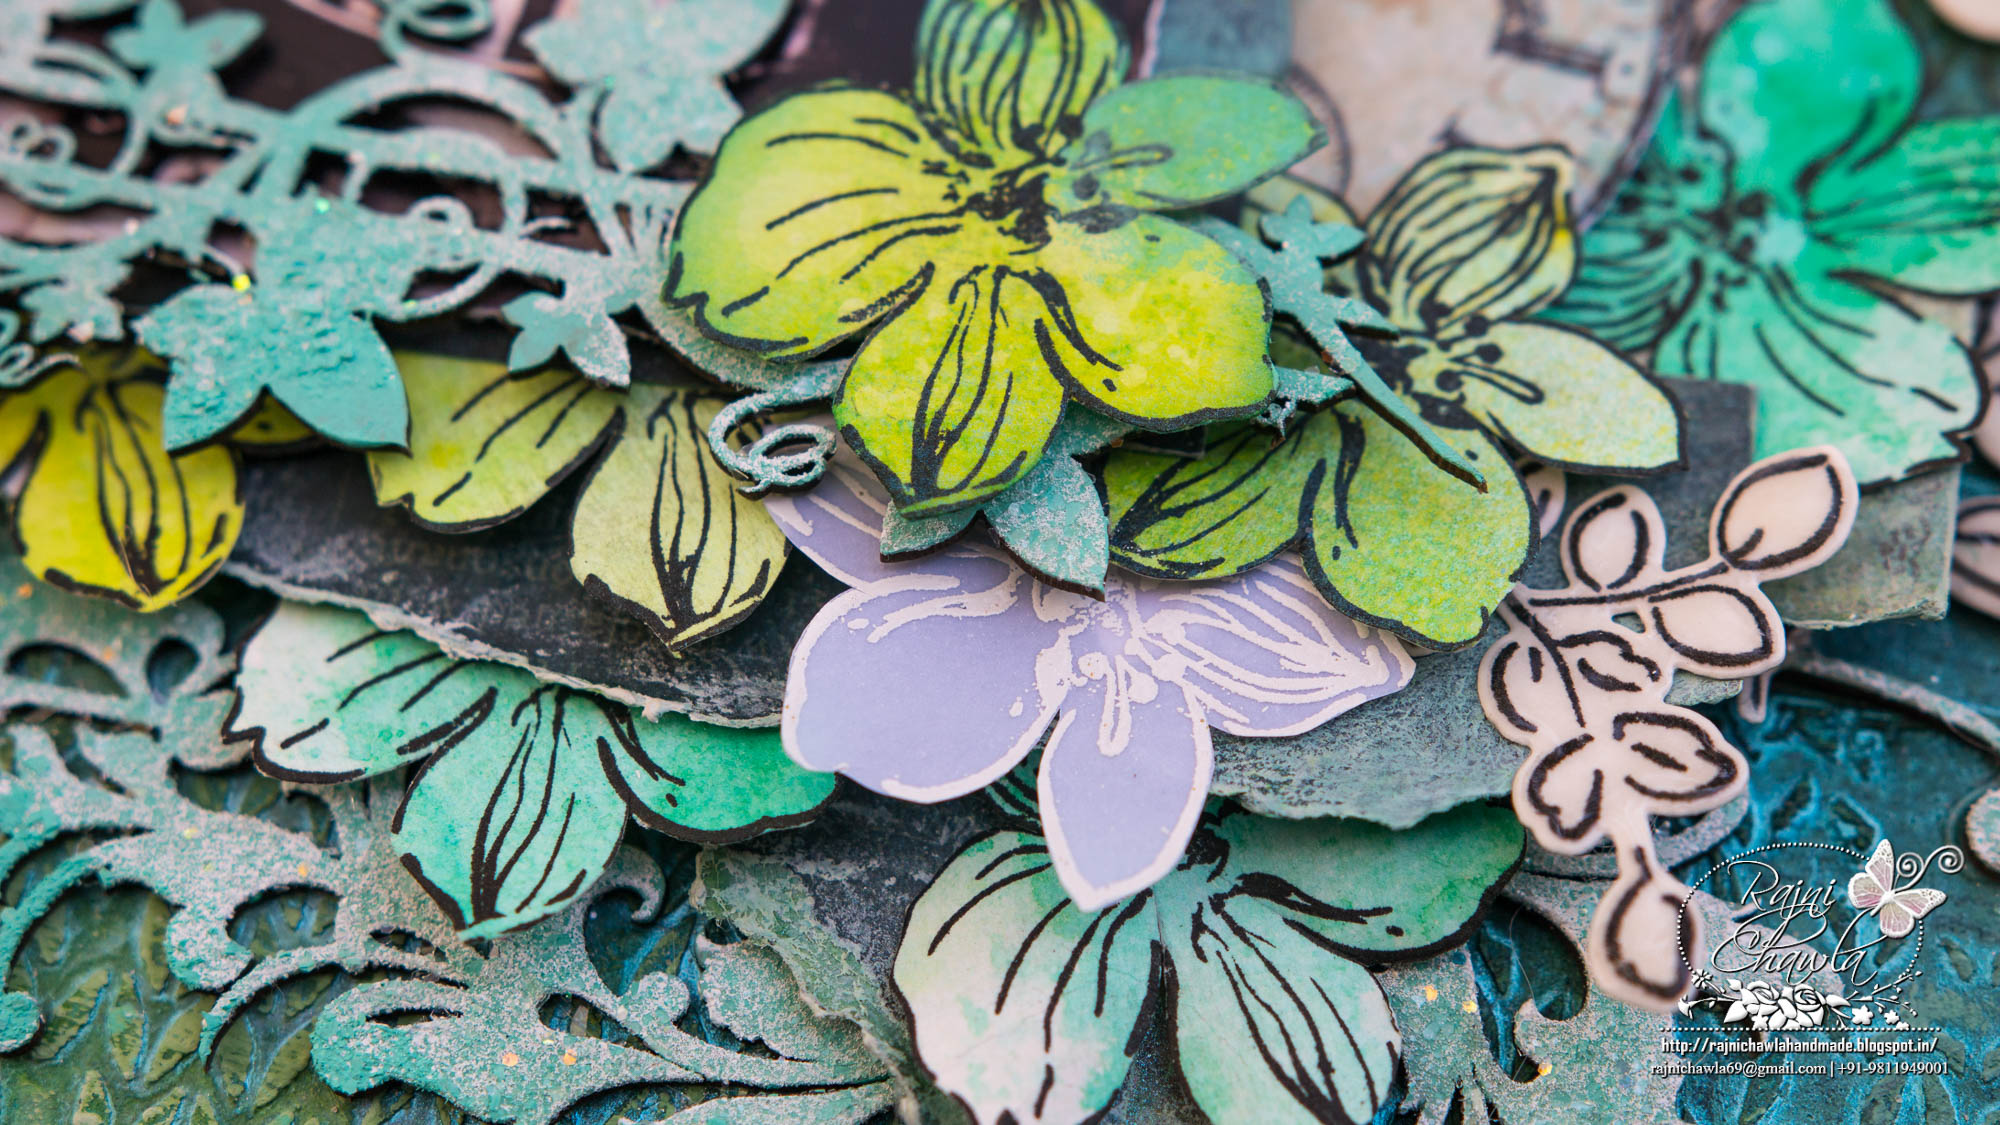
Here is a close up of the cover. You can almost feel the rich texture created by the stencil and texture paste.  To prep the cover, used the Dusty Attic texture paste and distressed stencil. Once it was dried, I brushed the whole cover with clear gesso. I sprayed the cover lightly with a fine mist of water, then added my spray colors and let them bleed on the cover. once I was satisfied with the coverage, I stated to add my flowers and chipboard in layers,


I colored some seam ribbon with the same color sprays I used on the album cover. I added some beads and jewelry findings from my stash to the ends of the ribbon.


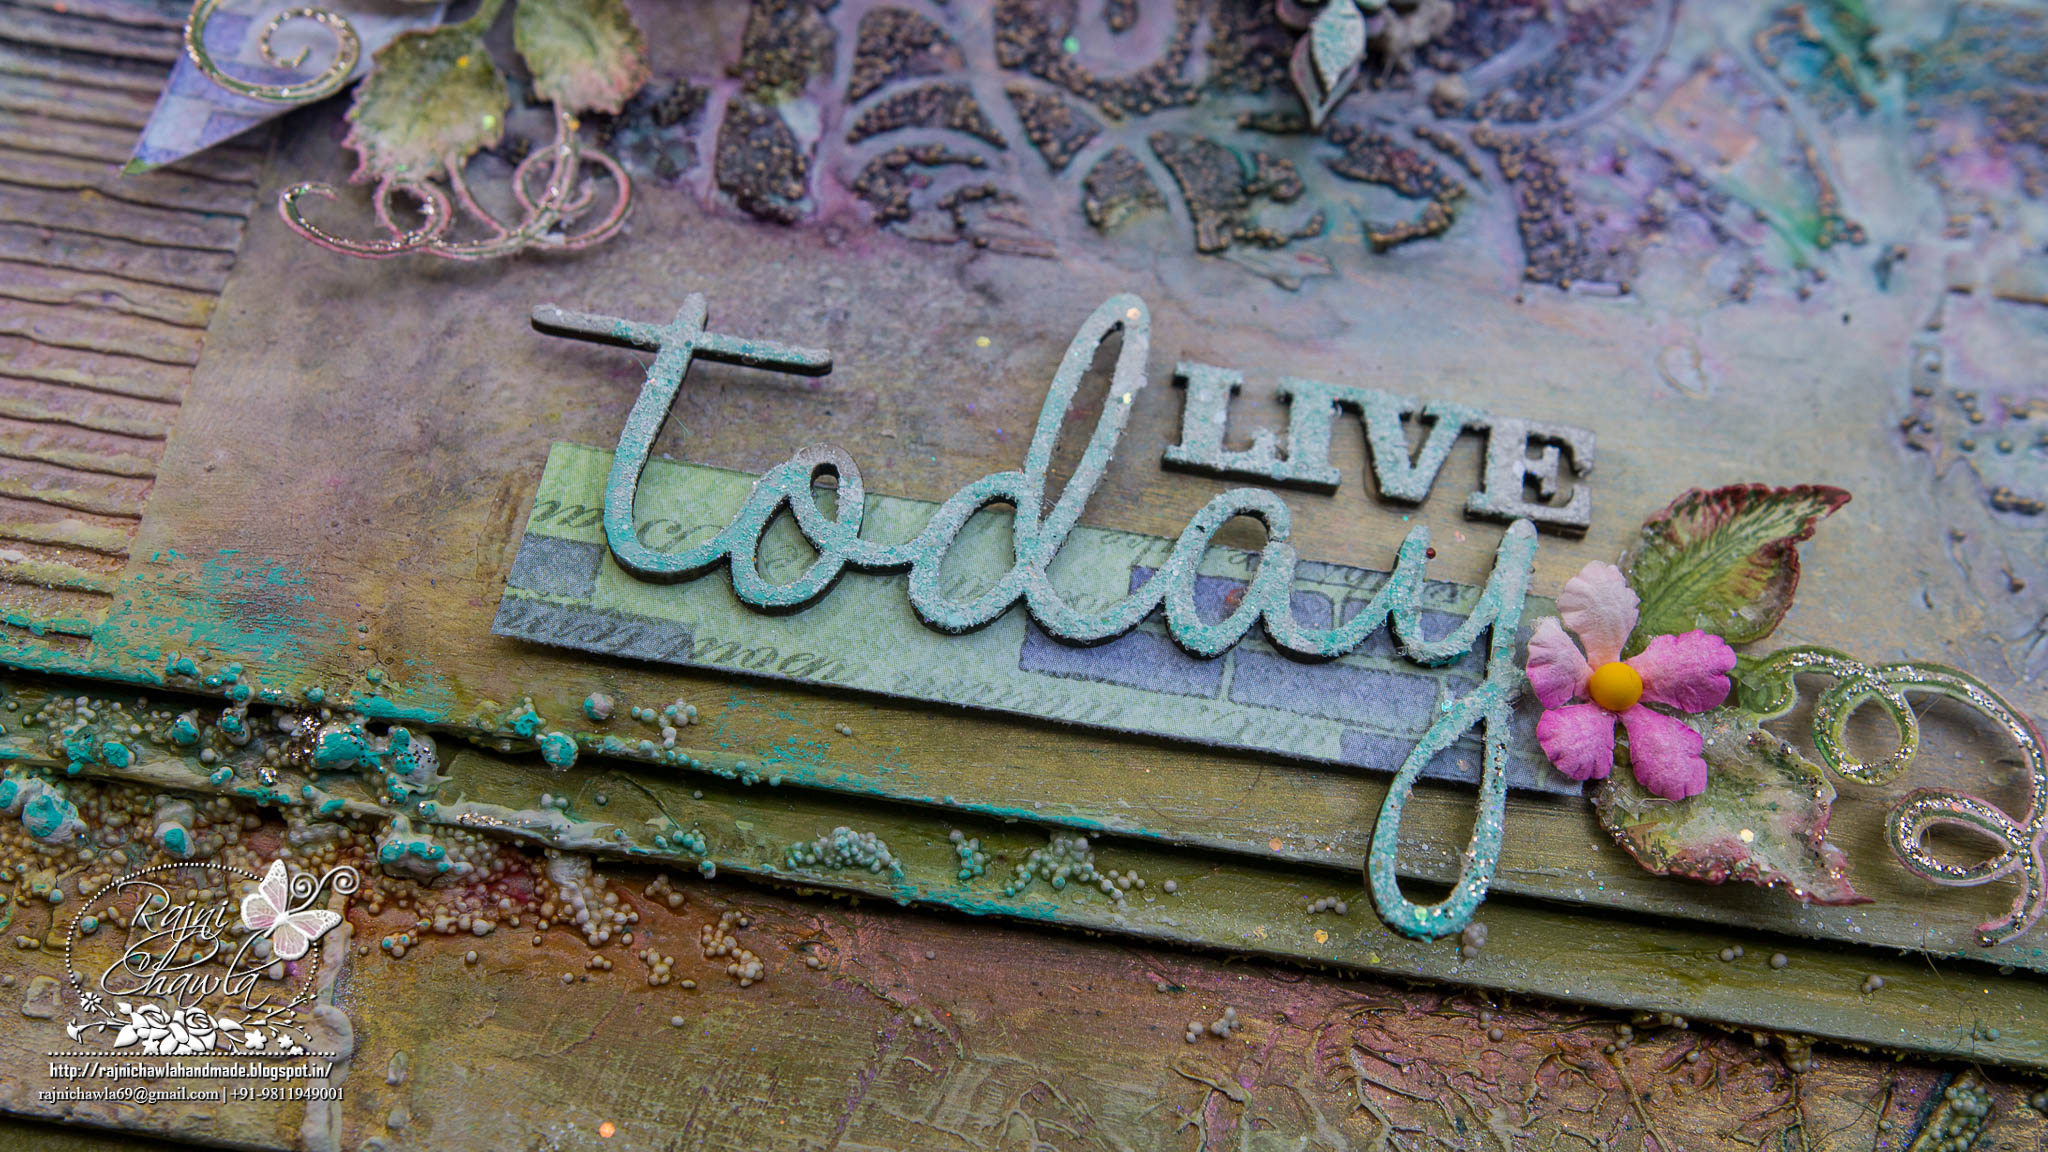
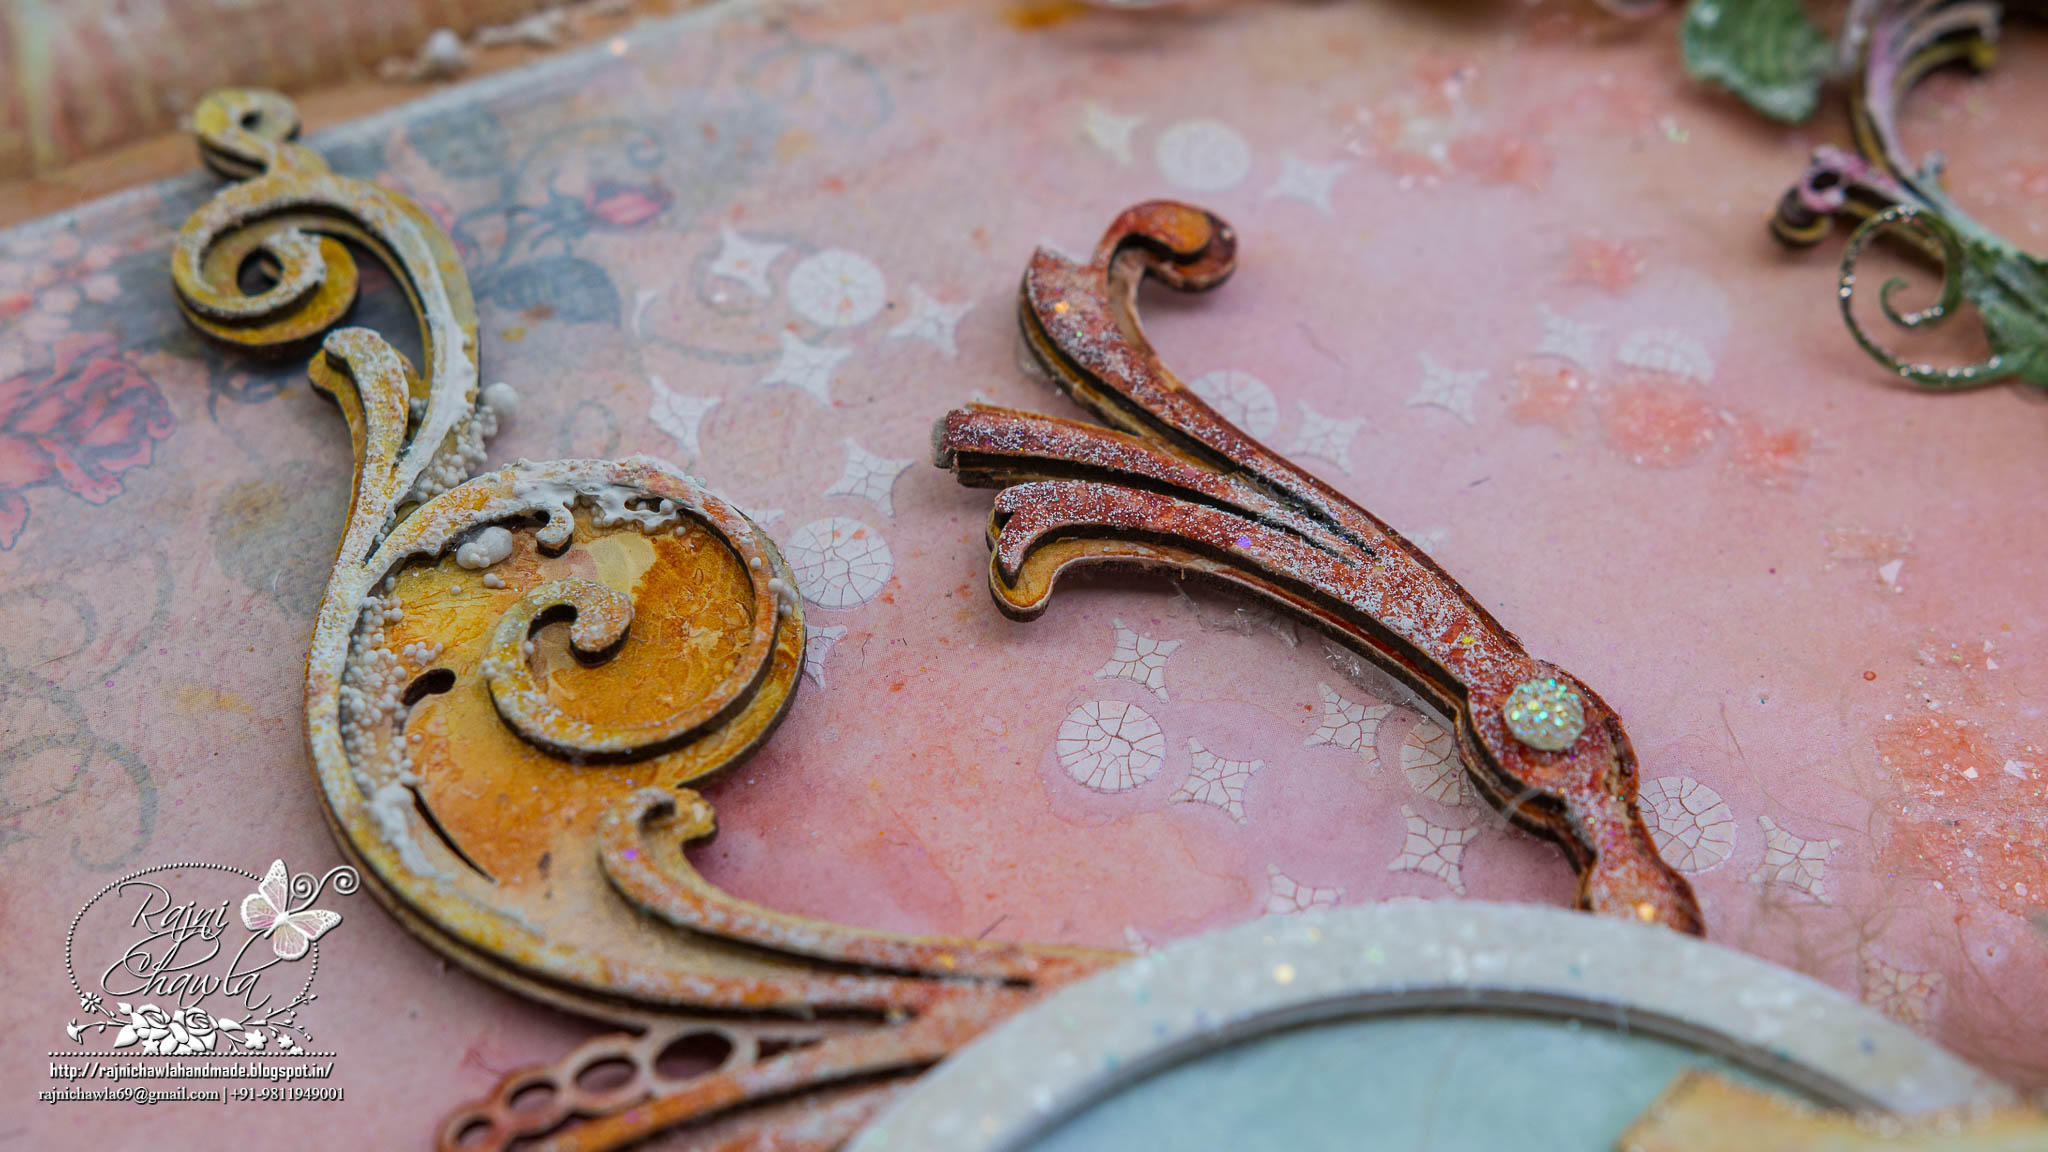
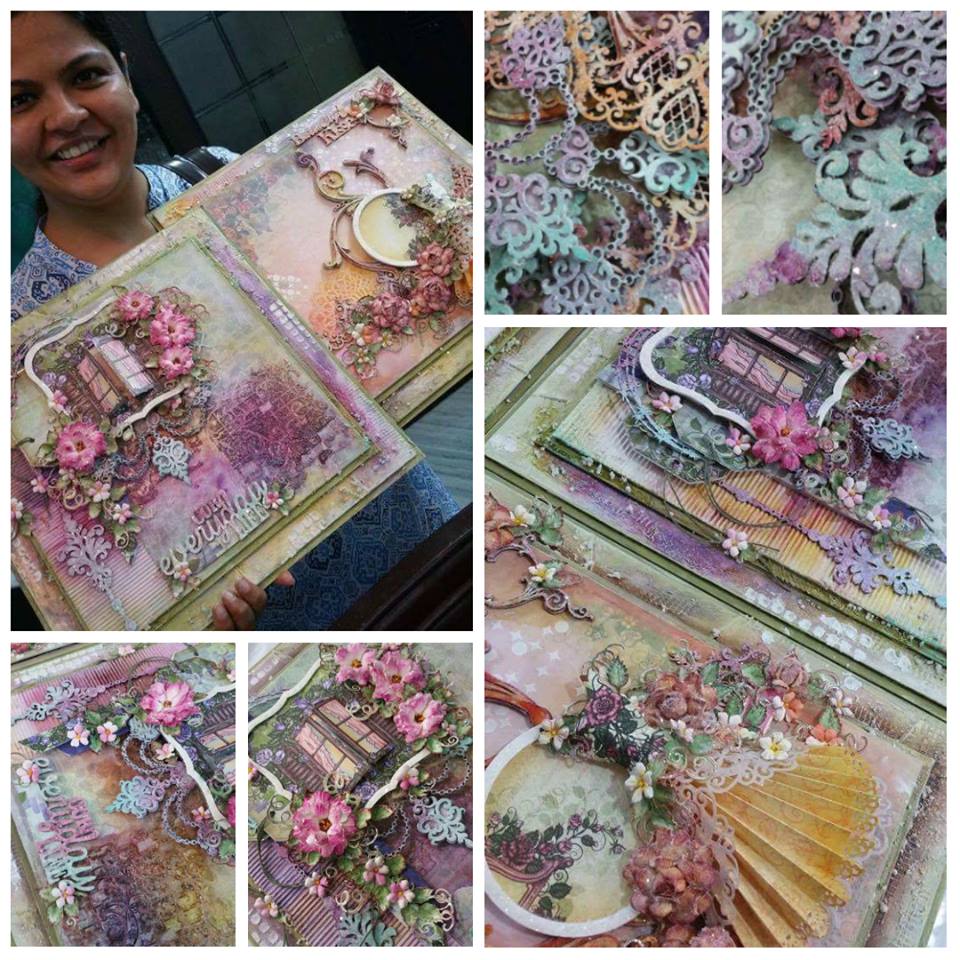
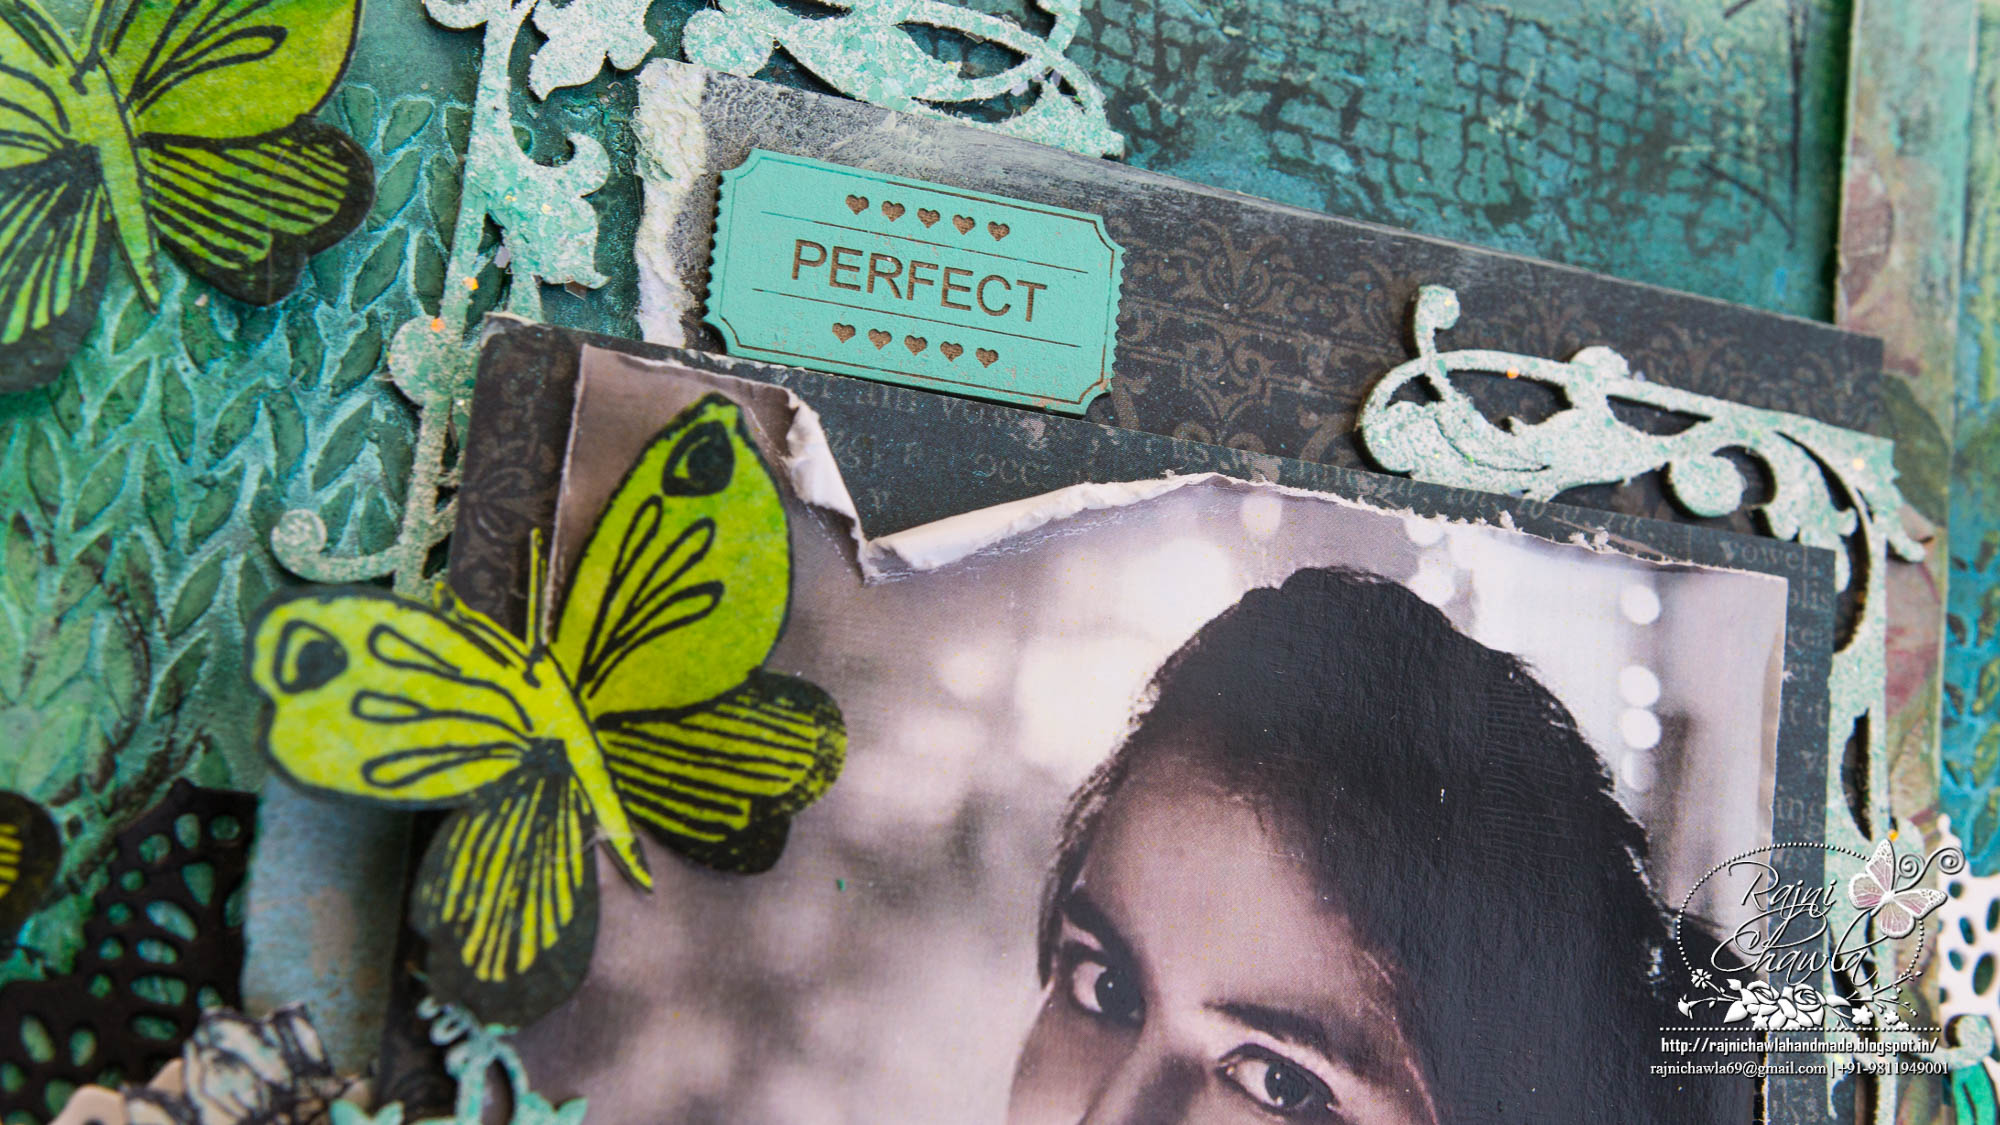
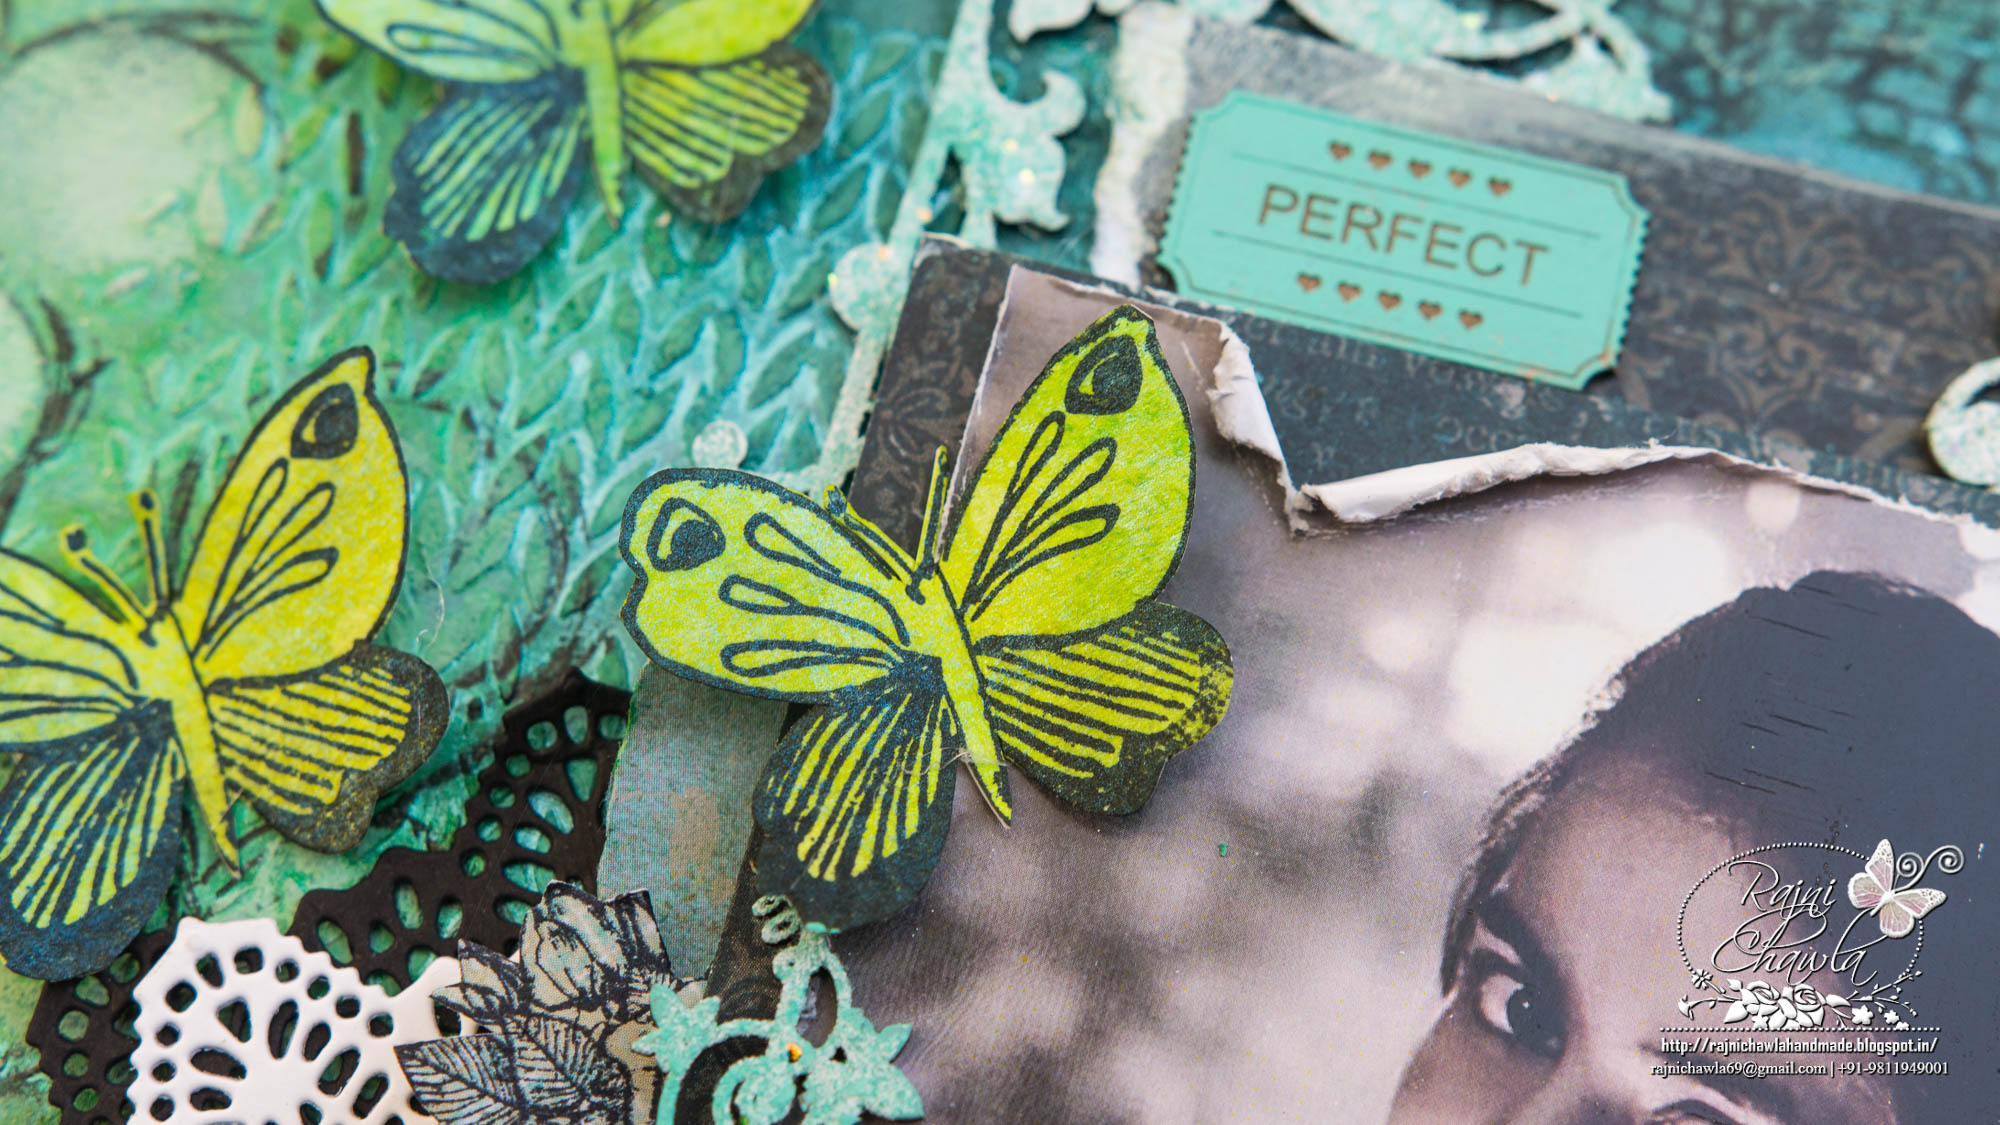
This is a view of the album when it is closed with the ties. There are only 4 pages in the album, but each one is interactive with flip-ups and pull outs. This creates lots of "real estate" for journaling and photos. All of the chip board was primed with white gesso, then sprayed with color mists. The title of the album was heat embossed with Embossing powder so that it would stand out from the sprayed chipboard.


Here is a view of the album opened up. I think I will color the some of the inside pages as well and add some more Dusty Attic Chipboard and texture.


DUSTY ATTIC PRODUCTS USED:


New Creative Layers and 2017 Retreat


Ohhhhh did you see this ??
It is CREATIVE LAYERS #6
Which means there are 3 new ones and they are all themed
 for the season of Christmas upon us
Have a look on the Webiste
 
 
You purchase the Chippy on the left and it can make an embellishment as shown on the right, all ready to add onto a layout or card, or use it any way you like. 


Our first retreat in 2017 is March 16th to the 19th in Muresk, Perth. It is a beautiful quiet spot with delicious food and best of all is the amazing ladies that attend. Details are below and we would love to see you there also xo


Monday 28 November 2016

Live Beautifully - Cathy Cafun

Hi everyone, Cathy here today sharing a layout created with a selection of beautiful Dusty Attic chipboard and mediums.

"Live Beautifully"

I have the most massive stash of pattern papers which I have accumulated over the last 10 years, as I find it very difficult to part with them.  Recently I came across some old shabby chic Daisy D's papers which I adore, and I knew I had just the right photo and beautiful Dusty Attic product to make the most of these gorgeous pp's.

I really love the Dusty Attic stencils.  There are so many beautiful designs to choose from to create your mixed media backgrounds.  For my background I decided to keep it simple using the pretty Flower Power stencil with Dusty Attic Texture Paste.  I then stamped over with a Prima script stamp in Archival Ink and flicked over with Lindy's Queen of Hearts Red Magicals for a little contrast.

The Dusty Attic chippies were altered by coating with Forrest mixed in with a touch of white paint to soften the colour and Faded Denim Dusty in Colour acrylic paint.  Whilst wet I sprinkled with Lindy's embossing powder in Madonna Robe Blue Gold and Spring Green to add a bit more colour and give the chippies  a glossy rippled texture.  Then for a little contrast and a pop of colour I used Berry Nice Prills for the daisy centres.

As you may know, I love to fussy cut to create layers and depth to my creations, so here I have fussy cut little daisies from my pp and highlighted their centres with Dusty Attic Clear Gloss Medium.  It doesn't show up very well in the photos, but it's a lovely way to add a bit of dimension to your fussy cut elements.

The Ticket and Quoted Sentiments chippies were lightly coated with Color Box mixed media ink in Patina.  Make sure you build up the colour by dabbing lightly so the imprinted words stay visible.

The Flutterbies #3 are one of my favs chippies... so pretty and the perfect addition to your feminine layouts.  I altered one of the smaller butterflies from the pack with Patina ink and layered it up with a butterfly diecut and topped it with a cute button and Kaisercraft pearl.

Dusty Attic Product Used


Other Product Used
Daisy D's pp's
Berry Nice Prills
Lindy's Stamp Gang Embossing Powder - 
Madonna Robe Blue Gold, Spring Leaf Green
Lindy's Stamp Gang Queen of Hearts Red Magicals
Prima Iron Orchid Script Stamp
49 & Market Gabis Line Stitch Stamp
Ranger Archival Watering Can
White Paint
Kaisercraft Pearls - Denim
Kaisercraft Collectables
Lace - Bella Paperie
Flower Button
Colour Box Mixed Media Ink - Patina

Thanks so much for stopping by

Happy Crafting :)


Sunday 27 November 2016

Bush Walker - Heather McMahon

Hello and welcome back! It's Heather here today bringing you a layout that I made as a tribute to an amazing man and his art.

Bruno is an incredibly talented artist and sculptor in Marysville, Victoria. We saw his work years ago and all our family loved it so much that we bought a statue that was a replica of a huge one in the main street of Marysville. A few years later, fires swept through the area killing many people and destroying much of Bruno's work, including the original statue. We are so glad that our little statue of an old bushwalker and his grandson continues to sit in our garden, forever watching the country around it.


Don't you just love these funky new frames from The Dusty Attic? I can see myself using a lot of these! That poppy is a fave chippy too. Poppies are my favourite flowers.


To make the background I scraped on a little Dusty Attic Navajo White paint then added some splashes of Tinby Designs Colour Crush and some stamping. 

Here are a few closies:


The Dusty Attic products I used are:
Whimsy Frames #6 DA1562

Poppies DA1289

Dusty in Colour Paint
in Forrest, Navajo White
and Soot.

Dusty in Colour Clear
Gloss Varnish DA 0901


Happy scrappin'!

Heather McMahon


Saturday 26 November 2016

Just Me - Rajni Chawla (Mood Board Inspiration)

Good Morning all... Here, I am back again after a long long break. I really had fun teaching my classes in Mumbai last month. My six weeks highly packed schedule of my workshops really added lots to my memories and experience. Crafters, there really appreciated the results of Dusty Attic chippies and Dusty in Color. Here are the pictures of the layouts that I taught in my workshops.
 
  classic-rose-collection-20
Look at the beauty of Elegant Chain by Dusty Attic. A little frosting and painting with dusty in colors is adding extra beauty to my project. classic-rose-collection-14
 
String frame small is popping behind the window. Love the beautiful layers.
classic-rose-collection-16
 
Ornate Pendant#4 is also painted with Dusty in colors and then added frosting. I also, sometimes simply gesso all chipboards and paint them with the sprays used for backgrounds.
 
classic-rose-collection-15
  classic-rose-collection-19   classic-rose-collection-10 HERE IS MY SECOND LAYOUT THAT I TAUGHT. classic-rose-collection-9 Lace Border#4 used here. I ts painted with Dusty in color and then frosted. I have also used Decorative Scroll#1 and sentiment " Special" from Words and Titles Collection of Dusty Attic. All the flowers are handmade.
classic-rose-collection-5   classic-rose-collection-2   classic-rose-collection-3   classic-rose-collection-3
 
And happy to share few clicks from my Mumbai workshops....
  image   15174609_1314924995218722_2116426542_n 15174668_1314923868552168_240565795_n
 
NOW HERE IS MY TAKE ON THE NOVEMBER  MOOD BOARD....   november-16
 
This month's mood board is my daughter's favorite. She loves bright and neons. so, I decided to scrap with her picture today.
  untitled-2
 
Here are few Close-ups. I have cut Ornate Frame#7 in four parts and used in different layers all across the picture. I have used Ivy Corner #2 on the top most layered and it really looked beautiful. Various textures were created with Dusty Attic Texture Paste using their beautiful stencils. The stencils used are CrossShatch Stencil and Kinning Stencil . For the title, I have used "Just Me"...This is again my daughter's favorite. I have also used Mini Tab#2 and Tickets.
 
All the flowers and leaves are from Altenew. To stamp the paper for flowers, paper is prepared with highly diluted Dusty in colors on the craft sheet and stamping with Black Archival ink. Sprinkle little water when the paper is still wet and lift some color with tissue paper. The shades used are Dusty in Colour Oceania, Dusty in Colour Capri, Dusty in Colour Crushed Olive and Dusty in Colour Jungle Green. I have also used the stamps designed by Gabrielle Pollacco under her brand named 49 And Market.
untitled-3-copy   untitled-8   untitled-7   untitled-4-copy   untitled-9   untitled-5-copy That’s all from me today!! All the supplies used from Dusty Attic are directly linked to their website for your reference. Thanks for visiting the blog. I hope, I was able to inspire you a little to pull out your Dusty Attic supplies. Don’t forget to share with us what you all create. If you play along our monthly challenge, you might win a 100$ gift voucher.
 
  10685324_1076699315707959_786850386954710345_n