Friday 30 April 2021

Love you to the Moon and Back - Michelle Van Oudshoorn - Mood Board Inspiration

 Hi there,

As we head towards the end of April, you still have chance to enter the monthly moodboard challenge for your chance to win one of two $50 Dusty Attic vouchers with this month's moodboard:

Here is my layout created using the moodboard colours:
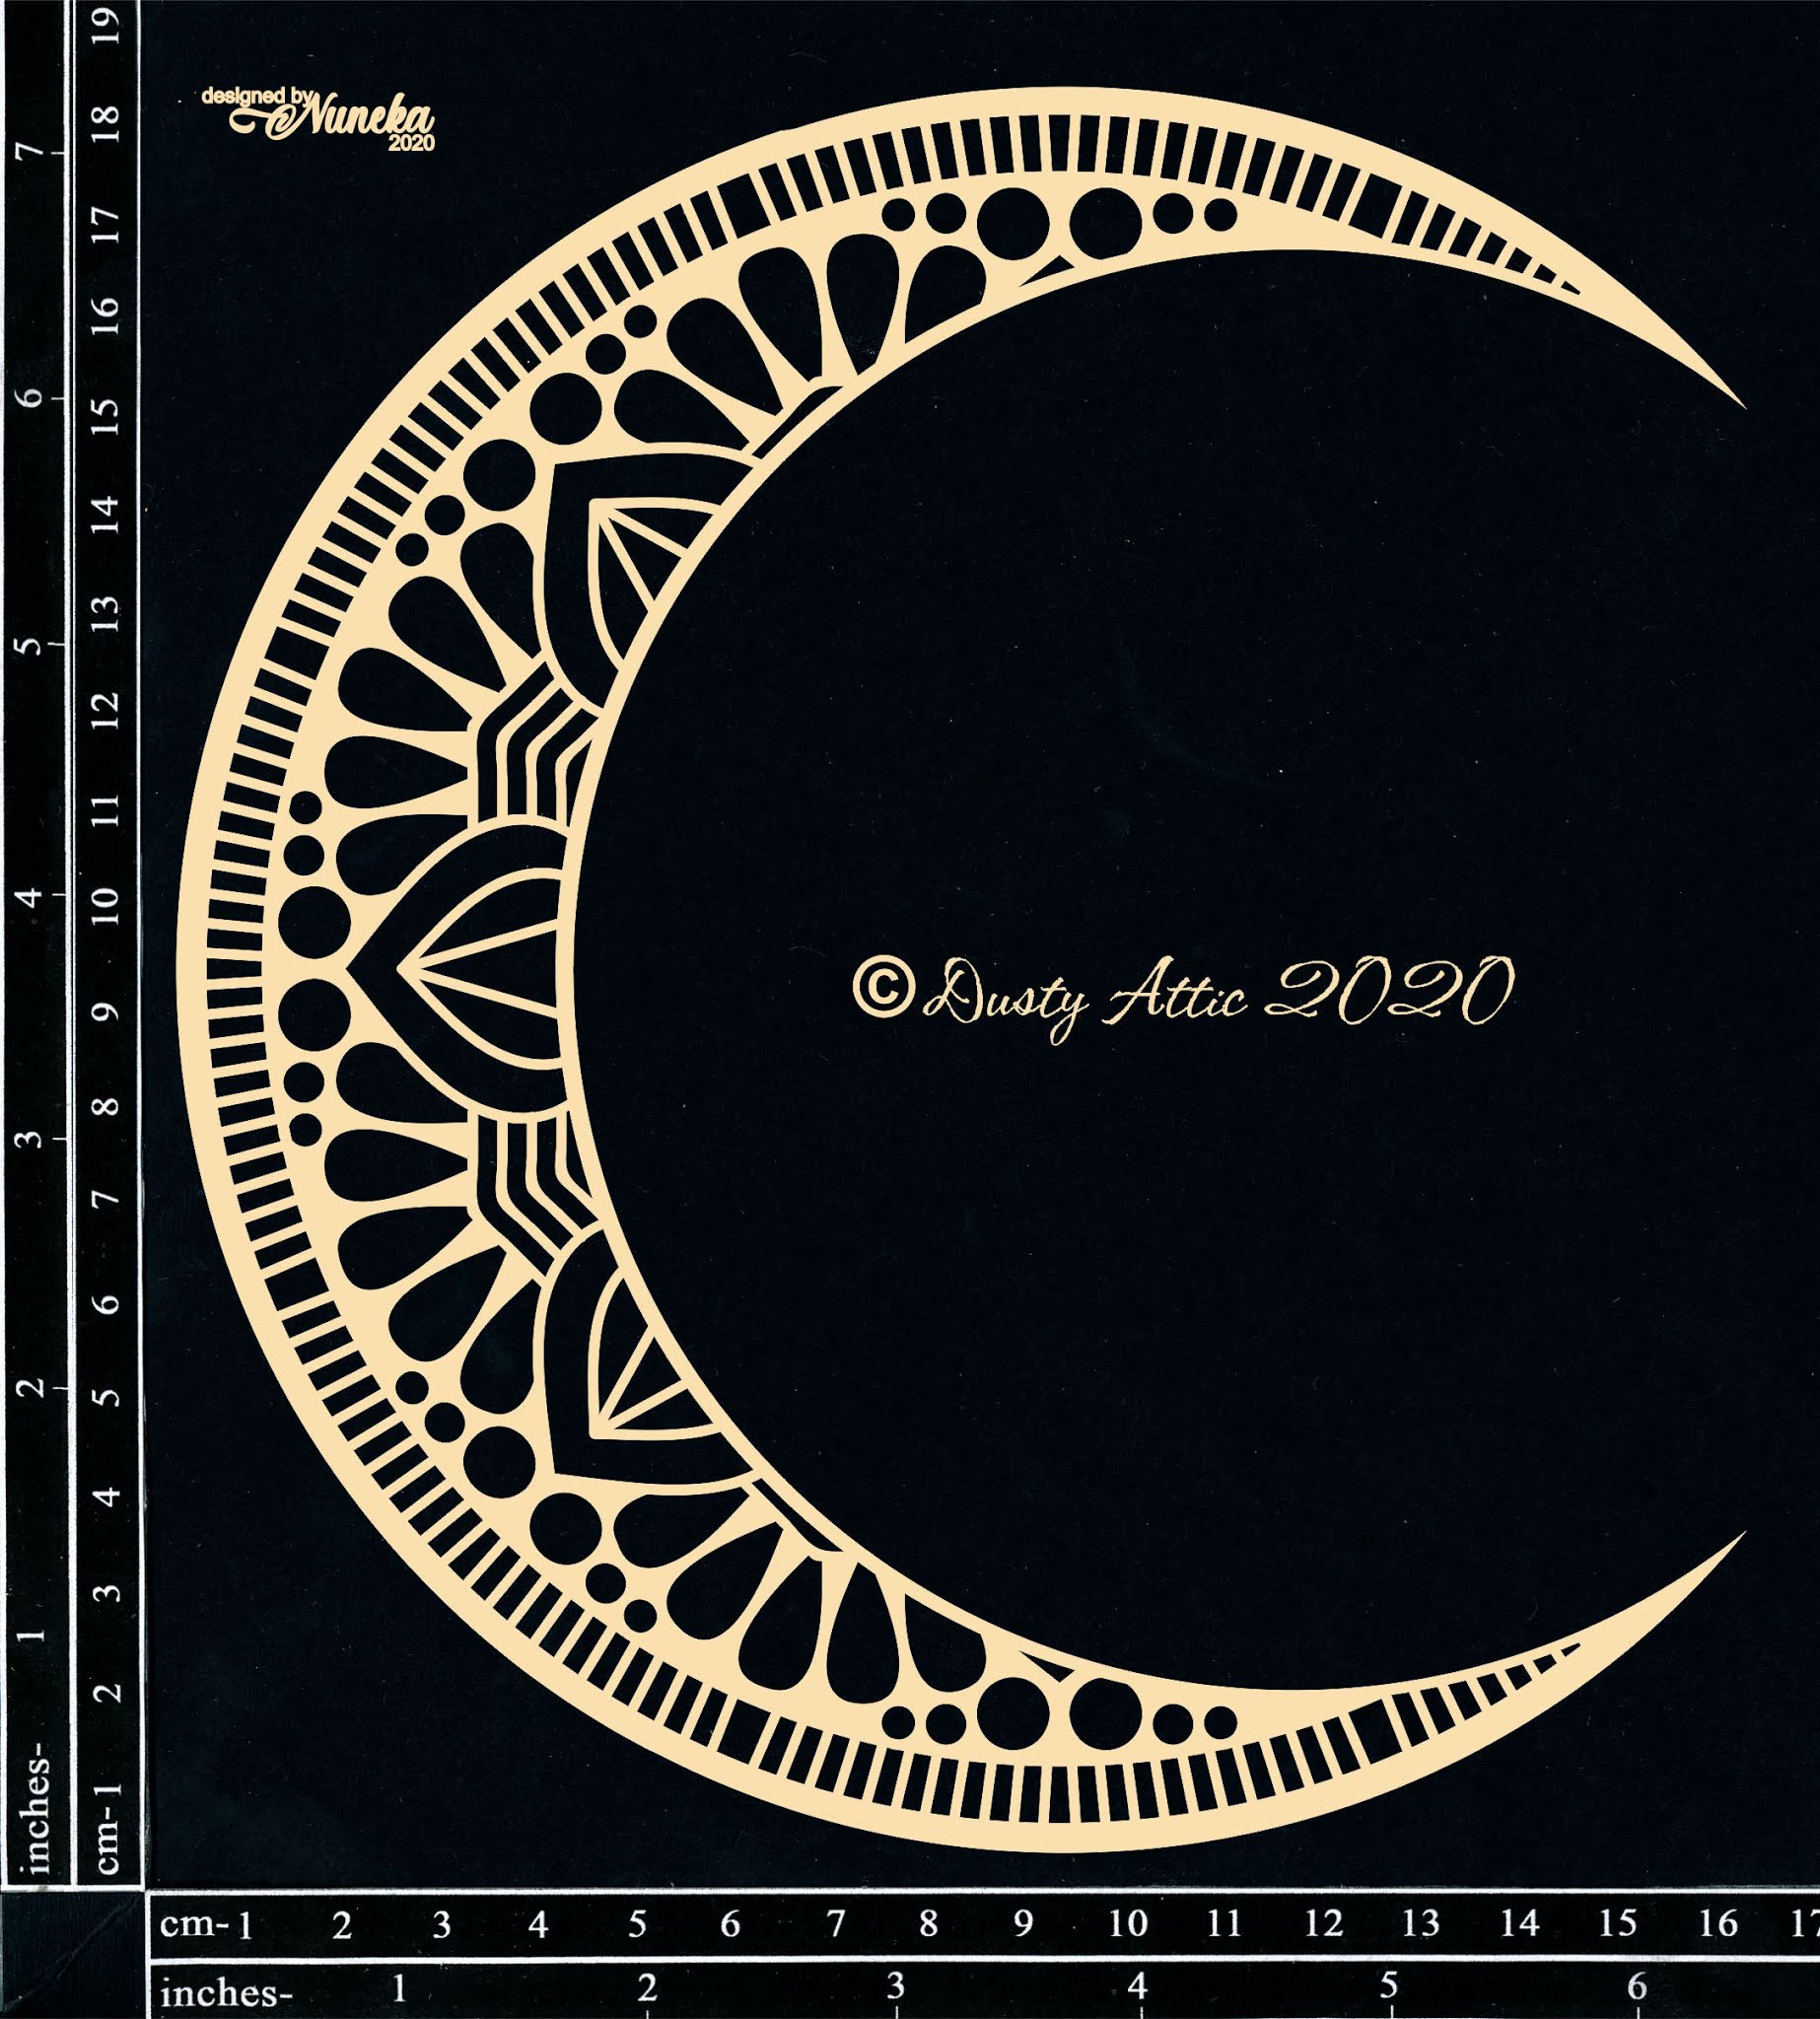
When I saw this paper I thought this was perfect with the moodboard and the layers of colours. I started with first painting the big moon DA2731 and one of the moons off DA2740 in an orangey shade of paint and adding this to the page. Then added the photo using foam tape.
 
I then painted the foliage DA1294 with a iron coloured paint and then brushed over these pieces with a dark purple paint, layering the flowers and adding these foliage pieces between the flowers and around the flowers.


The title Love you to the moon and back also includes chipboard hearts which I have painted in orangey tones and added among the flowers. I have painted the title and added these on top of the flowers.


You still have some time to add your take on the moodboard to the Dusty Attic FANattics facebook page Here

These are the Dusty Attic products I have used:


Thanks for visiting the blog,
Michelle


Thursday 29 April 2021

Treasured Memories - Julia Ost

 Hello everyone! 

Today I have a free form project inspired by amazing Dusty Attic materials!

It has been long I wanted to design such a layout and incorporate this chipboard with poppies!  For this I used several sheets from the Herbarium collection from Stamperia.  I cut flowers from one sheet, and created a composition on the other!  I painted the chipboard with alcohol markers and then covered it with a text stamp and transparent embossing powder.  It turned out to be very interesting!  I toned the frames and borders with the main color of the layout palette!

I completed my composition by adding a flower that I made myself and my favorite photo.


I hope you enjoy my work!


  Here I used:


Field of Poppies


Yours,

Julia Ost


Wednesday 28 April 2021

I am enough, tag set - Kristy Abela


 Hi Dusty Fanattic's

With the changing of the season and a new job... that is super hectic, and a little out of control, I created a post that reflected the changes around me and a little reminder for myself that I am enough. I hope you like the mini tutorial and find something new for creating backgrounds for off the page!


Here are some close ups of my project.

  
I started with some paper piecing. I always have a stash nearby that I use for my journal. I want to create a white washed look I covered the whole piece in chalk paint to add some texture in the background so I distressed the edges of the cardstock, cut them into squares, added some plasterers tape and old die cuts. I covered the whole thing in a layer of gel medium to help with the resist on the distressed edges of card.


To create a whitewashed look I covered the whole thing in chalk paint. One it was touch dry  I used a baby wipe to rub back the areas I wanted the rusty paper to peek through. This helps all the elements look like they belong together.
 
 
I did the same thing with some orange paint and then dry brushed some red on there. The dry brushing ends up sticking to the areas that are raised so it is a great way to add some highlights. 
 

It was time to decorate my chippies. 

I used a base coat of brown on the chains and then added some rust paste by dabbing randomly with my brush. The best fix for a heavy hand of rust paste is to just go back over it with the base coat and play until you get a realistic look. I touched some yellow paint to the top of the chains to finish it off. 

I wanted to grunge up the cogs as my contrast colour. I used a base of blue, a layer of dark green and then a dry brush of burgundy... and a dry brush of creamy white. I really just kept adding layers until I got to the point where i was happy. If it didn't work... I would have just painted over it and started again. It doesn't hurt to just play...

 
I have always found it difficult to display tags once created. I love the way they are mini masterpieces and don't take up much room but they often fall off the wall or get knocked over. My crafty partner in crime (Kerensa) has designed these stands for me! If you love them too you can email me and I will put you in touch with her and she can send you out some! For a small fee of course...


Thanks for looking and I will keep my eye out on the Dusty Fanattics page to see your fantastic creations. Till next time... Kristy!


Abela Artistry

 Dusty Attic Chipboard used...


Tuesday 27 April 2021

Altered Journal Cover - Patricia Basson

For todays share of Dusty Attic goodness I decorated a Notebook cover with Stamperia Music paper and awesome Dusty Attic Chipboards...


After gluing the papers to the notebook I did some stencil work with a tacky glue and some Autumn Blaze Mega flakes from InigoBlu.
I inked the Industrial Wings and a few small Gears with Pumice Stone Distress Oxide ink and embossed them with two layers of clear Ultra Thick Embossing Enamel. I also dusted some Fairy Dust Glitter onto the hot embossing. They make the perfect wings for the Paper Doll from Tim Holtz.


I have to show how beautiful the Metal Plate pieces are even though they are mostly hidden behind the other elements. I often get asked, why do so much trouble if they get hidden anyways? Because it is so much FUN and the satisfaction that I get after playing with different mediums is just very rewarding...

So I painted the plates with thinned Patina Mold Green Paste from Cadence, and then randomly embossed with Fire Mixed Media Powder from Ranger and Dirty Sand Baked Texture from Emerald Creek.


The Industrial Heart was painted with a thicker coat of the Mold Green Patina Paste and random embossed with Vintage Beeswax Enamel powder.
I mixed some texture paste with Orange Rainbow Color glow from 13arts and dabbed that onto the Gears. Also added some random embossing with the Fire Embossing Powder. 


I hope you like this project of mine and if you feel inspired, these are the chipboard pieces I used from the Dusty Attic on-line shop...


Thank you for your visit...Till next time, Happy creating!!!


Soft moss a downy pillow makes
      And green leaves spread a tent,
Where Faerie folk may rest and sleep
      Until their night is spent.
The bluebird sings a lullaby;
      The firefly gives a light:
The twinkling stars are candles bright,
      Sleep, Faeries all, Good Night.
~Elizabeth T. Dillingham~
"A Faery Song"