Showing posts with label fishnet border. Show all posts

Friday, 1 January 2021

January 2021


Happy New Year 
We wish you all an amazing 2021 and welcome our fabulous returning Design Team members and our New gorgeous members to inspire us all throughout the year with their spectacular creations.


Also a huge thank you to our DT that have left us this year but amazed us in 2020 with their own magical creations.


~~~~~     ~~~~~    ~~~~~     ~~~~~

We are going to continue our Monthly Mood Board challenge which is so easy to enter by adding your own interpretation into the comments section on the Dusty FANattics Facebook page   . This year we are reverting back to the prize being a $50 (AUD) credit to the Dusty Attic website store so you can choose your very own designs to create with for TWO lucky winners each month.
~~~~~    

To start off not only this month but this year with the new challenge is the unique and wonderful 

TINA OLLETT

Welcome and a very happy New Year to you ! I hope this year brings you much creativity. Today I am sharing a beach layout created with the gorgeous Dusty Attic Moodboard for January. I dove straight in when I saw these colours. Very me ! So this is how I interpreted the board. 


And the gorgeous moodboard if you haven't already seen it.


Now you can see why my mind instantly thought of the beach. Of course my colours are a lot more subtle, but this is the beauty of a moodboard. You can change it up however you wish. 

I have used a couple of combined older collections from 49andMarket and created a background with torn papers that have been distressed and layered. I primed the background and added in texture with distress texture paste using my favourite Dusty Attic stencil the "River Stones Stencil". If you haven't got this in your collection it really is a must have.  


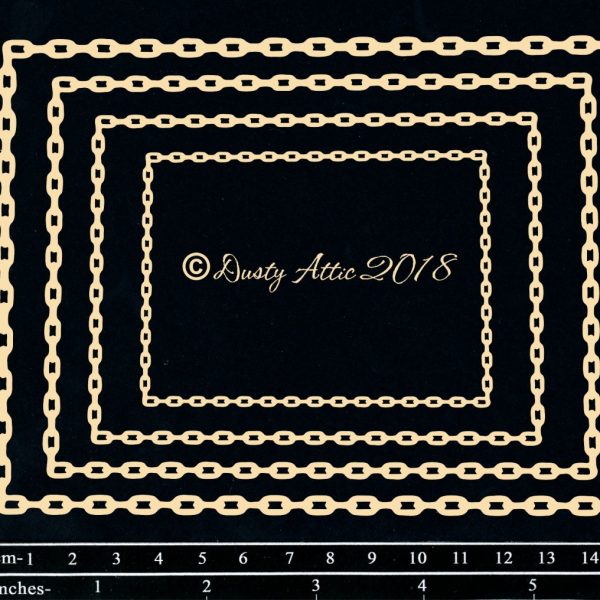
I started out with layering of my Dusty pieces firstly using the Ornate Frame Set piece (the smaller of the two.  It was cut in half and added to the top and bottom of my photo and paper layers. Over this I added in the Mini Chains . I wet them a little to get them to bend around the circle sections. All of these pieces were coloured using acrylic paints.  


Below you can see a small section of the chain sitting over the frame. I also cut a lighthouse from the b side of the paper to sit of the frame. The frame fit so well behind the lighthouse it looked like it frame it. 


I sometimes work backwards. Meaning I add in my flowers first and then I tuck in pieces around and over the flowers. The flowers which I have used for this project are from 49andMarkets. I used an array of collections being the Wildflowers, Country Blooms and Sugar Posies all in co-ordinating colours. 

Then I moved onto adding in more chipboards. A largish cluster was made at the right bottom of the photo to help frame the photo. To do this I firstly dressed them in co-ordinating colours using embossing powders and acrylic paints. I started out by cutting the Doodads #3 to sit flowing out of each side of the apricot flower. Then over this I added in a Fancy Flourish #2 and then on this a Small Port Hole . And lastly a cute title "Remember This" from the Word Strips pack. These packs are just perfect for a smaller title when you have run out space on your project. 


You will also see that I included more of the chains. But instead of dressing them in paints I used a little of archival ink in the colour of Watering Can. This is a little lighter than the black so not so intense.  

I thought also that there just wasn't enough of the beautiful chipboards so I added in more using a new release and a old favourite. 

 The new Spring Vines #3. Oh how I love this piece. It will for sure be a new favourite for me. 


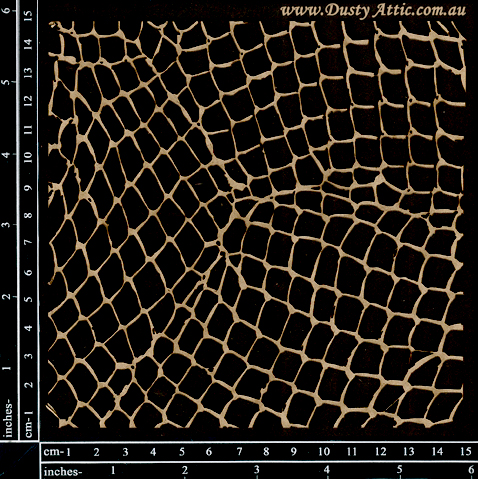
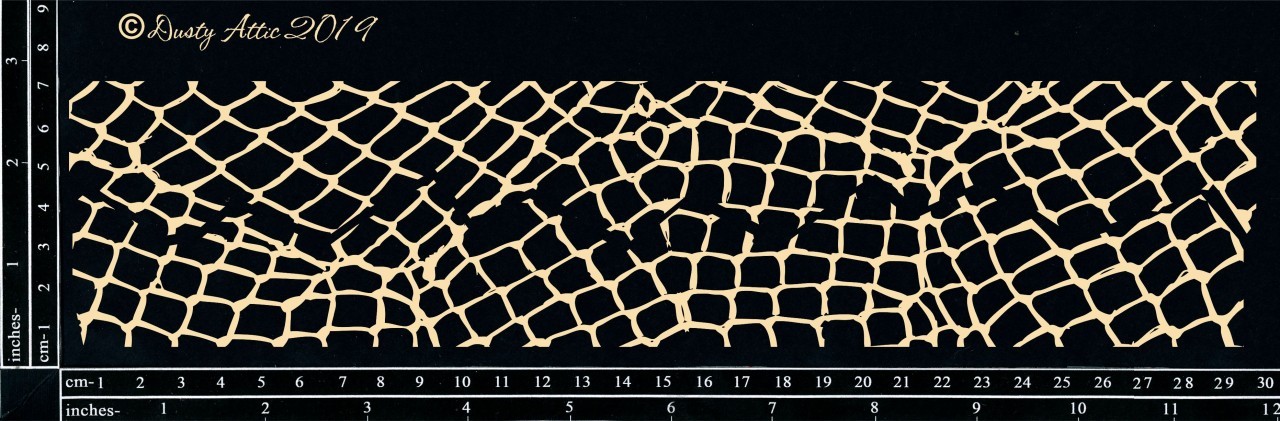
and the old favourite being the Fishnet Panel . I love to tear this piece to give a more realistic look to it. This piece was coloured just using white gesso. I also added in over the top of all my elements some mini prills and art stones using 3D gel medium to add these in. 


Well that is all from me today. I do hope that it creates a little inspiration for you. And don't forget that you have until the end of the month to upload your own Moodboard project to be in the running for some fabulous prizes. Until next time take care and happy crafting. 


Teen x


Sunday, 25 October 2020

Beach - Belinda Spencer - Mood Board Inspiration

 Hello Dusty Attic fans!


It's Belinda here today to share with you my layout inspired by the October Mood Board.


'BEACH' Layout


How gorgeous are these colours?!! Definitely my kind of colours and I thought perfect for a beach layout.


I gathered up all of my beach inspired chipboard pieces and painted them all white with my usual three coats of heavy white gesso. After they were completely dry, I also went over the top with a white Posca Pen for extra crispness.


I used a Pilot Pintor Paint Pen in Light Blue to colour part of the title and the geo tags. Then I layered them all on top of my background along with my patterned paper stack, my photo and some flowers.


The Dusty Attic products used:


Thanks so much for stopping by the blog today. I do hope you are feeling inspired to play along with the mood board this month too.

Cheers
Belinda


Thursday, 1 October 2020

October 2020

Yesterday was the very first email that went out for our WHAT's NEW WEDNESDAY section, I have added the email below for you to see BUT head over to the Dusty Attic website  and complete the email sign in pop up so you wont miss out on any of these exciting emails.


Wednesday 30/09/2020
Each week we are going to showcase what's new at Dusty Attic. Our NEW "What's New Wednesday" will bring you the latest designs and creations that I have been working on. This week I'm excited to share with you some new designs that were inspired by my lemonade tree in my backyard.

Check out these new designs...


Inspiration

I feel so lucky that I am able to design chipboard for my own scrapbook layouts. Here are a couple of layouts that I have created using these new designs. I have painted my lemons and bees using Dusty Attic Sunshine Paint, blossoms in white paint and leaves in Versamark Spanish Olive Ink (available in the Dusty Attic Retreat Shop).         

    Layout 1


Layout 2


Citrus, Oranges, Lemons or Limes ....   


I hope you love my new citrus designs as much as I do! Stay Safe and happy scrapping!

Love Jen xxx
Owner and Creative Director
Dusty Attic


All of the products released each week are in the "What's New Wednesday" section on the Website so they are super easy to find. 

~~~~~     ~~~~~     ~~~~~

Now for the new Mood Board plus inspiration from our magnificent 


RACHELLE SIGURDSON


Hello Dusty Attic Fans, today I would like to share with you a LO I did using Dusty Attic's Mood Board Challenge for October along with lots of Dusty Attic's Travel-Beach Chipboard pieces....

All you need to do to enter is add your own take of the challenge in the comments section of the Dusty FANattics facebook page 


The Dusty Attic used:https://dustyattic.com.au/
Chain Rectangles
Anchors
Fish Net Panel
Fishing Nets
Fishnet Border
Seagulls
Mini Shells
Sand Dollars
Skeleton Fish Mini
Tropical Foliage #2
Papers: Tattered Garden
Wishing Bubbles-Cotton Candy
Other Elements used:Clear Gesso, Clear Crackle Paint, Prima Waxes: Lucky Emerald, Old Denim, Peacock, Blue Lagoon, & Vintage Silk, Bling, Corrugated Paper....Here are a few close ups.... 

For the background I ripped pieces from the top & bottom of the Tattered Garden sheet & glued ripped pieces of the corrugated paper & the Fishnet Border into the layers.....
I primed the chipboard pieces with the clear gesso, then applied a thick coat of the crackle paint onto some of the pieces. Once the crackle had dried I played with blending in the waxes listed above. On this LO I did not use any flowers in the clusters, I just built layers with assorted chipboard pieces....Here are a few more close ups....
Thank you so much for taking the time to look & I am looking forward to see what you come up with this months challenge .....Rachelle


Remember to pop back in tomorrow to see who the lucky two winners are from September's challenge.