Hi there!
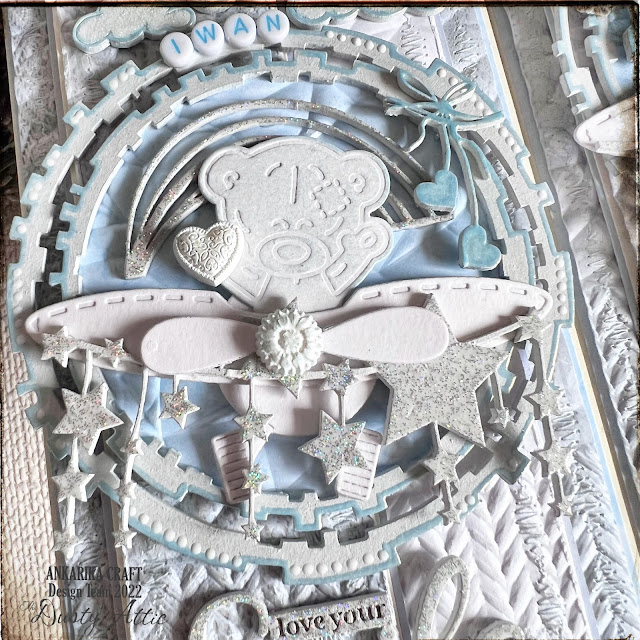
It's been a long time since I had an order for a children's card. The one I'm presenting today was ordered for a boy. I have been making twin cards for a long time. They always differ in something, often it is a mirror image of the composition. This time, you can also see a few minor differences. The second is made in reserve if ordered last minute. I like to have such projects up on my shelve, sooner or later there will be someone willing to buy it.
I have made a few cards with this cute teddy bear in the lead role so far. I like this die a lot, I bought it a long time ago and it has been serving me loyal for several years. The card is layered, in the colors of sky blue and white. The background is embossed with a 3D embossing folder from Sizzix, in addition I have highlighted the embossing with Finnabair wax. The edges of the individual layers were sewn on the machine and gently torn.
The teddy bear is die-cut three times, which makes it stiff and solid. He is holding a heart made of resin cast (Finnabair) in its paw. A month ago, I equipped myself with accessories for making castings, I bought the first few molds from Prima and, full of excitement, showed my struggles with the first casts on my IG on a regular basis. I encountered a few problems, but today I can easily say that I have mastered the topic and a whole drawer of beautiful casts waiting for my 5 minutes. The plane's screw is also such a cast.


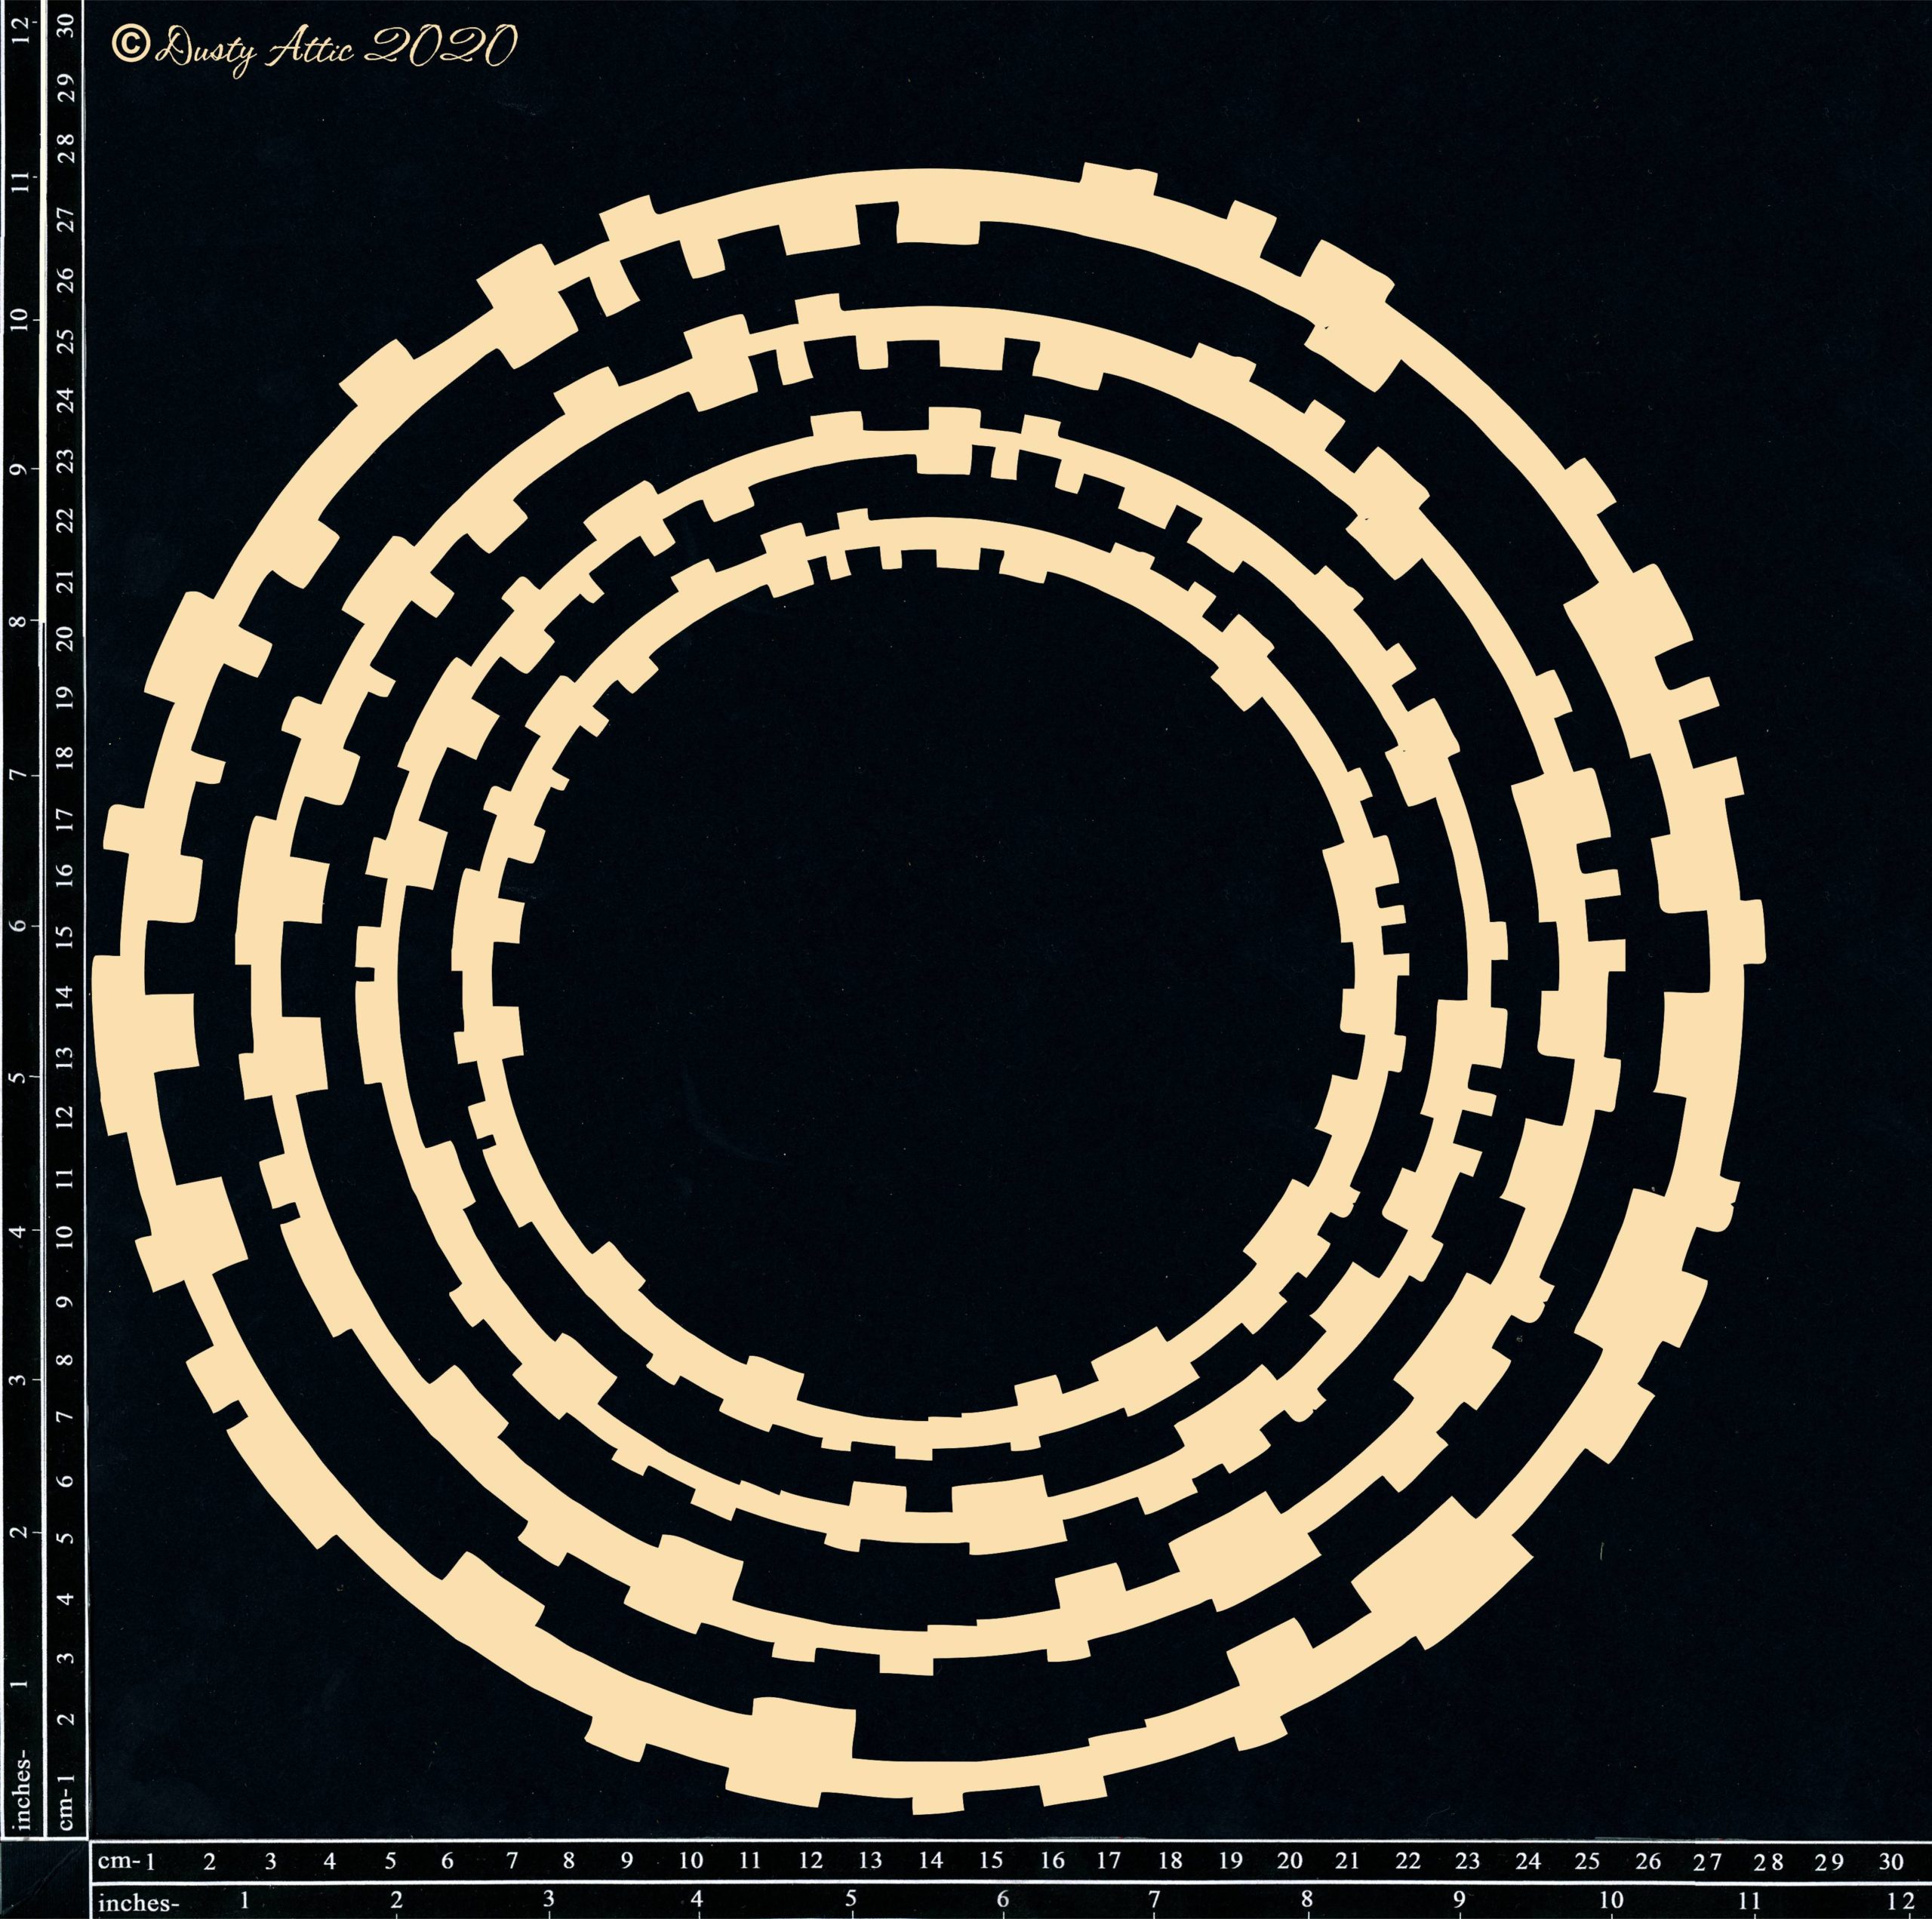
The teddy bear is placed on the techno circles from the set from Dusty Attic and on this occasion I need to mention that this post is in cooperation with this fantastic cardboard producer. All chipboards in this design is secured with white gesso. The aforementioned circles, heart strings on the left side and the outline of clouds were additionally coloured with embossing powder. I additionally diversified the clouds with craft snow, which made them fluffy - you can see this process on my IG profile as a Reels - in few days.


A rainbow shimmers in the background of the teddy bear, and chipboard banner of stars is attached to the plane, shimmering beautifully with all possible colors thanks to the embossing powder. I also colored the words "Hello", "Birthday Wishes", "Sugary sweet" and "love your Smile". I put a seagull next to the clouds. I like delicate children's designs when they are finished. In the course of work, unfortunately I'm constantly tempted to grab some vintage paste... This is a real inner struggle, take my word for it!...
Dusty Attic's products used in this project:
See you soon!