Showing posts with label Paintbrushes. Show all posts

Monday, 25 October 2021

Chasing Rainbows - Rikki G

 Good morning how are you? Feeling the change of the seasons is an amazing feeling and with that comes so much inspiration with things blossoming around us and its no different when you get creating, do you feel the same?

So todays share is all about the bright colours and and of course what's colours without a Rainbow?


So to start off its all about thinking the layers and how you can play with the bright background from the Vicki Boutin Paper..... I knew straight away which photo was going with this collection, so I had a theme, celebrating my daughters artistic journey.

So time to spray paint the chipboard white ( its my go to start point, as you would know by now).


Stick all your elements down, team it with a little bit of pattern paper like the Alexandra Renke Paint tubes and pots. 


Don't be afraid to layer your chipboard, if you find you need some stability with the layers and don't want to show that you used foam tape, try the clear silicone style tapes, plus they hold up really well when you start adding your media to the chipboard.


Now the trick to get the colour balance right over the chipboard is to copy your background, follow the way the colours over lap in the background and then do it over the chipboard by flicking and splattering rather than painting it.


You might find that you will need to do it a couple of times to build up the colours with a few of the lighter ones but enjoy that process..... and allow to dry naturally as it grabs on to the spray paint better than if you where to heat it ( also the smell from heating spray painted chippy is not a good thing).


The etched designs really lend themselves to this style, this is why I prefer using spray paint as you can keep the details dark.... 


So if your feeling the Rainbow, why don't you give this technique ago and enter our mood board challenge.


We would love to see your take on our moodboard.  Don’t forget to share your projects on our Facebook page. Why not enter the Mood Board challenge yourself? 


All you need to do is add your take of the challenge into the comments section on the Dusty FANattics Facebook page HERE for your chance to win one of two amazing $50 Credits to choose any. 

Good Luck and have fun creating.


Thursday, 18 March 2021

The Lady's Boudoir - Pascale B

Hello Sweeties,

Today I'm up on Dusty Attic blog with a new layout. I try to do justice to the beautiful photo of Christina Fisher call The Lady's Boudoir.


I stamped randomly with a text stamp, then I primed the background with clear gesso. I added a design with a floral stencil, Vintage Gold Icing paste, and Clear Crackle paste.


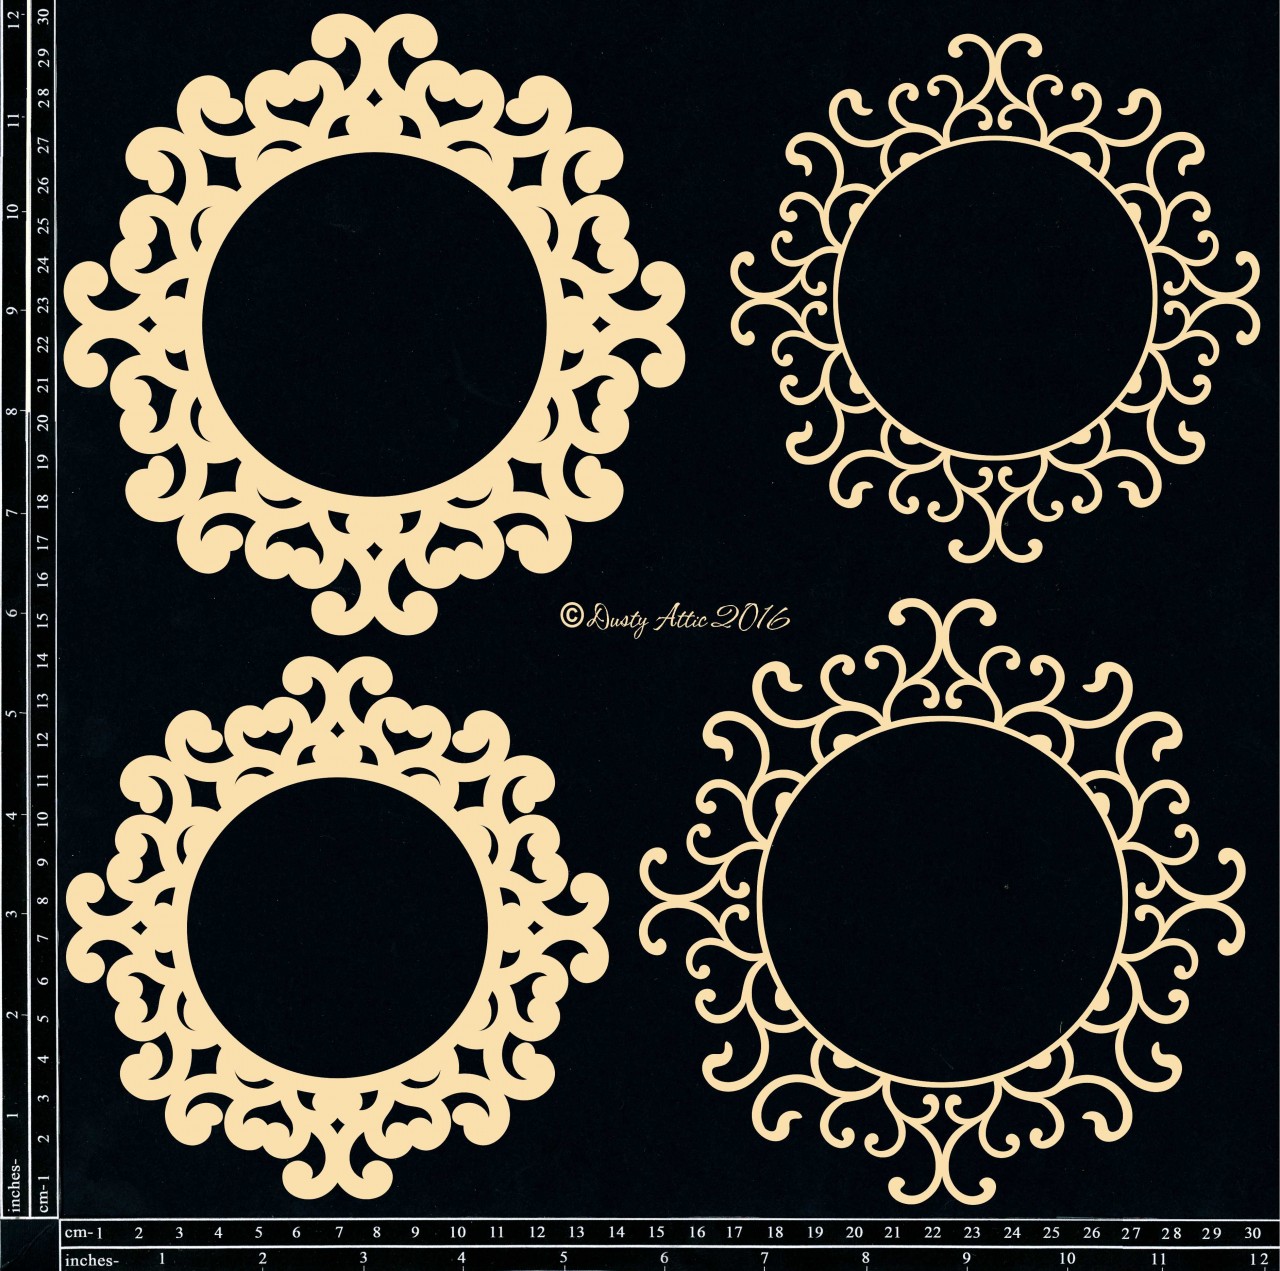
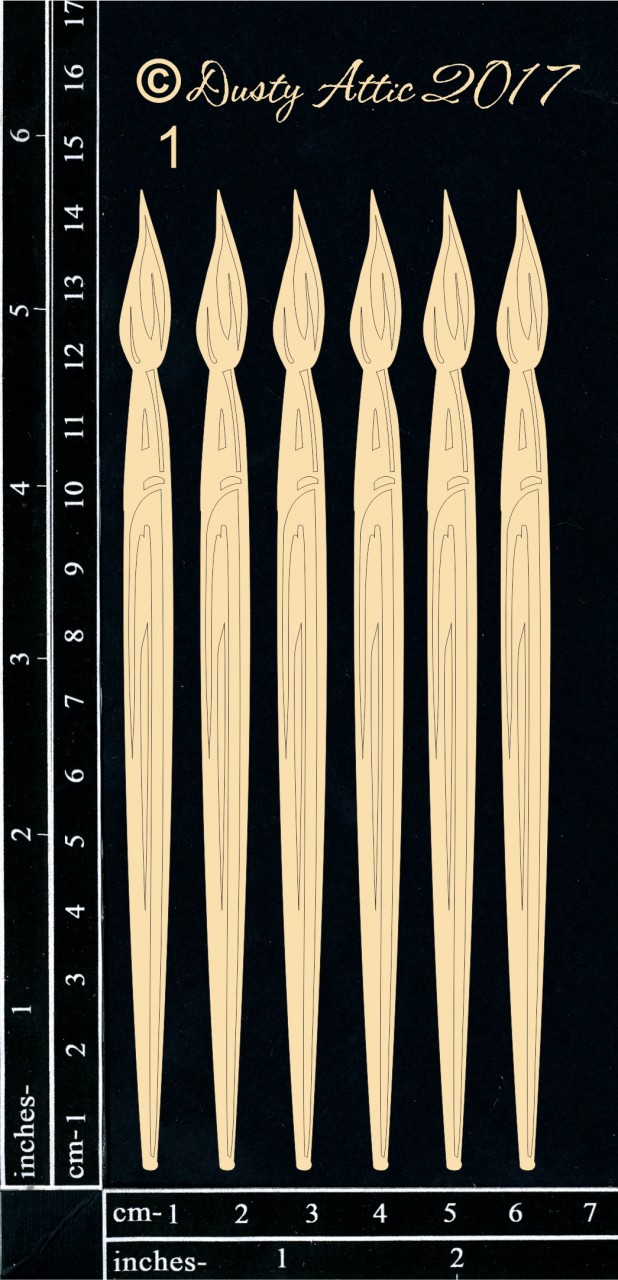
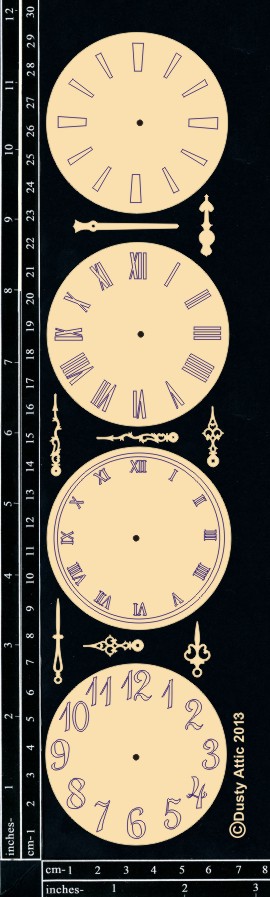
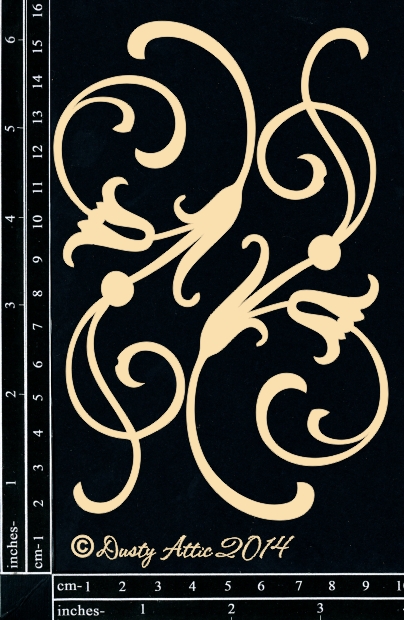
I primed all the chipboard with white gesso and colored them with different inks: the Layered Swirl Frame, the Small Scroll #2, the Clock Face and the Paint Brushes #1 with the Bluebeard Blue Violet, the Succulent #4 with Sea Moss Green, the tip of the brushes with Tea Pot Purple ink.


I waxed the Layered Swirl Frame with Amethyst Magic, Aged Brass, White Gold, the Clock face, and the Old Coins with Aged Brass. I embossed the Small Scroll and the Paint Brushes with UTEE.


I colored a few pebbles with French Lavender paint as well as the Wildflowers #3. 
Before gluing all the elements of my composition, I colored the area around the design with Tea Pot Purple, Pop Rock Purple, and Bluebeard Blue Purple.

I dry brushed the Country Blooms with white gesso to tone down their color. Then I added White Pearl wax to add some shine. 
To finish the layout, I added Prills and glitter.

Matériels / Materials:

products:


Layered Swirl Frame
DA1530

Mini Old Coins
DA1903

Paint Brushes #1
DA1740

Clock Faces and Hands
DA0391

Small Scroll #2
DA 0335

Wildflowers #3
DA1143

Succulents #4

Other products:
Paper - 49 and Market (Vintage Artistry Everyday: Garden Variety);
Flowers - 49 and Market (Country Blooms: Violet);
Stamp - 49 and Market (1787);
Starburst - Lindy's Gang (Tea Pot Purple, Sea Grass Green);
Flat Fabio - Lindy's Gang (Pop Rock Purple);
Moonshadow Mist  - Lindy's Gang (Bluebeard Blue Violet);
UTEE - Ranger;
Stencil - Prima (Floral Petite);
Prills (Plum Crazy);
Art Ingredients - Finnabair Prima (Glitter Luminous Set);
Metallic Paint Art Alchemy - Finnabair Prima (French Lavender);
Waxes Art Alchemy - Fnnabair Prima (White Pearl, White Gold, Aged Brass, Amethyst Magic);
Art Extravagance - Finnabair Prima (Vintage Gold Icing Paste, Clear Crackle Paste);
Art Basics - Finnabair Prima (Clear Gesso, Heavy White Gesso, Soft Gloss Gel, 3D Matte Gel).

Monday, 4 January 2021

Create Art - Pascalle B - Mood Board Inspiration

Hello Sweeties,

Today I'm up on Dusty Attic blog with a mixed media panel inspired by the beautiful colors of the January color combo.

And here is the color combo for January


I glued a paper collage on the HDF base that I've primed with white gesso. Next, I covered the paper with clear gesso.


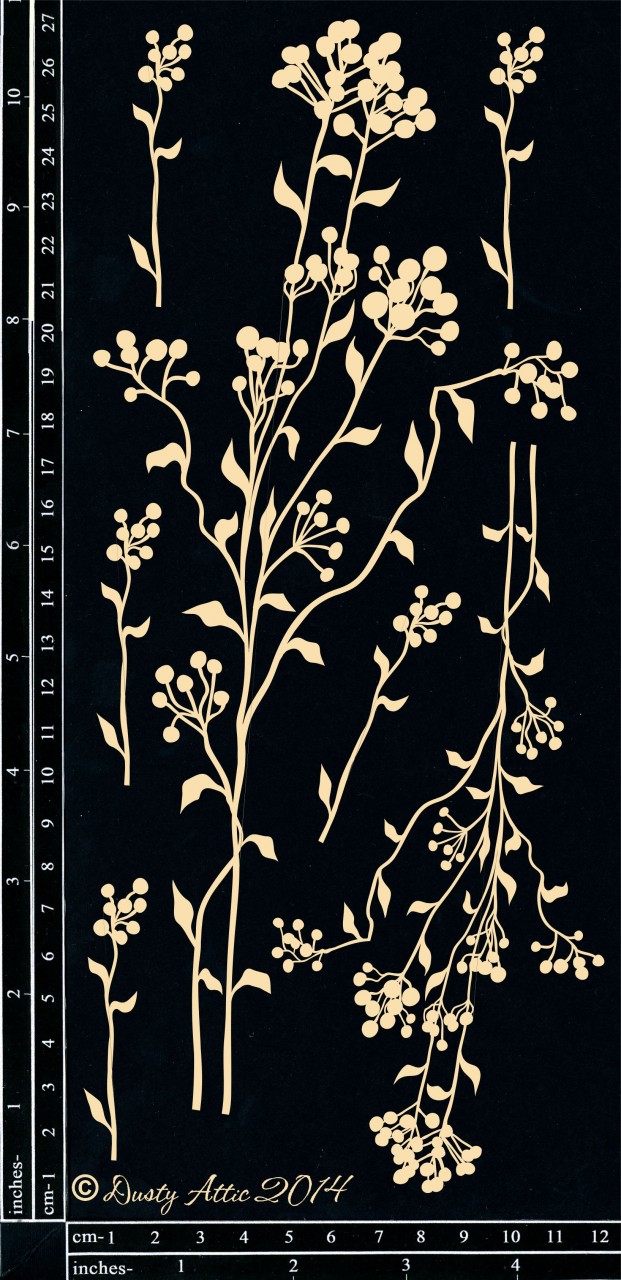
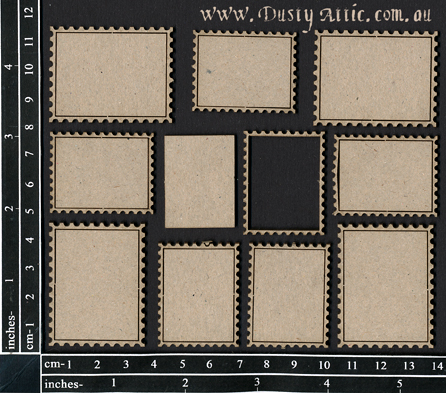
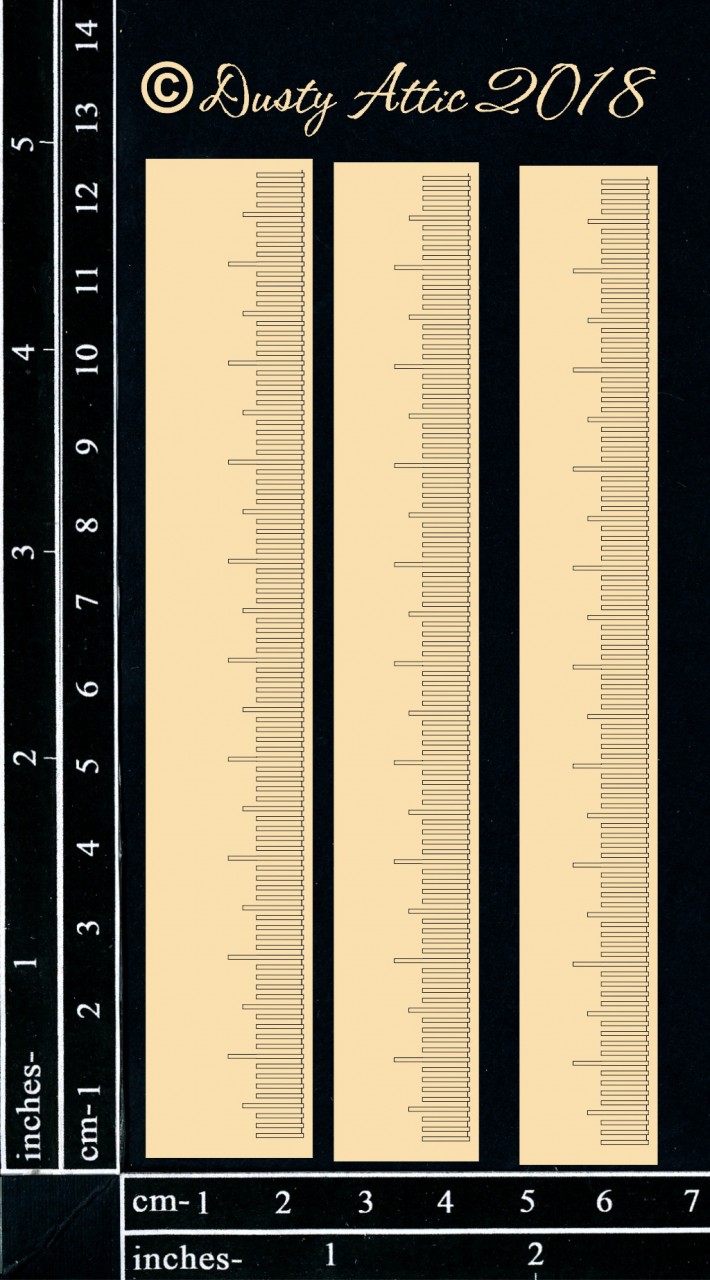
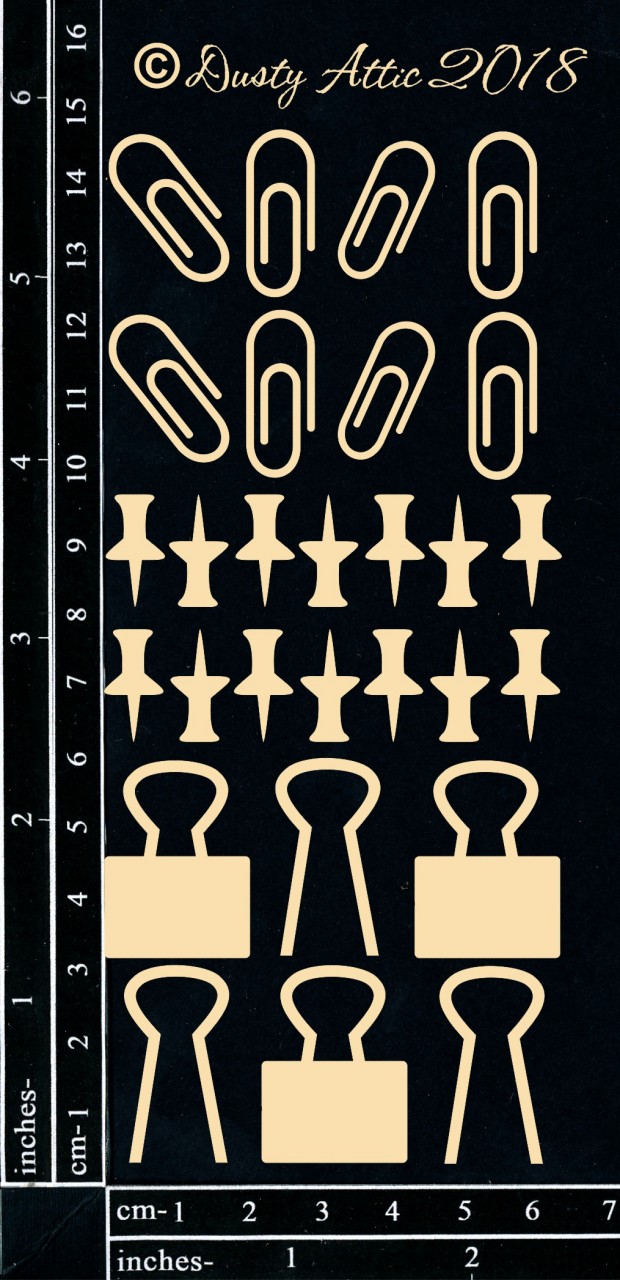
I primed the chipboards (Paintbrushes, Pins and Clips, Ruler, and Postage Stamp) with a thin layer of white gesso. I primed a real tube of paint too. I colored some Country Blooms with Fuzzy Navel Peach ink.


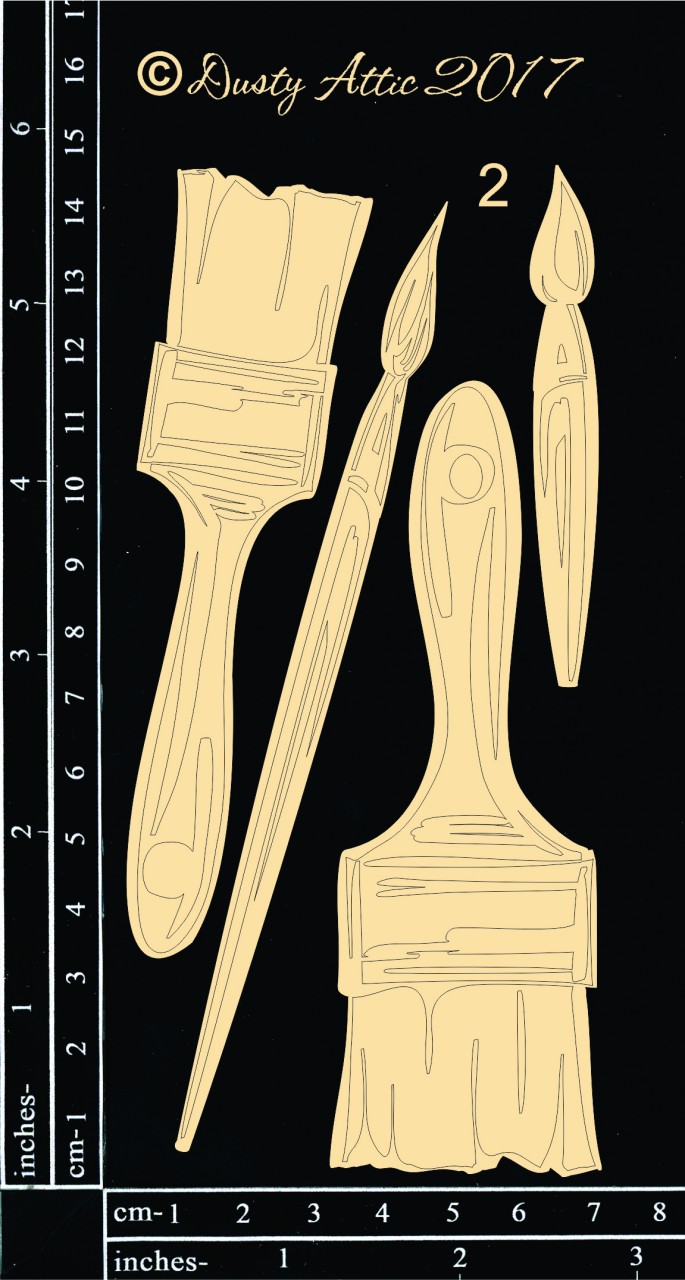
I glued all the embellishments with 3D matte gel. When done, I started to add some color. I colored the paintbrushes with Burnt Sienna liquid acrylic and Karin's Coral Magical. I mixed some Deep Turquoise liquid acrylic with Stormy Sky Magical to get a darker color, and colored the paint tube and the tips of the paintbrushes.


After drying everything, I dry brush everything with white gesso. I used the waxes White Gold and Vintage Gold for the metallic elements like the clip, the pins or the paper clips.


To finish the composition, I added some glitters.

Materials

Dusty Attic products:

Paint Brushes #1
DA1740
Postage Stamp
DA0551
Paint Brushes #2
DA1741
Rulers #2
DA1969
Clips and Pins
DA1972

Other products:
  • Flowers - 49 and Market (Country Blooms - Cream);
  • Starburst - Lindy's Gang (Fuzzy Navel Peach);
  • Magical - Lindy's Gang (Karin's Coral (Alexandra's Artists Set), Stormy Sky (Mountain Meadow));
  • Die - Cherry Lynn (Flourish #13);
  • HDF - Artistiko (Oval);
  • Art Alchemy - Finnabair Prima (Liquid Acrylic: Deep Turquoise, Burnt Sienna, Ink Black, Fluid Medium; Wax: White Gold, Vintage Gold);
  • Art Basics - Finnabair Prima (White Heavy Gesso, Clear Gesso, Soft Matte Gel, 3D Matte Gel).


Thank you for stopping by! I hope you find some inspiration here!


Tuesday, 23 July 2019

Whatever you are.... Kristy Abela

Welcome back to the next exciting episode of Dusty Attic Mixed Media!!
Well, in all seriousness, its another month of Dusty Attic play! I am blessed...

I am a sucker for Industrial Grunge. This month I created a cool teen boy gift. I have 4 sons and once they hit 14... I was stumped for gift ideas. 

I started framing layouts and hanging them in their rooms and making little canvases for their friends. The guys love them. 
In this day and age where photos and cards are enjoyed electronically this keeps the moment alive.. just a little bit longer.


I love how the light from the back of my house played with the tones of the canvas.. I got warm from the front!


I laid some card onto the canvas panel and used some black modelling paste to create some texture with the Checkerpalte Stencil. I cut my chipboard to fit half the page & primed with white Gesso.
I had a play with my Stamps in Black and Blue Archival. There is an amazing Archival pigment pad on the market and the colour is vibrant and thick. 


I wanted to have a go at using my Distress Oxides on this project... I think i am in love. I used the re-inkers as a paint and they gave me a beautiful matt finish with Oxide tones... Heavenly! I used Rust Paste on the wall and spritzed it with water t get the run marks. Awesome trick I learnt from Finnabair herself when she was in Sydney. you can see all the elements in play in this pic!


I love these brushes... using real ones on a layout is super hot right now but I have found them to be awkward to work with... Solution = Chipboards!!
With this one I primed the Brushes in white and used clear embossing powder and Distress Oxides to colour... I love the way that the ink settled into all the pits and troughs... that was a 'happy accident'!


I used distress paste on these... I wanted a really rough weathered look to the steampunk parts. I highlighted some of the ridges with Silver and Copper waxes. 


Here's a better look....


Speaks for itself... Beautiful embossing powders from ... yep, the stamp gang!


I hope you enjoyed looking at the various ways to dress up chipboard and create your own gift.


If you liked my project be sure to look at the Dusty Attic products below and jump on to their website and snatch them up!


Abela Artistry