Showing posts with label notebook edge border. Show all posts

Friday, 17 February 2023

Memorable Moments - Miss Carrie (with Youtube Video)


Hello everyone!

Miss. Carrie here on the blog today with a lovely vacation layout I created using a mix of chipboard elements. I am new to the team, and I have truly enjoyed creating with the chipboard pieces and stencils.


The background was created using image transfers and stenciling.

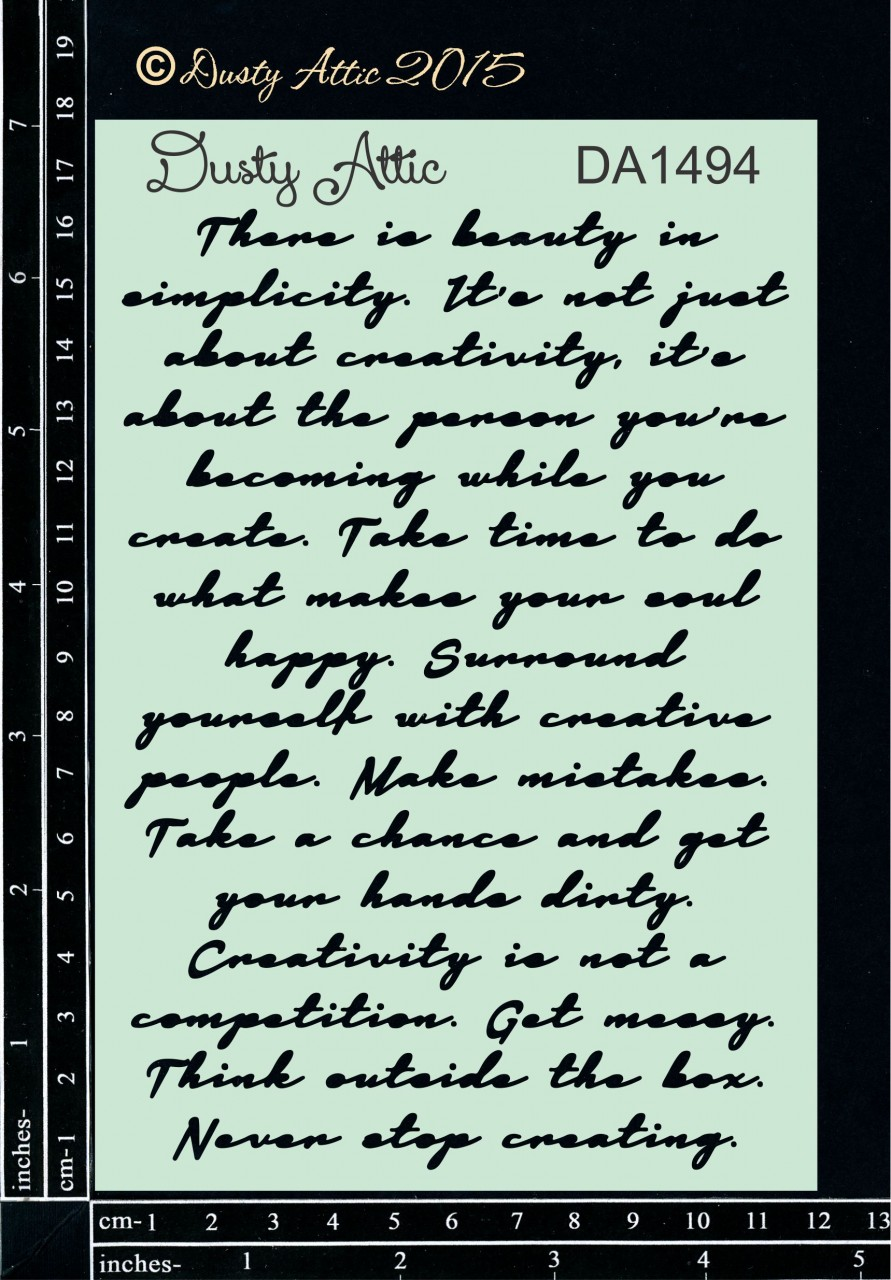
I wanted to create a softer feel so I chose to use a grey paste with the Creative Script stencil After the paste had dried, I added a mix of ephemera and pattern papers to the centre of the page and created a grounding strip with the notebook edge border.
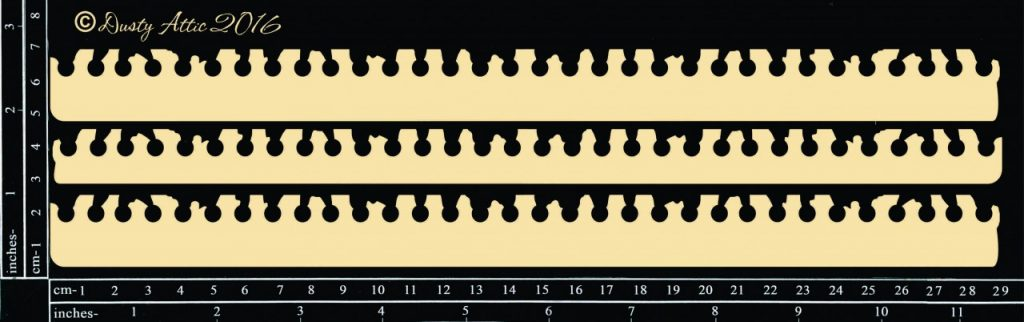
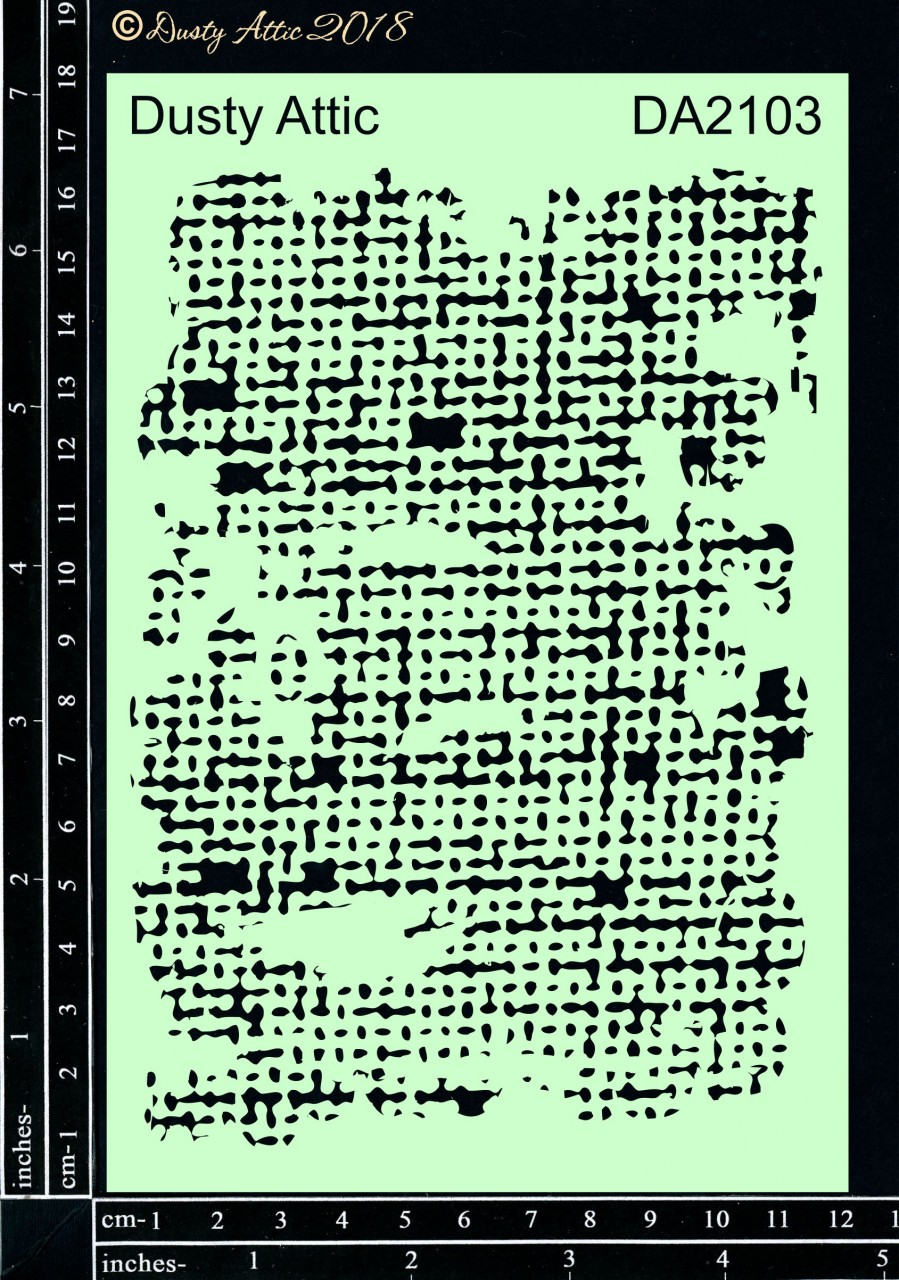


To bring some more texture to the page, I used the Burlap stencil on the notebook border and shaded it with black soot ink. I trimmed it down to fit and layered the photo on top.


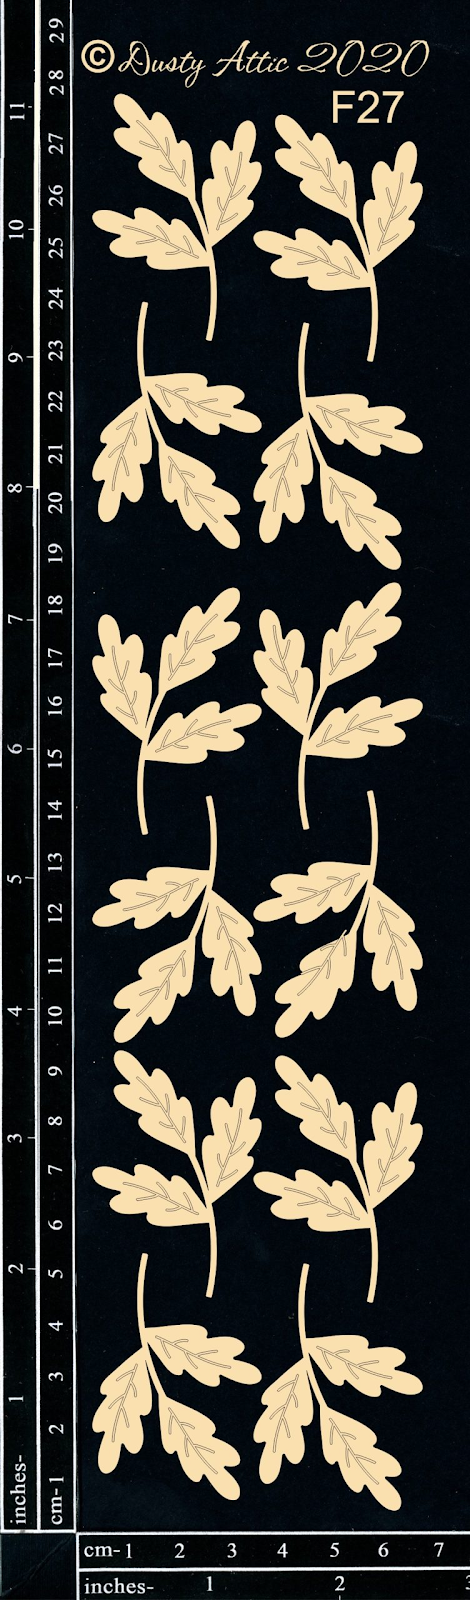
Behind the photo, I tucked some foliage #27 that I shaded in soft espresso ink. These created a nice neutral frame and separated the photo from the floral pattern in the background.

Around the photo, I added a few more horizontal pieces of ephemera and layered some pine trees to match the theme of the photo.
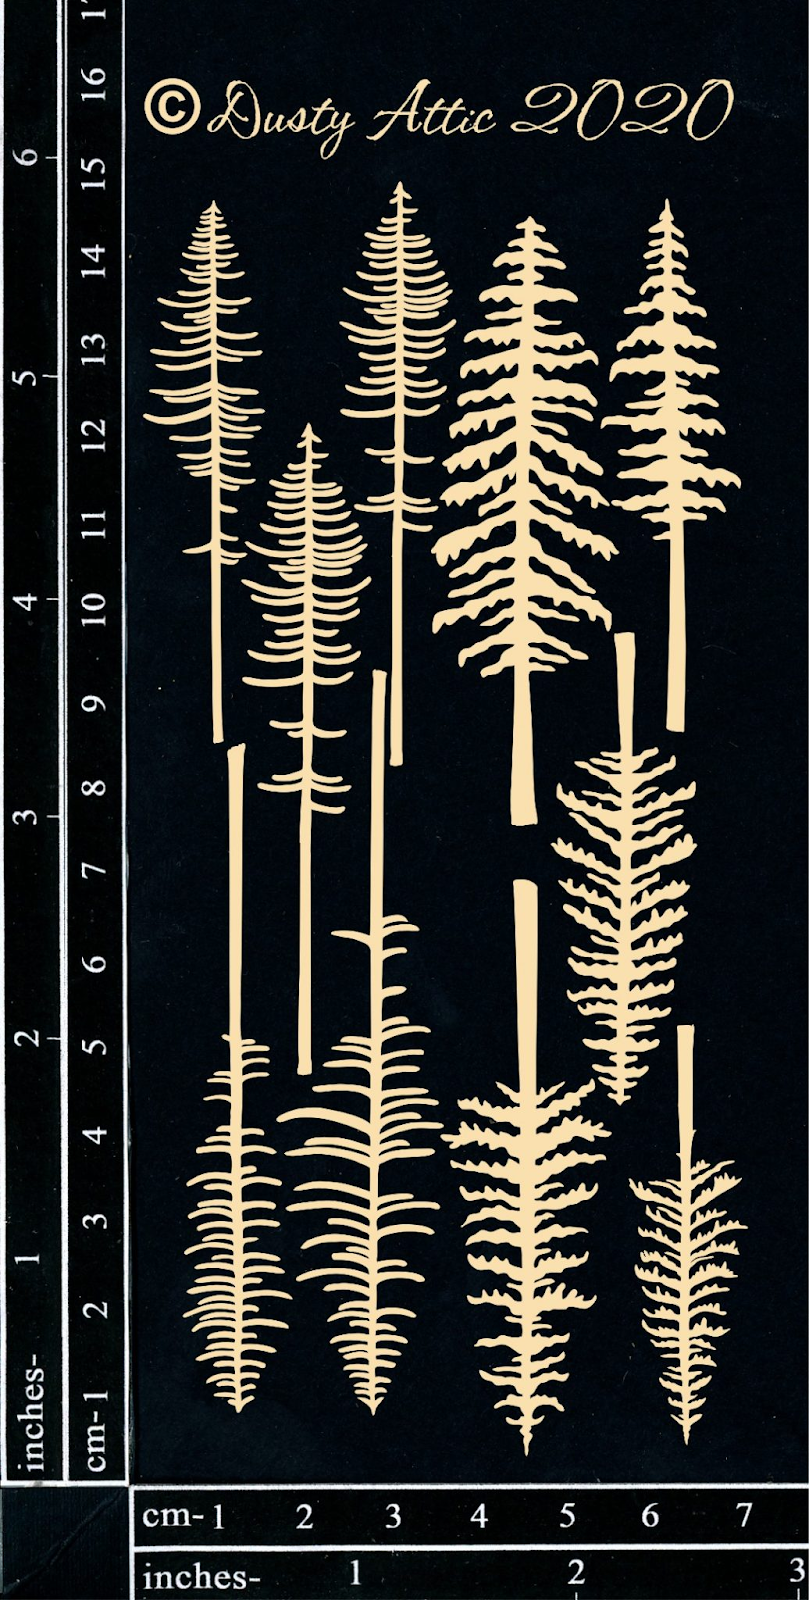


The pine trees are shaded with a variety of green distress sprays and a brush of espresso ink I layered three of the pieces on the right side of the photo and a single tree on the left.


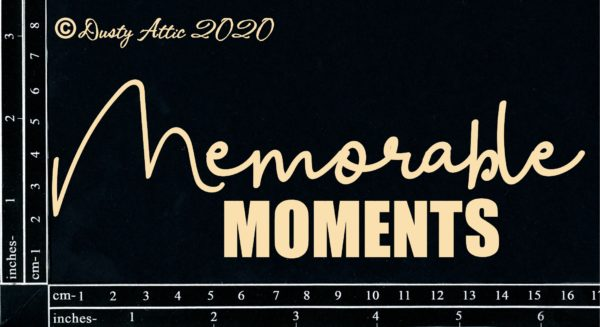
At the base of the page, I adhered the memorable moments title


This piece was prepped with white gesso, then sprayed with uncharted mariner ink, and distressed with black soot.
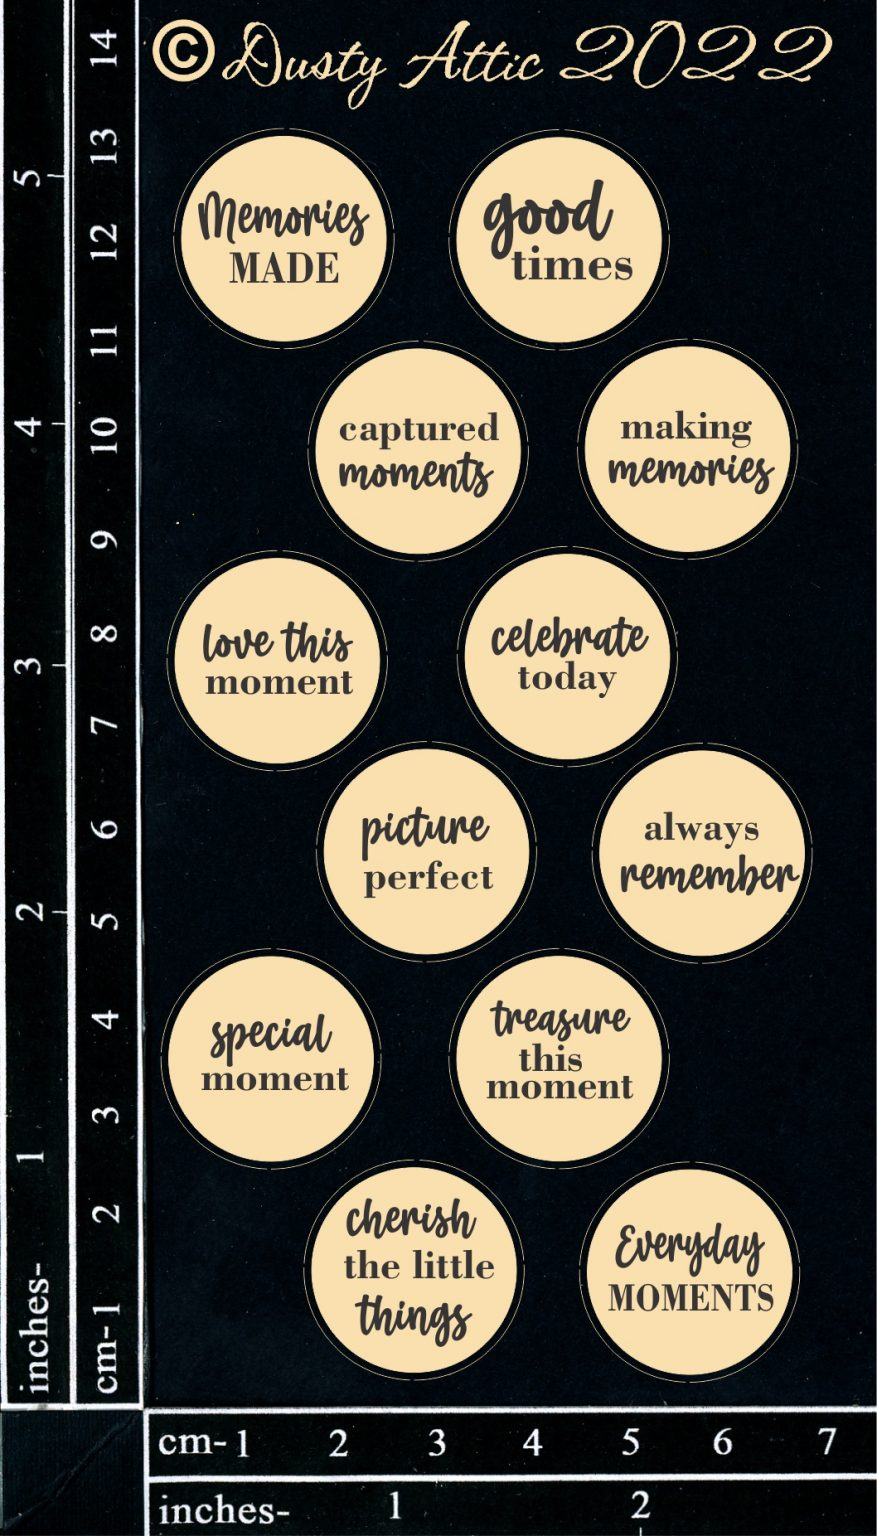


To match the blue in the title and border, I brought in a small circle phrase at the top. I tucked some twine behind this and added a few little arrows off to the left.


This little addition at the top of the page was a great way to finish off the project. If you are interested, I have a process video on https://www.youtube.com/@MissCarriesCreations


I hope that today's project inspired you to create something new.

If you have any questions, please leave me a comment.


Wednesday, 9 February 2022

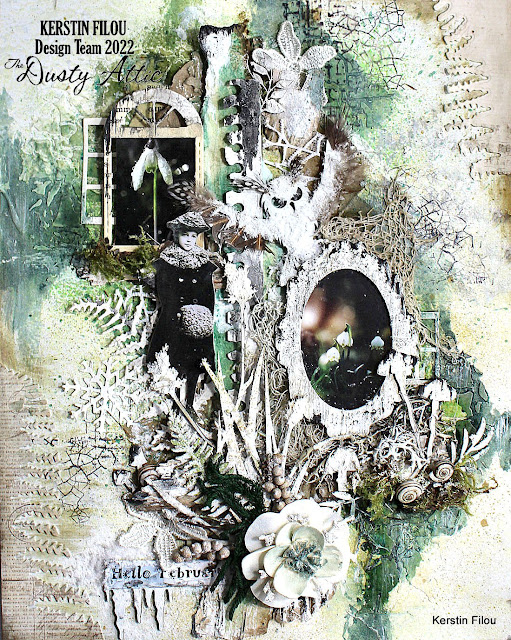
Winter Aconites - Kerstin Filou


Welcome creative friends!


February has come  and I have discovered the first snowdrops and winter aconites in my garden. 

 They are the first harbingers of spring here.

Cold, stormy winds are still whistling around the house and we see the sun far too seldom.


I was inspired to create a mixed media canvas in natural style.

Combined several nature chipboards, love this beautiful owl and grass cluster with leftovers from laces, cutting dies and stamps.


By the way, the colours also match our monthly mood board 😀


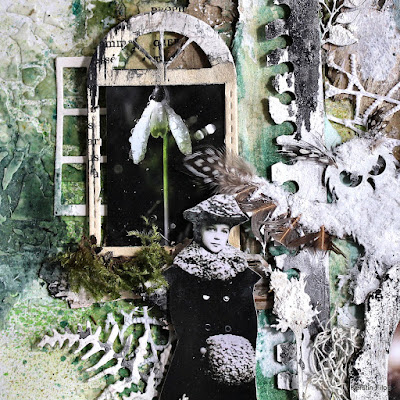
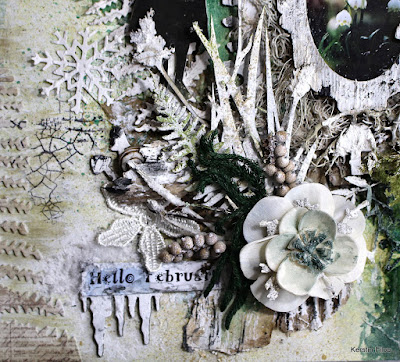
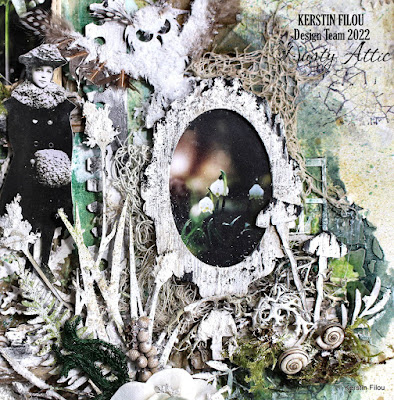
some close up's 


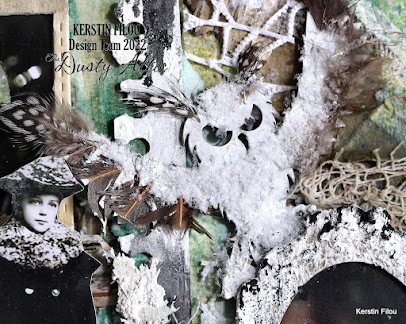
I was inspired by a snowy owl and played with some feathers as fluffy ears and wings.

 Deco snow was glued on the body as a feather dress.


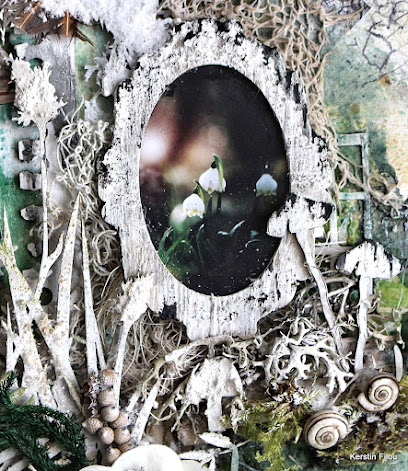
Beautiful frame was firstly primed with white gesso,

 then embossed with  a Textured Impressions Folder (Sizzix  3D  'Lumber') and finally dry brushed with black gesso so it should look a little like birch bark.


used Dusty Attic chipboards


Frame Medley 

 Notebook Edge Border

Grass Cluster #1

Mini Icicles

Ferns

Owls #3

Toadstools #2


  I hope I could inspire you 😀

Thanks for your visit!

Kerstin


Sunday, 14 February 2021

You will forever by my Always - Aneta Nasionkowska

Welcome!

I'm very happy that I have time dedicated to you again. Each subsequent entry reveals something I had not realized so far. Well, all my life I thought that I was not suitable for a written message, that it was boring and what is most strange, I was convinced that I did not enjoy it. Meanwhile, once again, I had barely finished my creative work, I couldn't wait to describe it all to you. And I do it with great joy!

I just finished an assignment for my lovely client who has been loyal to me for three years. I like her orders so much, because she's a person who knows exactly what she expects, gives me specific guidelines that she cares about, eg style, color, some specific theme.. Then we set the texts and the rest is on my side. I can go crazy, because the ideas are always ahead, although sometimes I have to do my best to meet her expectations. This time it was supposed to be in a retro style, with a very visible reference to music and romantic, as it is a wedding gift. Here's what I came up with: 

Saturday, 30 January 2021

the PLACES we go - Kristy Abela - Mood Board Inspiration

 Hi Everyone... Here we are looking at 2021! I decided that this year would be a good opportunity to get some oldies but goodies out of the way with my scrapping this year. This image is of an Easter we spent down in Canberra with my Mum. While we were there we popped on into Questacon! My kids had visited on their Year six camp with school and Tyler had missed out because he went to a different Primary School... my boys thoroughly enjoyed the experience so now we were inducting Tyler!  


 To prepare my page I used clear gesso. I got my brayer out and layered similar colours on the underneath sheet where I tore it to match the foreground card stock. I used some archival ink in Black and Brown to distress the torn parts. I used my fav grunge accessory... Plasterers tape and created a space within to play.


 I used chalk paint to colour my Notebook Edge Border and attached a tear strip from the dotted card stock I had of Industrial lights. I attached it to the page where the paper had changed texture as a border. I then used this as the flow of the page going in a T shape.


I used my crackle paste to add some dimension to the background along the plasterers tape. The tape kind of grabs the texture paste and creates a great weathered feel. I also added some newspaper print stamping to the background - more vintage-ness! I popped loads of layers of Grungy papers that I found in my stash and added the Chicken Wire Panel chipboard to break them up. I used pieces of it - not the whole thing so I could save the depth in the center of the page for the thicker Corrugated Card to sit in. I saved a layer of height there... I will one day pop my layout into an album so I like to minimise my height where I can.


I used some rust paste to grunge up my Geo Gears #1 and Geo Gears #2 also added some to the background so that weathered wall had some tarnish to it too... I used a Techno Circle to add a cap and a bottom to the collage. I am still using that vertical strip as my guide. I also popped some grungy die cuts.
 

A fun filled layer of splatters - two shades of course, white and the sand chalk paint I used for the title. I added some crosshatch stamping to the background as an extra piece of interest.

 
To highlight the corrugated card stock I rubbed a Distress Oxide pad onto it. I used two colours Old Paper and Dried Marigold.

 
I kept the title "The places we go" in a neutral shade without any fancy techniques. I think that the plainness of it makes it pop in a reverse kind of way. 


I used the colours from the mood board as inspiration and also the dry summery feel.
 
 
Thanks for stopping in and I look forward to seeing your creations in the Dusty FANattics page where you can add your take of the board and have a chance to win a $50 Credit to the Dusty Attic Website !  

Abela Artistry