Showing posts with label Cherry Blossom. Show all posts

Saturday, 11 March 2023

Vintage Junk Journal - Amanda Herring


Hello There

I have a new project to share with you today.

I have always loved bookbinding and decided to make a new junk journal using and old book for the covers and because I have used interesting mixed pages inside, I decided to do an exposed tape bound spine.


There are so many layers on this book cover! I started by adding a layer of primer and some stencilling
with glossy gel paste to add some extra texture to the book cover.


stencilling on front cover and then  painted with primer 


I then painted over these prep layers with acrylic paint in  dark red and brown 
acrylic paint.


Detail on back cover showing how well the hairspray technique worked.


I wanted to try a technique to crackle paint using hairspray, and I really love how well it worked.
I gave my base painted book covers 3 generous coats of hairspray allowing each layer to dry before adding the next. I then painted over this with Ivory acrylic paint.

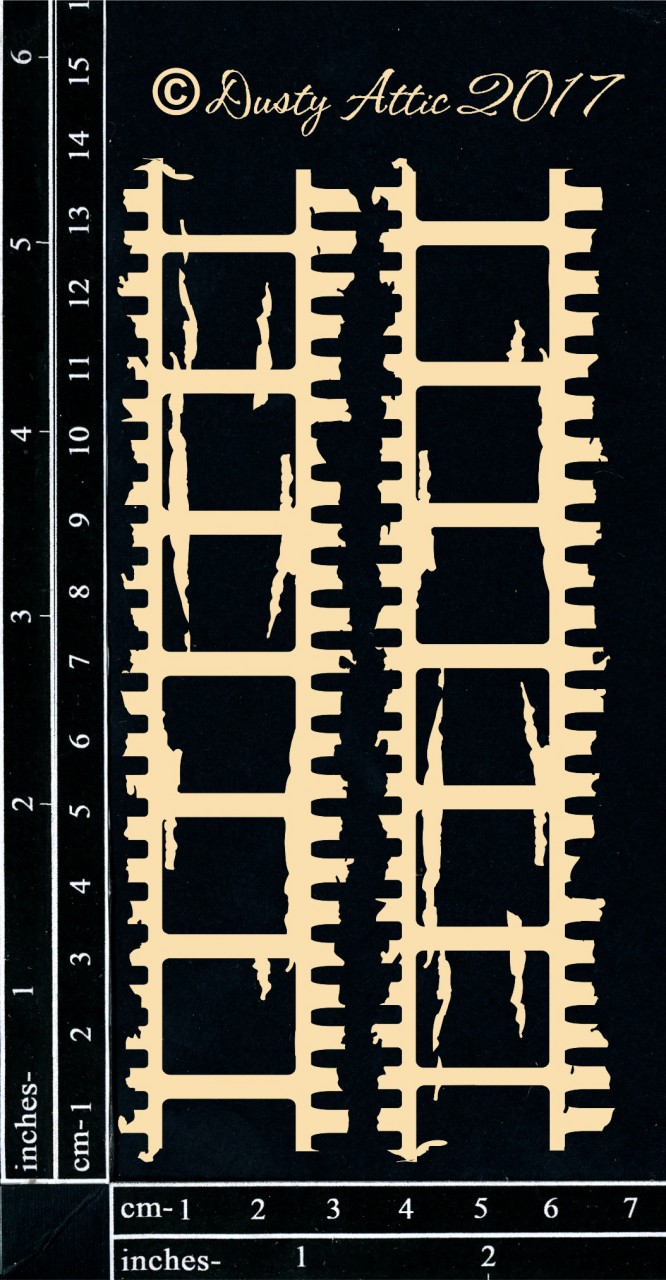
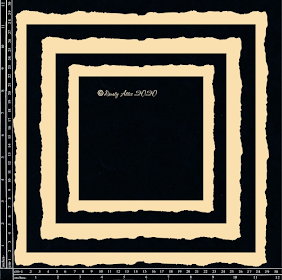
I painted the Vintage Chipboard frame in the same colours used on my bookcover and added some crackle medium to these, even though the detail is so small that it hardly shows but I liked how it helps
to make everything look old.


When assembling the frames I added a base paper that I stamped with distress oxide on photo paper. This was a technique that Luise Heinzl shared with us on YouTube that was a  great way to get a permanent stamping that is waterproof. 
Her video is worth watching 


The Stamped photo paper looks really old and distressed once dry and is waterproof once  dry.

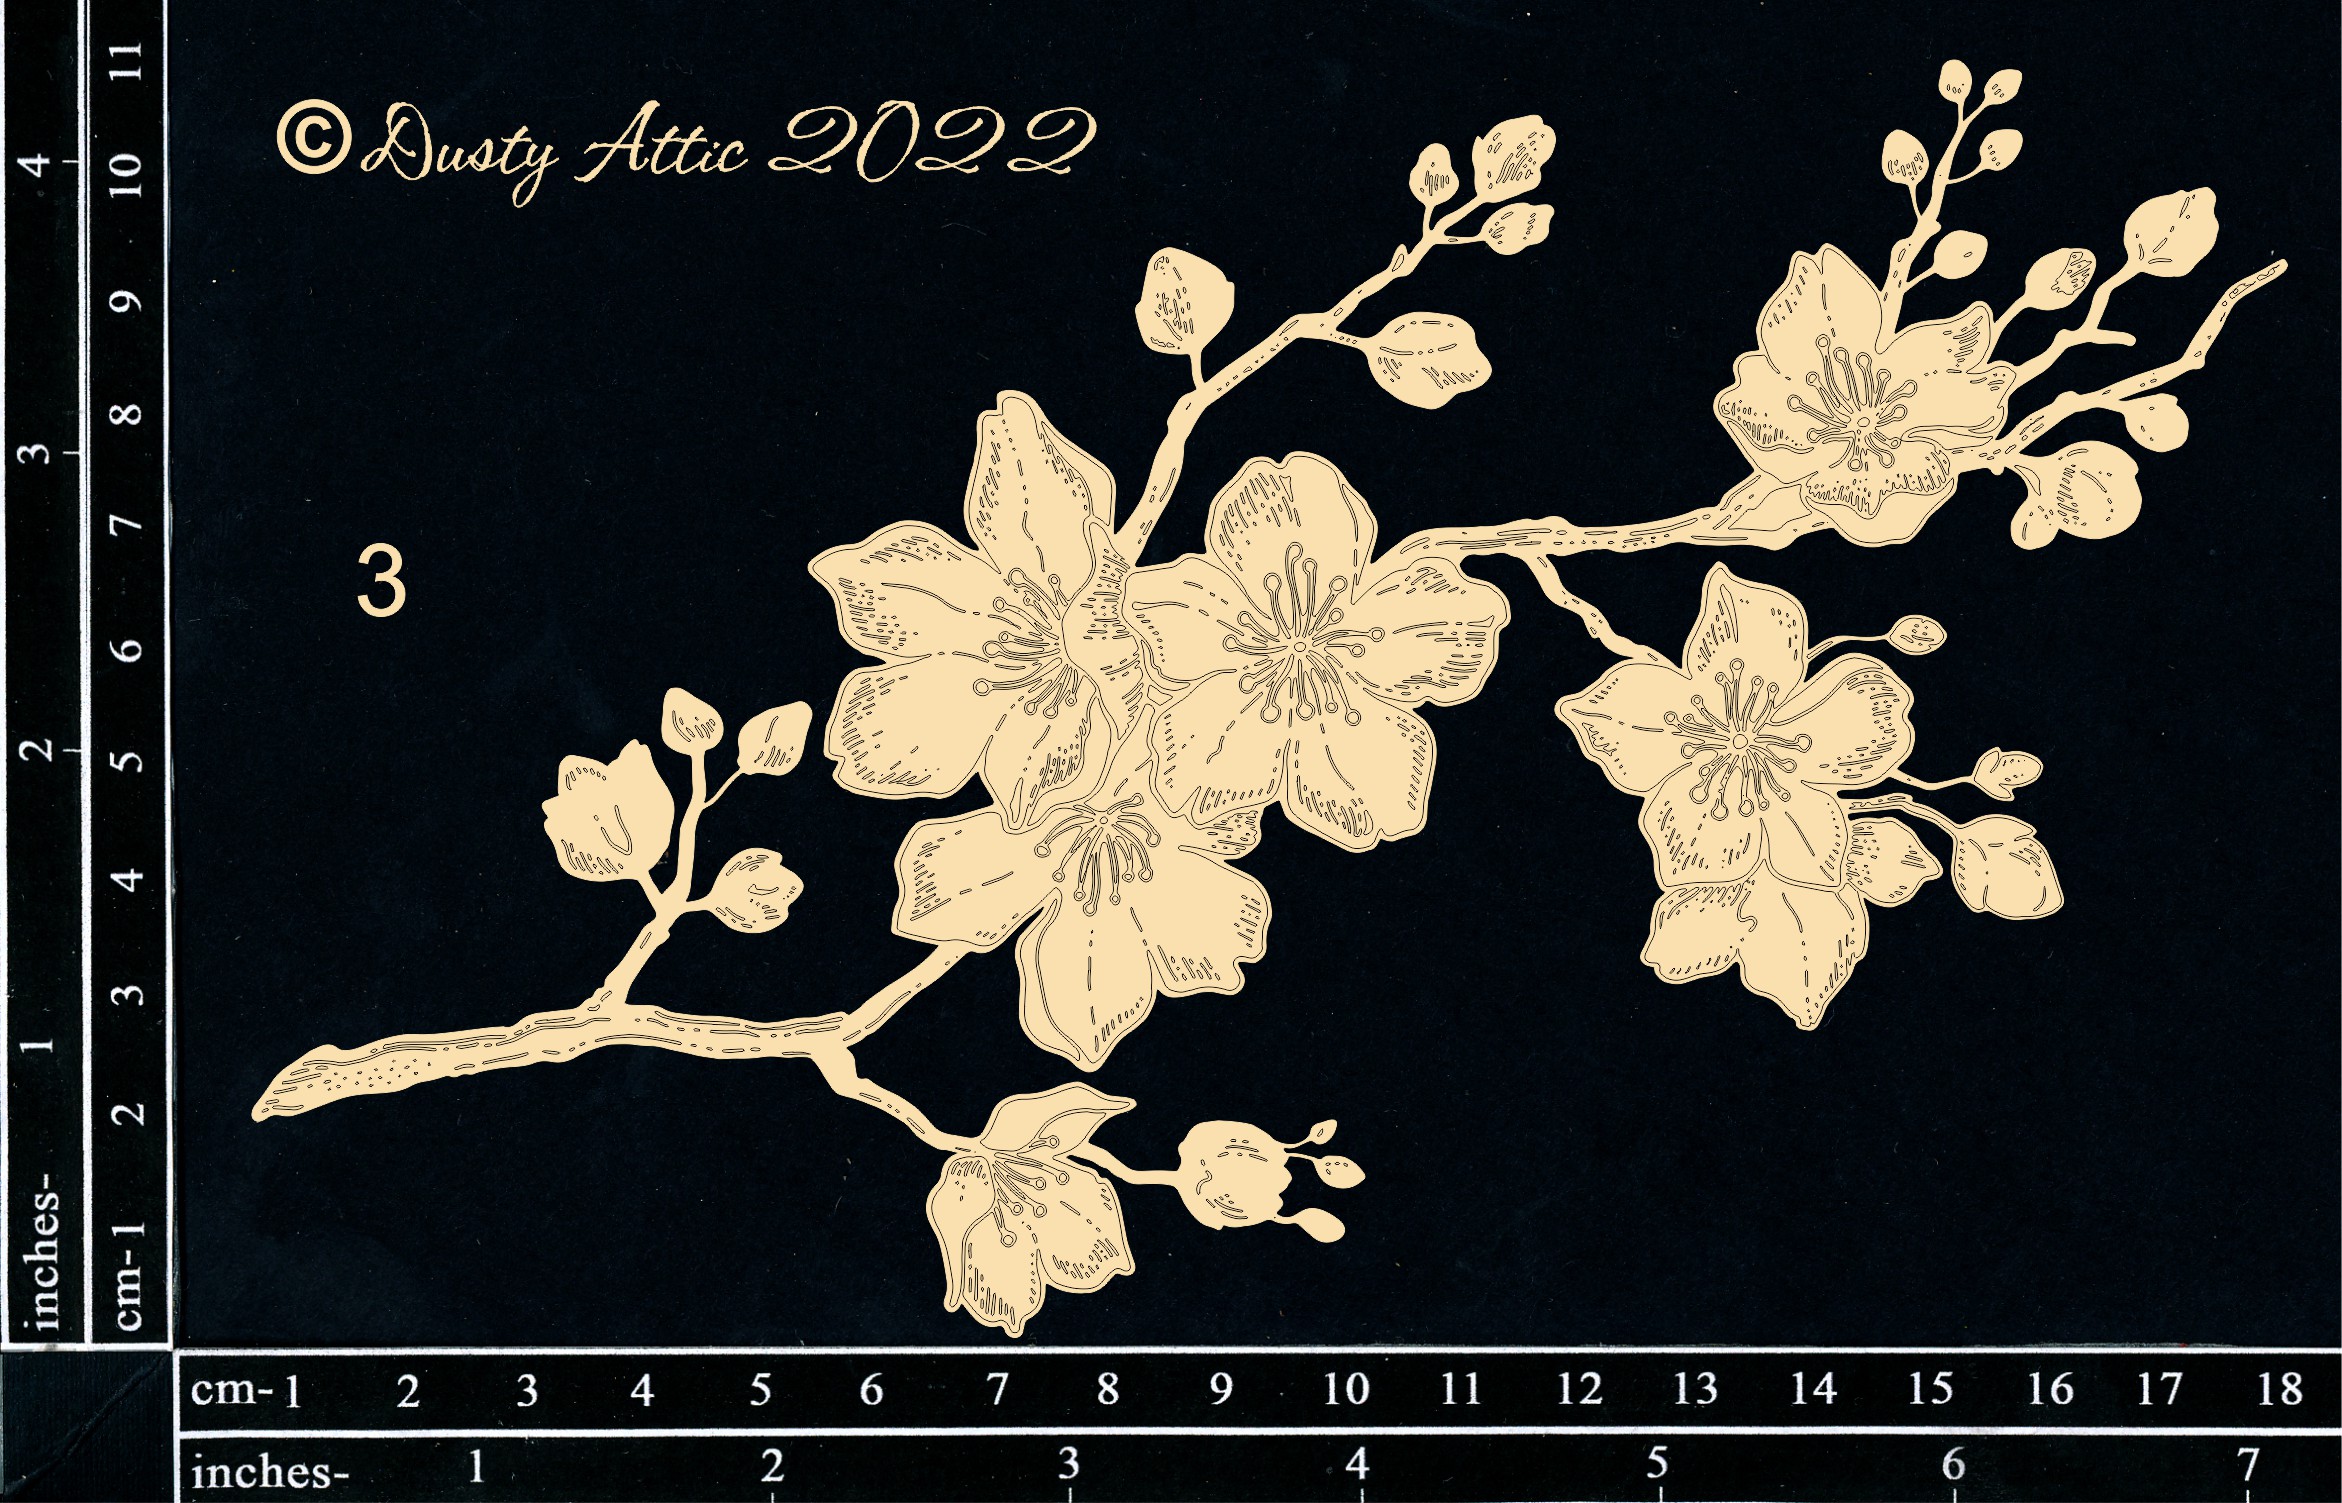
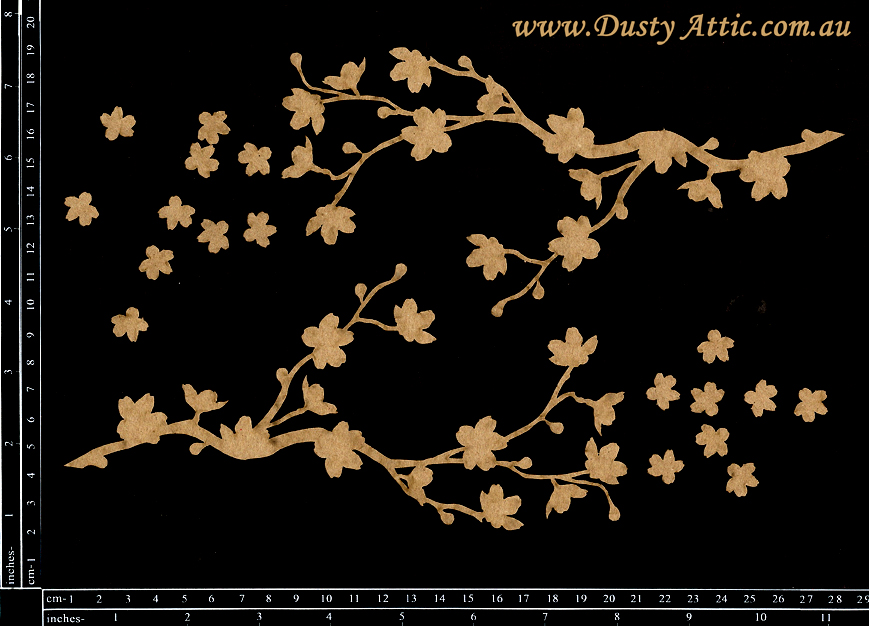
For the vintage frame I have used acrylic paint and patina waxes to distress and colour the assembled frame. I have also coloured the Cherry Blossom chipboard piece with acrylic paint pens,
I then added a layer of embossing powder in vintage beeswax which gives an aged effect.


I have lastly added some paint splatters to finish off the frame assembly.
The vintage patina and the distressed watercolour background give a really nice aged effect to the 
Cherry Blossom centerpiece. 


Supplies Used:

Dusty Attic Chippy: 

Cherry Blossoms DA3311

Vintage Layered Frame DA2340

Stampers Anonymous Baroque Stamp CMS400 Distress Oxide Inks in Walnut Stain and Vintage Photo.

Stamperia mixed media glue, primer, gesso and Glossy Gel,

Stamperia Allegro Acrylic paint Super Gold, Earth, Old Ivory

Paper Artsy Crackle Glaze and acrylic paints in Rose , Gold Rush and Blood Orange.

Seth Apter Vintage Beeswax embossing powder.

Stamperia stencil KTSDQ35 , Stamperia Aqua colour Leather and vintage Antiquing Paste

Art Alchemy patina waxes White Gold, Vintage Gold and Peacock.


Thank you for stopping by 

Until next time 

Mandy xx


Wednesday, 1 February 2023

Sweet Memory -Judith Tijsen - Mood Board Inspiration

Hi there everyone,

The month is not over yet so you still have time to make an entry for the moodboard challenge 
of the month of February at Dusty Attic.


For this layout this time I chose to use only the pink colours of the moodboard.


Don't you love the beautiful chipboard cherry blossoms. 


I treated them only with just embossing powder.

The first layer completely with only white embossing powder and the second layer only in the center of the flower with pink embossing powder.


They match perfectly with the paper die-cut flowers.


Used Dusty Attic products:


DA1320 - Fan Stencil

You could win $50 AUD credits to the Dusty Attic online store. The only requirement is that you have Dusty Attic chipboard on your creation and enter your project on the Dusty FANattics Page

This is the moodboard of the month February.


XXX Judith


Thursday, 18 August 2022

Un jour a la fois - Pascale B Scrap - Mood Board Inspiration (Take one day at a time...)

Hello Sweeties,

Today I'm on Dusty Attic blog with a mixed media panel inspired by our beautiful August mood board. I chose another vintage photo from my postcard collection. 


Isn't it lovely?


I primed all the chipboards with white gesso. Then, then I covered a canvas cardboard with a paper which I covered with clear gesso.


Next, I started to build my composition. I started with the Cherry Blossom and the Industrial Cluster #7. I continued by adding smaller elements like Botanic Mix elements, then some Cogs. 


I sprinkle the composition with mika powders and sprayed with water. Next, I mixed mica powders with lliqui acrylic fluid to make them permanent. I painted the chipboards with these homemade paints.


Next, I highlighted the details with Old Silver and White Gold waxes. I added splatters of the darker color.


To finish, I added glitter


Dusty Attic products:


Industrial Cluster #7
DA3379


Cogs #1
DA0001


Cogs #3
DA2370


French Wordpl@y #1 Black
DA2004


Botanic Mix #1
DA3346

Botanic Mix #2
DA3347

Botanic Mix #4
DA3349

Cherry Blossom
DA0640

Other products:
  • Paper- 49 and Market (Vintage Artistry);
  • Art Ingredients Mica Powder - Finnabair Prima (Vintage Roses Set, Pearls and Chrystals, Winter Tales);
  • Art Alchemy Waxes - Finnabair Prima (Old Silver, White Gold);
  • Art Alchemy - Finnabair Prima (Liquid Acrylic Fluid Medium);
  • Art Extravagance - Finnabair Prima ();
  • Art Basics - Finnabair Prima (White heavy Gesso, ).

Sunday, 14 August 2022

Simply Perfect - Jen Burns - Mood Board inspiration


Hello everyone, today I am sharing my take on the Dusty Attic Mood Board challenge for August, it is super sweet pinks and browns.


This photo of my gorgeous little grand daughter was taken at a park where she kept bobbing her head down and saying "Peek-A-Boo".  This is just one of the many things that photographs do, evoke memories attached to them.


I started by spray painting all of my chipboard except the frame and title white. While it was drying I have covered the Distress Frame with the patterned paper and machine stitched around the edges of the pink background.


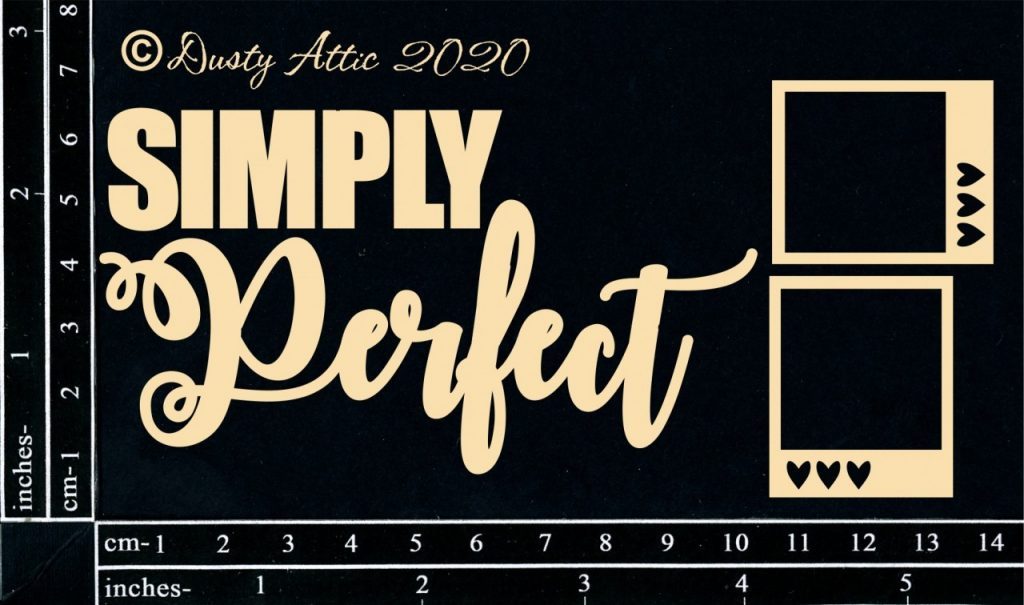
I have painted an ombre effect onto the Simply Perfect title with browns and pinks, and the pink of the little frames. I have added black card behind the mini hearts to make them "pop" and some of the patterned paper inside.


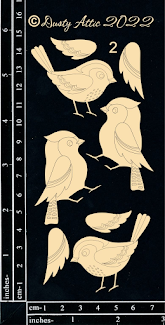
The Cherry Blossom tree and the cute little Songbird have been painted using the same brown for the branches and pink for the blossoms adding white, dark pink and light brown dots.


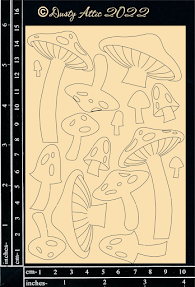
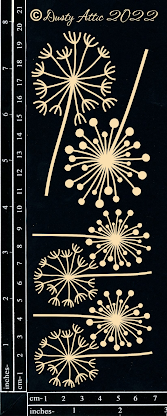
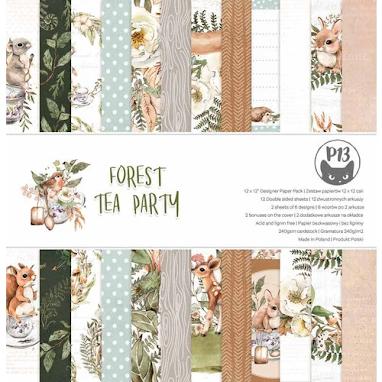
The flowers, leaves and bird are fussy cut from the Forest tea party paper. The chippy toadstools layered in between where a must along with the awesome dandelions, you can't see them and not want to make a wish. 


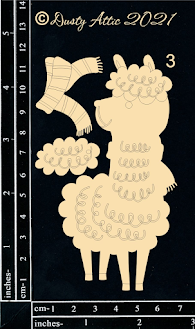
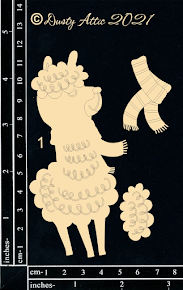
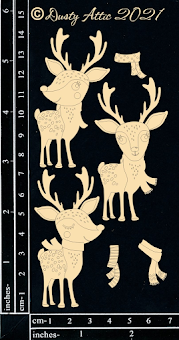
The Forrest Friends Llamas are simply just too super gorgeous together with the cute little Forrest Friends Reindeer.  I have left them mainly white and just coloured their wool and scarves with fine tipped markers.


Dusty Attic products used


Forest Friends - Llama #3


Forest Friends - Reindeers Small


Songbirds #2


Simply Perfect Impact title 
(complete with mini polaroid frames)

Thank you for joining me today. 

For your chance to win one of two $50 (AUD) credits to the amazing 

DUSTY ATTIC ONLINE STORE 

Just put your take of the challenge into the comments section on the Dusty FANattics page here.

Paper used P13 Forest Tea Party


XXX J XXX