Showing posts with label Get Framed Rectangle. Show all posts

Friday, 3 February 2023

Moments in Time - Michelle Van Oudtshoorn

Hello lovelies

I have a layout created with a Stamperia range of papers and embellishments that I would like to share with you today.

I have used a wooden frame DA3017, painted with a metallique acrylic paint. I have adhered the frame to the photo and have used the smaller frame painted in the same paint, cut in half an adhered to the middle of the left side of the page. I have used one of the frames from the Get Framed Rectangles (DA2374)which I have cut and added under the larger frame, before layering the flower die cuts.

The same flower cluster arrangement has been added to the smaller frame on the left 
The flower clusters are done with foam tape to add dimension, and this allowed me add the leaves from DA0508 pack under and among the flowers.
The title is actually "precious moments in time" (DA2553). I had used the word precious for another project, and therefore was only left with the moments in time - which I used for this layout. This is a way to show that on piece can be used in different ways.

These are the products I have used


Thanks for visiting the blog today

Hugs,
Michelle


Saturday, 10 December 2022

Merry Christmas to you - Michelle Van Oudtshoorn - Mood Board Inspiration

 Hi there,

A very merry Christmas to you all! Dusty Attic has the perfect moodboard for December - the colours in the moodboard reminded me so much of Christmas.


This inspired me to create a Christmas layout - and of course Dusty Attic has some really awesome Christmas chipboard. Here is my layout:

The paper is from Celebr8  and Stamperia. The frame is one of a few sizes from the "Get Frames-Postage- Rectangular" pack (DA2675). I painted this with acrylic paint and then added stickles, and adhered the frame to the photo. 
I have then painted the Holiday Spray (DA3172) and the Merry Christmas disc (DA3149) and have adhered these to the page, placing my photo and frame in top of these for dimension.  Stickles have been added the berries of the Spray. 
I have layered flowers and then added the gorgeous little reindeer (DA3154) to the flower cluster 
The Christmas ornaments are also painted with acrylic paint and have stickles added to them. I then thread some silver thread through, and made them "hang" from the top of the page and under the photo.

The title was added from Christmas Postmark #2 (DA3148), and I finished off with some gold Prima beads added to the Holiday Spray

These are the products I have used:


Thanks for visiting the blog - wish you all a safe, happy and wonderful Festive season.

Hugs,
Michelle


Tuesday, 9 November 2021

Have an Amazing Day - Kerstin Filou


Welcome creative friends!


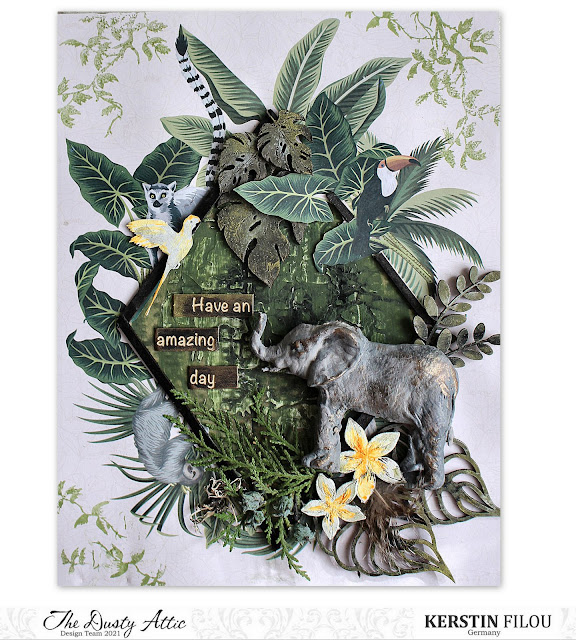
 I needed a nice wrapping for a ticket to the zoo, the little one loves elephants

 and a special highlight will be the visit to the tropical hall. 


Matching the theme I chose some beautiful chipboards 

from Tropical Foliage & Flowers section - 

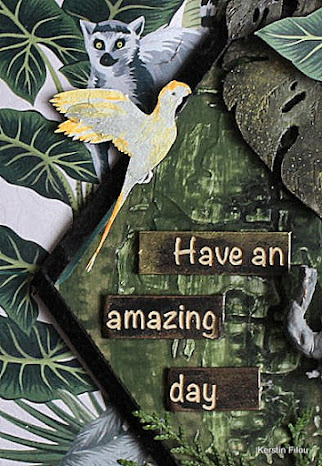
tropical leaves and flowers, a parrot and a diagonal frame

(rectangular frame was cut to fit).


I created a DIN A5 card in mixed media style.

All chipboards were primed with black Gesso and a little bit structure paste,

 and highlighted 

 with some metallic waxes. 

Elephant was created with a silicone mold (Katy Sue Designs)

 and Air Drying Modelling Clay.


some details


used Dusty Attic chipboards


Birds #4


Tropical Foliage #6

Sunday, 14 February 2021

"Sassy"- Michelle Van Oudtshoorn - Mood Board Inspiration

Hello Dusty Attic friends

I am back today with a new layout created for Dusty Attic using their gorgeous moodboard for February.

This is soooo gorgeous. How about taking part in the Challenge and creating a layout using the moodboard and posting your take on the Dusty FANattics facebook page   https://www.facebook.com/groups/1949690068580466 

Your entry could win you one of two AUD$50 voucher to use at Dusty Attic! 
Here is my take on the moodboard using the colours as my inspiration:
All chipboard (except the title) has been coloured using Prima Alchemy Wax rubbed directly onto the chipboard. I have started with trimming down my base page to about 11,5 inches x 10 inches, which was just long enough and wide enough to add the Fancy Trim #20 Chipboard DA2532 on the top and bottom of the page (the page was also adhered to the bottom page with chipboard to keep the height for the trim). The skeleton clock DA1689 was adhered and the distressed frame DA2673 added on top of the clock and then adding Spring Vine #1 DA2790 to the right of the frame and under it - this will hold the frame in place.

I then began layering the flowers around the frame adding the two other Spring Vines #2 and #3 DA2791 and DA2792

The title "{Sassy!} are picked from the Tall and Lean ABC set DA2697 - these are painted with Prima Alchemy paint. I chose this title as this is such a cheeky photo of my daughter. She was asked to be a model for a photography company here in Christchurch, NZ called One Camera Photography. I love this photo - really sassy!


These are the products I have used:


Hope to see your take on the challenge up on the Dusty FANattics Facebook page.

Take care,
Michelle


Thursday, 28 January 2021

I am enough... - Patricia Basson

Hello Blog Friends!
I am starting the new creative Year with this page for Dusty Attic using papers from 49 & Market's Natural Mini collection.

I used a sheet from the Serendipitous collection as background. I cut the frame from the design and raised it with foam tape. The rest of my layers are also all raised giving the page a lot of depth and interest.

Using the gorgeous Ornate Tile Stencil with Rusty Hinge and Hickory Smoke Distress Inks, I added interest to the background.

The photo image was taken from Pinterest.


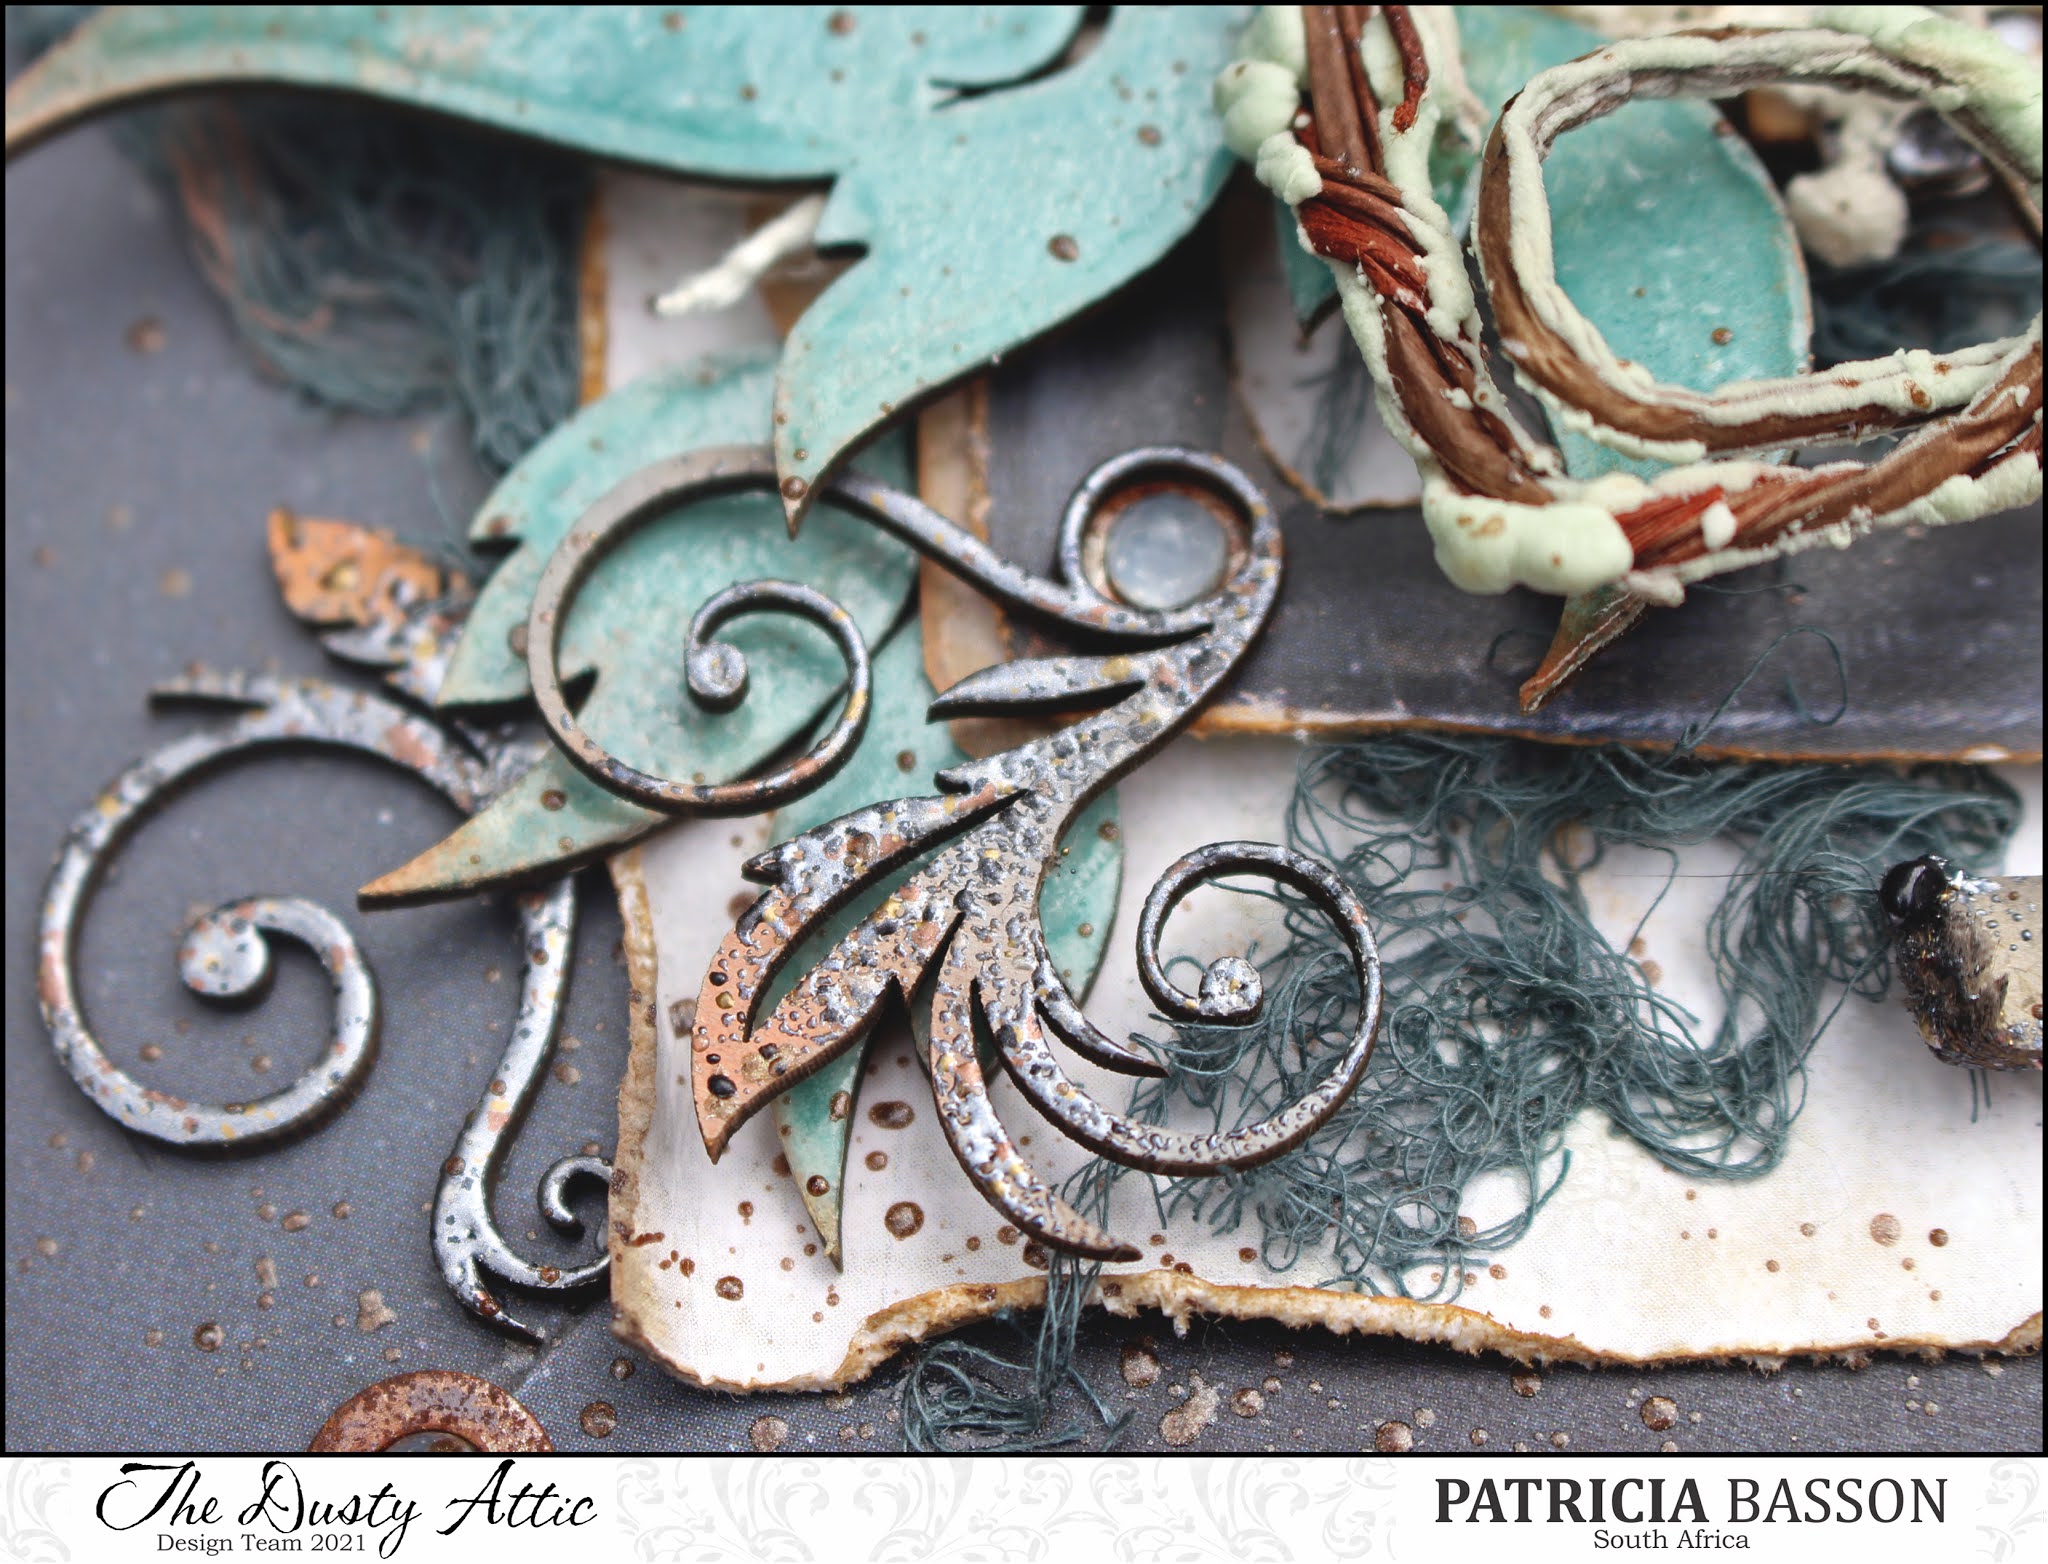
I treated the Leafy Stem in the following way. After a lick of Gesso I used Speckled Egg Distress Ink and Distress Oxide. Also some Rusty Hinge on the tip and edges. Whilst the ink was still wet I sprinkled Speckled Egg Embossing Glaze on top and Heat set it. 

I cut the Stem apart and layered it together with a Garden Vine from 49 & Market.


The Distressed frame and some of Nuneka's Feathers were inked with Hickory Smoke and Rusty Hinge DI. I randomly sprinkled some Iron Age Mixed Media Embossing Powder from Cosmic Shimmer on them and also Heat set it. This will always be a favorite technique of mine to not fully cover the chipboard with embossing powder, I just love the texture especially when it is one of the chunky powders. 

The beautiful, delicate feather elements are just enough to add some interest to the page without overpowering the photo and other elements!


I tore the ends of the Quoted Sentiment and used my awl to slightly curl the ends resulting in a little bit of layers. I inked with the Hickory Smoke and embossed with the Iron Age Powder.

I mixed Andalusite Color Glow with Acrylic Liquid Medium both from 13arts and splattered it on the page.

Also added some rusted washers and paper clips, lace and colored gauze.


From the Dusty Attic on-line shop I used the following....


Ornate Tile Stencil
DA 2485


Thank you and the very best wishes 
Patricia

Start where you are. 
Use what you have. 
Do what you can.
~Arthur Ashe~