Showing posts with label Chicken wire. Show all posts

Thursday, 27 April 2023

The Simple life - Miss Carrie


Hello, crafting friends. It's Miss Carrie here with another scrapbook project for you to try. Today, I am working with a ren fest photo and chose to create a more fanciful scene with floral layers, bits of chipboard, transfers and texture paste.


I started by building background layers with stencils and floral chipboard pieces. I wanted to bring out the red hair in both our children., so I created a soft pattern in the background with the chicken wire stencil and mahogany ink. Over the top, I added a textured pattern using the distressed grid stencil. I mix opaque grit paste with walnut ink to create this lovely design.


After adding a few layers of ephemera paper, I added some chipboard elements from the wildflower 3 pack pack. I gave these a soft coat of white paint to help them stand out over the neutral papers.


 I did cut these chipboard pieces apart so that I could continue the stem potion below the photo. This also reduced some of the bulk on the page.

Behind the photo, I added layers of bookplate ephemera, floral rub on transfers, acetate leaves, and elements from the creative layers 9 collection. I shaded the chicken wire and flora pieces with a mix of blue distress oxide sprays to match the soft blue in the rub-on transfers.


I layered these items with small tea leaves, botanical leaves, and the flowerposie. To bring some more colour to the page, I painted the posies with distress oxide sprays. After prepping them with white gesso, I poured some ink into the paint palette and added a few layers of colour.

The title on this page also came from the creative layers collection. To make the phrase stand out, I painted this with a soft white, then added a coat of dark brown. Before the paint had a chance to dry, I wiped off the dark brown so that it only stayed within the letters on the chipboard.


I chose to keep the title simple and layered it over a few chipboard phrases with a little blue heart. I brought a few more phrases with a little adventure chipboard phrase with a little adventure chipboard phrase and a circular phrase from the designer disc 10 collection.

The word disc was painted in a soft white and then layered with a chipboard frame to help it stand out more again the botanical pieces. The script letters on the disc are beautifully designed and create a lovely statement piece on the page.


Throughout the page, I tucked more leaves and floral bits and added some texture with twine. I tucked the story behind the photo in a little pocket and topped it off with a tab. 


I hope this project inspired you to try something new. 

I cant wait to see what you create 

Botanic Mix 6 https://dustyattic.com.au/product/botanic-mix-6/ 

Designer Disc 10 https://dustyattic.com.au/product/designer-disc-10-words/ 

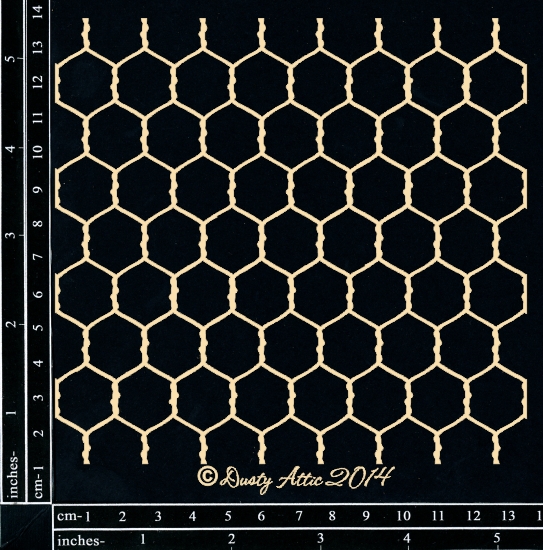
Chicken Wire Stencil https://dustyattic.com.au/product/chicken-wire-stencil/ 

Flower Posie https://dustyattic.com.au/product/flower-posie-4/ 

Wildflower 3 https://dustyattic.com.au/products.php/?product=Wildflower-%233 

Creative Layers 9 https://dustyattic.com.au/product/creative-layers-9/

Distress Grid Stencil https://dustyattic.com.au/product/distressed-grid-stencil/  


Friday, 23 September 2022

Wander & Wonder More - Michelle Van Oudtshoorn - Mood Board Inspiration

Hello lovelies

Oh my - the moodboard for this month is just beautiful! 

I love this moodboard - you can take part in the Dusty Attic moodboard challenge by using the moodboard as inspiration and Dusty Attic chipboard and add your entry to the DustyFANattics facebook page for your chance to win one of $50 credit of Dusty Attic chipboard. 
Here is my take on the Challenge:


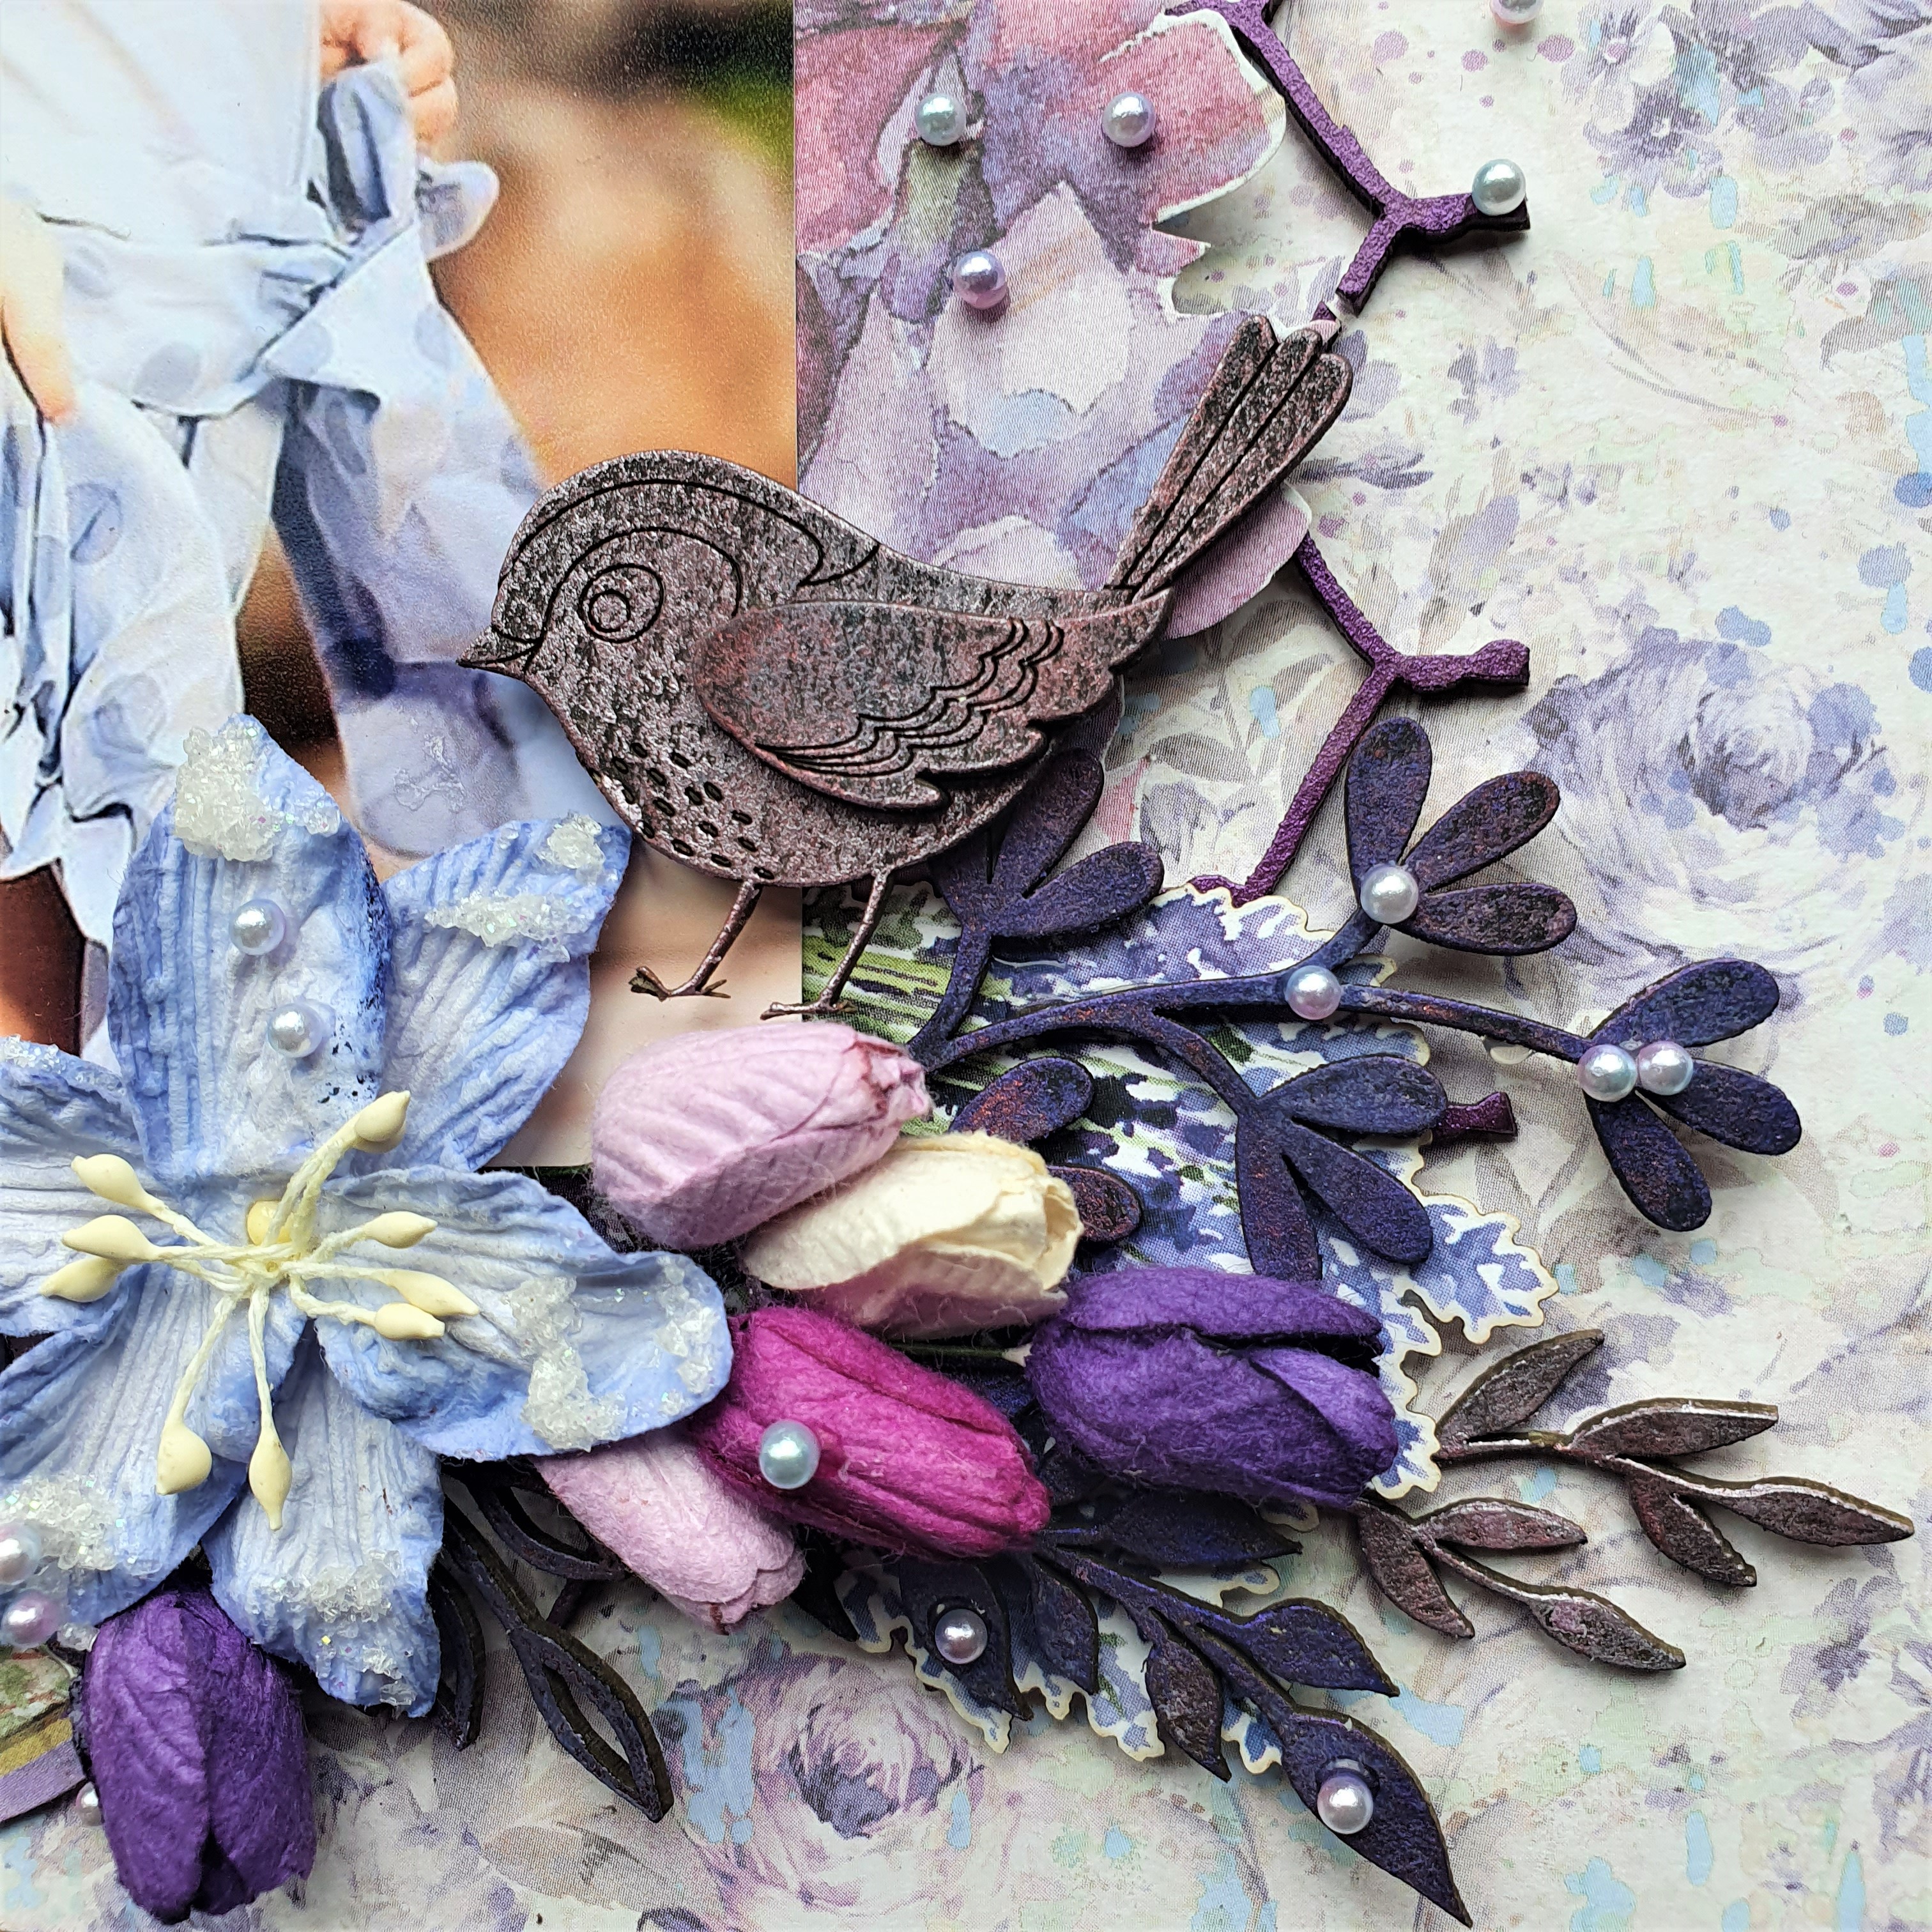
The chipboard (except the chicken wire) was all covered in black gesso and then various shades of purple waxes added to the pieces. I have gone for a darker shade on the bigger foliage (DA3347 - I used two of these) and lighter shades on the mini foliage (DA2440).
The chicken wire (DA0457) was painted with metallic paint.


I cut the chicken wire into two pieces and layered these at the top and bottom corners of the photo. I then layered my flowers around the photo.


I added foliage among the flowers and under the flowers, as well as the wagon wheels (DA2803)


I made another small cluster to the right of the photo, also adding chipboard foliage, and the little songbird (DA3301). I finished off adding beads to the layout.


These are the products I have used:


Thank you for visiting the blog today.

Take care,
Michelle


Friday, 5 November 2021

Art Journal page - Kristy Abela - Mood Board Inspiration

Hi Dusty FanAttics! 

Hope you enjoy my inspiration. I love the neutrals and was really looking forward to exploring this pallet.


This is the board for this month 


 Here are some close ups of the focal points. 


 Thanks for looking and Happy crafting!!


Thursday, 8 April 2021

Country Life - Belinda Spencer - Mood Board Inspiration

 Hey Dusty Attic fans!

It's Belinda here today to share my latest layout for Dusty Attic inspired by the April Mood Board. Such lovely colours that inspired me to create a more 'rustic' layout about hay carting time on our farm.

'Country Life'


I used some perfectly rustic Kaisercraft papers for this layout starting with the fabulous rusty old tin shed paper in the background. I added a torn piece of the 12 x 12 chicken wire which I painted with a combination of Sunshine, Sunburnt Orange and Cranberry Dusty In Colour Paints. To create the mottled effect, I simply used a latex make-up sponge and picked up each of the colours separately on it. I then dabbed the sponge onto the chipboard taking care not to blend the colours too much.


I layered on some torn Corrugated Card that I left in it's raw state and then some more patterned paper. To represent 'hay' I painted Wildgrass # 2 and Wildgrass # 3 Small with the Sunshine paint and glued the pieces onto the layout.


I used the mottled paint effect on the large Tyre Tracks, this time using Chocolate, Cranberry and Bisque paints. I added this to the bottom of the page and then layered on the Paddock Fence small that I had painted with a black Posca Pen. I added my paper stack and photo next along with other chipboard pieces painted with Dusty In Colour paints. Finally I added the title that I painted with the Sunshine paint.


The Dusty Attic products used:


DA0923 Dusty in Colour Hot Chocolate


Thanks for stopping by the blog today.

Cheers
Belinda


Saturday, 6 March 2021

Awesome - Aneta Nasionkowska - Mood Board Inspiration

 Hello my lovely friends!

Three very nice parcels recently came to me. Thanks to their content, I am finally fulfilling my goal planned for 2020. Yes, yes ... I was supposed to do it last year, but the situation in the world and in my own home made it difficult for me. Now, however, with increased verve I am starting the implementation! I'm talking about mixed media. I played with them and this time I will tell you about it, and since these are my beginnings, be kind to me. Give your tricks, tips - I will be delighted to learn from your experiences. 


Wednesday, 24 February 2021

Our Everyday Life - Belinda Spencer - Mood Board Inspiration

 Hello Dusty Attic fans!


It's Belinda here to share my layout inspired by the February Moodboard featuring some fabulous chipboard pieces.

'Our Everyday Life'


Here's a peek at the February Moodboard:


The colours and texture in that inspiration pic are so gorgeous!

I found some patterned paper in my stash that contained some of the colours in the moodboard so I used that as my base. I added a few more colours to it using a Lindy's Stamp Gang Flat Fabio spray as well as some diluted Crushed Olive Dusty In Colour Paint. I stuck it down on some fabulous denim look paper that I have been hoarding for ages! Next I tore a piece of chicken wire chippie from the 12 x 12 Chicken Wire and stapled that to my page. I use a long arm stapler that makes it super easy to staple in the middle of the page.


Next I added a pretty paper doily, a torn piece of Corrugated Card and the Mini Chicken Wire that I had painted white with gesso. Again I stapled all of these pieces on.


I added a couple more chipboard pieces, this time painted with the Crushed Olive paint.


I added my photo on a paper stack of co-ordinating papers and all other embellishments. I kept some of the chipboard in its raw state, painted some with gesso and some with the crushed olive paint to mix things up a little.


The Dusty Attic products used:


DA0917 Crushed Olive Dusty In Colour Paint

Thanks for stopping by the blog today. I hope you find some time to have a play with the moodboard too.
Just add your own take of the challenge into the comments section of the Dusty FANattics page HERE 
Its that easy ! 

Cheers
Belinda


Thursday, 18 February 2021

Boho Skull panel - Pascale B

Hello Sweeties,
Today I'm up on Dusty Attic blog with a new mixed media panel. 


I recycled an old Art Journal cover as my background, which I primed with white gesso. When done, I glued pieces of the Chicken Wire Panel with 3D Matte Gel. Next, I added the String Frames and the Skull. That was the base for my composition. 


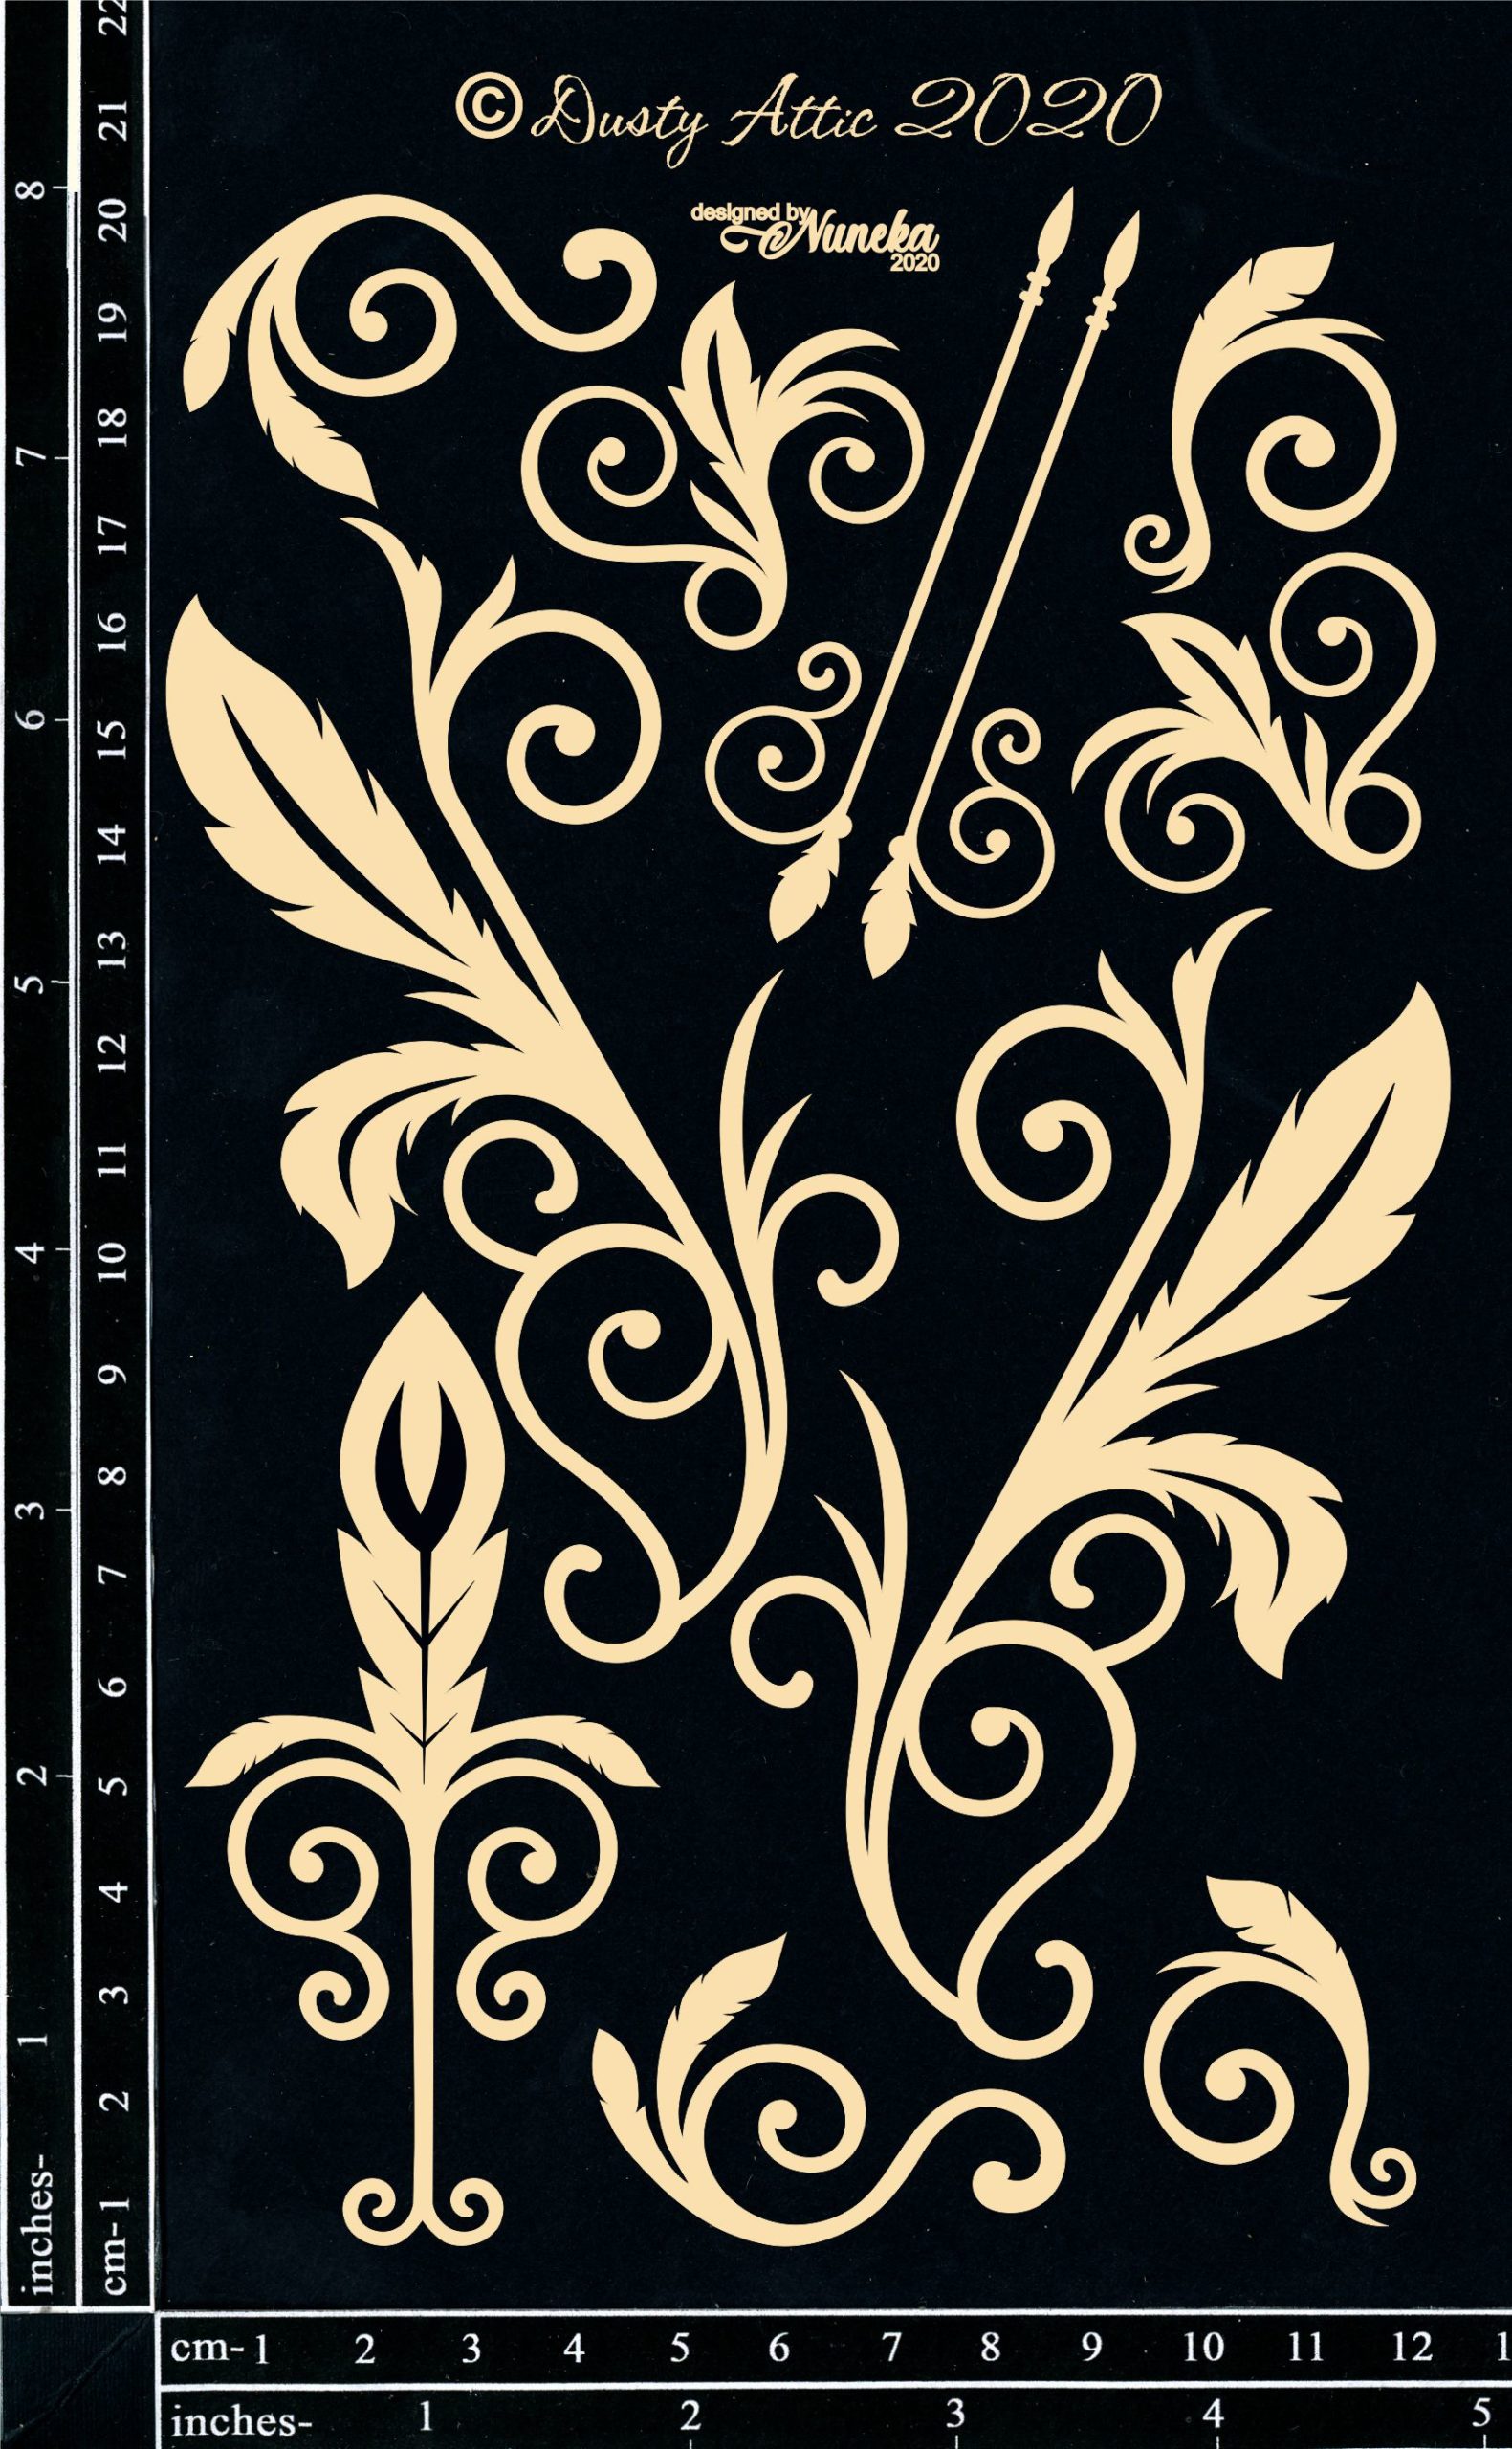
I continued with the smaller elements, around the top of the skull, such as Ferns, Maiden Hair Ferns, Tropical Leaves #3, Flower Buds #2, and leaves from the Boho Skull set. I added also some Feathers by Nuneka at the base of the String Frames to suggest a dreamcatcher. 
. 

When the gel was dry, I covered everything with two layers of white gesso. It's better to add two thin layers of gesso rather than one thick if you want to preserve the details of some chipboards like the flower buds.


When done I started to add some colors. First, I worked with the blue-green colors. I used Deep Turquoise, Emerald, and Prussian Blue liquid acrylic paints with water to obtain a watercolor effect. When happy with the result, I dried the canvas with my heat gun before adding depth and shadow with Burnt Sienna liquid acrylic paint. I dried again and dried brush everything with white gesso. I continue to add more color with the Violet liquid paint. 


I colored some flowers with Violet and Deep Turquoise paints and added them at the top of the skull and around the feather.


To finish the composition, I stamped randomly with a text stamp and brown Archival ink and added glitters and microbeads. 

Dusty Attic products:


Boho Skull
DA1733

String Frames Small
DA1185

Maiden Hair Fern
DA1169

Ferns
DA0507

Chicken Wire Panel
DA0177

Tropical Foliage #7
DA2535

Flower Buds #2
DA1406

Feathers by Nuneka
DA2733


Other products:
Flowers - 49 and Market (Flowers Mixology: Champagne);
Stamp - Finnabair Prima (Book);
Art Ingredients - Finnabair Prima (Microbeads: Berry, Glitter Luminous Set);
Art Alchemy - Finnabair Prima (Emerald, Deep Turquoise, Prussian Blue, Violet, Burnt Sienna);
Art Basics - Finnabair Prima (Heavy White Gesso, Heavy Body Gel, Soft Gloss Gel).