Showing posts with label Spring Blooms. Show all posts

Saturday, 25 May 2024

Embrace - Mixed Media canvas - Pascale B Scrap

Hello Sweeties,

Today, I'm up on Dusty Attic blog with a mixed-media canvas.


First, I primed the canvas with white gesso. When done, I covered the background with paper and light modeling pastes to add more interest. Then I added a design with the Dots Stencil and white crackle paste. I let it dry naturally to allow the crackles to appear.


I primed all the chipboard with white gesso. I glued a piece of paper on the Jigsaw Pieces, then covered them with clear crackle paste.


I built my composition to my linking starting with the Jigsaw pieces, then I add the biggest elements such as the Flower Buds #1 and the Spring Blooms #3.


Next, I added the Dandelions and I finished with the Poppy Heads. 


When everything was completely dry, I added some color with black and brown liquid acrylic paints and a lot of water. 


To finish, I added some transparent glitter and a title. 


Dusty Attic products:
Other products:
  • Title - Idea-ology Tim Holtz (Small Talk)
  • Art Alchemy Liquid Acrylic - Finnabair Prima (Ink Black, Burnt Sienna);
  • Art Extravagance - Finnabair Prima (Paper Paste, White Crackle Paste, Clear Crackle Paste);
  • Art Basics - Finnabair Prima (White Heavy Gesso, Light Modeling Paste, 3D Gel Gloss).


Saturday, 10 February 2024

Anne-Marie layout by Pascale B Scrap

Hello Sweeties,

Today I'm up on Dusty Attic blog with a vintage layout with a photo of one of my great aunts.


To begin, I primed the background with Clear Gesso. Next, I added a design with Floral #2 Stencil and Pearl Icing paste. When the paste was dry, I added some brown and black Distress inks to make the design pop up. 


I covered the Ornat Circle #2 with embossing powder that I was careful not to melt down completely to obtain a non-even surface. 


I primed all the chipboards I have selected with white gesso. Then I simply distressed the edges with black and brown inks. 


I attached a few ephemera under the photo, and then I made a cluster with Spring Bloom #3, Wildflower #4, Foliage #25, and a couple Poppy Heads. I added a few white flowers to the composition which  I altered with Distress inks as they were too white. 


I also included a Pocket Watch to remind the one concealed in her pocket. In the photo, we can definitely make out the chain. 


To finish, I splattered the background with glitter mixed with gel medium and water. 

Dusty Attic products:

Other products:
  • Paper - 49 and Market (Charcoal - Paper #2; Ephemera Bits);
  • Flowers - 49 and Market (Nature's Bounty, Florets);
  • Embossing Powder - Lindy's Gang (Chrome Doesn't Pay);
  • Distress Ink - Ranger (Walnut Stain, Black Soot);
  • Art Ingredients - Finnabair Prima (Winter Glitter Set);
  • Art Extravagance - Finnabair Prima (Frosty Pearl Icing Paste);
  • Art Basics - Finnabair Prima (Clear Gesso, White Heavy Gesso, Soft Gloss gel).

Tuesday, 4 April 2023

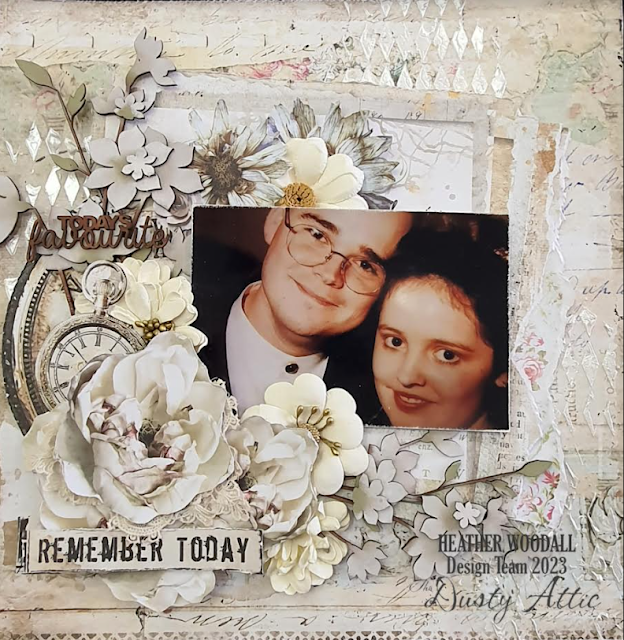
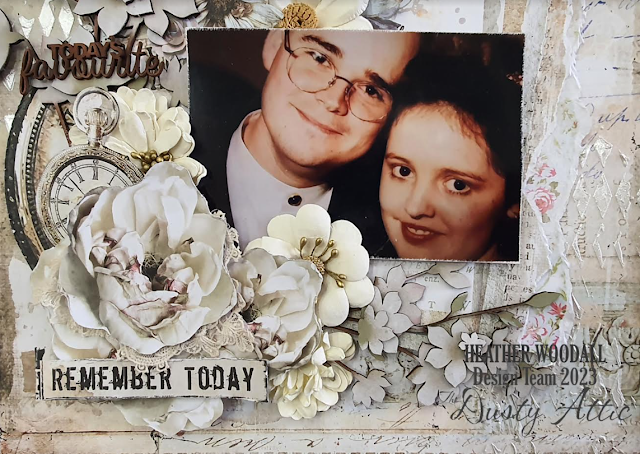
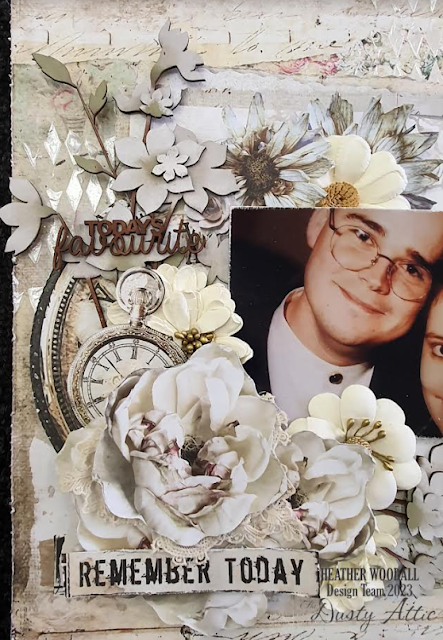
Today's favourite - Heather Woodall

 Good morning. This time I've gone with a creamy beige theme for my layout to keep it all very neutral and subtle.


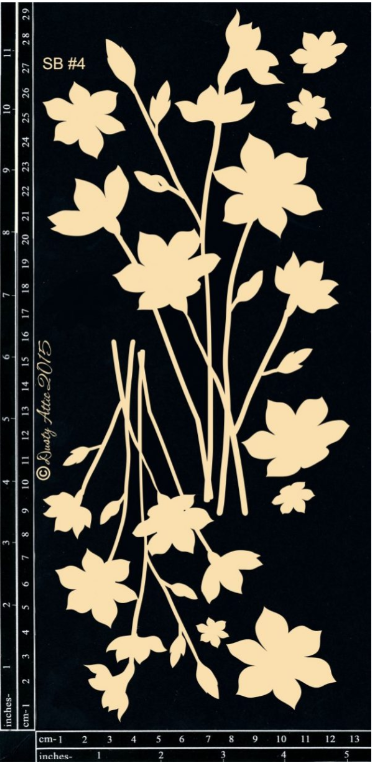
I chose the Spring Blooms #4 Dusty Attic Chipboard out to play with this time. I loved the size and how much is in this pack.


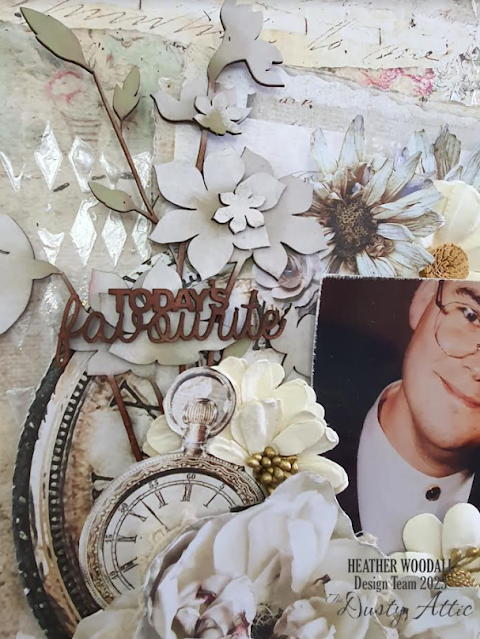
I was going to use my Prismacolor pencils to colour them, but after I went through my stash of papers (I'm trying to use up what I've got stored away), I decided to just use really soft colours of ink on them applied with a dauber. I've used brown ink on the branches, a sagey green (yep, technical term) and a soft pink on the petals.

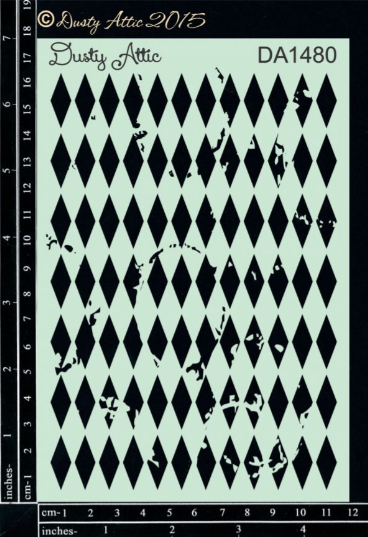
Once I figured out roughly where I wanted everything to go on my page, I started by applying Ranger's Texture Paste Metallic White through the Dusty Attic Distressed Diamonds stencil (DA1480E). I did sprinkle some very fine glitter over the top of the texture paste while it was still wet. Unfortunately, no matter what I tried I couldn't get it to show clearly in a photo.


I then re-assembled my page, but this time I stuck it down using a combination of levels of foam tape to give height. I even pulled out my box of 49 and Market flowers, and my box of old pieces of lace to tuck in and around the page.


The title I very simply just used the same brown ink that I had on the flower branches, and then once dry I added just a hint of gold wax.


Thank you again for following Dusty Attic and all of the design team's designs.

Heather


Wednesday, 8 March 2023

Live Beautifully - Rikki G - Mood Board Inspiration


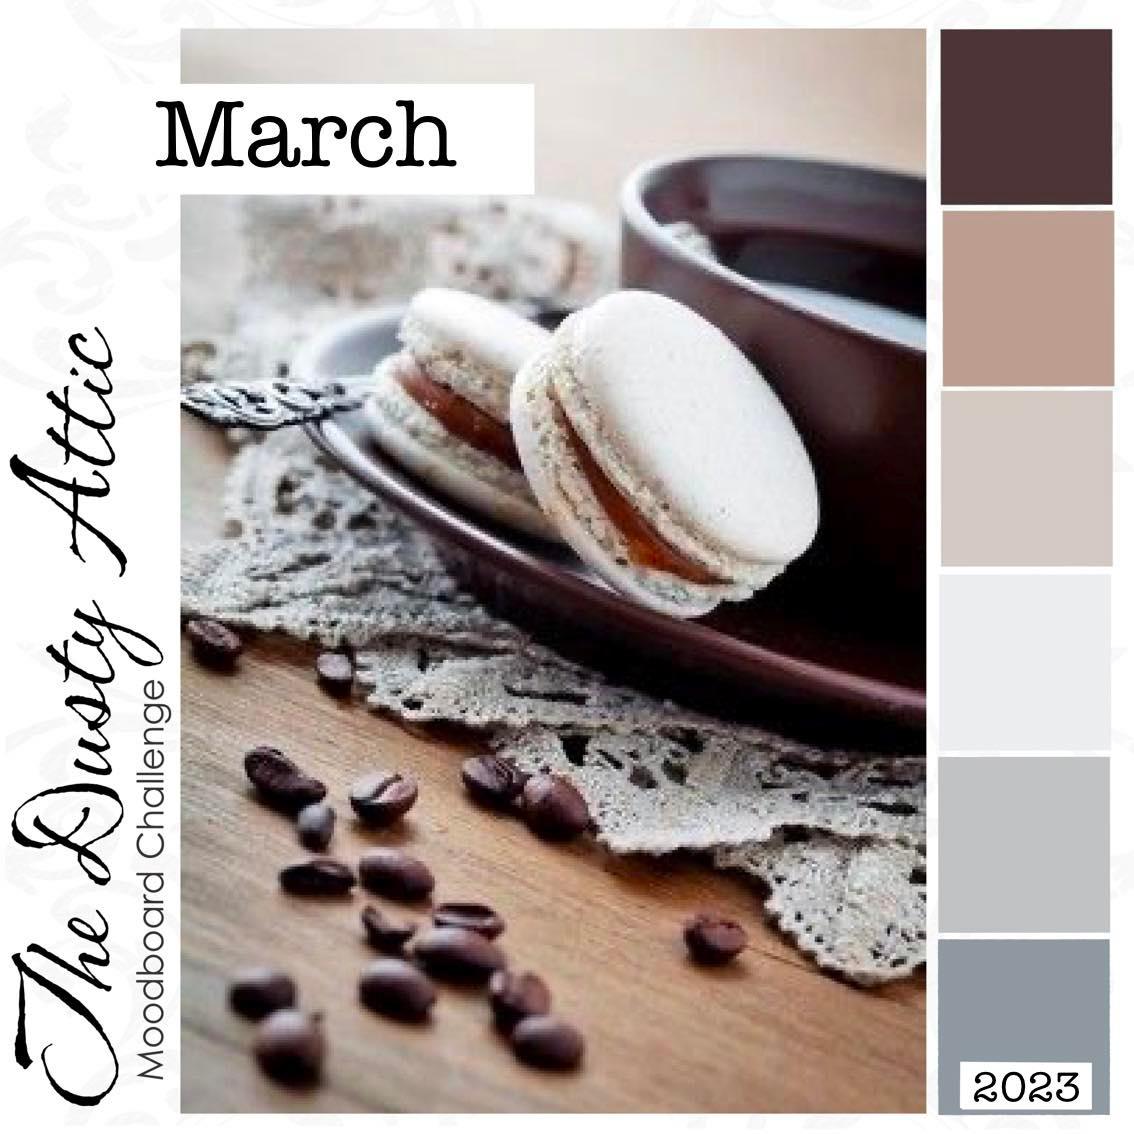
Good morning how are you? Wow March already? "It true the saying blink and you will miss it", that has been the last two months right? 

Well with that in mind a new month means another stunning Moodboard challenge from Dusty Attic.


Have you ever had a heap of bits and smaller pieces of chipboard, and wondered how can I link them to make them into a larger piece? An impact piece? Well this is the layout for you !

After going though the stash after spraying them all white I realised I had used most of my major, larger pieces of Dusty Attic Chipboard.

So the task how to put them altogether so they make a large impact.


Foam tape or left over chipboard will be your friend in the process its important so stems and layers can be added so it seems seamless.


To start off stick your photo down , then find some fussy cutting or ephemera and I added three clusters along the bottom they act as an anchor point.

Start with your largest piece of chipboard like the Spring Blooms. I have placed them starting on the righthand side. 

Everything feeds from that, now its just about placing pieces in and around them.


Add the Branches and Berries to cap of the cluster.


Now for the top left hand corner, I didn't have any Spring Blooms left, so in Foliage Cluster #3 there's a piece is similar, so it give your layout some symmetry and it ties in similar shapes.


Once you happy with all your chipboard add some art stones or prills throughout the layout.

Now you can choice to leave it like that but there's nothing better than getting a little messy. 

So grab your inks and a water bottle, and yes I am aware that there's a photo stuck - loosely cover it as you want all your layers to tie into together.


Dont have enough circle bits? Cut them up and scatter through out the layout, to make some broken patterns, and on the plus side it gives places for ink and art stones to gather adding to the overall look of one large piece of chipboard.


I hope that inspires you to play with your smaller pieces of chipboard, till later on in the month, with the sketch reveal. 

Have a creative day.


Foliage Clusters #2


All you need to do is add your take of the challenge into the comments section on the Dusty FANattics Facebook page HERE for your chance to win one of two amazing $50 Credits to choose any. 

Good Luck and have fun creating.


Friday, 11 November 2022

Heart 2 heart - Rikki G - Mood Board Inspiration

Good morning how are you? Here today with this months amazing Moodboard for Dusty Attic and wow what a stunner it is for sure just in time for the weather to move into spring getting us ready with those summer vibes.


Now where to start, I started with playing with washi tapes for my backgrounds there is no pattern paper in this layout.... so if you have washi tape why dont you play with some and get creating. The next step is adding the butterfly rub ons over the washi tape, I even added some on some clear plastic so I can make them 3d.


Its then time to build up the photo on layers, so you can add a rainbow of flowers, I tried to follow the washi's stripes with the colours of my flowers..... eg red with red, green with green, so on and so forth.


Once your happy with the placement of the Spring Blooms #4 around the photo and inbetween flowers this is the first layer then you start building the second layer the Daisies Small.


Now you add the Laurel Sprigs chipboard to add some flow through the last layers. Add the Mini Cherry Blossoms over the top to finish off the floral layers.


Now we move on to the Ornate Pendants, just focusing on the smaller ones to draw your eye around the layout.


With the Brick Wall Boarder use the center peices and cluster them up near the bottom and top.


Finish off with I mean it feels like a 1000's rhinestones, and yes they are all individually glued on but it is worth it. It can get kinda zen like meditation. This is how you create this layout. I hope this inspires you.


We would love to see your take on our moodboard.  Don’t forget to share your projects on our Facebook page. Why not enter the Mood Board challenge yourself? 


All you need to do is add your take of the challenge into the comments section on the Dusty FANattics Facebook page HERE for your chance to win one of two amazing $50 Credits to choose any. 

Good Luck and have fun creating.