Showing posts with label Scroll. Show all posts

Monday, 10 July 2023

Hold On - Pascale B Scrap

Hello Sweeties,

Today I'm up on Dusty Attic blog with a new mixed media panel.
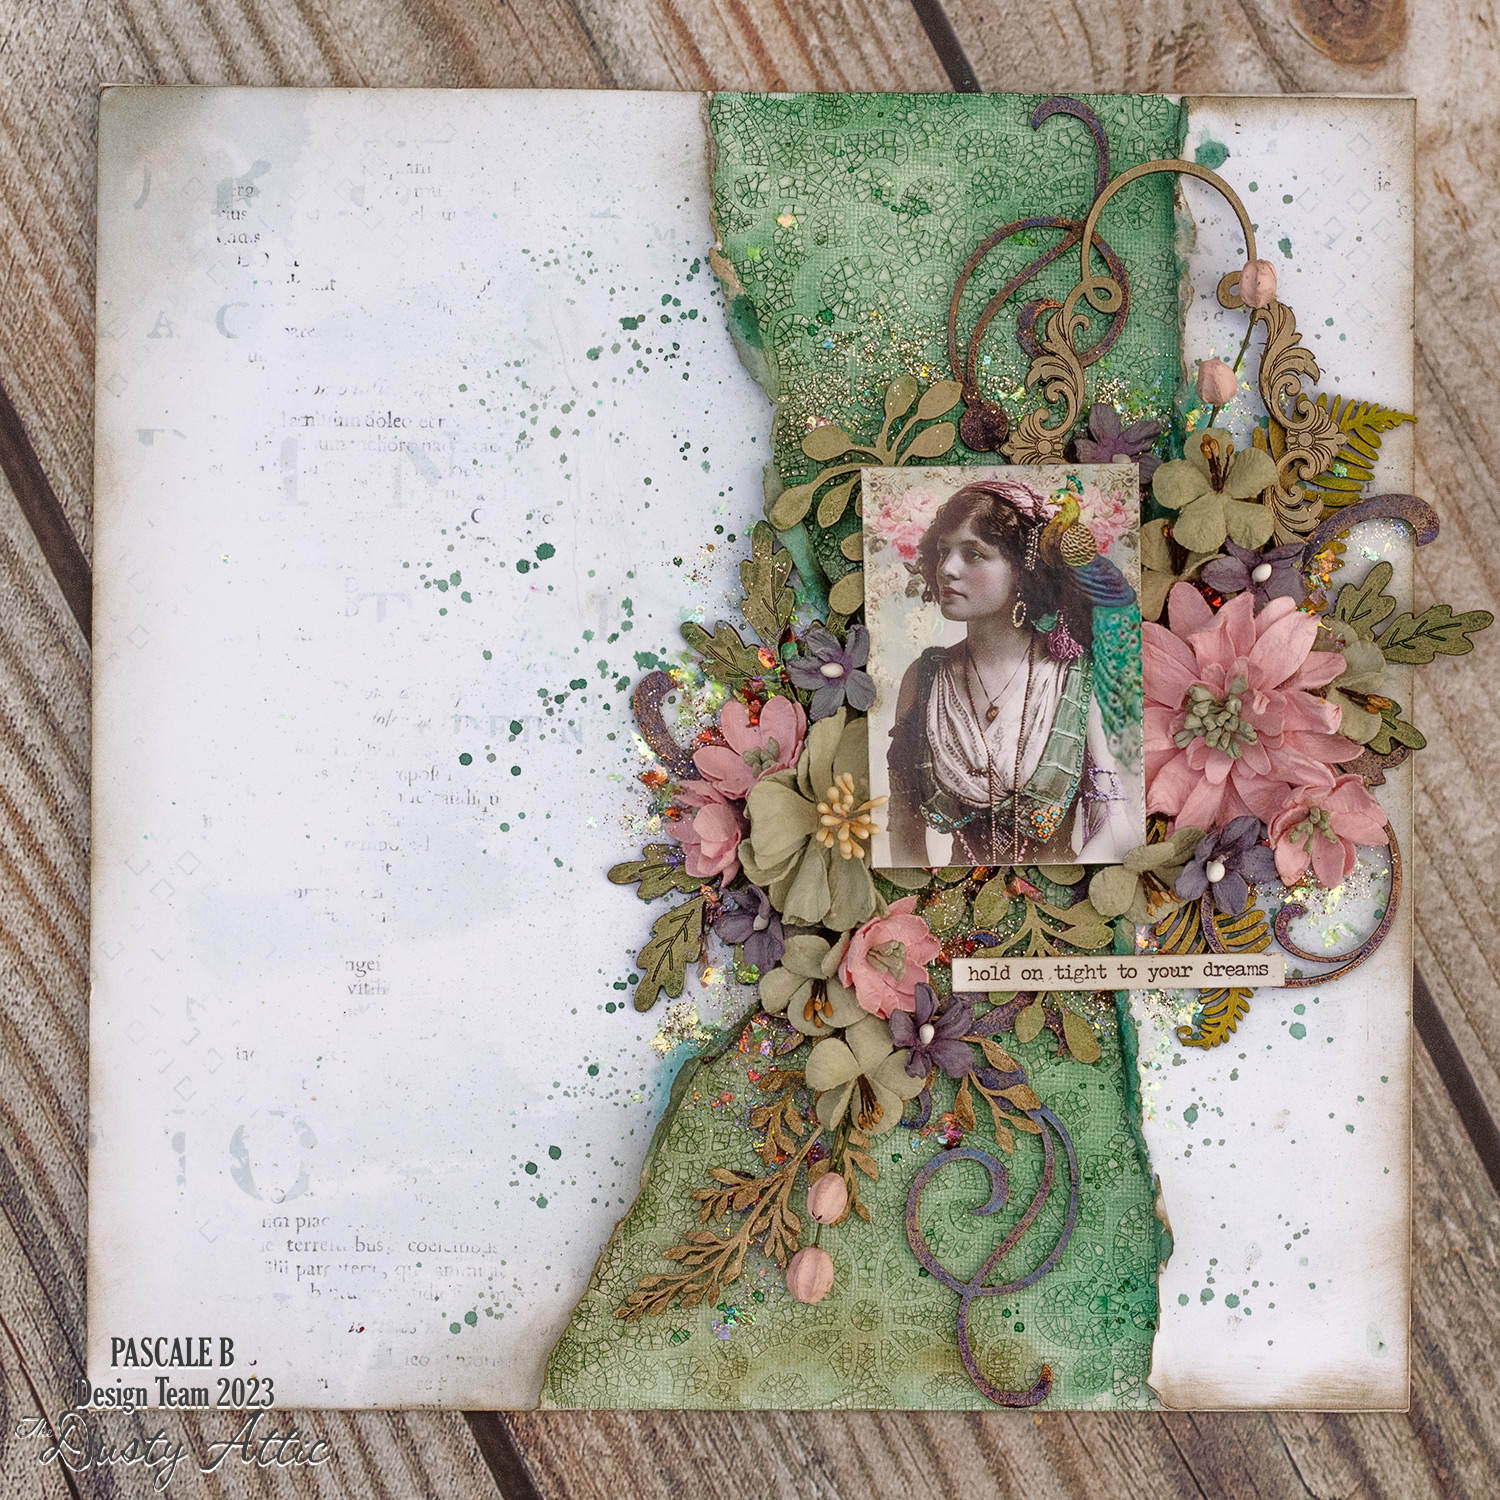

I've selected a piece of paper that I tore in two parts, but before gluing them on the panel, I added a design with clear crackle paste and the Lace stencil. I let the paste dry naturally. 


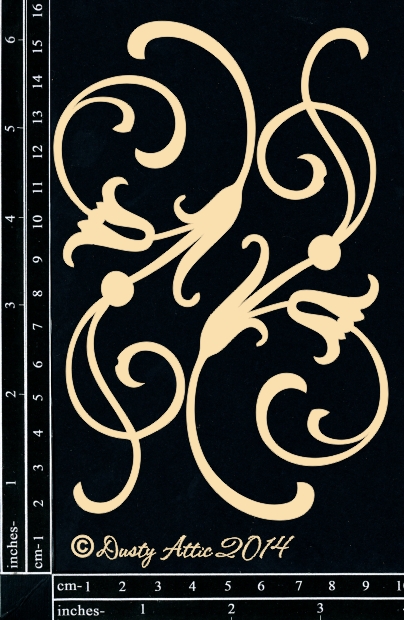
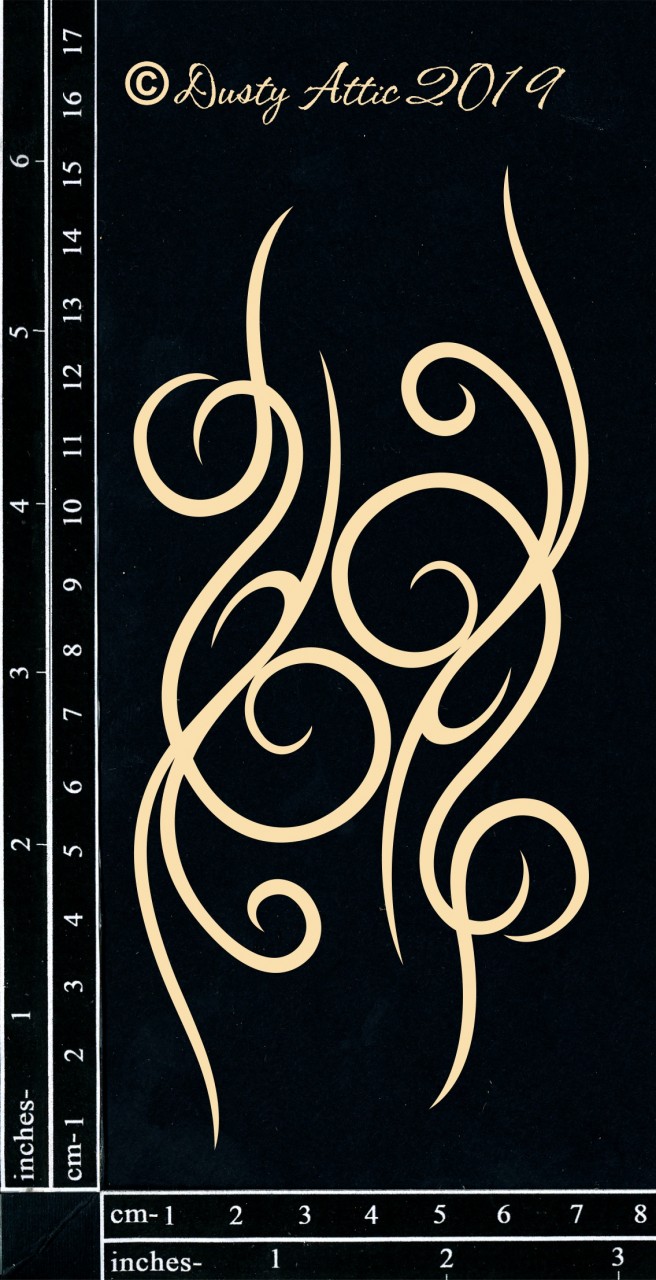
I primed all the chipboard with white gesso before adding any paint. I painted the Small Scroll #2 in Ultramarine and Purple paints, then added Aged Brass wax to remind the color of the peacock's wings. 


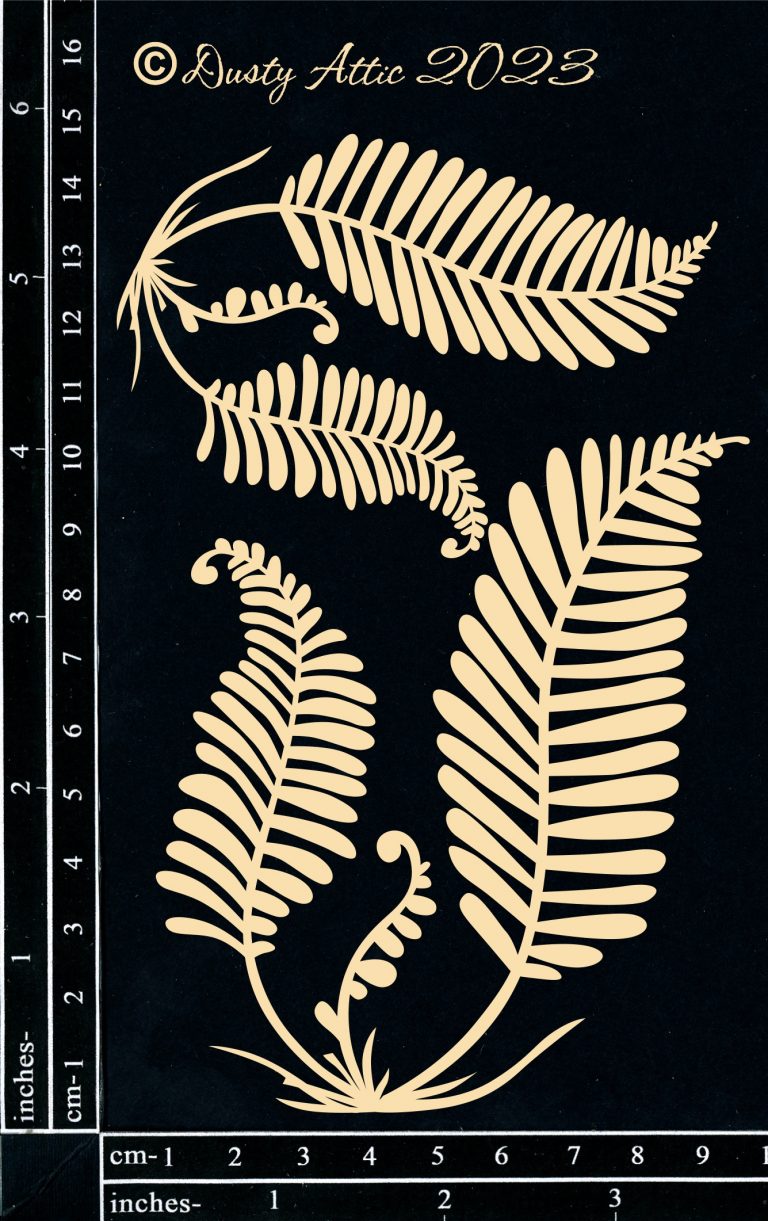
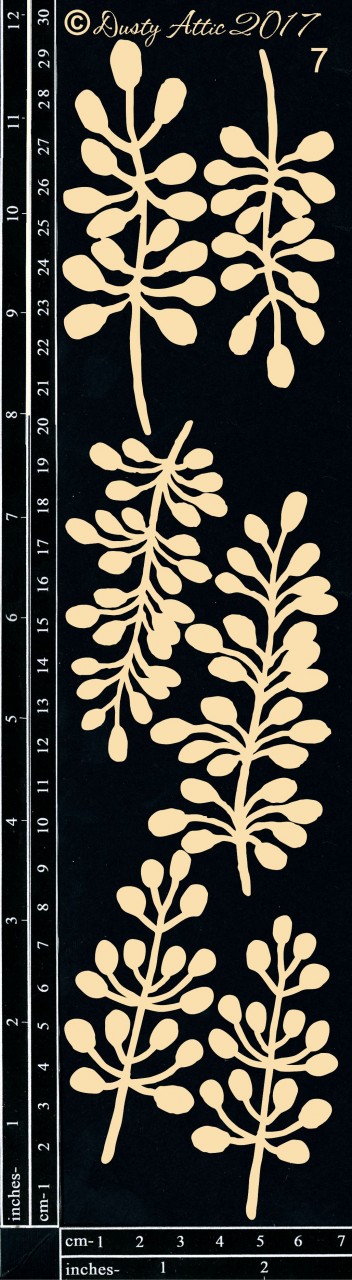
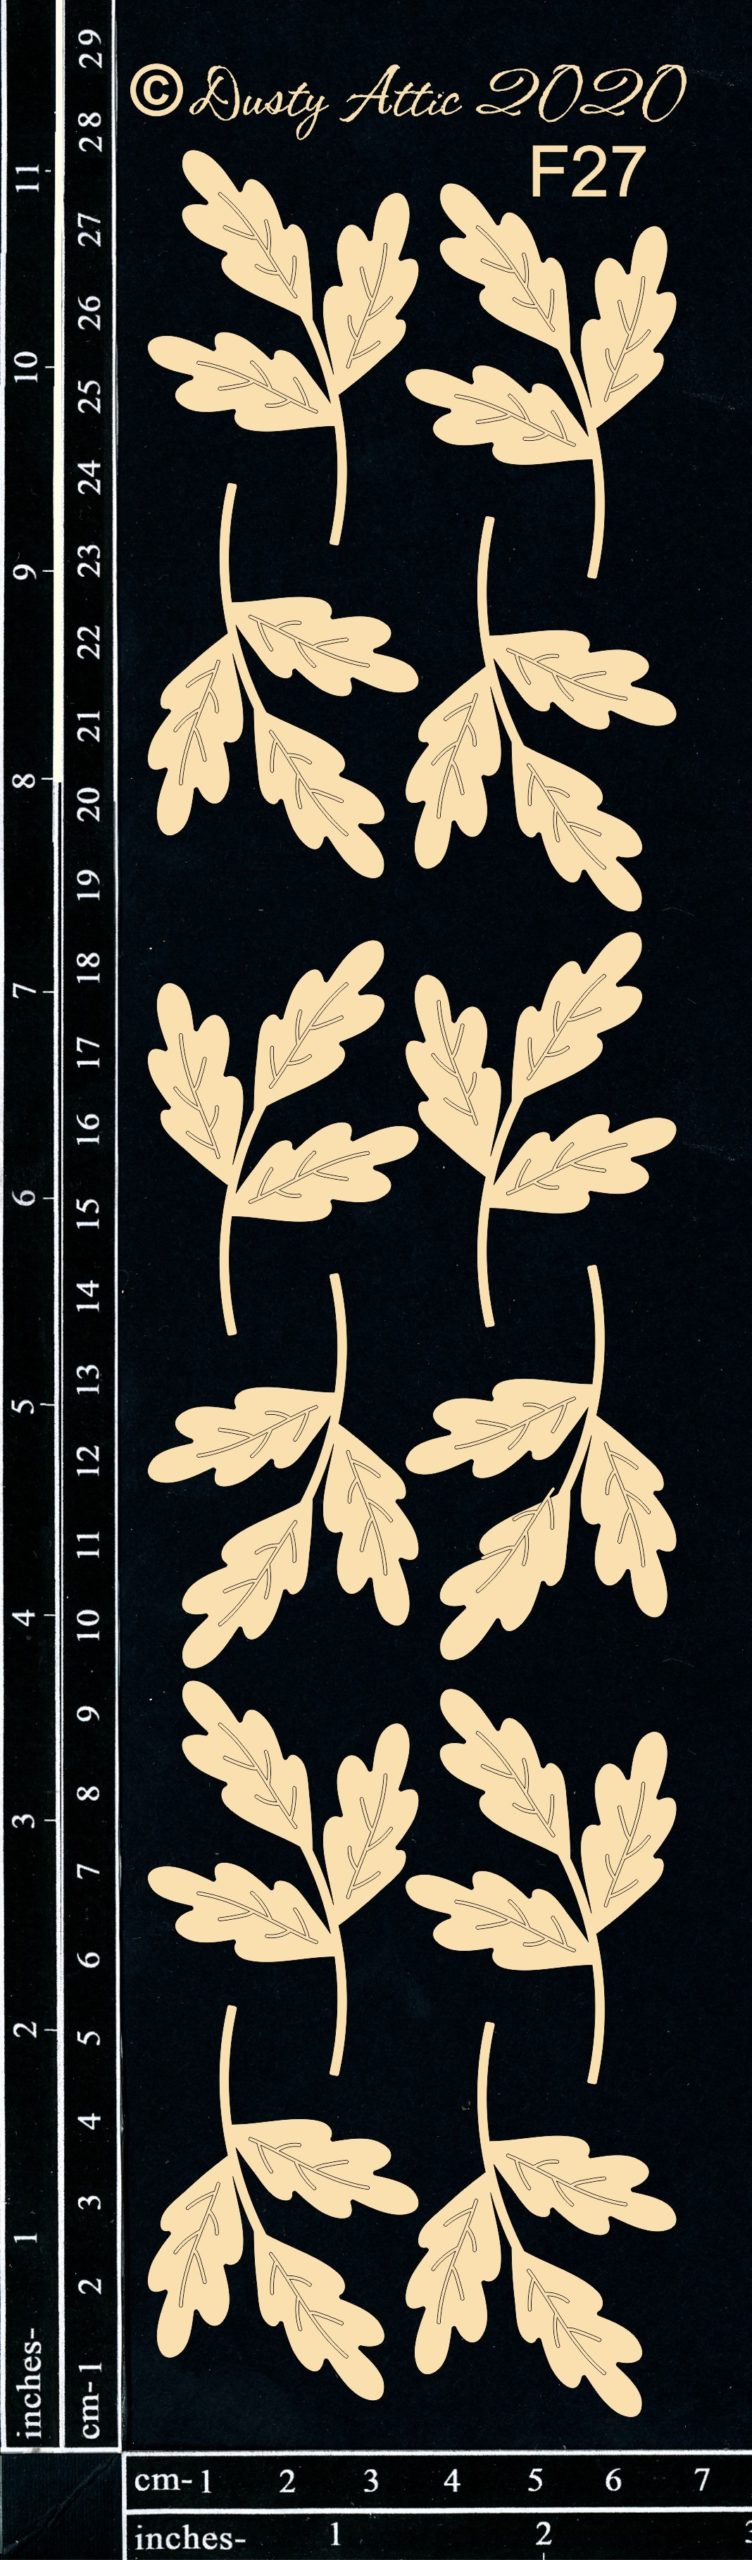
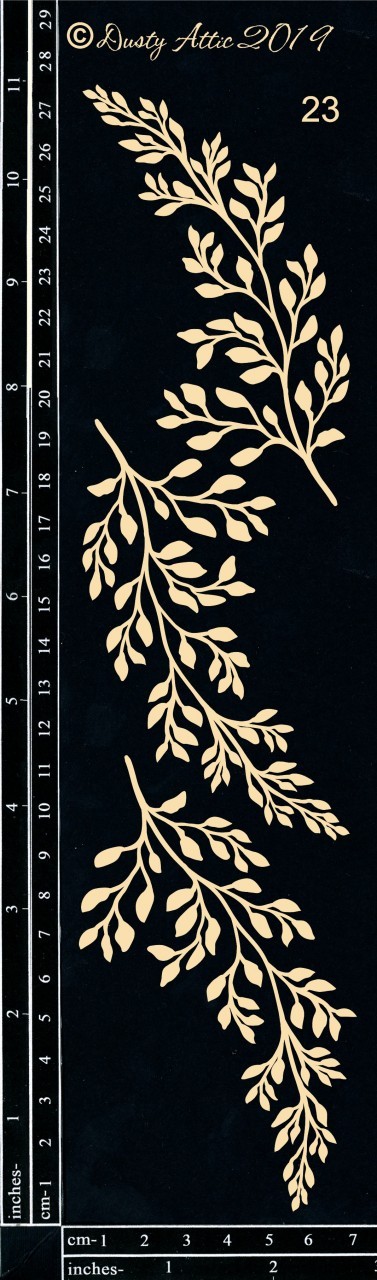
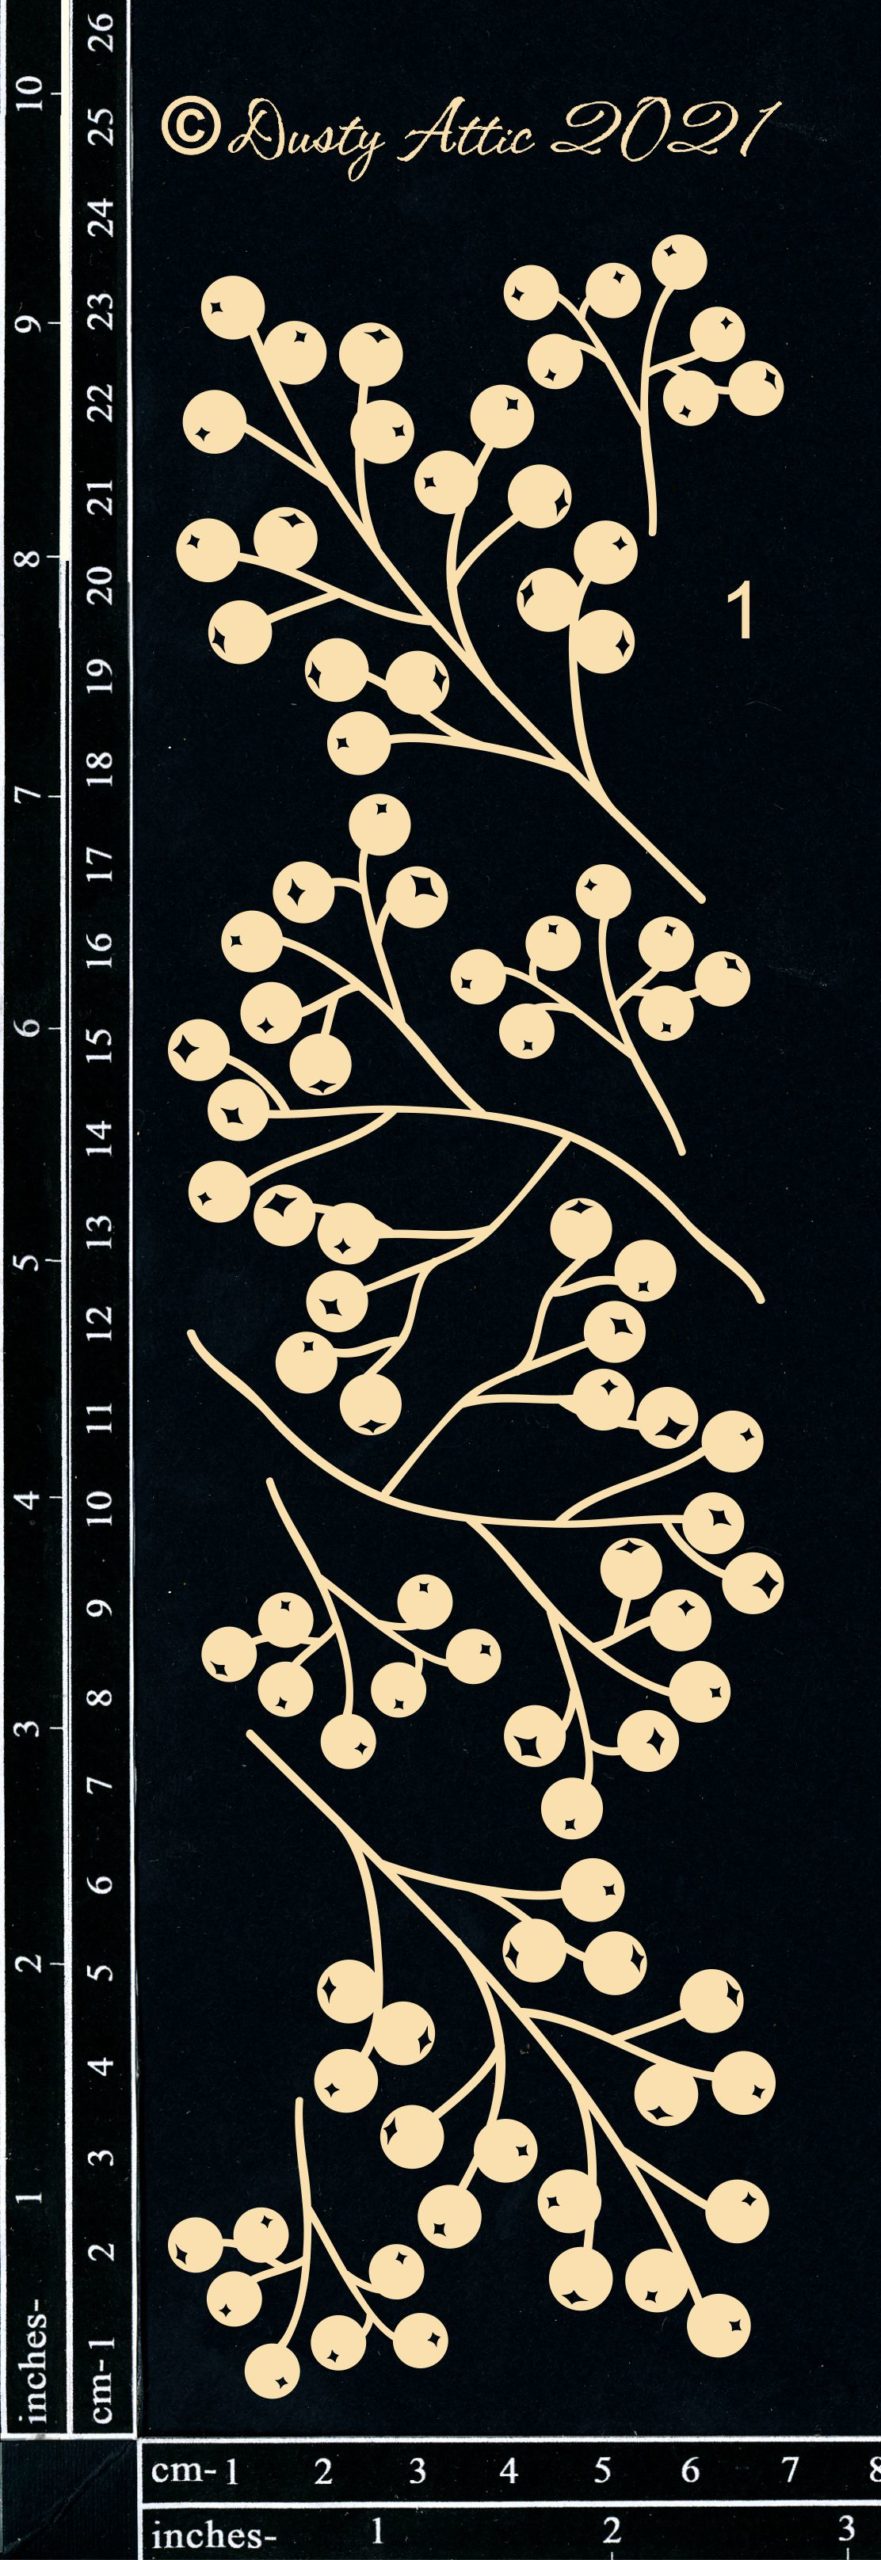
For the Foliage #23, I used the Umber color. The Foliage #27 and Foliage #7 were painted with Emerald and Ochre. Finally, I painted the Forest fern with Ochre and Lime Green to remind the color of the peacock's head and upper wings. 


In the meantime, the crackles of the paste have appeared, it's time to finish the background. First, I glued my torn papers and inked the edges to give them a distress look. When done, I painted the design with green and brown liquid acrylic paints.


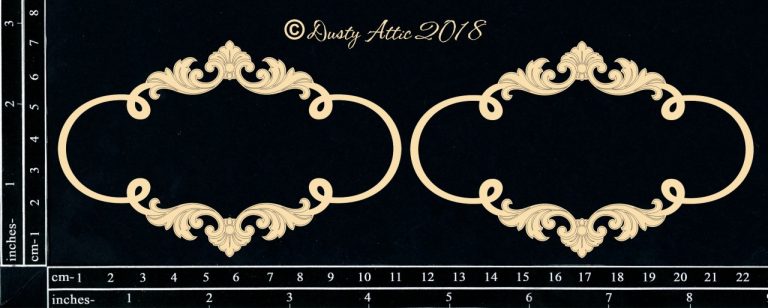
I painted the Decorative Frame #2 with Umber, then I added White Gold wax.
When happy with the result, I glued all the elements of the composition with a 3D gel. 


To finish, I added some effect paste, mylar flakes, and glitter.


Dusty attic products:
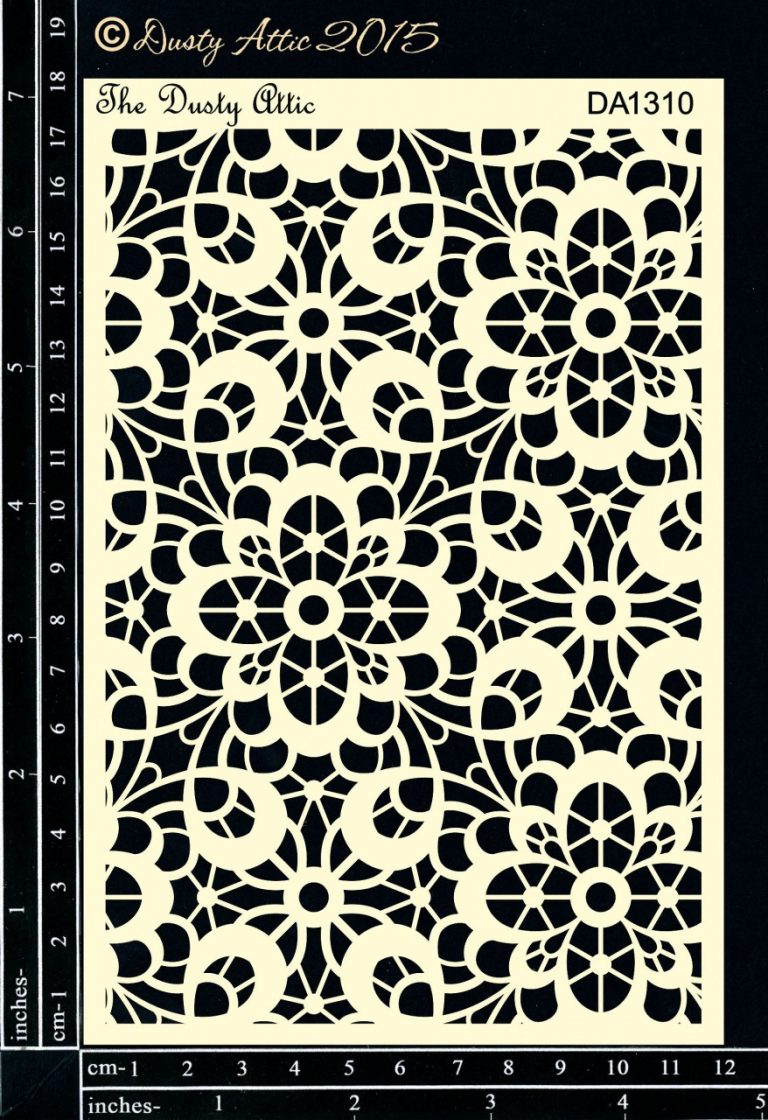

Lace Stencil
DA1310


Forest fern #1
DA3465


Small Scroll #2
DA0335

a
a

Foliage #7
DA17116


Decorative Frame #4 small
DA2253

Foliage #27
DA2784

Foliage #23
DA2594

Other products:
  • Paper - 49 and Market (Color Swatch Eucalyptus: Paper #3);
  • Flowers - 49 and Market (Blossom Blooms: Aloe, Floral Mixology: Galway Grey, Garden Petals: Ballet Slipper );
  • Art Ingredients - Finnabair Prima (Luminous Glitter Set);
  • Art Alchemy Liquid Acrylic Paints- Finnabair Prima (Emerald, Advocado, Lime Green, Umber, Ochre, Purple, Ultramarine, Ink Back);
  • Art Alchemy Waxes - Finnabair Prima (Aged Brass, White Gold);
  • Art Extravagance - Finnabair Prima (Clear Crackle Paste, Magic Potion Effect Paste);
  • Art Basics - Finnabair Prima (White Heavy Gesso, 3D Matte Gel, Soft Gloss Gel).
Saturday, 5 November 2022

Elegant Dragonfly - Judith Tijsen

Hello there Dusty Attic fans,

Everywhere you see beautifully decorated pumpkins popping up. 
And I really love them.
So of course I couldn't stay behind and made one myself.


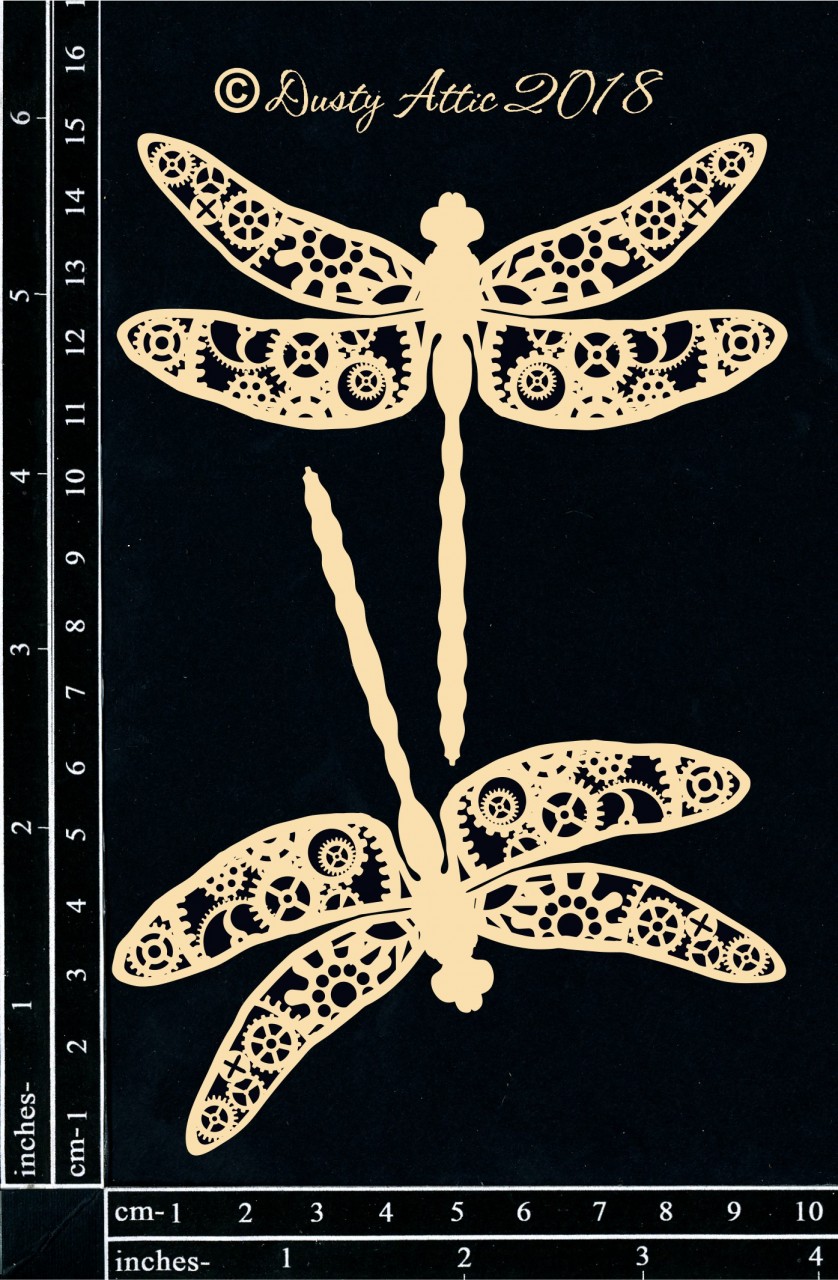
My pumpkin is also loaded with all sorts of embellishments, including flowers, leaves, berries, swirls, and Dusty Attic's beautiful dragonfly.


And for an extra chic look and some extra color I added some rhinestones.


I used the following Dusty Attic chipboards:


XXX  Judith


Monday, 23 August 2021

totally AMAZING - Michelle Van Oudtshoorn - Mood Board Inspiration

Hello everyone

Back on the blog today with my layout created inspired off the August moodboard

And here is my layout 

This is my gorgeous niece - probably a good 5 or so years ago. 
I have used a paper from 49 and Market Vintage Artistry in Lilac and fussy cut the flowers from the 8"x8" Irrevocable Beauty pack. 
First I applied black gesso to all my chipboard pieces. Once dry I brushed over the pieces with Metallique waxes.

I began my layout using the Brick Wall DA2871 chippie - with the flat side under the photo and then adhering my photo on top of these.

Adding the flowers and then adding the DA0335 small scroll - these were cut up to fit with the layout. I layered the fussy flowers and tucked the mini lace border DA2527

I have added a smaller key to my heart DA1214 with ribbon between the flowers


I have also added a definition "delight" DA2942 - there are a wonderful selection of definitions - and these are really super to enhance layouts 


Once all the flowers and elements were complete, I added the title "totally AMAZING" DA2039


Come take part in the August moodboard challenge and enter your project on the Dusty FANattics facebook page for your chance to win one of two $50 vouchers of Dusty Attic chipboard.

These are the products I have used:


Thank you for visiting the blog.

See you again soon,
Michelle


Sunday, 3 May 2020

Live life by a compass, not a clock - Tina Ollett

Hi there Dusty Attic friends. Tina here with you today to share a personal project. 


My project for this month came about solely from one little itty bitty piece of chipboard.  It was the Quoted Sentiments that I found in my Dusty Attic goodies box from the boss. I am sure she has done this one for me. Absolutely heart wrenching quotes, perfect for seaside projects. And it was the quote "Live life by a compass, not a clock", that really pulled on my heart strings. So this was my starting point, and everything come from that one sentiment. Inspiration sometimes comes from the smallest of things. 


So I had the sentiment, and because this is my personal post I wanted to concentrate on everything Dusty Attic. So I pulled all the pieces and some more I thought I would like to use. They are listed at the bottom for you. The quote speaks of compasses and clocks so of course they were my next chipboard pieces. But firstly I started with a bare background of corrugated Dusty Attic card. These come in 12 x 12 sheets and never before I have I used one as my sole base so this was going to be a little challenging. I primed it with clear gesso and once dried I did some freehand dressing of a spackle using a palette knife. I applied it quite heavily and left it to dry overnight. I gave it another coat of clear gesso and then went to work colouring my piece with acrylics and embossing powders.


I left the base to dry and then went to work by priming my chipboards. Some with clear and some with white gesso depending on the outcome I was looking for. Gold embossing powder was my base for the scrolls. The Baroque flourishes were dressed with two differing embossing powders to give a thick textural look. You will see in the photo below the differing blue powders. Once these  were all done I worked on the placement for each piece. I didn't use any matting for my photo, I simply sanded the edges and then swiped some acrylic paint around also. The photo was mounted up on some old chipboard outers from my stash.


I absolutely love the etchings in the Baroque flourishes. So I did my best not to cover these and left the pieces shine as much as I could. Eventually I used the flourishes to frame my photo and the sides and then the base. 


I found a half piece of the largest Skeleton Clockfaces. I then cut through the centre of it cutting out partially the numbers.  Again it was dressed similarly to the other pieces like the scrolls. I made another cluster above the clockface piece at the top right of my project. I added the two compasses that were both dressed in medias differently. I popped a couple of the smaller flourishes from the Baroque Flourish #4 set and a couple of flowers to finish off the cluster. 


I also added in some broken pendant pieces from the Elegant Pearls set that were floating in the draw. I added to the top of these some cute little hearts from the heart attack panel. Lastly I added in my Sentiment amongst the scrolls at the base of the project. I finished off by dry brushing some elements and adding in flower pearl, sequins and art stones.
Well that is all from me today. As I mentioned I have added in the products used for this project below. Just click on the links below the product photos to take you to the shop.

Until next time take care and stay safe. 

Tina x


Dusty Attic Products Used