Showing posts with label Porthole. Show all posts

Friday, 10 February 2023

Marine Diorama - Pascale B

Hello Sweeties,

Today I'm up on Dusty Attic blog with a new marine diorama. 


I primed the Porthole with black gesso. I primed the two parts of the porthole with black gesso. I added a piece of acrylic between the two pieces of the porthole. Next, I painted it with Silver Spoon acrylic paint. Next, I used the Rust Effect pastes set to alter the porthole.


I built a box that I covered with white crackle paste. When dry, I colored it with Prussian Blue liquid acrylic paints.


I added a piece of polystyrene at the bottom covered with 3D Gloss gel. While the gel was still wet, I added some sand to mimic the sea bed.


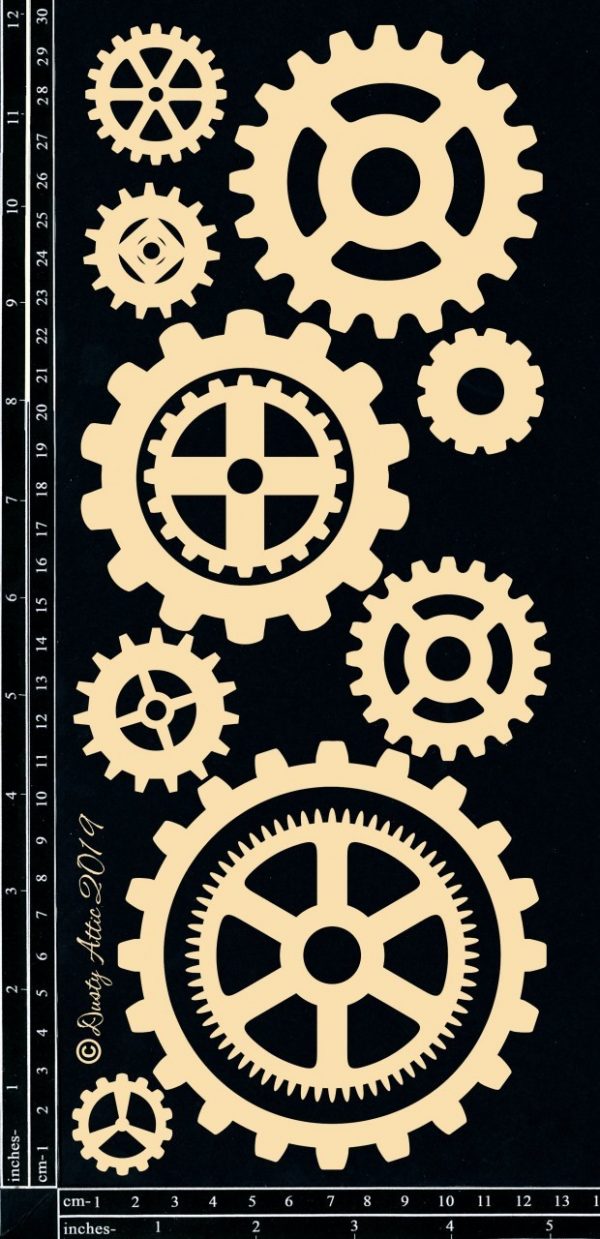
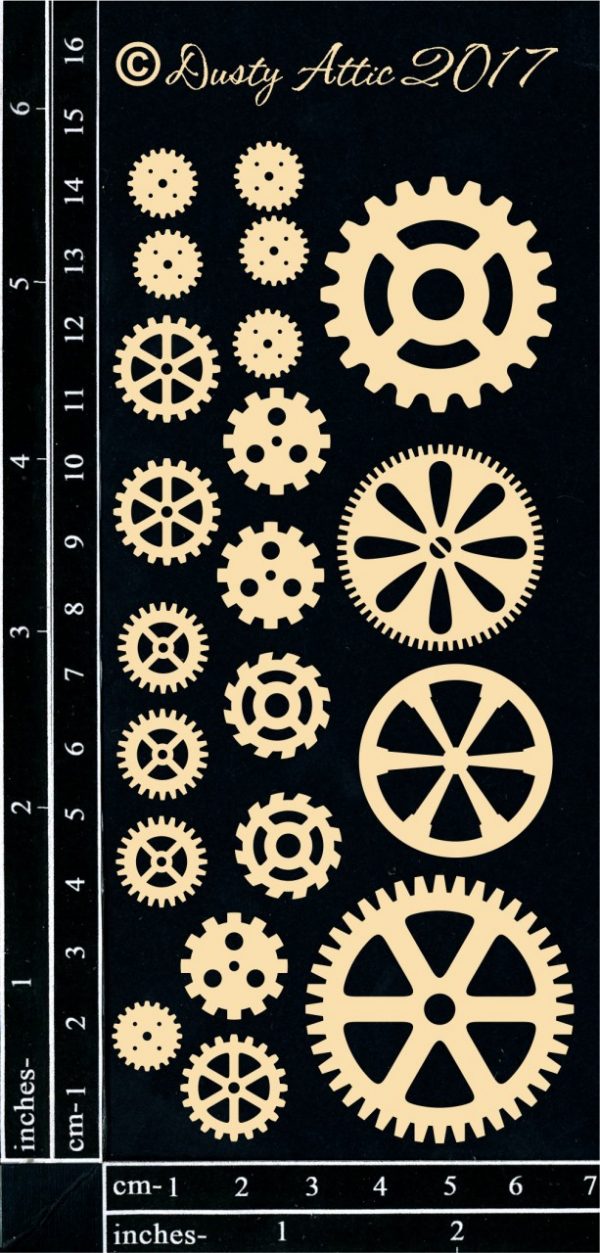
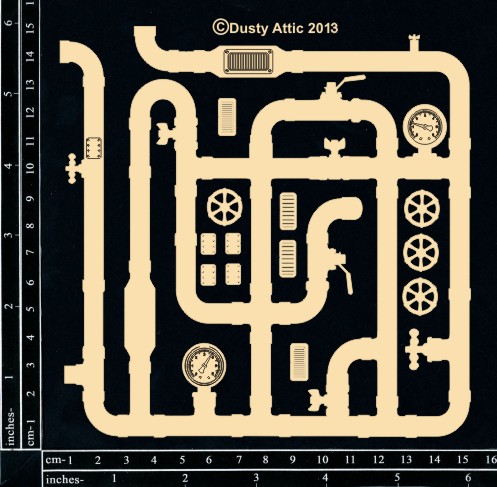
I primed all the chipboards with white gesso and the resin elements with clear gesso. I used liquid acrylic paints to color them and waxes to highlight the details. I covered The Cogs and the Pipe with Rust Effect paste. Next, I added some Brushed Iron wax. I cut the Pipes into pieces which I glued on the side of the box. 


I used a wooden skewer to create an axis between the biggest gear which was glued on the bottom and different sizes of gears. I added the other gears at the front bottom. 


I painted the sea elements with different colors of liquid acrylic paints. I painted the Angler fish with ochre paint, then with diluted silver paint. I glued a piece of toothpick behind all the chipboards to 


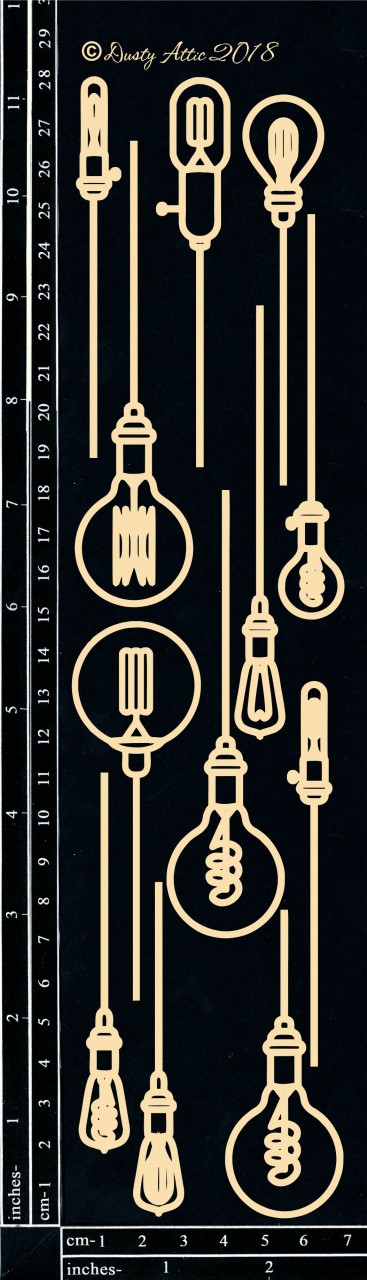
I added a few LEDs around the box and I made sure some of the LEDs reach the Industrial Globes I have glued to the ceiling.


Dusty Attic products:
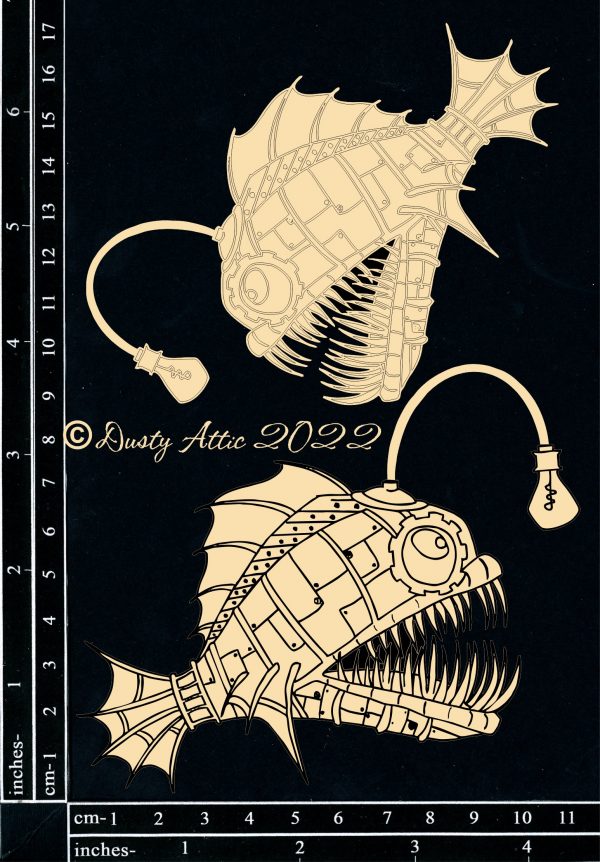


Angler Fish Small
DA3357


Jumbo Cogs#2
DA2501


Mini Cogs #2
DA1932


Industrial Globes #3
DA2184


Pipe Small
DA0985


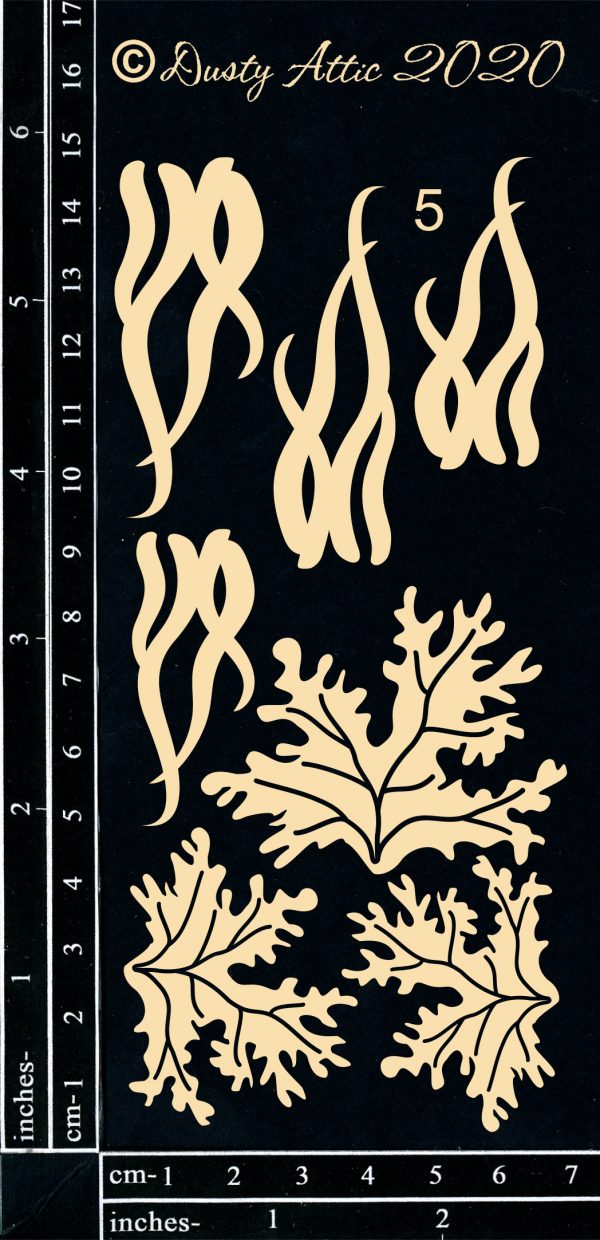
Ocean Elements #5
DA2771


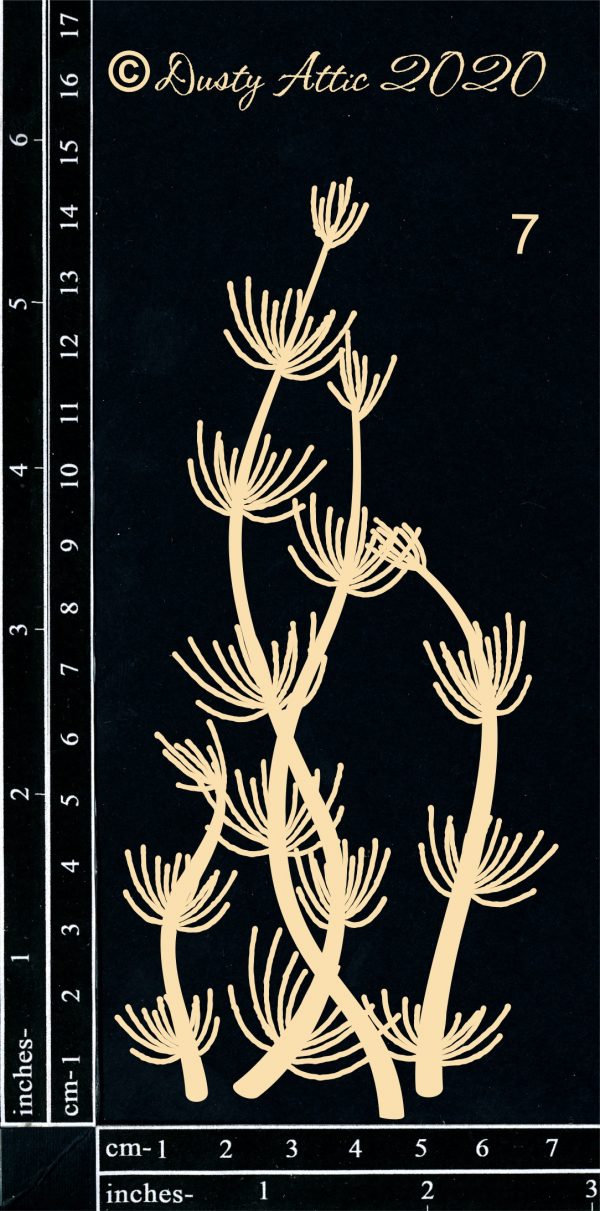
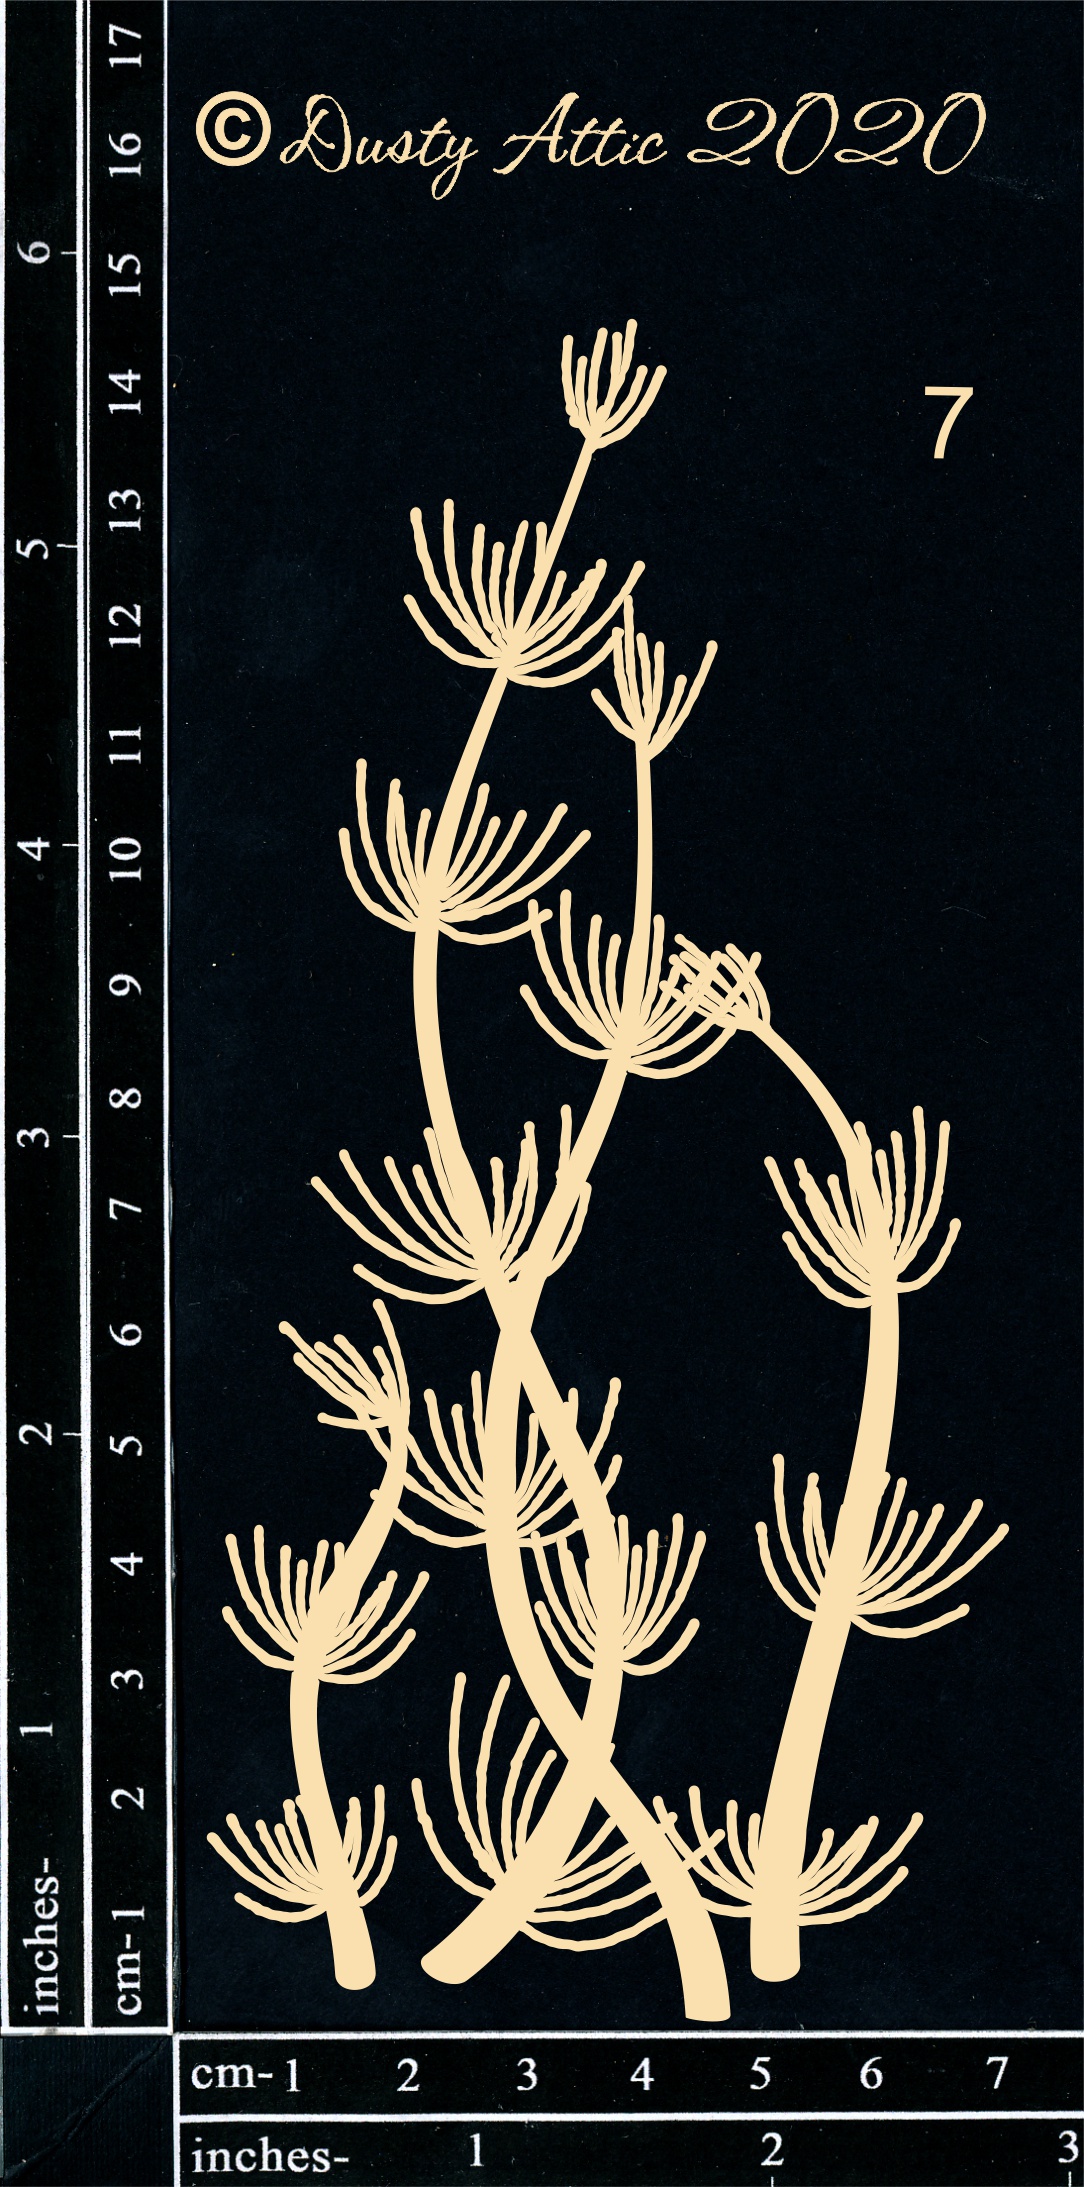
Ocean Elements #7
DA2773


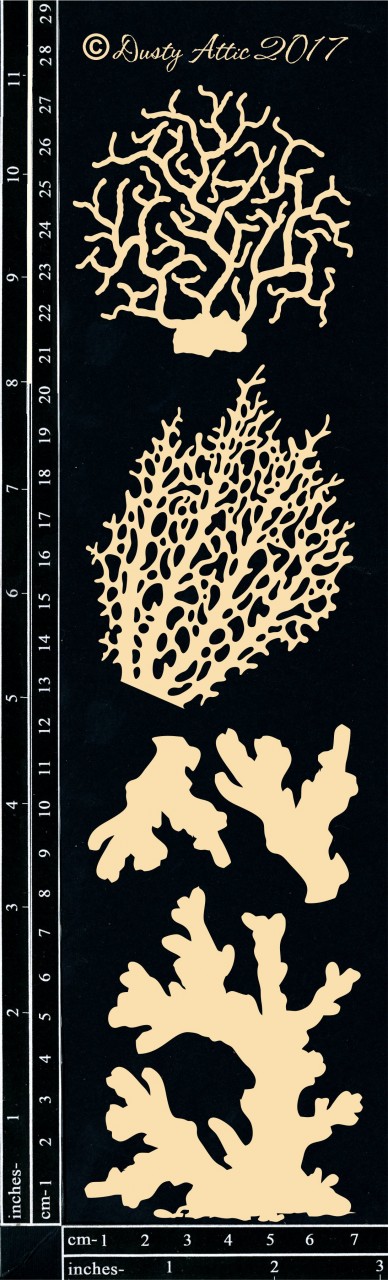
Coral Mixed
DA1919


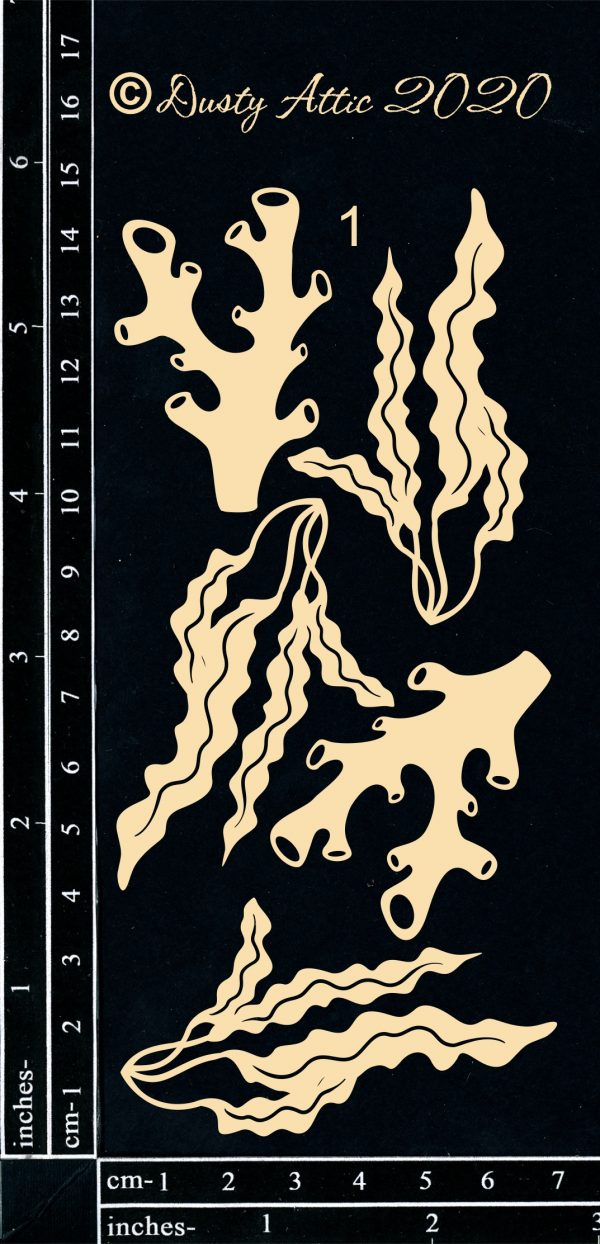
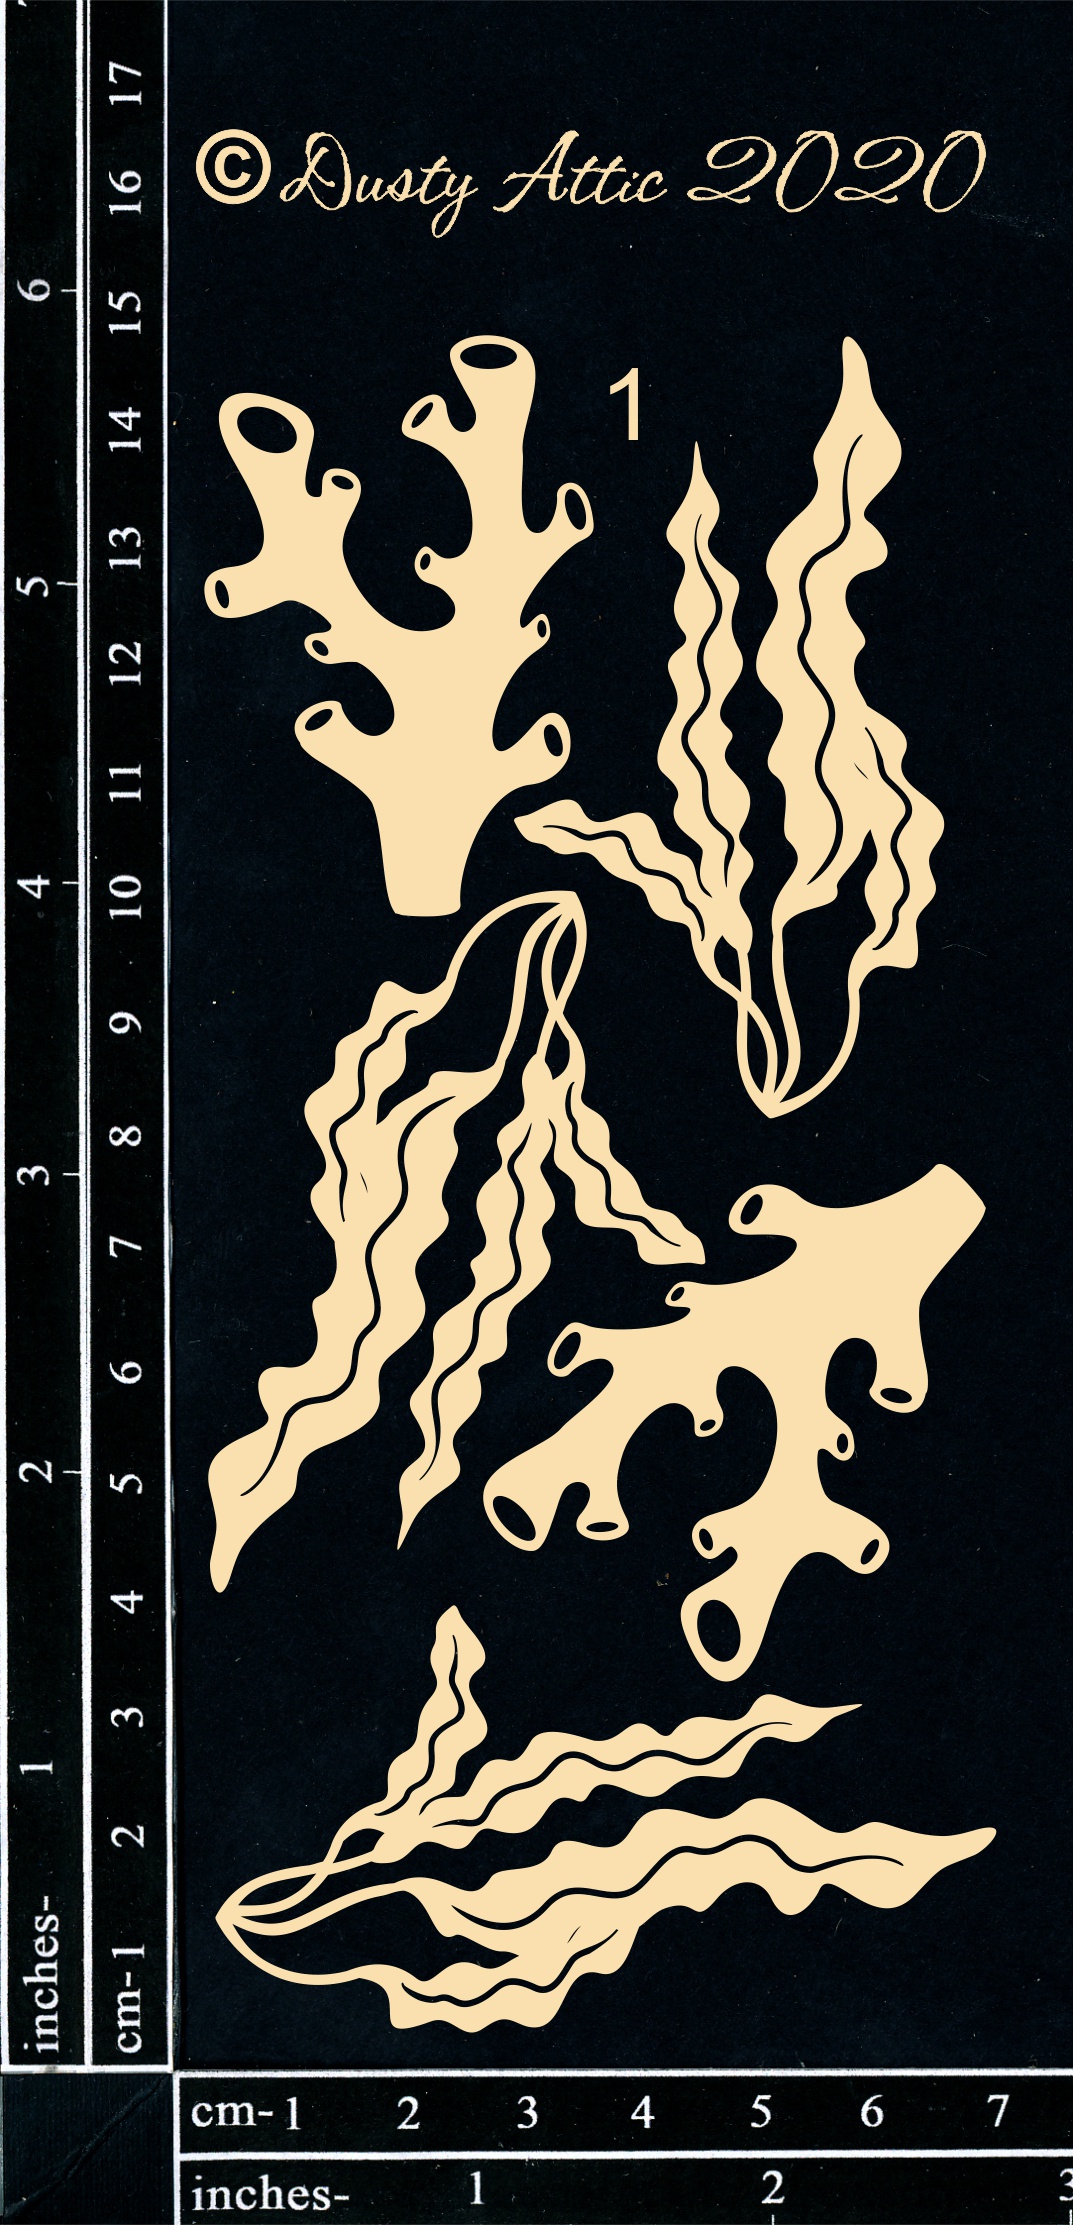
Ocean elements #1
DA2767


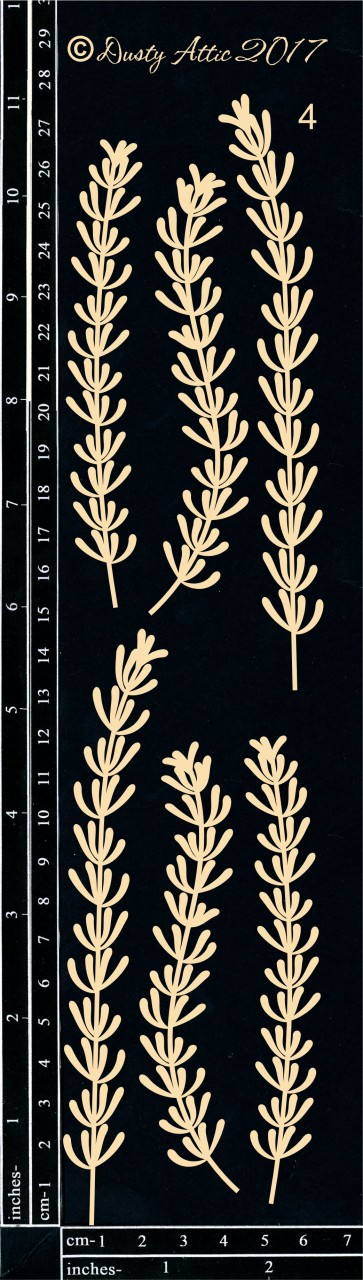
Seaweed #4
DA1916


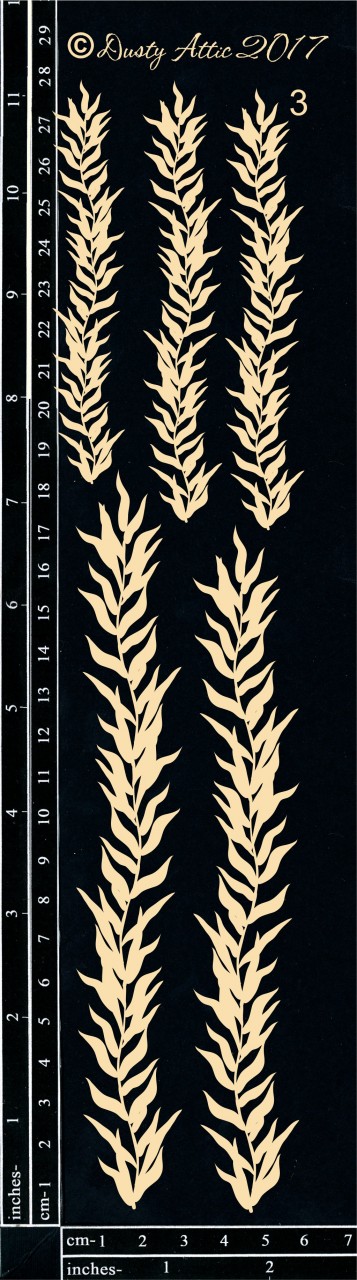
Seaweed #3
DA1912


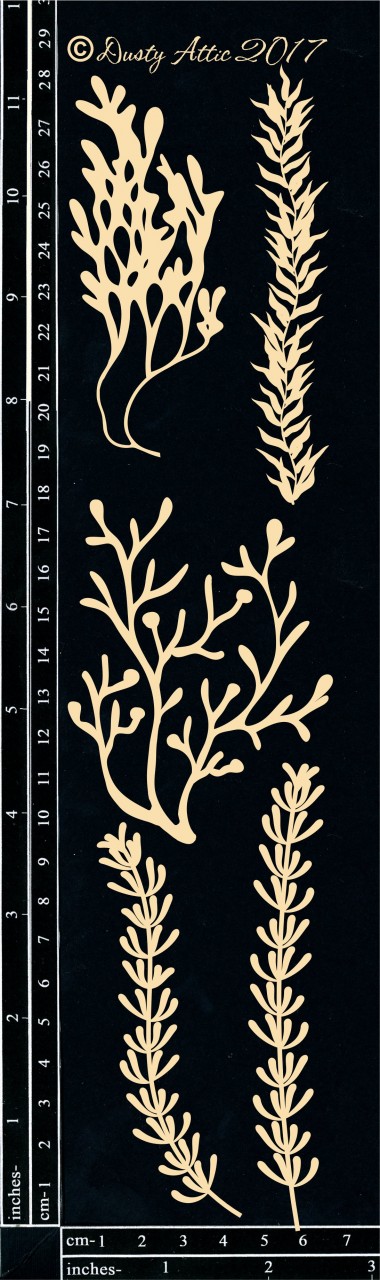
Seaweed #1
DA1910


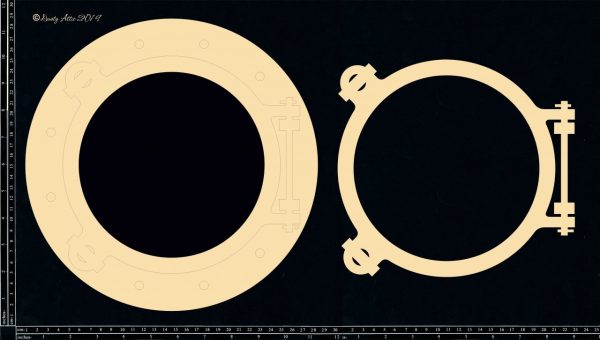
Porthole 11"
DA2578


Other products:
  • Moulds - Prima (Large Gears, Mecha Moth);
  • Art Alchemy Metallic Paint - Finnabair Prima (Silver Spoon);
  • Art Alchemy Liquid Acrylic - Finnabair Prima (Burnt Sienna, Umber, Ochre, Tiger Orange, Carmin);
  • Art Alchemy Waxes - Finnabair Prima (Brushed Iron);
  • Art Extravagance - Finnabair Prima (White Crackle Paste, Rust Effect Paste);
  • Art Basics - Finnabair Prima (Heavy gesso: Black, White, 3D Matte gel, Soft Gloss Gel).
Wednesday, 18 August 2021

Porthole Diorama - Pascale B Scrap

Hello Sweeties,

Today I'm up on Dusty Attic blog with a kind of diorama. Imagine looking through the porthole of a submarine and looking at the sea world. Wouldn't that be amazing!


I primed the two parts of the porthole with black gesso. I added a piece of acrylic between the two pieces of the porthole. Next, I painted it with Silver Spoon acrylic paint. Next, I used the Rust Effect pastes set to alter the porthole. Finally, I added some Old Silver wax.


I built a bottom which I covered with white crackle paste. When dry, I colored it with different shades of blue liquid acrylic paints.


I primed all the sea chipboards with white gesso and the resin elements with clear gesso. I used liquid acrylic paints to color them and waxes to highlight the details. I covered the Coral elements with Iced Crushed paste and Nude liquid acrylic.


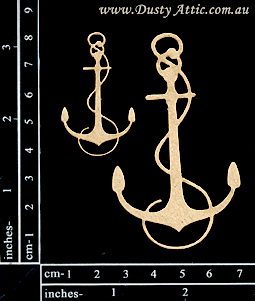
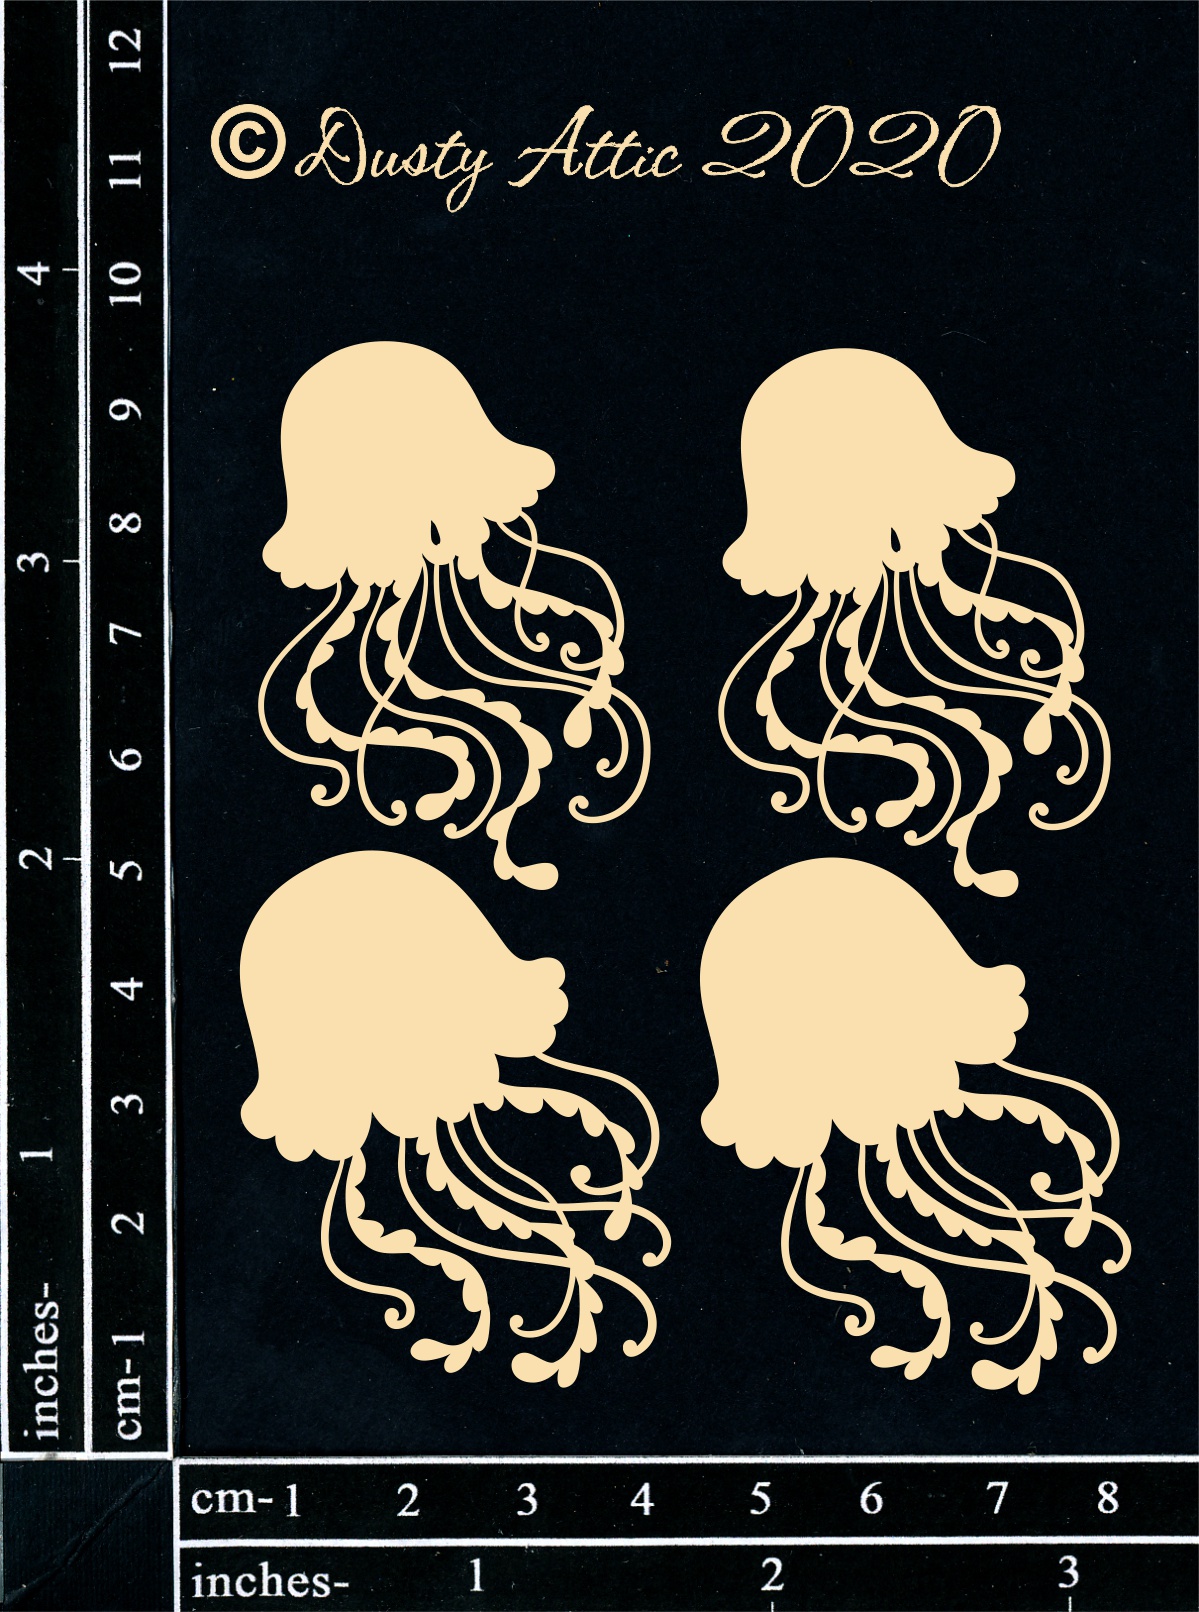
I covered the Anchor with Rust Effect pastes, added a little bit of Old Silver wax, and added jute cording. I covered the painted Jellyfishes with Glossy Accent. I glued a piece of toothpick behind all the elements. 


I added a piece of polystyrene at the bottom covered with Paper paste. While the paste was still wet, I added some sand to mimic the sea bed. When done, I glued all the elements in place.


To finish, I added some natural elements like a crab, shells, moss, and starfishes


Dusty Attic products:

Porthole 11"
DA2578
Seaweed Mixed
DA1913
Seaweed #1
DA1910
Coral Mixed
DA1919
Anchors
DA0558
Ocean Elements #1
DA2767
Ocean Elements #7
DA2773
Mini Jelly Fish
DA2778

Other products:
  • Mould - Kate Sue Design (Seahorses);
  • Mould - Prima (Coral Reef);
  • Waxes Art Alchemy - Finnabair (Old Silver, Graphite, White Gold, Rich Copper);
  • Liquid Acrylics Art Alchemy - Finnabair (Nude, Coral, Burnt Sienna, Umber, Avocado);
  • Acrylic Paint Alchemy - Finnabair (Silver Spoon);
  • Art Extravagance - Finnabair Prima (White Crackle Paste, Paper Paste, Iced Crushed Paste, Rust Effect Paste set);
  • Art Basics - Finnabair Prima (Clear Gesso, Heavy White Gesso, Heavy Black Gesso, 3D Matte Gel).


Sunday, 25 July 2021

Porthole Extravaganza - Rikki G

 Good morning how are you all? Rikki here today with another nautical inspired piece this time its a canvas. Have you ever had the most perfect piece of chipboard in your stash, but you held onto it knowing that your wanted to do the ''perfect'' thing with it? 

I have, the 11'' Porthole has been that piece for me, it has sat with all the other chipboard pieces, wondering if its was its day to get used, well it doesnt have to wonder anymore.........


Like any work, it starts with a great base..... because it was an ocean theme the Scales stencil was the perfect touch to add interest to the background this will also allow all the colours to run and catch and it will act like little valleys for all the microbeads and extra embellishments later on.


Once the texture paste is dried add your colour to your background I used Lindy Stamp Gang Sprays and Magicals and I allowed to dry naturally so the pigment in these to settle and dry into the background, I find that when you heat them they come to the surface and can be too shiny ( I know, considering the amount of bling on it).


While its is drying its a great time to spray all your chipboard white with a spray can.


Now once things are dry add a silicone tape to the first part of the porthole, stick to the canvas, and then repeat the step with the door detail of the the porthole.


Now its just a matter of figure out where you want your elements to go, I did move things several times, and by taking photos it give you a little perspective on where gaps are, which is sometimes hard to see when your not working over the top of it all the time.


Once you stick all elements down its time to spray some colour all over, focusing on all the things your want blue first then onto your brighter oranges and earth tones.


For the background I added foil flakes then added water so the other colours from the canvas would sit above and dull the brightness.


So its all about textures and of course bling look at beads, microbeads, glass flakes and chucky glitters to give you a bumpy, lumpy effect.


If you over heat spray paint it tends to bubbly a little, just for safety reasons please do it in a well ventilated space.


So I hope this has inspired you to use your favourite pieces of chipboard rather than let them sit there.


Porthole 11″ (2 piece)


Jelly Fish


Chains – 4pc


We would love to see your take on our moodboard.  Don’t forget to share your projects on our Facebook page. Why not enter the Mood Board challenge yourself? 


All you need to do is add your take of the challenge into the comments section on the Dusty FANattics Facebook page HERE for your chance to win one of two amazing $50 Credits to choose any. 

Good Luck and have fun creating.