Showing posts with label Garden Tools. Show all posts

Sunday, 30 April 2023

Happy Easter - Adri Du Preez

Hello everyone!

Welcome to the blog today. My April design team layout features beautiful Dusty Attic Easter elements. I have now used all my Easter chippies. This layout is filled with carrots and bunny ears peeking out everywhere.  They are just so cute.

This is my daughter and her family celebrating Easter. 

Here is my layout.


All the chippies were first covered with a layer of white acrylic paint, and then painted with Americana Acrylic paint.

I glued pink cardstock behind the ears of the bunny title.


For the rust effect on the spade and watering can I lightly covered them with white gesso making sure I don't cover the detail. With a sponge brush, I then dabbed the spade and the watering can with Grey Storm, Slate Grey, and randomly with Georgia Clay.


I covered the picket fence with white acrylic paint, Grey Sky, and the edges with Grey Storm.  This was glued on top of the carrots, plant labels, and bunny ears.


ADRI

Dusty Attic products used.


 DA3272 - Happy Easter #1

Thank you for visiting the blog. 

Visit the Dusty Attic online shop for more amazing chipboard designs.


Monday, 15 August 2022

In the garden - Adri Du Preez

Hello everyone!

I am sharing my July design team layout with you, loaded with stunning Dusty Attic chipboard pieces. 

 After what has seemed like the coldest winter in Pretoria, change is finally on the horizon as we are experiencing wonderful weather at the moment.  I am sure spring is on its way and I have never been more ready.

This is my grandson Janco helping me plant seedlings.

For this layout, I used paper from the 49 and Market Curators Botanical collection.

Here is my layout.


I used bookplates and tabs from the Curators Essential collection to create a booklet and stamped it with a coffee stain stamp. 

Chipboard pieces are always painted with Americana Acrylic paint unless otherwise stated.

Both titles were covered with white gesso before being painted with Hauser Light Green and Cool Blue, then dry brushed with white acrylic paint.

Bugs, ants, and spiderwebs are essential to a garden and were painted with black acrylic paint.  The spiderweb was dry brushed with silver acrylic paint.


The flower clusters are made up of a variety of pretty blooms and die-cut foliage and flowers.  I also used the Foliage Clusters #2, a new addition to the beautiful foliage collection.  The foliage was first covered with white gesso and then painted with Hauser Light Green and Cool Blue and dry brushed with white acrylic paint.  I snipped the foliage into pieces and tucked them into the flower clusters. 

The wood slices were inked with brown and black ink and dry brushed with Plantation Pine for a moss look.


The birdhouses, butterfly, plant label, and seedlings in the wheelbarrow were first covered with white gesso and then painted with Hauser Light Green, Cool Blue, Pineapple, and dry brushed with white acrylic paint.


I covered the garden tools with black gesso and Burnt Umber and dry brushed them with Mont Marte Metallic acrylic paint in Silver.  


For the rust effect on the wheelbarrow and watering can I lightly covered them with white gesso making sure I don't cover the detail. With a sponge brush, I then dabbed the wheelbarrow and the watering can with Grey Storm, Slate Grey, and randomly with Georgia Clay.

The flower pots were randomly covered with coarse texture paste.  I then painted the posts with Traditional Burnt Umber and Georgia Clay.  For the moss on the pots, I used Plantation Pine and Hauser Light Green. Twine was also glued to the pots.


D


The final touches to this layout included art stone and splatters with diluted white gesso.

 Dusty Attic products used.


Thank you for visiting the blog today.

Happy crafting!


Friday, 20 August 2021

a little DIRT never hurt - Lynette Jacobs

Lynette here, welcome to the blog today.  I have the pleasure of sharing some inspiration for August.  I used some photos of my youngest grandson playing in the dirt in the garden.  I love all the expressions in his little face...he has so much personality.  I used patterned papers from the Heidi Swapp Carefree collection.


Chipboard used on this page:


Some close up details:
I love the earthy tones of the Heidi Swapp Carefree collection.  They compliment these photos perfectly.  I heat embossed the main title with copper embossing powder.

These little gnomes are just darling...I painted them with acrylic paint...the gnome sentiments are just perfect too.  I used a Sizzix leaf die to add extra colour behind the gnome.

I heat embossed the chain rectangle in copper to showcase the photo where Eben pulls his face.  He has so many expressions.

I added another little gnome to the left side of the photos.  The label was added to give some separation from the background.

The trowel and bucket was also painted with acrylic paint.  I added the leaf dies and gnome sentiments to all three clusters for continuity.

There is really gnome one like him. ♥

I am really very happy with the way this page came together.

Thank you for visiting the blog.  Visit the Dusty Attic online store for more amazing designs.

Happy crafting!


Saturday, 14 August 2021

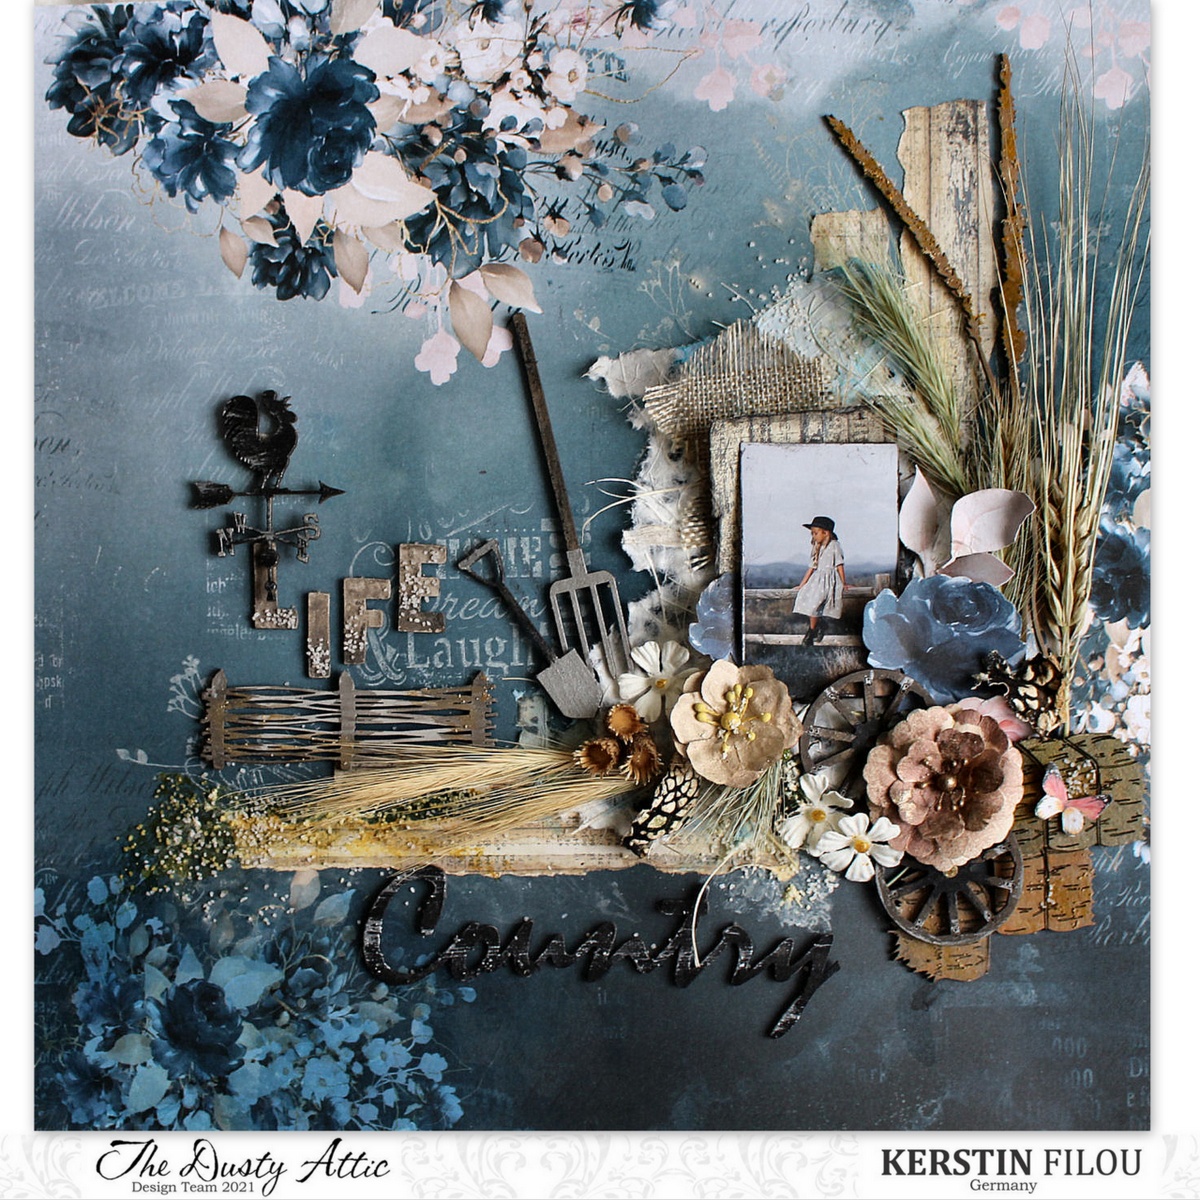
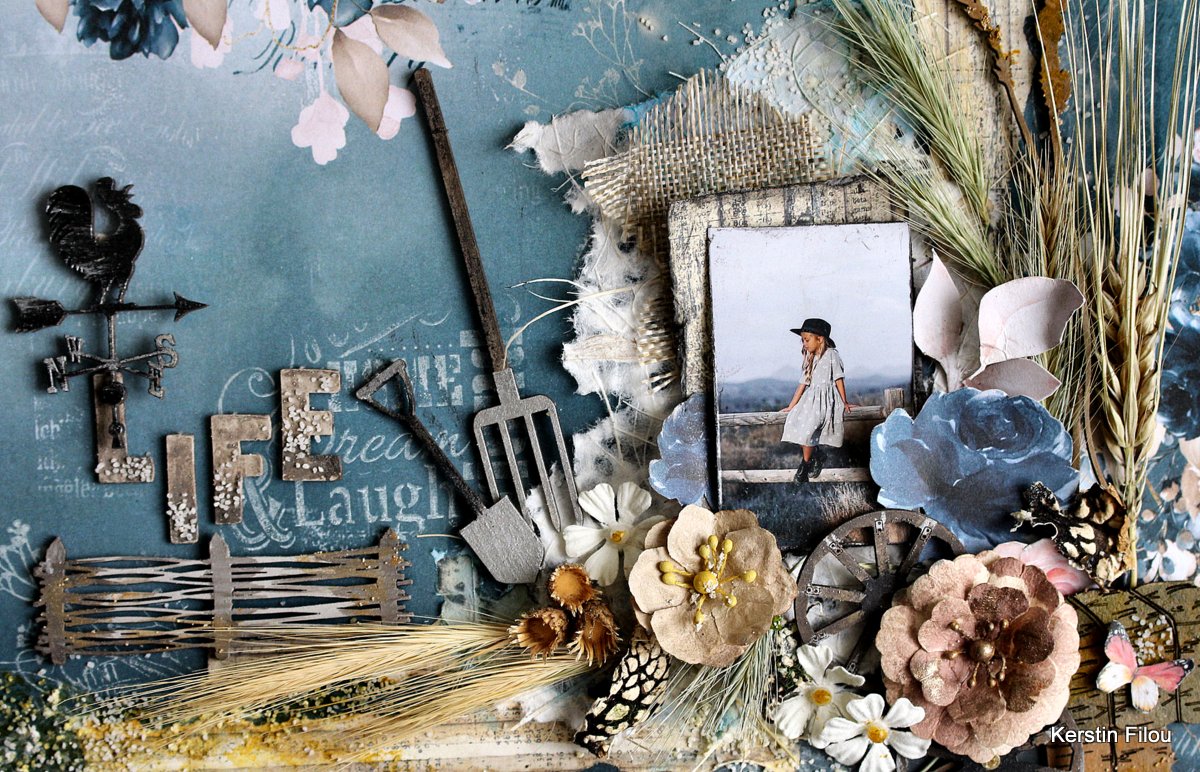
Country Life - Kerstin Filou - Mood board inspiration


Welcome creative friends!

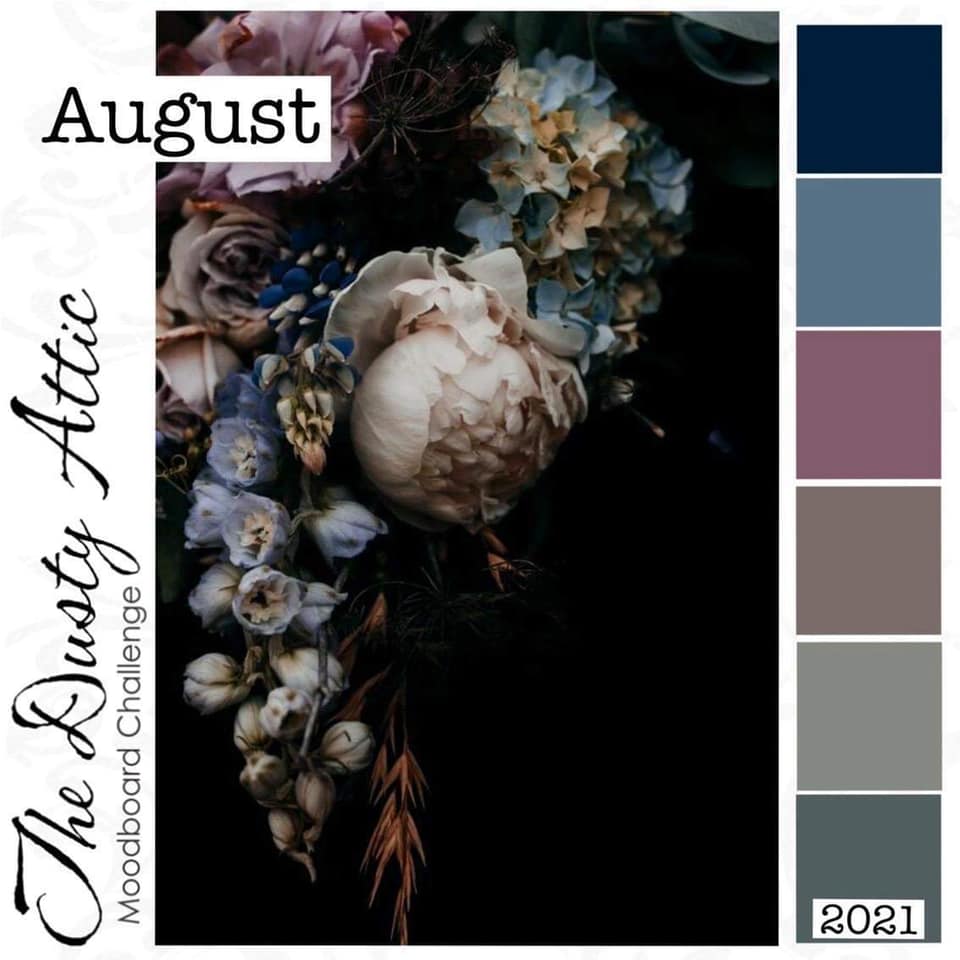
Our monthly Moodboard is an absolutely wonderful inspiration, 

love the romance charm and the delightful colors.
 
We loved going to grandma's in the country during the summer holidays 
when we were kids. Wonderful, carefree times that we remember fondly today.


I used a matching colour background paper from 

13@arts 'Sunrise' collection.


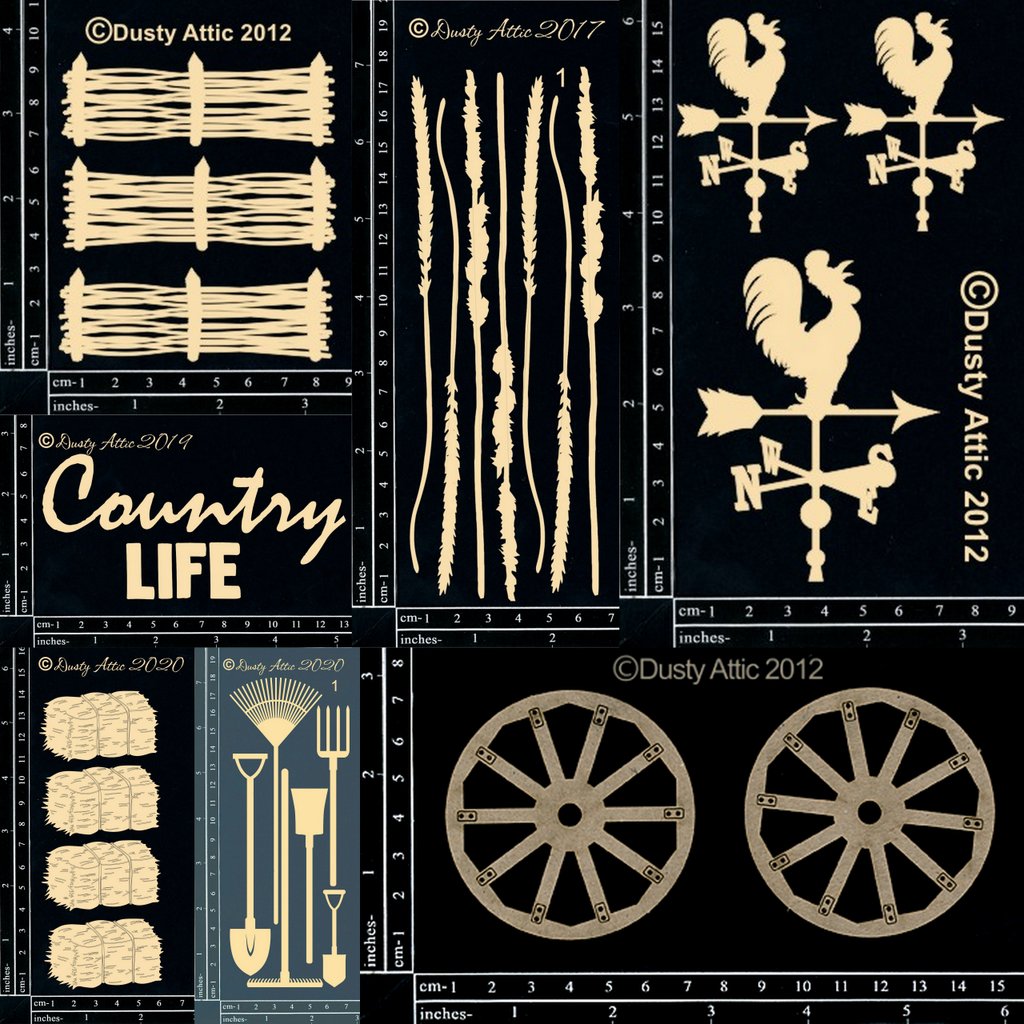
 Found a lot of suitable chipboards at Dusty Attic
to country life theme,
awesome!!


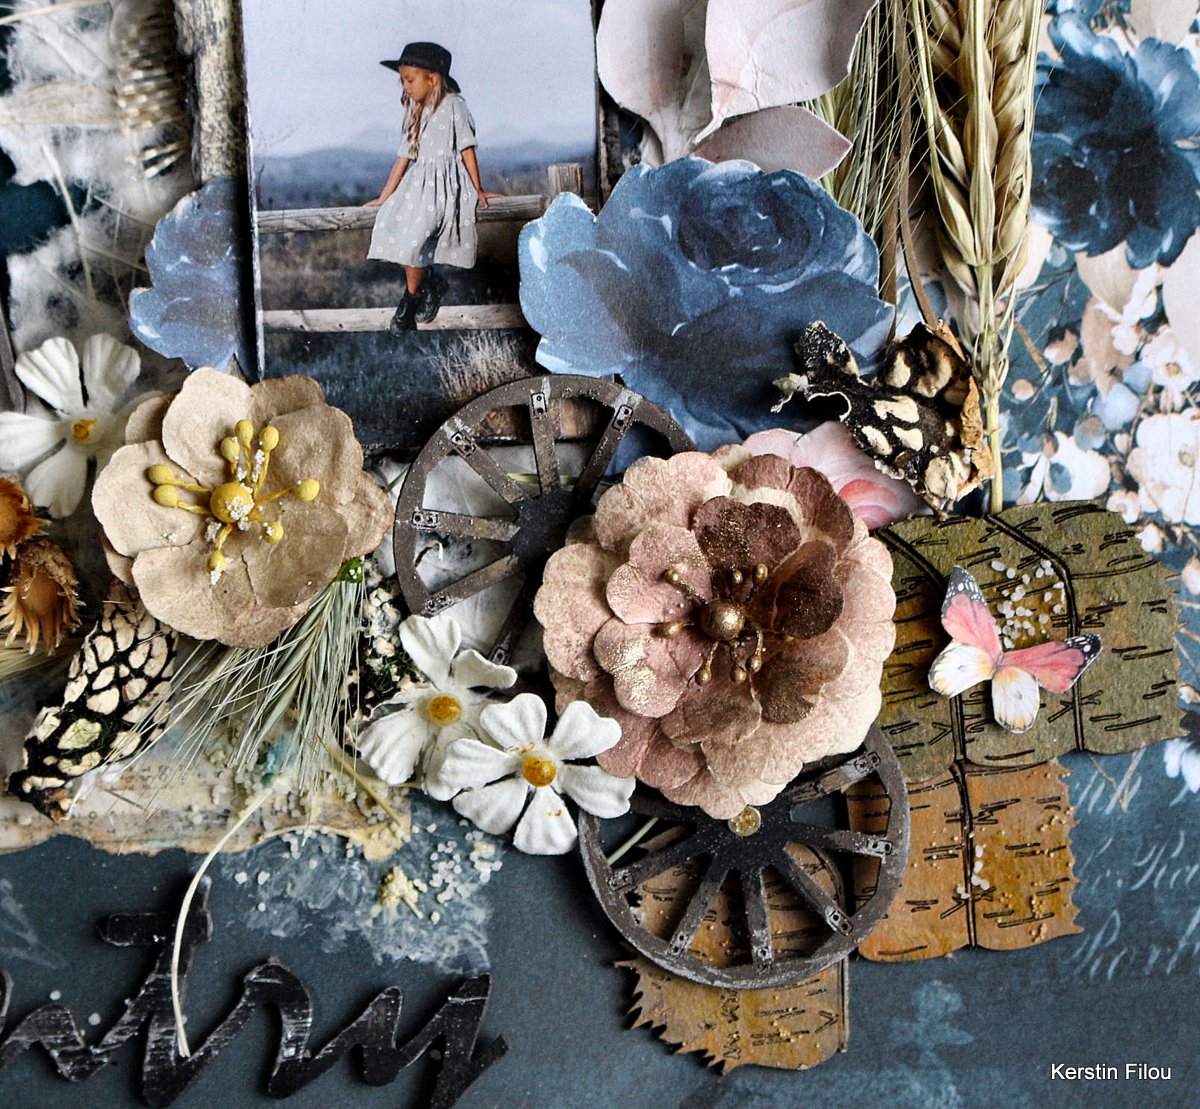
some close up's


love the amazing garden tools

it reminds me on the scent of fresh hay and potato harvest


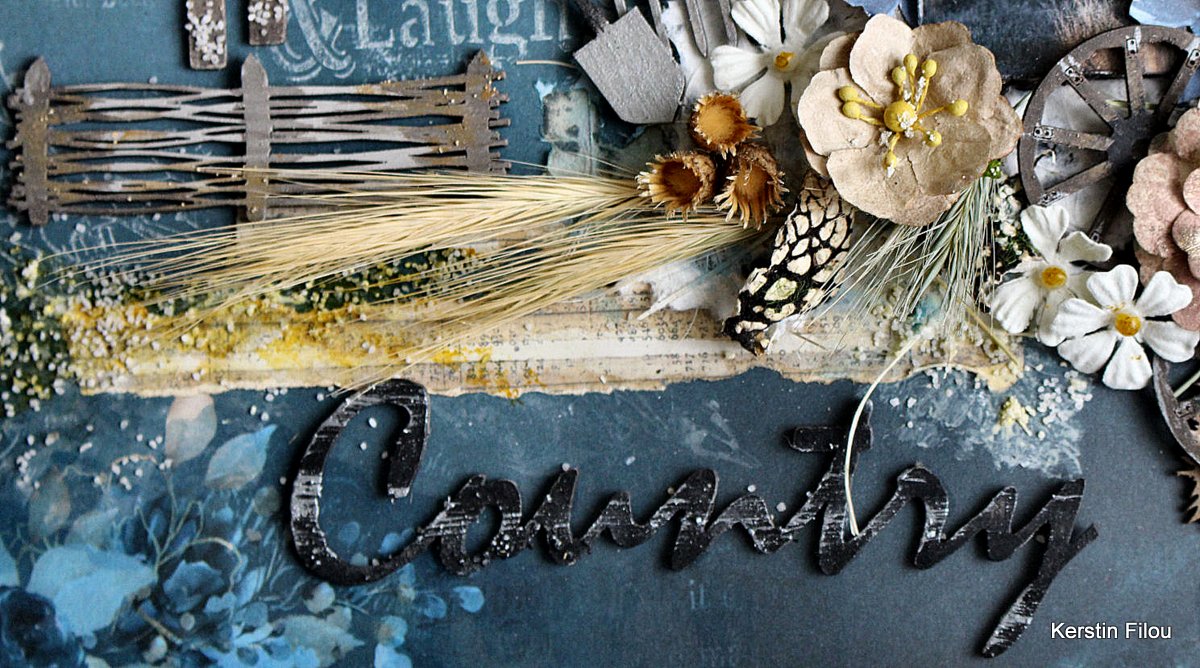
title was painted with black gesso 

and with a dry brush highlighted 

with silver metallic paint

similiar to weather vane


We are looking forward to see what you come up with this months challenge.
 Just put your own take of the challenge in the comments section of the Dusty FANattics facebook page HERE 


You could win one of two amazing Dusty Attic prize packs
...this year we are reverting back to the prize being a $50 (AUD) credit
 to the Dusty Attic website store so you can choose your very own designs.
 
I hope I could inspire you!
Thanks for your visit!


Monday, 12 April 2021

Love Completely - Aneta Nasonkowska

 Hi all!

This is my first spring entry this year and it cannot be otherwise - you're greeted by a spring layout full of flowers for a couple in love with gardening. For years, they have been caring for their garden together, with joy, passion and love. This is how beautiful their relationship is, which has been going on for 40 years! It's true that you can see here in the photo of me and my husband on our wedding day (I must respect the privacy of my wonderful clients) but in the original there is a lovely couple in love here. I was asked to make a design in shades of duck egg with white and gray accents. Plants forced the presence of the green color additionally.

Wednesday, 16 December 2020

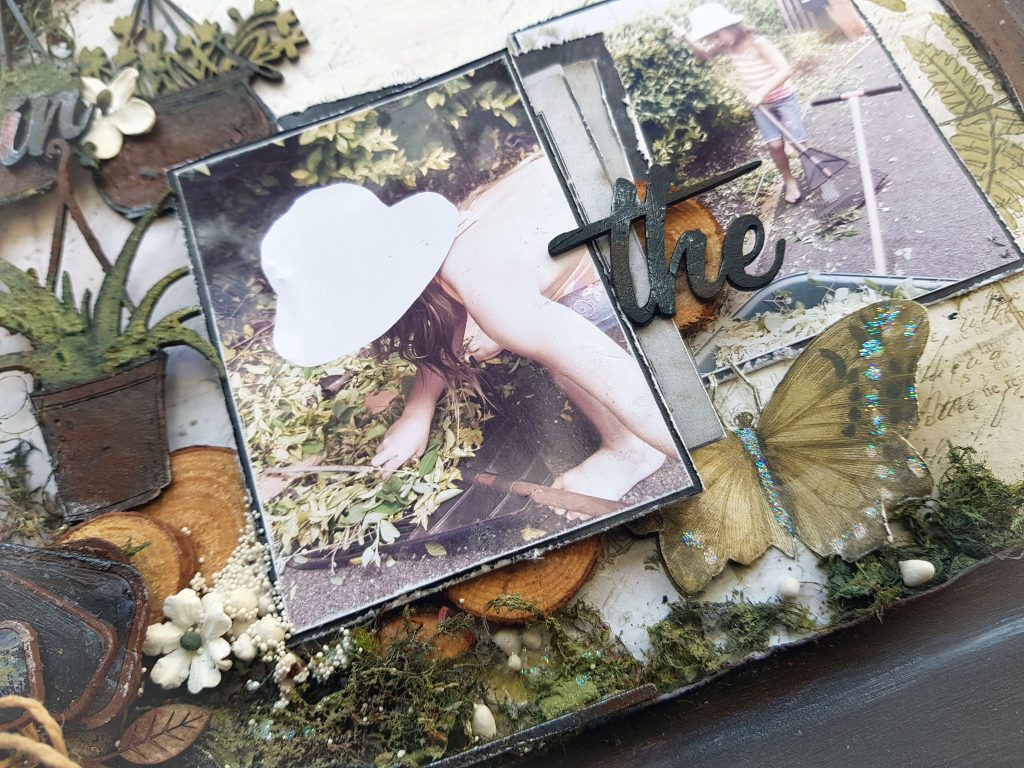
In my Garden - Tina Ollett

Hi there and a huge welcome back Dusty friends. Tina with you today to shock the pants off you!! Haha .... ! Yes I think I most certainly will. Today I have a double layout, yes you heard right. A double. The the last time I think I created one of those was way back when I first started scrapbooking. Recently I have been seeing a lot of my South African crafty friends doubles. For a long time I have been a huge fan of the one and only Adri from our Dusty Design team. She has inspired me to do one for myself. But I could never ever do the beautiful doubles that Adri does, ever. It truly is amazing work and one I would love to be able to do like she does. But the other thing I have done with this creation is used very little flowers and have left the majority of the layout to speak for itself with the gorgeous chipboards from Dusty Attic. I was lucky enough to receive the new "What's New Wednesday" new releases. And this is what I did with them. I hope you enjoy my post. Remember I will list everything at the bottom where you can find all these beautiful goodies.

This is "In my garden"....
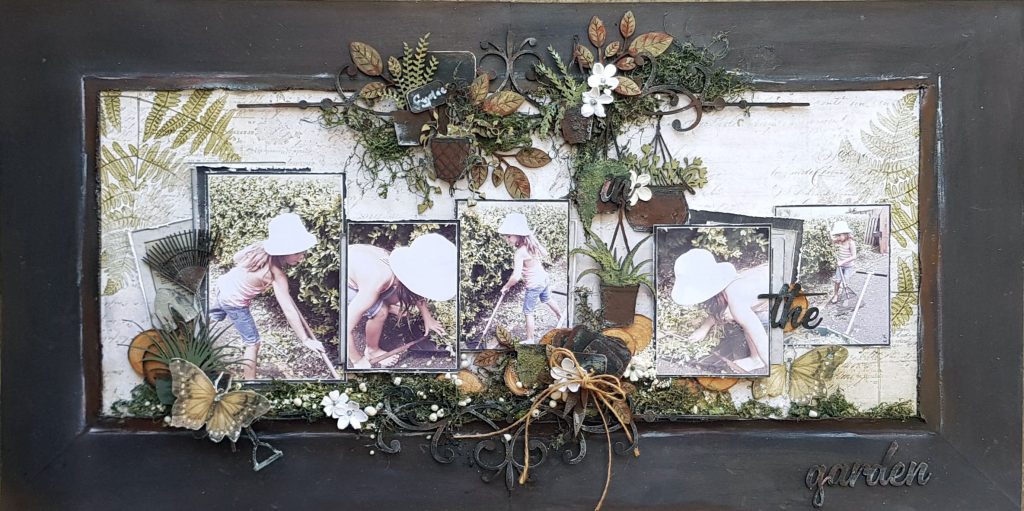
The framework of my layout was made up of two 12 x 12 frames from 49andMarket's Serendipitous collection. I added rust pastes to this to highlight the frame a little more. For the centre I used the first ever collection from 49andMarket, the Vintage Artistry. I have also used a sheet of black patterned paper from the Old School collection so I really mixed it up.
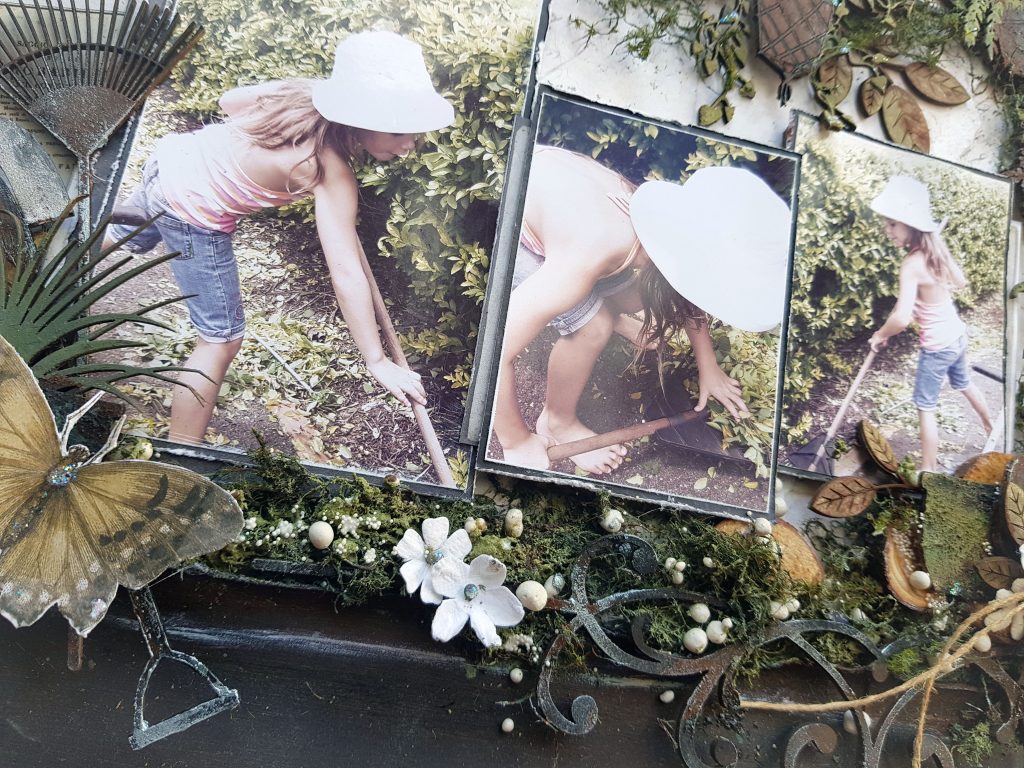
Once all the background work was done I went to work on colouring my chipboard pieces. These are colours that I have never really used before so it was all just a learning curve but I truly enjoyed it.
 

Plant Labels #2
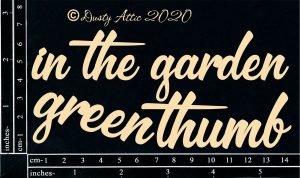
Green thumb
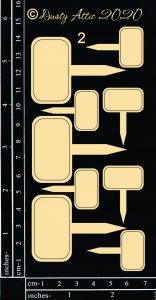
And above you will see that I have layered up all the cute little plant labels together with a twine tied bow. They were so cute. I just couldn't get enough of those. I coloured them like a chalkboard almost. The rust paste on the outer of the labels with the black gesso in the centres. They were layered up on the large Planter Pot from the below collection below.
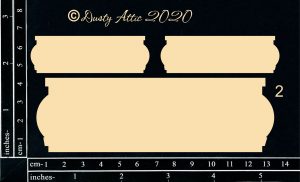
Planter Pots
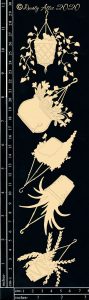
Hanging Pot Plants #1
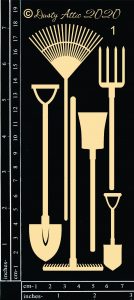
Gardening Tools #1

Above and below you will see the Gardening Tools #1..... okay my favourites.... I love how these came out with a little bit of black gesso and rust pastes with the addition of a little Inka Gold. Love them.
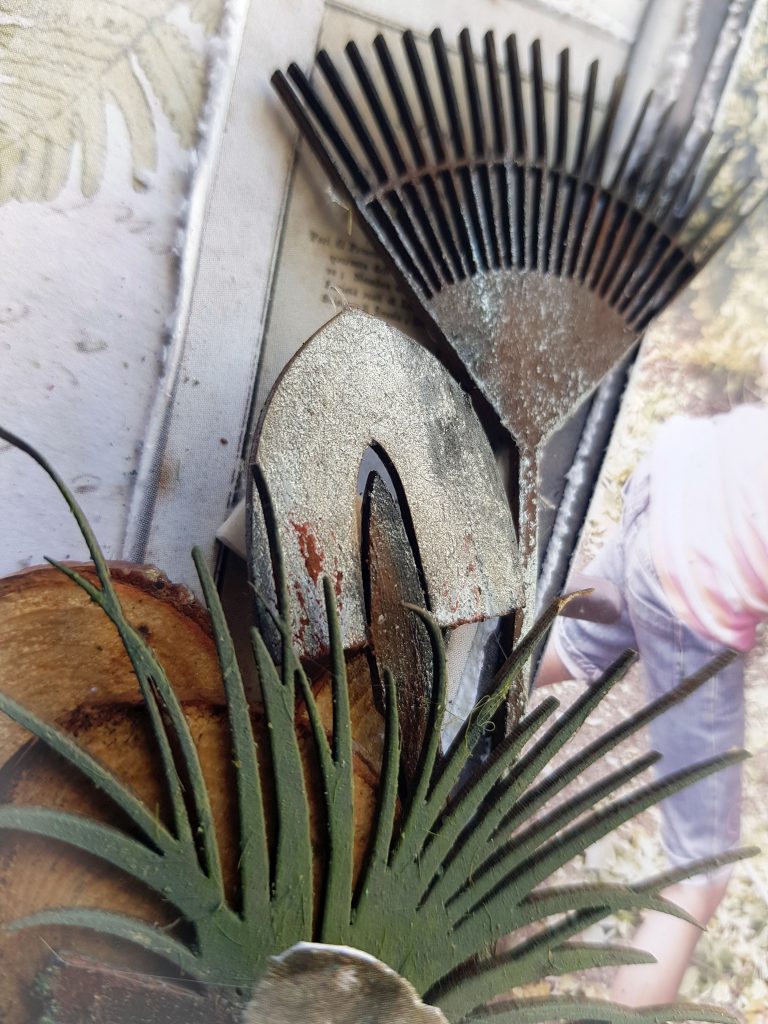
I also added in some of these cute little log pieces that really look so real. They are a great addition I think. I tried to use them like stepping stones along the bottom of the layout. But I ran out. Oh and then there was the Pot Plants again yet another fave.... can you have more than one favourite of course it's Dusty Attic right? Again I added some rust paste to black gesso. Just fabulous.
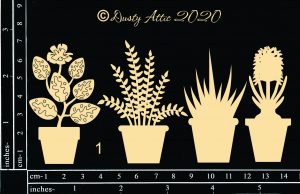
Pot Plants #1
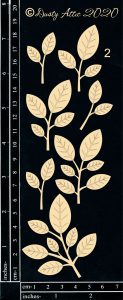
 

Seedlings 2


Then there were the little seedlings. Little did I know they were seedling but seriously they look great as foliage added to the top of the page coming out of the Iron Wrought piece. I too love these.
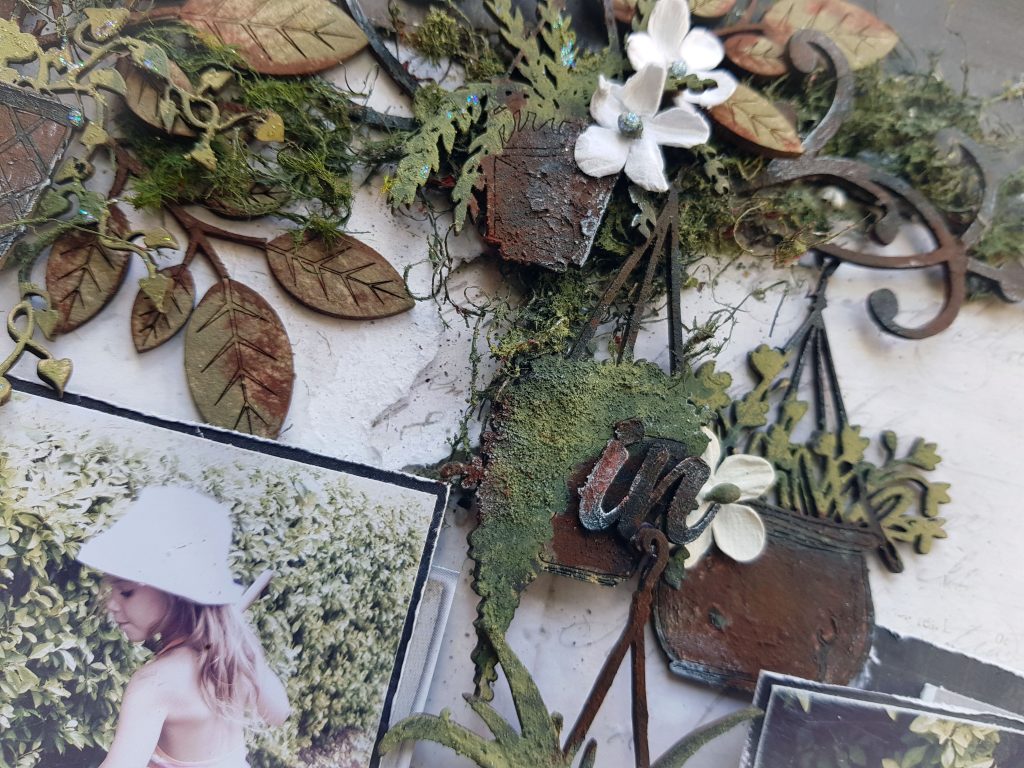
And then the hanging pot plants. Love them and they are so amazingly detailed. I loved colouring them up and highlighting the embossed areas. You could go crazy using so many details but I wanted to keep it as simple as possible.
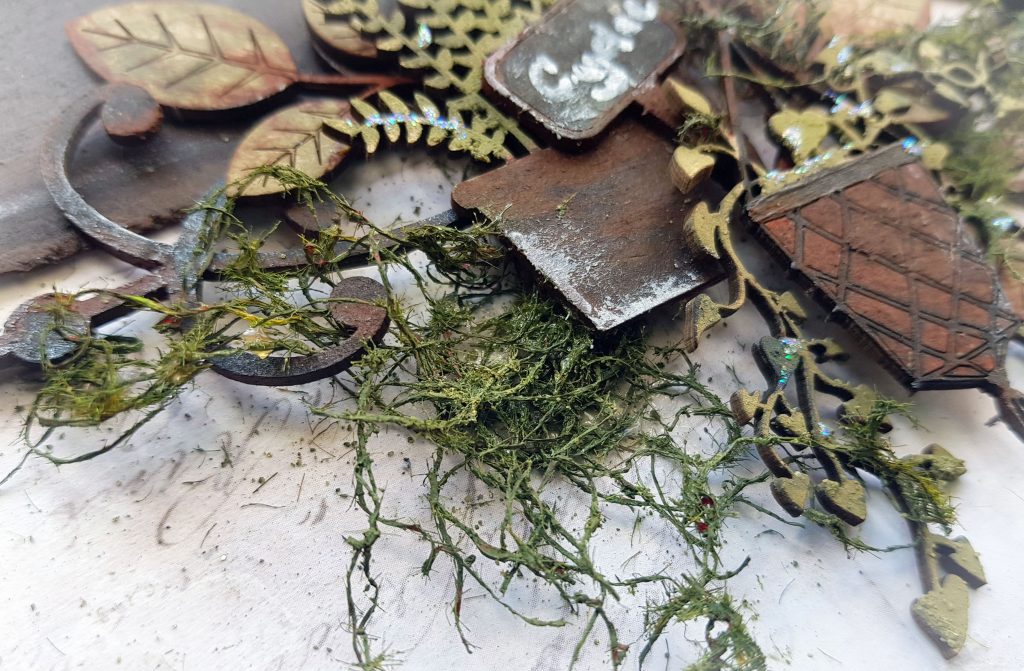
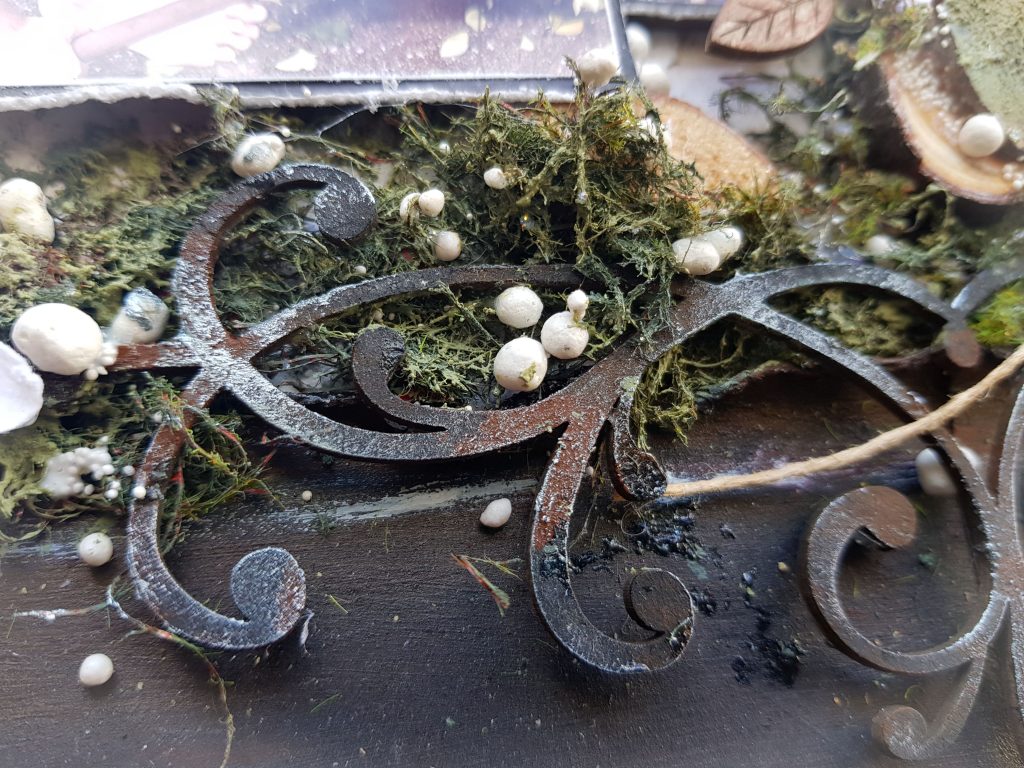
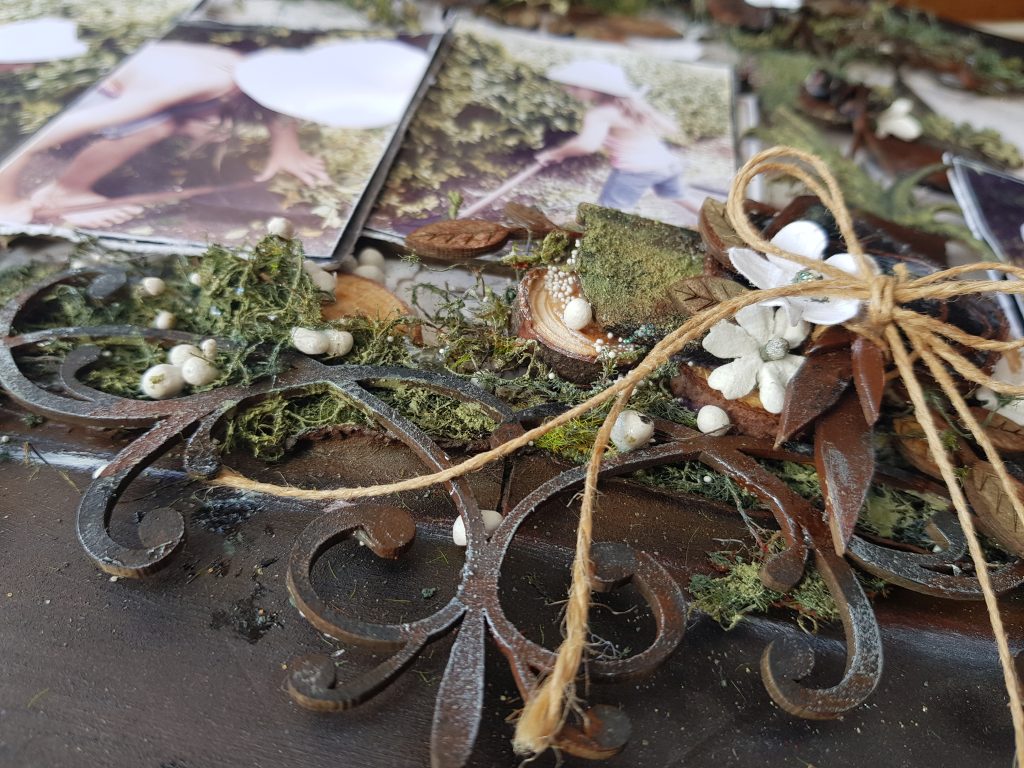
I added in some additional moss fibres. Well it was actually Christmas fibres but I changed the colour of it up as it was quite sparkly. I added this to the top of the wrought iron as well as to the base of the frame work.

And lastly the Iron Garnish #1

I used two pieces of this chipboard. The top piece was cut into 3 so that it gave the look of being long than the bottom one. Again these were dressed in black gesso, Rust pastes, and inka gold.
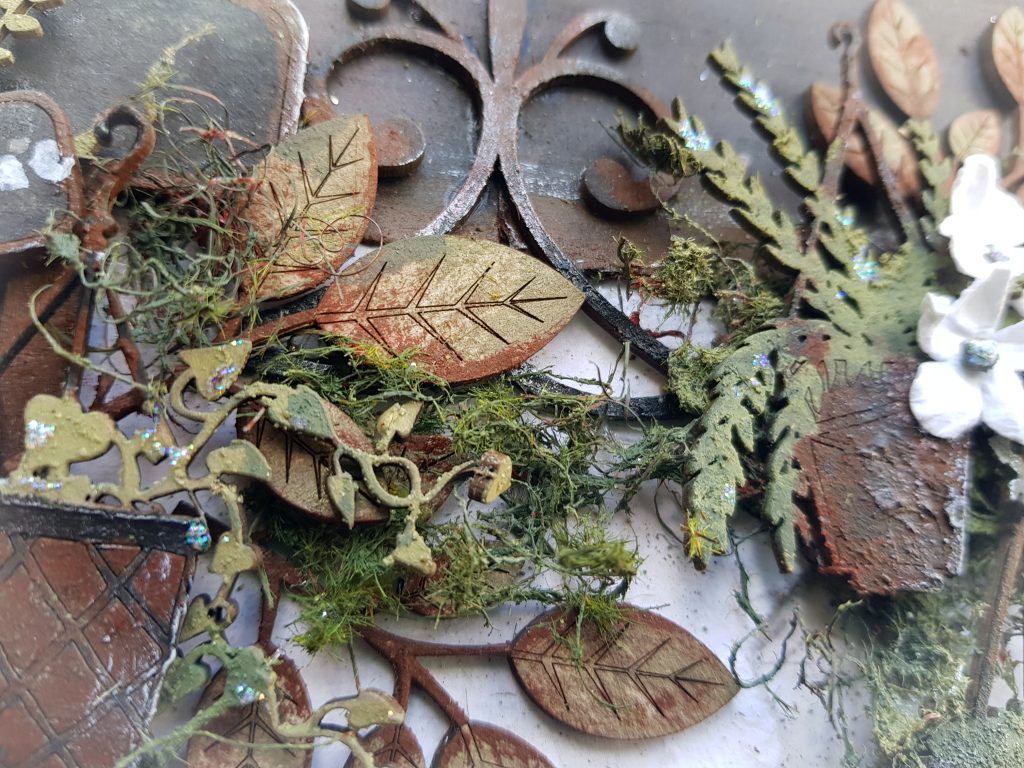
The other products used for my project are:

49andMarket's Vintage Artistry

49andMarket's Serendipitous Backer Card

49andMarket's Garden Seeds flowers

Liquitex Black Gesso

Liquitex Clear Gesso

Viva Decor - Rusty Rust Effect Paste

Viva Decor Rusty Patina Copper Rust

Viva Decor Rusty Patina Oxyd

Viva Decor Ice Blue Inka Gold

Ranger Distress Ink Bundled Sage

Ranger Star Dust Stickles

Art Basics 3D Gloss Gel

Art Extravagance Rust Effect Paste Green Grey

Art Extravagance Rust Effect Paste Dark Olive

Art Extravagance Rust Effect Paste Moss

Miscellaneous Log pieces

Art Extravagence Art Stones in 3 sizes

White Paint marker

Green Christmas Fibre

Well that is all from me today. I hope I have inspired you in some small way to challenge yourself to do a double layout again some time.

Until next time stay safe and take care.

Teen x