Showing posts with label Cards. Show all posts

Friday, 27 October 2023

Twin Cards - Ankarika Craft - Mood Board Inspiration

 Hi there!

Just see what I turn up with! It's unbelievable! Twin cards again... ;)) Well, what can I do, since I like creating sets so much? I just really hope you don't get bored of the same formats, since I try very hard to make it in a different style, different themes and colours....So what? Can you keep up with me? ;))


I made them with a person in mind who likes hiking in the mountains, contact with nature, the colours of the earth.... That's right! The colour scheme is taken from the ongoing challenge at The Dusty Attic. I've already done my inspiration in these colours this month but this colour palette resonates with me so much that I decided to prove myself again. It was highly enjoyable to work with!


I start my work description with the base. The paper is DCWV, I love the texture, weight and design. I'm slowly running out of The Old World collection but I already know that I will soon be in possession of an absolute firecracker in the scrap paper world. I will tell you more about it in the next post! 

The paper is hemmed at the edges four times, with a fairly fine stitch. It is underlined with a graphite border. With black ink, I made a few fine-print stamp prints. At the top, I mounted the hang in brown and colour-matched the screw heads visible on the corners.


I prepared all the other cardboards in the same way, only changing the intensity and colour proportions between the different elements. They were protected with white gesso, but not very thoroughly. Then I spot-applied 5 different shades of structure paste from Finnabair.  I achieved some amazing shades by mixing them together, see in the close-up how fantastic it looks!  Finally, I very gently added gold wax on the edges - it's on all the elements, thanks to this treatment I kept harmony on the project.


The composition is laid out rather laboriously. There are about 15 overlapping layers. They alternate between industrial chains, a whole bunch of paper trees, a deer, a grass cluster, a Moroccan/chicken wire style circular panel, a field plant, industrial globes, small pebbles in various sizes, a paper mountain motif in a shade to match the frame around the card.  On the bottom, you can see the cardboard pieces that I had left over as waste from the zippers kit and also leftover gear border that I didn't use for an earlier project. 


The deer and bulb are gently whitewashed. The whole work is splashed with white dots and it is still worth mentioning the wording that completes the composition: "Just for you" and "Thank you". one of the cards is already personalised and I added Bible verses there according to the client's wishes. Please let me know in the comments whether you like this design.


Dusty Attic's products:


Thanks and see you soon!


Wednesday, 20 September 2023

Born to Fly - Sue Smythe with a bonus card

 Born to fly Layout and bonus card 

Hello Crafters 

Today I am sharing with you all, a sweet layout and a little card I made with my latest paper design for Bee Arty "Songbird Melody" Featuring lots of Dusty Attic chipboard. They make the perfect addition to my layout and I will show you some of the techniques I use to alter them to fit the shabby chic style and colours of this paper pack.


I have created a base, by painting the patterned paper with clear gesso, I love the feel it leaves on the paper, 
and also it makes a good barrier to the paper if you want to use 
mixed media, the paint will not soak in and you can move it around more. You can also wipe off any mistakes easily too


I have altered chipboard for my layout, 
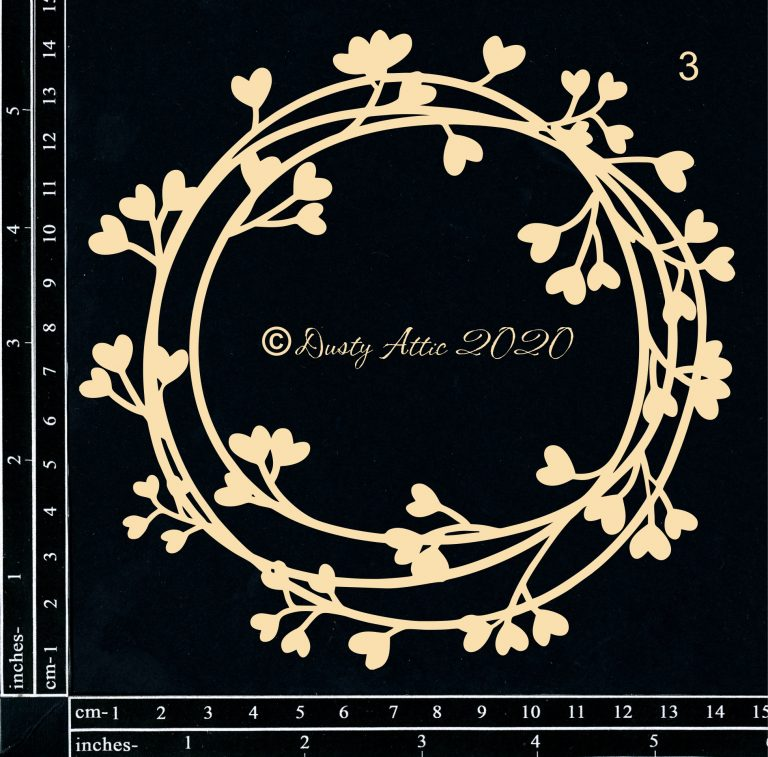
 a gorgeous wreath to go around the photo, some chipboard leaves
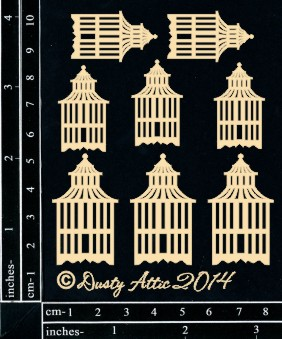
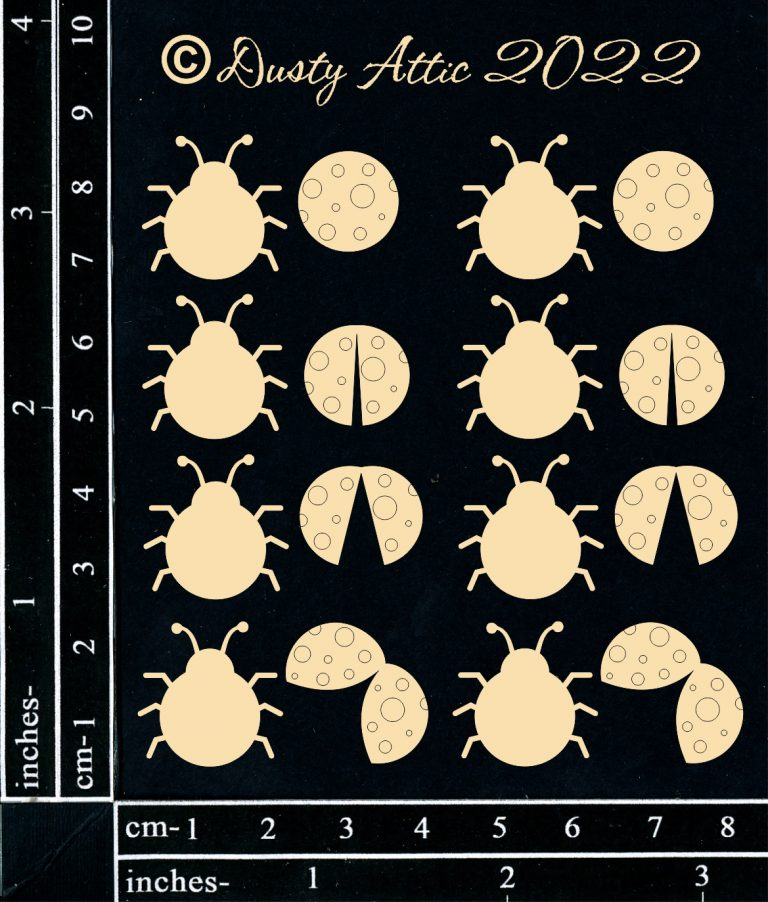
which I have made to resemble feathers, some cute ladybirds, bird cage and a leafy flourish


To alter I have first painted the chipboard with white gesso, in a stipple motion so that it is patchy and some of the chipboard colour is showing through.


Then I have applied some Colour Blast shimmer dusts, peacock and paris mixed with a little water over the top, again in a patchy way, it is better to do one colour and then dry, before adding the next colour. I have then dry brushed a little mint chalk paint over some of the leaves and when dry, I have dotted the leaves with a white paint pen. I like to also spray with a little hairspray, I know if sounds funny but this gives it a subtle shine, and if you want to sprinkle with a little white glitter you can, it will stick to the spray.

Bonus card idea 


Here is a bonus card, I have made a wallet style card, from a 12 x 12 sheet of cream cardstock. There are many templates and ideas on line, then I have trimmed paper to fit, and added some tags, all from the Songbird Melody paper pack 


You can add as many tags as you like, or tickets, scratchies or even photos to finish you card, punch holes in the tags and attach some fine blue ribbon or whatever you have.


To alter the frame, first I have painted it with white gesso, you may need 2 coats to get a really good white finish. Then dry well with a heat gun.


Then I have blended brown ink around the edges, inside and out. Then I  have stamped a crackle style stamp in brown ink randomly over the frame. In this instance I have used Bee Arty Wing fragment stamp. This gives you the look of a shabby chic crackled frame. Great for cards and layouts.

These are the chipboard elements I have used 


Thursday, 4 May 2023

Hello Today - Heather Woodall

 Good morning

Today I've just done 1 card, but there was many hours in this card. As with a lot of my brighter more artsy projects, it has been inspired by techniques that I learnt from the lovely Tracy Scott


I started with some white cardstock and my Dusty Attic Stencil DA1318 Warped Flower Stencil. I laid the stencil on my card front then traced it with a lead pencil


I then used my Prismacolor Pencils to colour in each segment that I had traced. Each segment has 4 different shades of pencil that was layered 3 times each.


I then used a black gel pen to colour in all the white area that was left. You could also use a fine paintbrush and black paint to do this. I also added some white gel pen accents to each coloured in section.


I get asked a lot about white gel pens. My favourite is the Uni-Ball Signo Broad White Gel Pen


The flourish chipboard is DA3327 Botanic Accents. I simply used a gold paint pen to colour it in


The title is from the pack DA1291 Mini Captions #2, and I used a hot pink chalk pen to colour it in


All of the chipboard and stencil used on this card can be found on the Dusty Attic website, https://dustyattic.com.au/

Well that's it for me again this time. I hope I've inspired you to look at your stencils in a different way.

Heather


Tuesday, 29 November 2022

Hand made card set - Patricia Basson

Gooday Friends...

For today's Dusty Attic blogpost I have created two cards for you. 
I used paper from the beautiful Mintay, City of Love collection. 


It may not be easy to see, but I did some awesome coloring on the Lillies Chipboard. Firstly the chippies were coated with thin layer of white Gesso. I then used the following products applying and going over until I was satisfied with the result. I used Antique Rosewood Matt Chalk Polish from Cosmic Shimmer. Also used Pastel Dirty Pink and Patina Brown Mist from 13Arts as well as Bayou Boogie Gold Spray from Lindy's Stampgang. Somewhere in between I also used White Acrylic Paint as well...
The cute little Bees were embossed with Dessert Moon Turquois Embossing Powder from Lindy's. I stamped a stitched motif on the edges and embossed it with Turkish Nights Embossing Glitter from WOW!. 


I painted the Hexagon pieces with a Pink Acrylic paint, when dry I embossed them with an embossing folder. I then scrapped Icicle Distress Crackle Paste from Tim Holtz in the crevasses and let it dry. I painted a little of the Patina Brown Spray on it to highlight the cracks. 
I used a Gold and Rosewood foil to Heat foil the Mini Foliage and Leaves. 


I used the following pieces from the Dusty Attic on-line shop.


Thank you for taking the time to read my post...Hope you enjoyed.

I still find each day too short 
for all the thoughts I want to think, 
all the walks I want to take, 
all the books I want to read,
 and all the friends I want to see. 
~John Burroughs~