Showing posts with label wreath. Show all posts

Wednesday, 20 September 2023

Born to Fly - Sue Smythe with a bonus card

 Born to fly Layout and bonus card 

Hello Crafters 

Today I am sharing with you all, a sweet layout and a little card I made with my latest paper design for Bee Arty "Songbird Melody" Featuring lots of Dusty Attic chipboard. They make the perfect addition to my layout and I will show you some of the techniques I use to alter them to fit the shabby chic style and colours of this paper pack.


I have created a base, by painting the patterned paper with clear gesso, I love the feel it leaves on the paper, 
and also it makes a good barrier to the paper if you want to use 
mixed media, the paint will not soak in and you can move it around more. You can also wipe off any mistakes easily too


I have altered chipboard for my layout, 
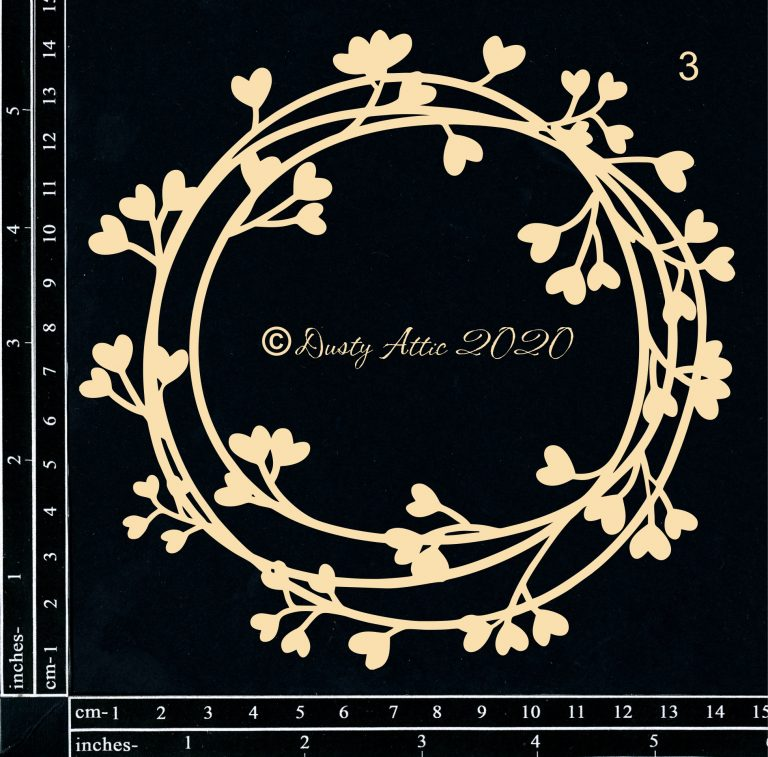
 a gorgeous wreath to go around the photo, some chipboard leaves
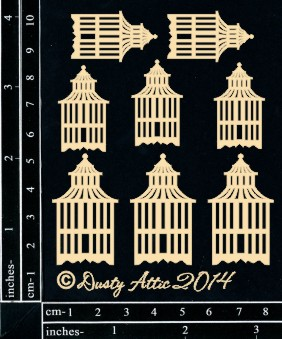
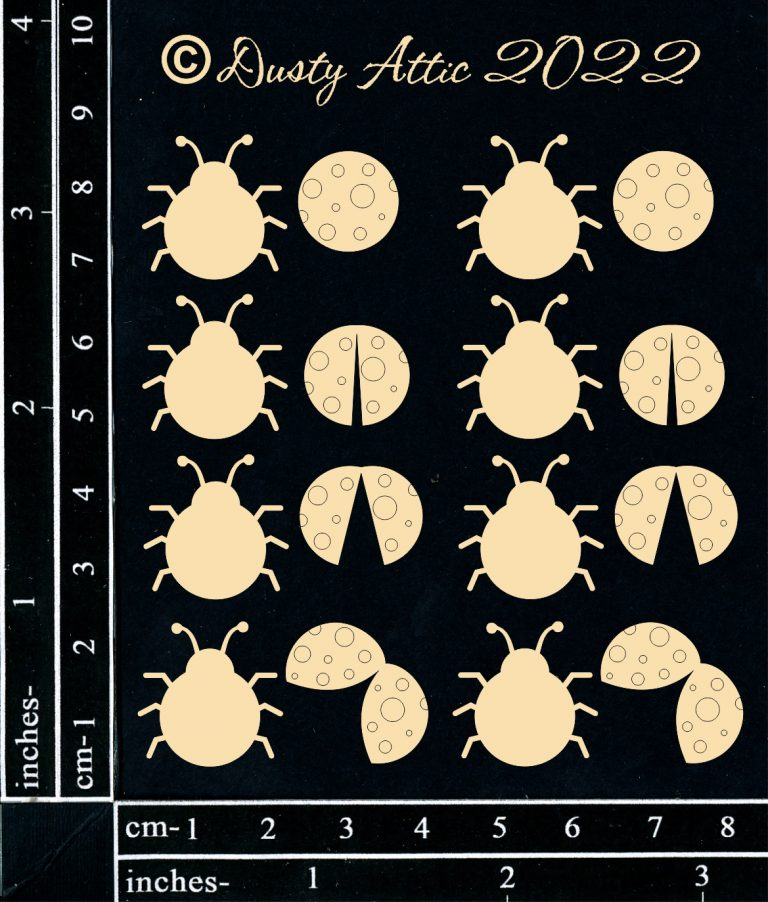
which I have made to resemble feathers, some cute ladybirds, bird cage and a leafy flourish


To alter I have first painted the chipboard with white gesso, in a stipple motion so that it is patchy and some of the chipboard colour is showing through.


Then I have applied some Colour Blast shimmer dusts, peacock and paris mixed with a little water over the top, again in a patchy way, it is better to do one colour and then dry, before adding the next colour. I have then dry brushed a little mint chalk paint over some of the leaves and when dry, I have dotted the leaves with a white paint pen. I like to also spray with a little hairspray, I know if sounds funny but this gives it a subtle shine, and if you want to sprinkle with a little white glitter you can, it will stick to the spray.

Bonus card idea 


Here is a bonus card, I have made a wallet style card, from a 12 x 12 sheet of cream cardstock. There are many templates and ideas on line, then I have trimmed paper to fit, and added some tags, all from the Songbird Melody paper pack 


You can add as many tags as you like, or tickets, scratchies or even photos to finish you card, punch holes in the tags and attach some fine blue ribbon or whatever you have.


To alter the frame, first I have painted it with white gesso, you may need 2 coats to get a really good white finish. Then dry well with a heat gun.


Then I have blended brown ink around the edges, inside and out. Then I  have stamped a crackle style stamp in brown ink randomly over the frame. In this instance I have used Bee Arty Wing fragment stamp. This gives you the look of a shabby chic crackled frame. Great for cards and layouts.

These are the chipboard elements I have used 


Sunday, 27 March 2022

Every photo tells a story - Ankarika Craft - Mood Board Inspiration

 Hello,

The project that I'm presenting today was made especially for the auction on >> Make Art Not War << with the hashtag #Crafters4Ukraine. I'll not write here about political matters, as first of all I haven't been following political developments in the world for a very long time, and secondly, this is not a blog on this subject. There are a lot of professional places where you can read about what's going on, and here I don't want to make sad myself and you. However.. this project and this post as well is my cry for help to people in need. If you have options - help - everything counts. I have put this LO at an auction, all income from which is intended to help Ukraine - I invite you to bid.


It is a layout on a wooden frame covered with a 30cm x 30cm canvas. I painted the frame with black gesso and made it brighter by adding the white gesso partly. The design is stiffened with a beermat sheet, which is also black, but here I brightened it up quite strongly with silver wax from Sizzix. Each corner is decorated with miniature ornaments, secured with white gesso and silver wax.


I thought about the colours of this project for quite a long time. At first I was thinking about happy and spring tones, but I couldn't find artistic coherence within myself. The subject of Ukraine evokes a great deal of bitterness and sadness in me, and thus I was not able to make a joyful project while thinking about it. The moodboard challenge on the Dusty Attic blog, in shades of black and white, came to my aid. I have to admit that the idea came up in my head pretty quickly - and that's what creativity is all about. There must be a spark for a fire to start. So this time, thanks go to The Dusty Attic for such unconventional inspiration.

Maybe you too will take up this challenge? All you have to do is add your work to the comments section of the Dusty FANattics Facebook group for your chance to win one of two amazing prizes of $50 (AUD) on purchases from their store. I can't wait to see your work on the Dusty FANAttics group.


The circle on which the entire composition is built is a paper sheet from the "Romantic moments" collection, all in gray with extremely delicate decorations. I applied a large 12' dot mask on it using Finnabair graphite texture paste. After drying, I whitened it with white acrylic paint using the dry brush method. Between the circles of dots you can see stylish white thread stitching on the machine.


The major place is a beautiful two-layered frame available in a set with a slightly smaller one. I recently used it on a project with a girl with a horse. The underside is secured with a white gesso and the edges are slightly highlighted with a black gesso. It turned out to be a shade of unearthly pale gray that immediately stole my heart. The top layer, protected by a black gesso, is quite strongly emphasized with silver wax. The photo of a nostalgic thoughtful women was mounted on two circles of different sizes. Both are black and create layering, so I could attach nicely small pearls around the photo. In addition, the photo is decorated with a fairly large black flower I made, highlighted with silver wax and grey Sizzix stamens.


The flower arrangement in this design is very impressive and extends in a semicircle around the photo. There is a fantastic wreath underneath, prepared exactly like the bottom of the frame, with the difference that I also applied a delicate layer of crackle-effect paste from Ranger on top. I cropped the wreath to make space for the inscription and used the cut part to enrich the composition. The set with the wreath includes two twigs with leaves for the set, which I worked out the same way as the top layer of the frame and blended in between the flowers. A few leaves are also sticking out from under the flower near the photo.


I made all the flowers myself, using dies. White and silver are cut from tissues, and I learned how to make flower buds from Iza. Torn gauze and delicate silver strings stick out from under the flowers. My composition is enriched with small pebbles, cabochons and mini balls. Below the photo there is a meaningful text "every photo tells a story". Finally, I added some black splashes.


Dusty Attic's products:


I fairly believe that someone will like my work and that LO will find a generous owner, because the goal is worthy. I will be grateful for passing the link to the auction - maybe one of your friends will be willing to support this campaign. Thank you for being with me. Have a nice day!