Showing posts with label November 2019 Mood Board. Show all posts

Wednesday, 27 November 2019

You are amazing - Adri Du Preez - Mood Board Inspiration


Hello everyone!

I am back with another layout using the November mood board. I just love the combination of yellow and pink.  My previous layout was soft and feminine.  This layout is more grunge with flowers and cogs.

Here is the mood board.


This young lady is just amazing. She takes my breath away.  She is beautiful, inside and out. She is kind, compassionate and confident. She is honest, funny and thoughtful. I admire her optimism and strength.  She is my best friend and I love her from the bottom of my heart.

Here is my layout.


The title as well as the foliage #16 were heat embossed.  The edges of the mini ABC Tile set were inked with brown ink.  I love these tiles.  They are perfect to use with a single word.


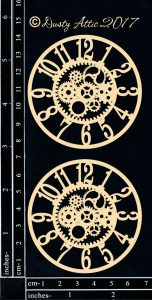
Cogs are one of  my favourite elements to use on a page. The cog frame and gears were covered with coarse gesso, and once dry painted with different shades of pink acrylic paint and dry brushed with white acrylic paint. How adorable are these tulips?  I painted them with pink, yellow and green acrylic paint and dry brushed with white acrylic paint.


Some close ups.


These are the Dusty Attic chipboard pieces that I used.


DA1217 - Word Pack #9

DA1622 - Tulips
DA2235 - Foliage #16


Thank you for visiting my blog.  Please join us in creating something with this beautiful mood board.  You can visit the Dusty Attic online store for more chipboard designs.


Happy crafting!


Sunday, 24 November 2019

Paris Perfection - Nicole Doiron - Mood Board Inspiration


Hello everyone!

Have you played along with the gorgeous November mood board yet?

I have to say that of the mood boards this year, this one is my favorite, and this is my layout inspired by it.


Here is the November mood board:


 It is pretty obvious that I try to stick to the colour combination as much as possible. It was fairly easy as I found a patterned paper in my stash that matched it perfectly! It put me in a romantic elegant mood which made me think of Paris, so along with a picture of the famous Eiffel Tower, my theme was chosen and this is the final result. 


I created the title using the Alphabet Jumble to spell 'Paris' and the word 'perfection' from Word Pack #9. I love that the title is bilingual. hehe  I simply used white embossing powder on the title and dark pink embossing powder on the Baroque Flourish #4 as well as the Eiffel Tower.


I absolutely love the Paris Postmark set. So perfect for this page!

I used a couple different shades of Distress Oxide Sprays as well as Dusty in Colour Dusty Pink acrylic paint.


Below you see the right side vertical cluster in which I've added the Eiffel Tower and a piece of the Travel Border.  I thought to also add a Mini Tag #2 and some small frames from the Polaroid Frame Set #3. I also cut up some pieces of the Fancy Trim #1 to add a little touch of the french Fleur de Lys symbol which I colored with yellow embossing powder.


Here is a final look at my design!


These are all the Dusty Attic chipboard that I used on my page:


Chipboard
Travel Borders - DA2194
Fancy Trim #1 - DA0433
Paris Postmark - DA0320
Eiffel Tower - DA0293
Polaroid Frame Set #3 - DA2456
Baroque Flourishes #4 - DA2367
Mini Tabs #2 - DA1463
Word Pack #9 - DA1217
Alphabet Jumble - DA2390


Dusty In Colour

Dusty Pink - DA0907


Visit my blog at Scrap-Utopia to see more of  my creations!

Be sure to join the Dusty Attic FANattics FB page and share your chipboard-filled creations on there for all of us to admire!

See you next month!


Best day ever - Tina Ollett - Mood Board Inspiration

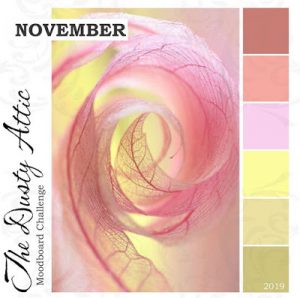
Hello and welcome back Dusty Attic friends. Today I am here to share with you my interpretation of this months moodboard. And for those who have not yet seen it, it really is a feast for the eyes.... see below for yourself.
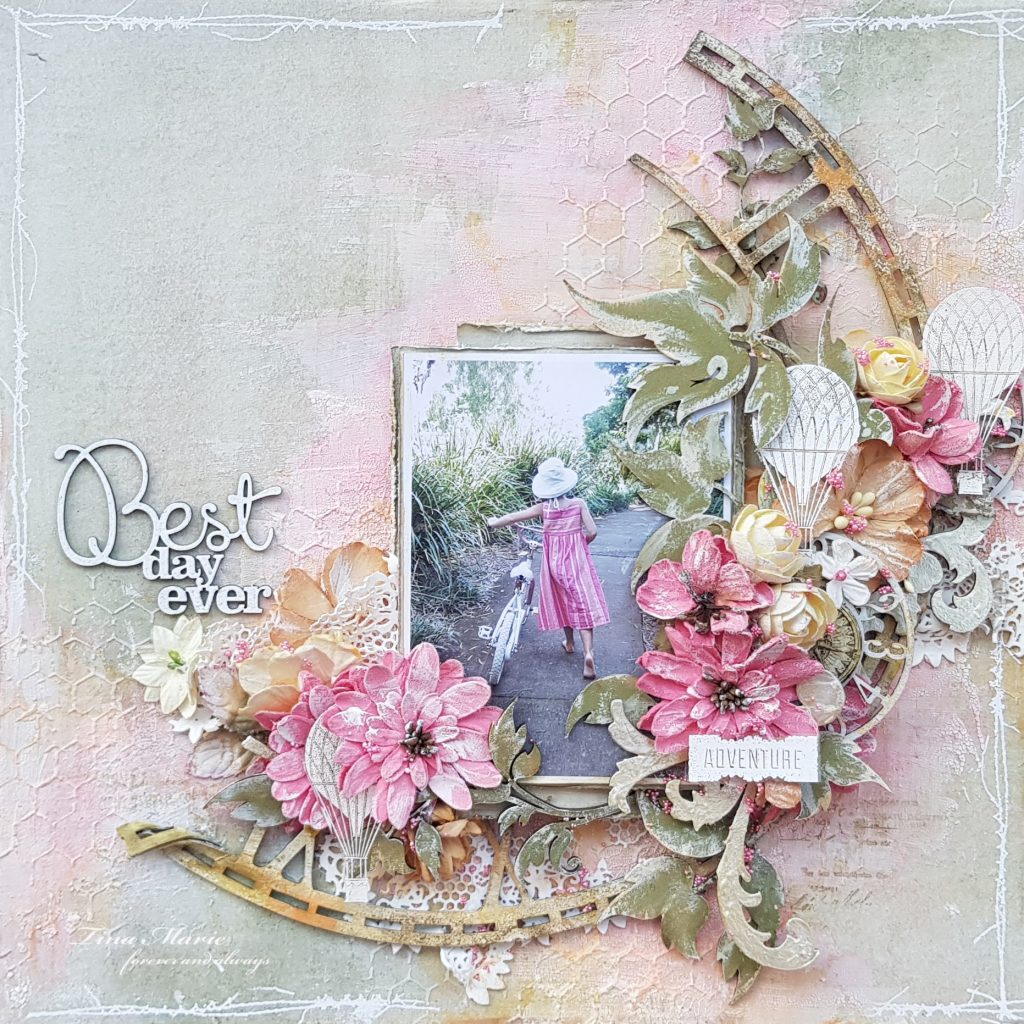
And this is my interpretation of the moodboard...."Best day ever"...
Now of course the first thing I saw was the greens in the bottom corner. Crazy huh? Yes but for some reason or another green has always been my go to colour. Maybe it is because I am a gardener, and maybe it is because I am wishing for rain for those that need that green to come back to their land, especially the farms at present.
So I quickly went to work and looked for a background paper to start off with. I call myself a "B" side girl. I always gravitate to the b side of papers. I love to add and then add some more and this is where I started for this project. I have used 49andMarket's "To the point" from the Bold and Beautiful collection. To this I added in some texture using a palette knife and crackle paste. To this I added in some colour using H2o's and Distress Inks. I worked on this for quite some time until I got the colour I was looking for. I went over this with the Dusty Attic Chicken Wire stencil and some Light and Fluffy Modeling Paste.
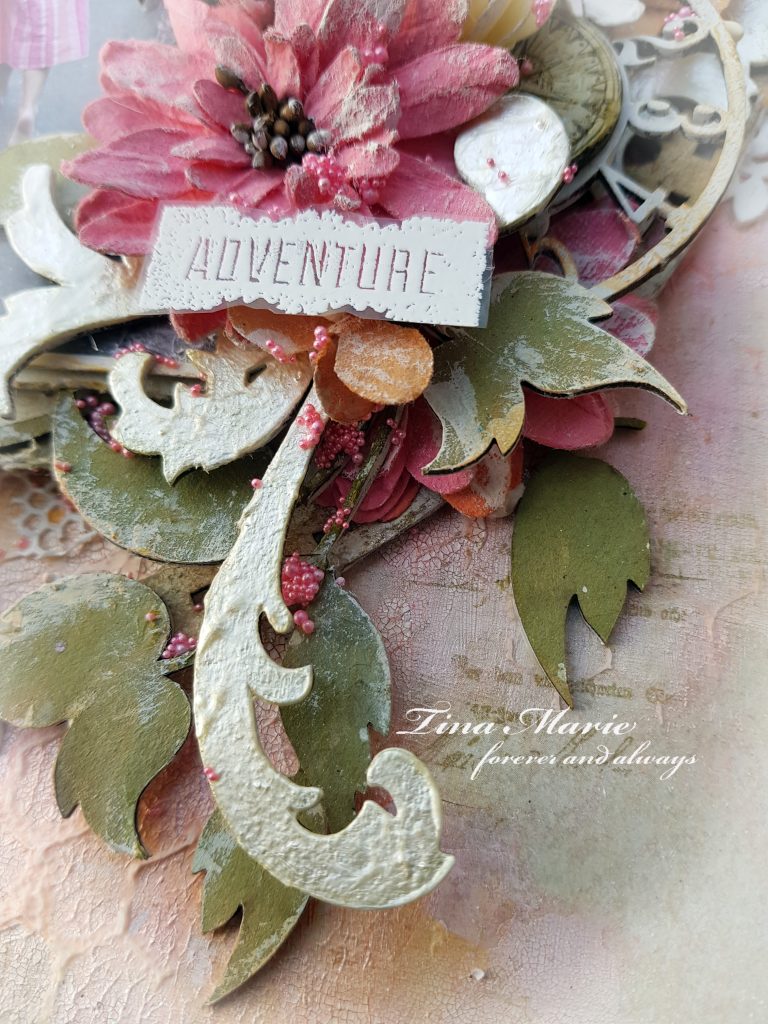
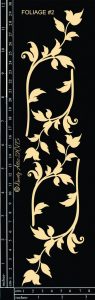
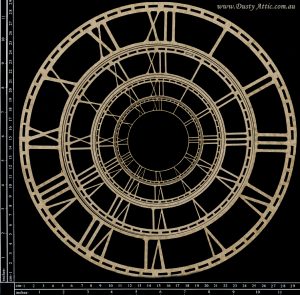
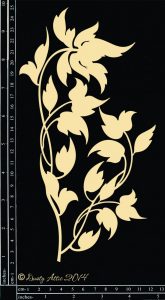
I think by now you will all know how much I love my Dusty Attic chippies. And because I do, I often use some favourites over and over again. When I do use them again and again, I try to re-invent them as much as I can. So for this project I have used the large Skeleton Clock and cut it in half. This was primed with gesso and then coloured with some Distress Inks.... Forest Moss, Shabby Shutters, and my newest favourite Marmalade.....oh so yummy. Well I coloured until I was happy with the outcome. Similarly like the Skeleton Clock, another favourite is the Leafy Stem #5. I have used this piece numerous times and just cannot get enough of it. I have combined it with its baby brother of chipboards the Foliage #2. These were completely covered in Distress Inks. I hightlighted the edges with Marmalade and also did a little dry brushing of white gesso over the top.
I have used gorgeous new release flowers from 49andMarket to complete my embellishing of the layout. The colours of the flowers really made the background pop.
[gallery grids="News" image_size="large" columns="1" size="large" ids="3638"]
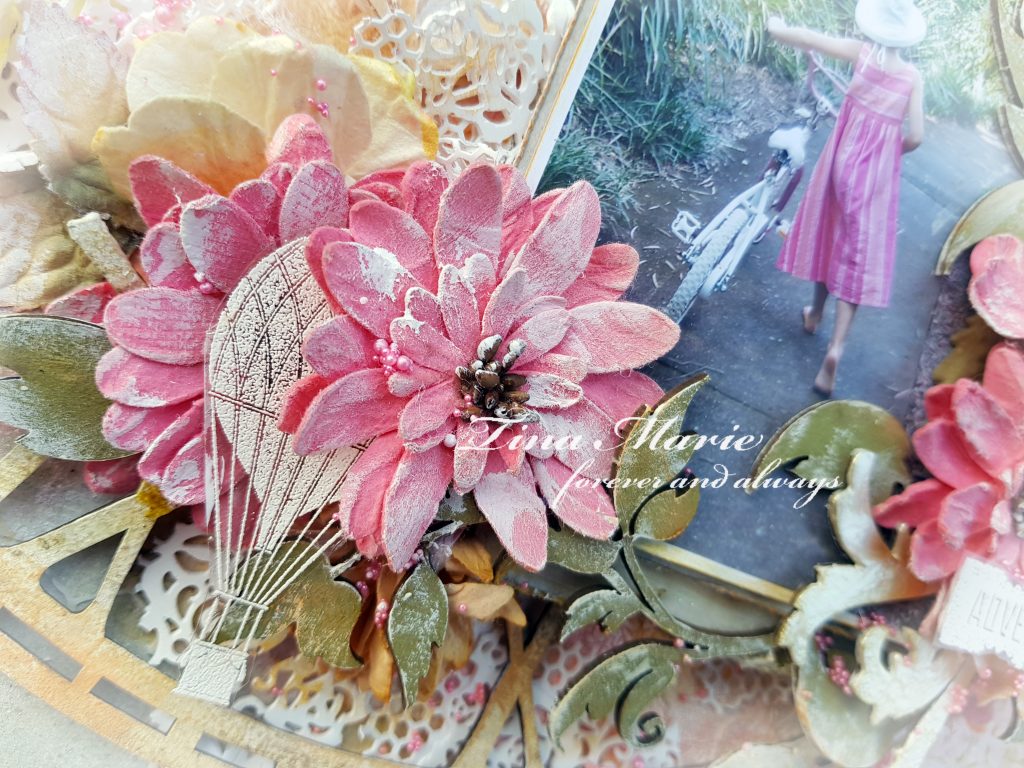
Along with the foliage pieces I have also added in a small Clockworks that I have cut into half and layered them amongst the flowers and other chipboards. And if you look really closely you will find a lonely little compass that I thought was a cute addition so that my daughter will always find her way back to me. It was coloured in distress ink and I also added over it a little Dusty Attic's Crackle Varnish to help it pop from under all the other goodies.
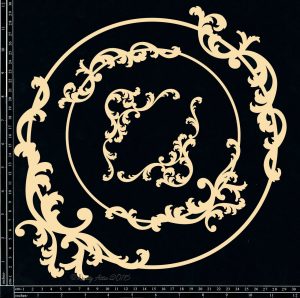
I have used the large Baroque Frame, another huge favourite for me, and cut all of the flourishes from it. They were used to add to my cluster at the right of the layout. These pieces were dressed in Shabby Shutters ink and then I added in some Opal Liquid Pearls. And last but not least, my title was taken from the Mini Captions #8 pack. This piece has been dressed in white embossing powder to make it really pop from the layout. I have also added in some stamp stitching and hot air balloons which have all been created with white embossing powders.
Well that is all from me today. I do hope you have enjoyed my project. Don't forget you still have plenty of time to join in on the moodboard challenge.
Until next time happy creating.
Teen x

Saturday, 23 November 2019

Busy Little B - Belinda Spencer


Hello Dusty Fanattics!!

Belinda here to day to share my take on the stunning November Mood Board.

The colours are so pretty! I chose the yellow as my main focal colour which suited my photo perfectly. 

'Busy Little B'


Here's a peek at mood board inspiration:


For this layout I actually looked back through some photos of older layouts and scraplifted myself!! Sometimes when you are stuck for an idea this is a great way to get the creative juices flowing again.

I used a photo of myself too! I'm not saying when the photo was taken though! LOL


I think I lost count of the amount of layers I added here but there are a lot of layers of matching patterned papers. I like to shuffle around my papers and then staple them together before adding to my layout. By keeping the staples in the middle this then allows me to slip things in and around the edges. Like chipboard!


Here I stuck to a colour combo of yellow, pink and white to alter my chipboard pieces. The white was about 3 coats of heavy white gesso and the pink and yellow are acrylic paints. I gave the chipboard a coat of gesso before I added the pink and yellow paints to prevent the colours from soaking into the chipboard and to keep them vibrant.


Dusty Attic products used:


Thank you for stopping by the blog today. I hope you are feeling inspired to create some layers with your Dusty Attic chipboard too. Maybe you can scraplift yourself as I have done.

Cheers
Belinda


Friday, 22 November 2019

Totally Cute - Michelle Van Oudtshoorn - Mood Board Inspiration

Hello lovelies

Today I am up on the Dusty Attic blog with a layout using the November moodboard

Such soft and beautiful colours - I love the shades of this moodboard, and decided it really needed to be something soft and girlie - and when I saw this photo (acknowledgement to Pexels.com) I thought the colours of the moodboard were perfect.

I first applied clear gesso to my page, and then applied some texture with texture paste using the Starry Night stencil. Once this was dry, I applied some pink ink to the stenciled areas spraying with a little water. Once this was dry, I then splattered some pink ink and white paint. I then also stamped in light grey with  script stamp. The leaves and the circle frames were embossed with yellow and pink toned embossing powder. I then framed the photo in the smaller frame and inserted this to the side of the larger frame. This has been mounted to the page with foam tape and then I added the flowers in layers and on foam tape for dimension.


I added the leaves to the flower cluster. I then painted the Elegant Pearls chippy with Dusty in Colour Pink paint and added some flourish gems to these, and tucked this under the flowers.

I have also painted the wire in the same pink and the Creative Script chippy in Dusty in Colour Cashmere. These have all been cut to various shapes and have added these pieces to the layout.

The butterflies have also been painted with pink paint, and I have then added Stickles to the wings.

Here are some more close ups


These are the products I have used:

DA1763


Thank you for popping by,
Michelle