Showing posts with label Layered Bolts. Show all posts

Friday, 10 November 2023

Remote Control holder - Anat Weksler

 Hello dears!

It's Anat here with another Industrial project using fabulous Dusty Attic's Chipboards.


When altering an object I love using paints and different mediums, but sometimes a patterend paper will make the right background to the chippies clusters.

That's exactly what I have done here, I lined my wooden piece with amazing patterend  completing it with a tiny bit of rust Paste.

The Chipboards were also colored with a rust Pastes set.

Here are the chippies used here:

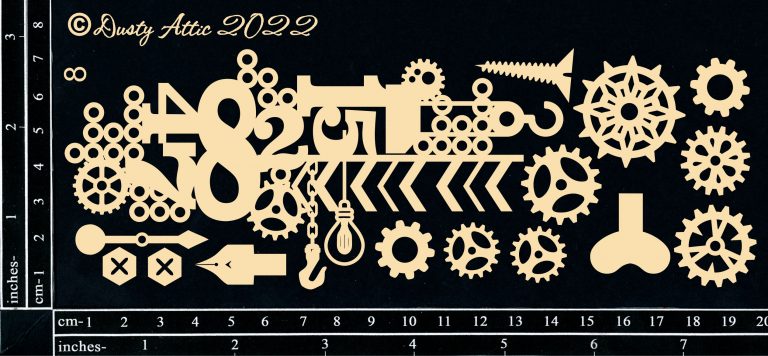
Industrial cluster #8


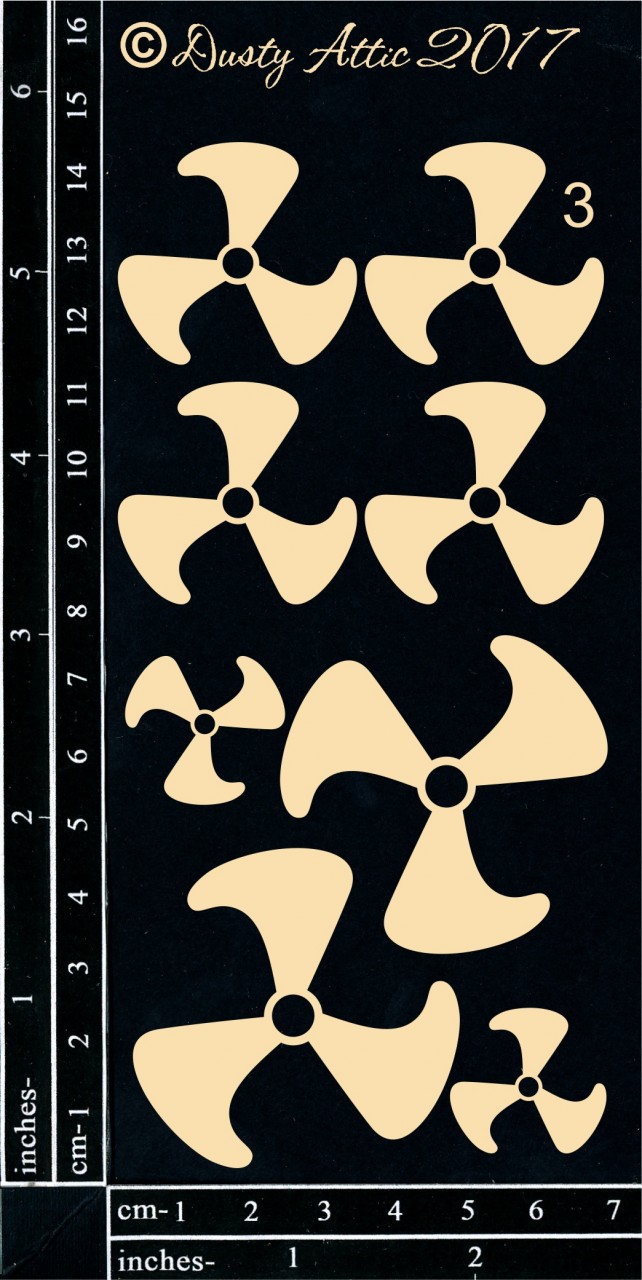
Fans #3


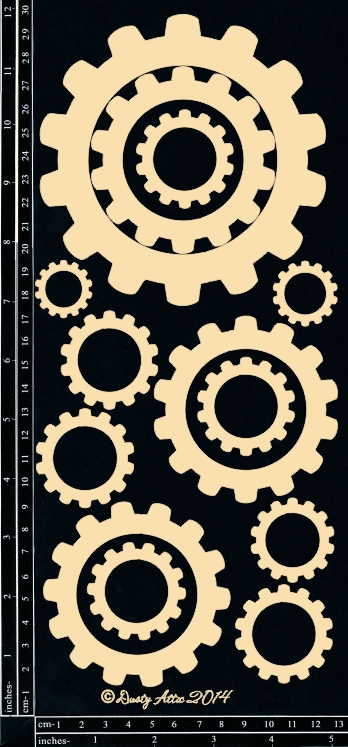
Jumbo cogs-10pk


Thanks for stopping by!

xoxo


Monday, 27 March 2023

Every photo tells story - Michelle Van Oudtshoorn - Mood Board Inspiration

Hi there,

I am sharing a canvas I created for the February moodboard

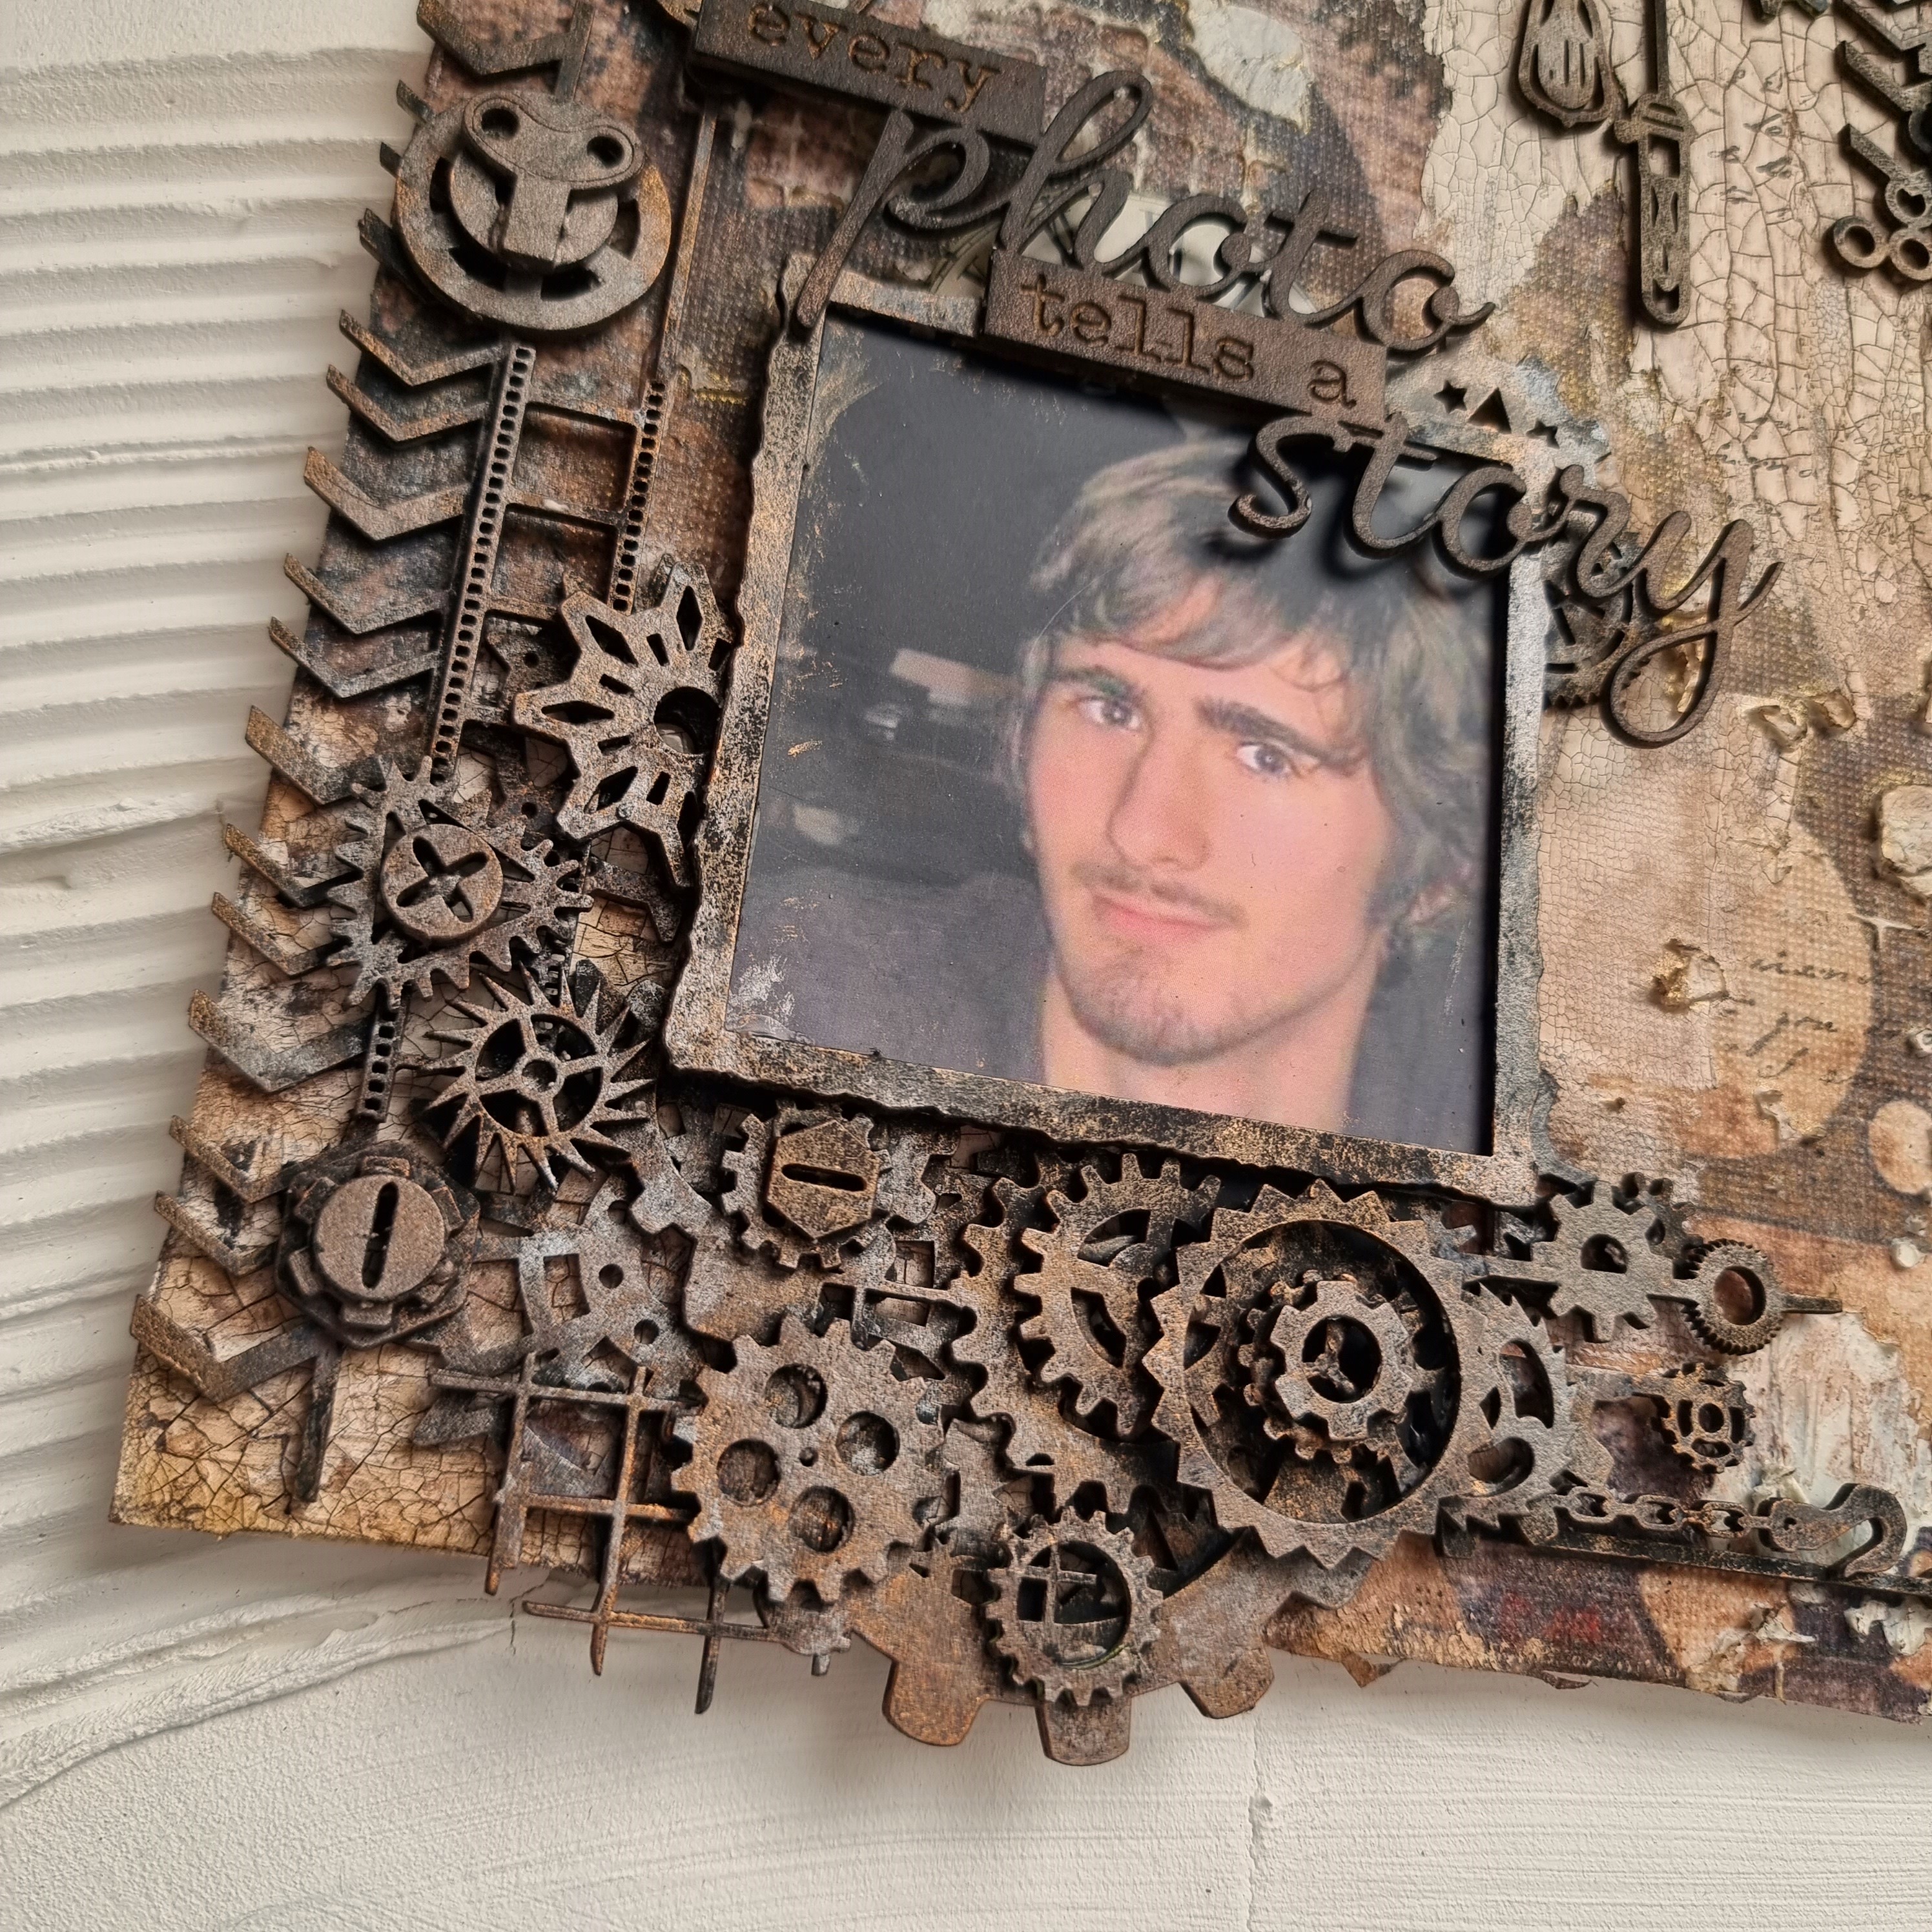
I drew inspiration off the circular macrons, and the edges of the lace under the coffee cup and thought that this reminded me of gears and I created this canvas
The canvas is covered with a prima tissue paper, then covered with matt gel. When this was dry I added crackle paste and when that was dry I used the the Distressed Grid Stencil DA1538 and used this in places with modelling paste.
All the chipboard was prepared with black gesso. 
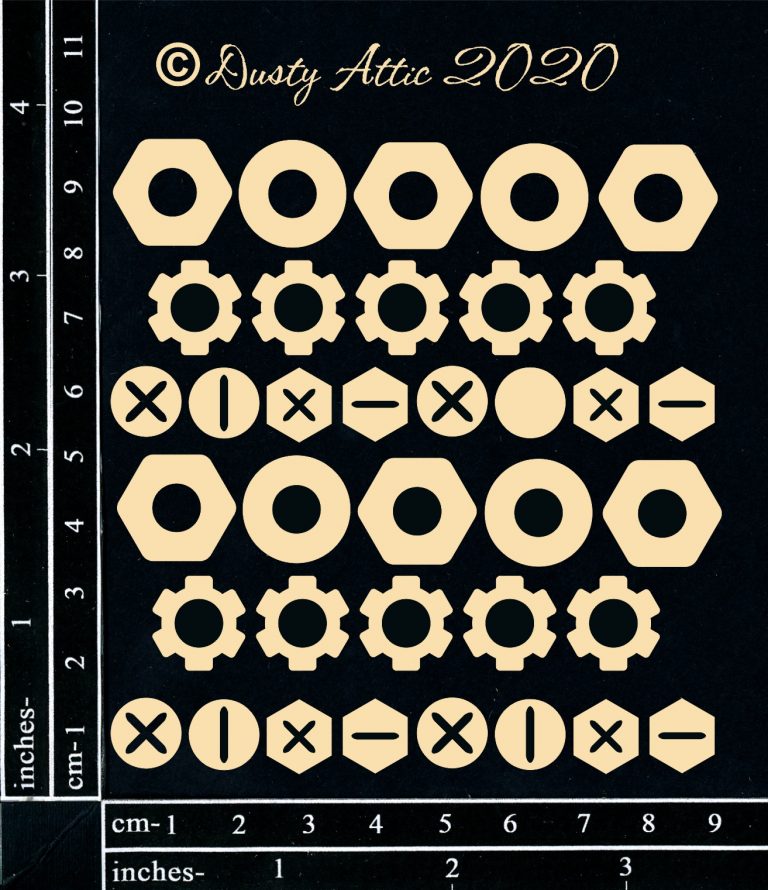
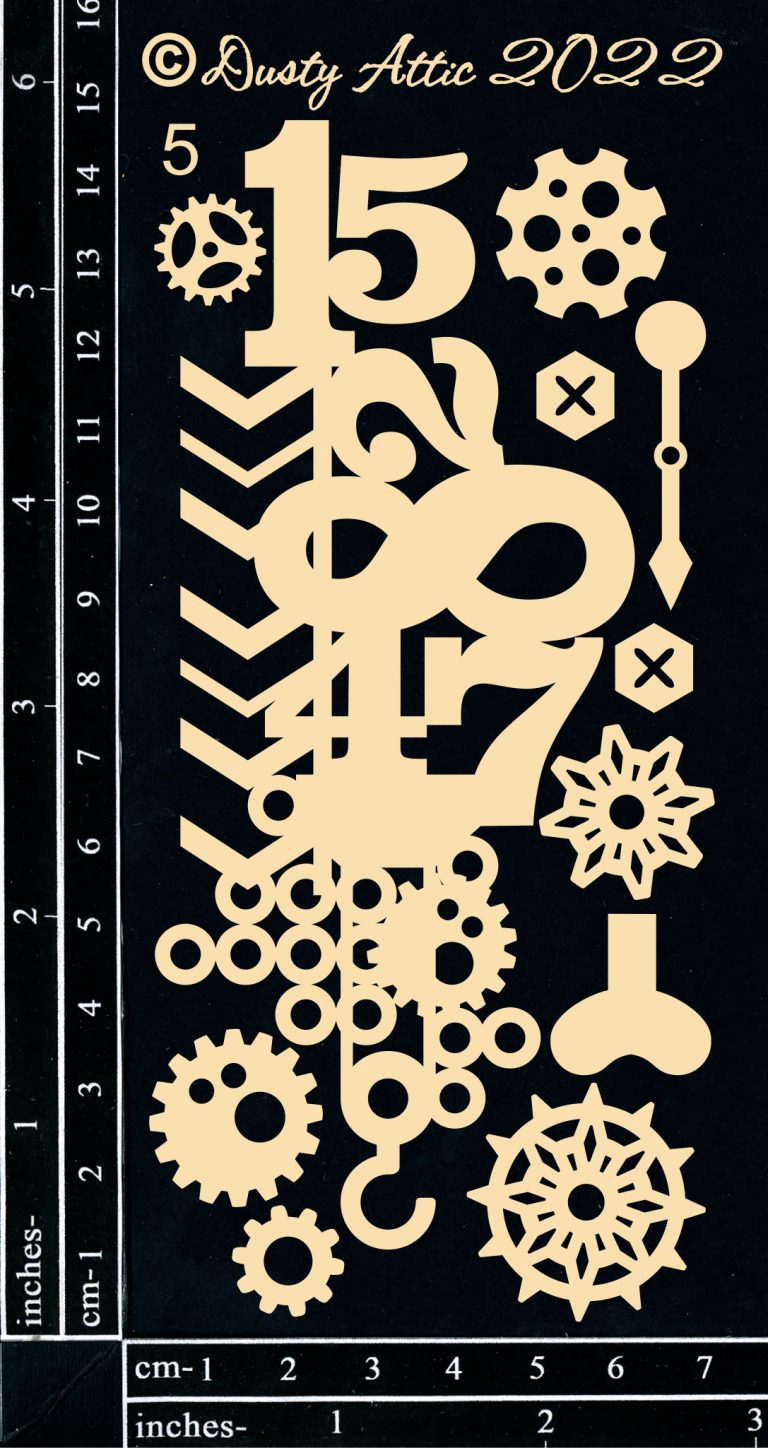
I used a combination of gears - DA2734, DA2744, DA2859 and DA2864, as well as industrial clusters DA3374 and DA3377. I also used Industrial Globes DA2184, mini film strips DA2511, layered bolts DA2880 and the small distressed frame DA2872.

I first started layering the gears and bolts and built these up in the left bottom corner and top right corner, building these up to create clusters of gears.
Once this was all layered, and the frame was added, I started dabbing all the cogs with ARTalchemy waxes in browns and iron colours - using a round paint brush, until all the black gesso was covered. The title DA1783"every photo tells a story" was added last.

These are the products I have used:


Thanks for visiting the blog today. And why not take part in the March moodboard challenge and post your entry to the Facebook DustyFANattics page.

Till next time,
Michelle


Thursday, 3 November 2022

Live your Best Life - Michelle Van Oudtshoorn

As I write this blog for my post, it is a magic day here in Christchurch, NZ. It's nice and warm and there is some sunshine - which hasn't been present much through the last few weeks - we even had snow at the start of October. 

I have created a masculine layout to feature on the blog today. 

This is a photo of my son (a rare photo I might add, as he doesn't like his photo being taken).  I first prepped the paper with matt gel, and adding some strips of paper, adding some green water crayon, and blending this and then rubbed on some white gesso here and there. All chipboard pieces were first dabbed with black gesso. I then added various colours of Alchemy Metallique paints to the chipboard once the black gesso was dry. I dabbed on the paint colours sporadically, until all the pieces were covered in different shades of metallique paint colours.

I used the Industrial Circle Frame (DA3361) for the frame of my photo - this one I mainy stuck to green and brown paint. Underneath the photo, I used the Industrial Square Frame (DA3362). This I cut at an angle in half, so that I could add this under the photo and circular frame - keeping the pieces apart, and then added some broken bits DA3370, and an industrial cluster DA3378, before adhering all of this to the page.

I then built up the cluster with cogs and bolts from the layered bolts (DA2880) and the new mini cogs (DA3364). 
I added the title "Live Your Best Life" and then added some green and honey coloured oxide inks around the chipboard pieces on the layout.
These are the products that I have used:


Thanks for visiting the blog.

Hugs,
Michelle