Showing posts with label Decorative scroll. Show all posts

Tuesday, 24 September 2024

Remember the Now - Mixed Media Panel - Pascale B Scrap

Hello Sweeties,

Today I'm on Dusty Attic's blog with a new mixed-media panel.

I covered the canvas board with Carte Postale tissue paper with the help of a soft matte gel. Next, I added a design with the Lace Stencil and paper paste in the edges, and 3D Gloss gel in the center. When dry, I used liquid acrylic paints to color the paste in the same shade as the photo.


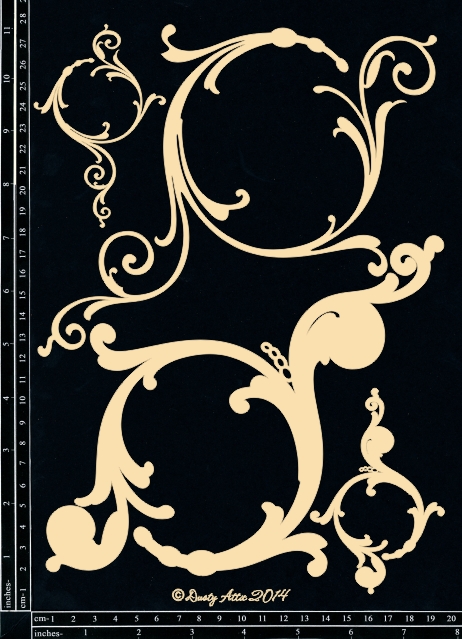
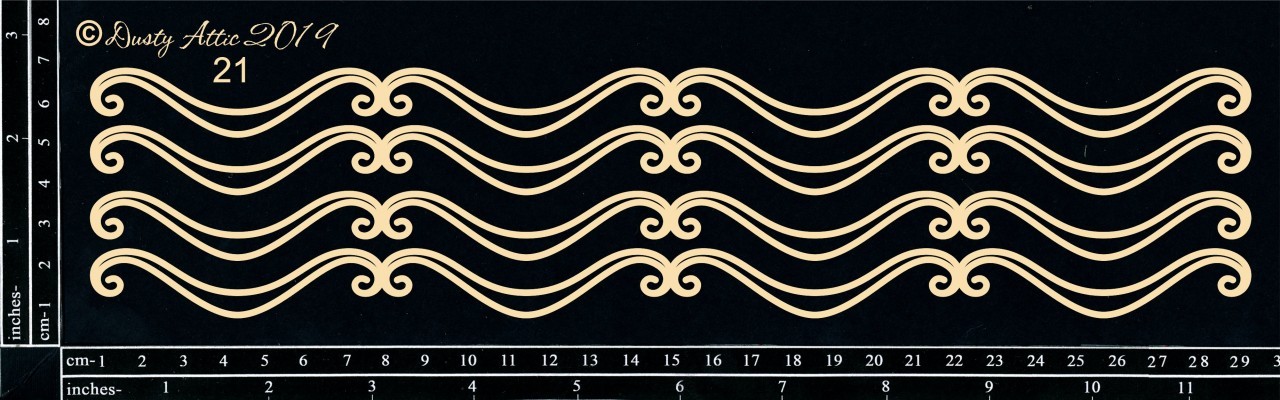
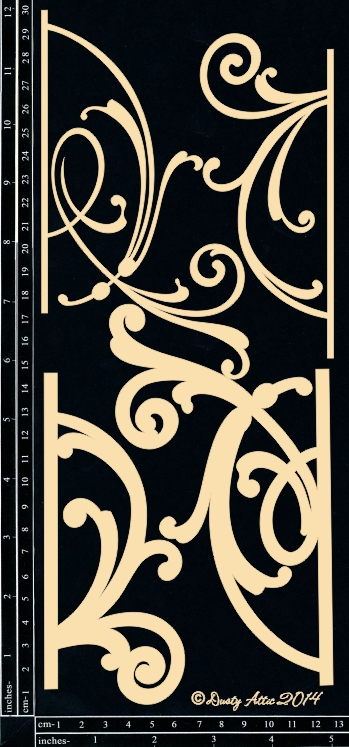
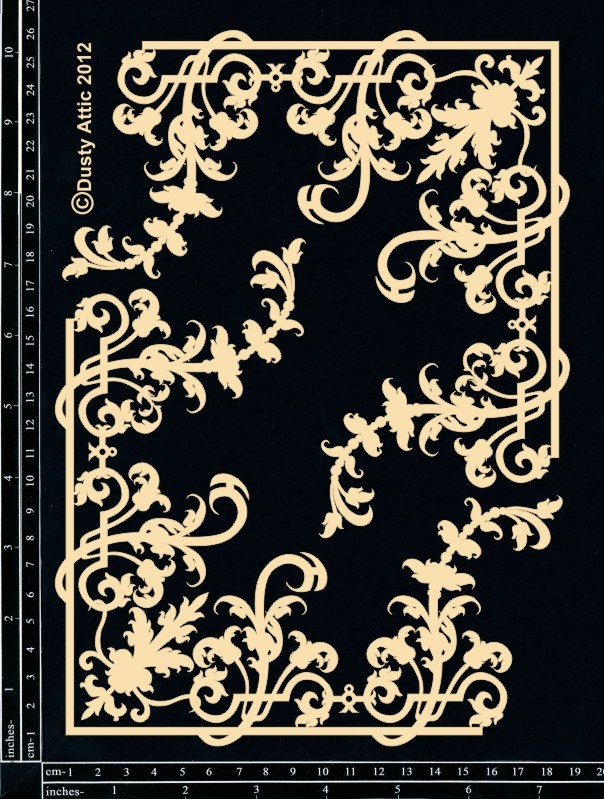
I primed the base of Decorative Scroll #1 with white gesso and the top part with black gesso. Then I covered the base with Gilding glue and waited until the glue was completely dry before covering it with Gold Metallic Flakes. I chose the Gold Black wax to color the top part. 


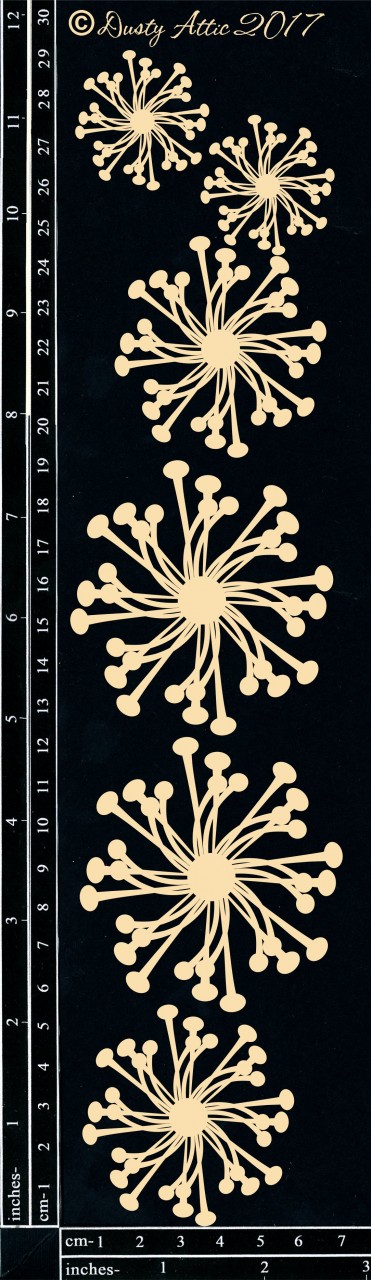
I primed the Dandelions and the Flower Buds #1 with black gesso and Gold Black wax too.


I primed the Foliage #4 and the Lemon Leaves & Blossoms with white gesso. Then, I used Burnt Sienna and Orange Tiger liquid acrylic paints to color them. 


I primed some Wildflowers with white gesso and used the same color of liquid acrylic paint to color them.


When the composition was to my liking, I added some glitter. 


Dusty attic products:
Other products:
  • Flowers - 49 and Market (Celery Wildflowers);
  • Tissue Paper - Finnabair Prima (Carte Postale);
  • Art Ingredient - Finnabair Prima (Gold Metallic Flack);
  • Art Alchemy Liquid Acrylic - Finnabair Prima (Tiger Orange, Burnt Sienna, Black Ink);
  • Art Alchemy Wax - Finnabair Prima (Black Gold);
  •       
  • Art Extravagance - Finnabair Prima (Paper Paste, Gilding Glue);
  •       
  • Art Basics - Finnabair Prima (White Heavy Gesso, Black heavy Gesso, Heavy Body Gel, Soft Matte Gel).

Tuesday, 19 July 2022

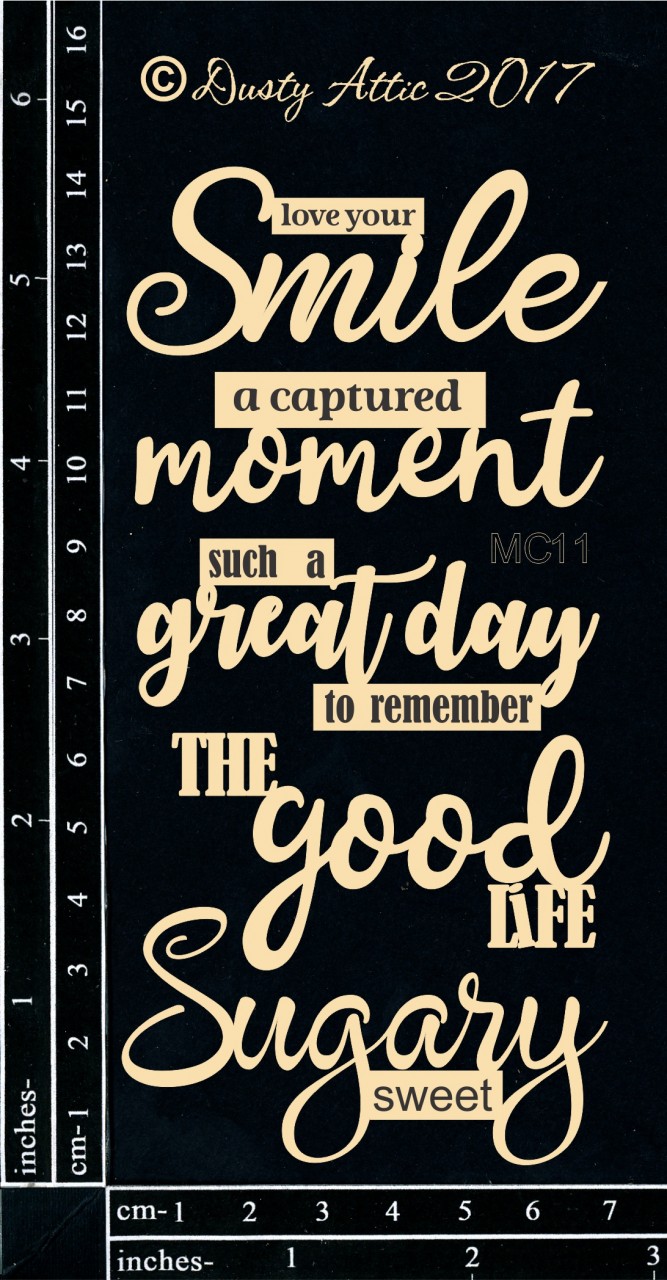
Love your Smile - Judith Tijsen - Mood Board Inspiration

Hello Everyone,

Today I can show you my inspiration post from this month's mood board.
What beautiful colors they are together.


This time I have again opted for a romantic creation. 
But that can't be any other way with these soft pastel colors.


I edited an MDF heart with structure paste, a light pink acrylic paint and a text stamp.


The cute picture is framed with one of my favorite Dusty Attic chipboards, Decorative Scroll #1.


I used the following Dusty Attic Chipboard:


This is the Moodboard for this month.


You could win one of two $50 AUD credits to the Dusty Attic online store. The only requirement is that you have Dusty Attic chipboard on your creation and enter your project on the Dusty FANattics Page.  


XXX Judith


Friday, 4 June 2021

Imagine - Pascale B

Hello Sweeties,

Today I'm up on Dusty Attic blog with a new mixed media canvas. 


First, I primed the canvas with white gesso. Next, I started to add some color with Burnt Sienna and Black liquid acrylic paints. When dry, I added a design with the Lace stencil and the Burnt Amber.  


Next, I mixed some Paper Paste with the Burnt Sienna paint and applied the paste with a pallet knife randomly. I added here and there some metallic flakes. Finally, I stamped some text with black Archival ink and added some clear crackle paste. 


While the crackle paste was drying, I primed all the chipboards with white gesso. Then I painted them with the Burnt Sienna paint. I continued with waxes: first the Red Aber, next the Charcoal Black. 


When the crackle paste was completely dry, I colored it with Burnt Sienna and Black paints to reveal the cracking. I glued all the chipboards to mimic the headdress from the photo. 


I added some touch of Old Silver and White Gold to highlight the chipboards. I added some Violet and Prussian Blue paint to the background.


To finish, I added some glitters. 


Matériels / Materials:

Dusty Attic products:


Lace Stencil
DA1310

Doodads #6
DA1403

Boho Skull
DA1733

Feathers by Nuneka
DA2733

Scroll #2
DA0215

Wings #2
DA0500

Wordpl@y #2 Black
DA1786


Other products:
  • Stamp - Stampers Anonymous (Entomology);
  • Art Ingredients - Finnabair Prima (Metallic Flakes: Steampunk);
  • Waxes Art Alchemy - Finnabair Prima (Charcoal Black, Red Amber, White Gold, Old Silver);
  • Liquid Acrylics Art Alchemy - Finnabair Prima (Burnt Sienna, Ink Black, Violet, Prussian Blue);
  • Art Extravagance - Finnabair Prima (Clear Crackle Paste, Gilding Glue);
  • Art Basics - Finnabair Prima (White Heavy Gesso, 3D Matte Gel, Soft Gloss Gel).


Sunday, 26 July 2020

ATC set - Anat Weksler - Mood Board Inspiration

Hello crafty friends!
Anat here today with my ATC set inspired by the Fabulous moodboard.


Although, lately, you see me  create a lot of Industrial and Steampunk projects, I love Shabby Chic and the pastel colors of the moodboard as well.
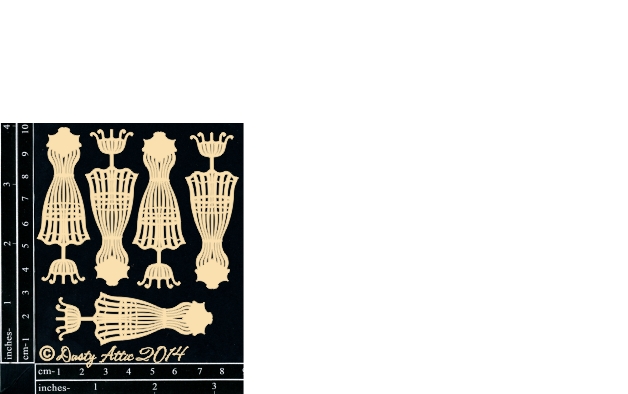
When I saw the moodboard I knew I want to use the Mini wire dress form. So feminine and gorgeous.


After I finished them I decided who will get them and made this stickers matching the colors.

All chipboards were painted with a mix of Finnabair impasto paints and rubbed with metalique wax.


I also used some parts of the inside of  Atc gothic windows , as you see I love Dusty Attic so much and  use everthing LOL.


Thanks for stopping by!
xoxo

Tuesday, 16 June 2020

Wedding Layouts - Jen Burns


Hello Dusty FANattics

Today I am on the blog to show you two layouts I created for my Beautiful Sis (in-law) of her and my Brother's amazing wedding.
I have started an album for these precious memories and have used the Vintage Artistry collection from 49 and Market in different colours to keep a flow all throughout. 

You can also purchase 49 and Market products from the Dusty Attic website 


Papers which include laser cuts, Collage packs, Washi strips, Wishing Bubbles, flowers, stamps and Layered Embellishments.

This is the first page and is in the SAGE collection. 

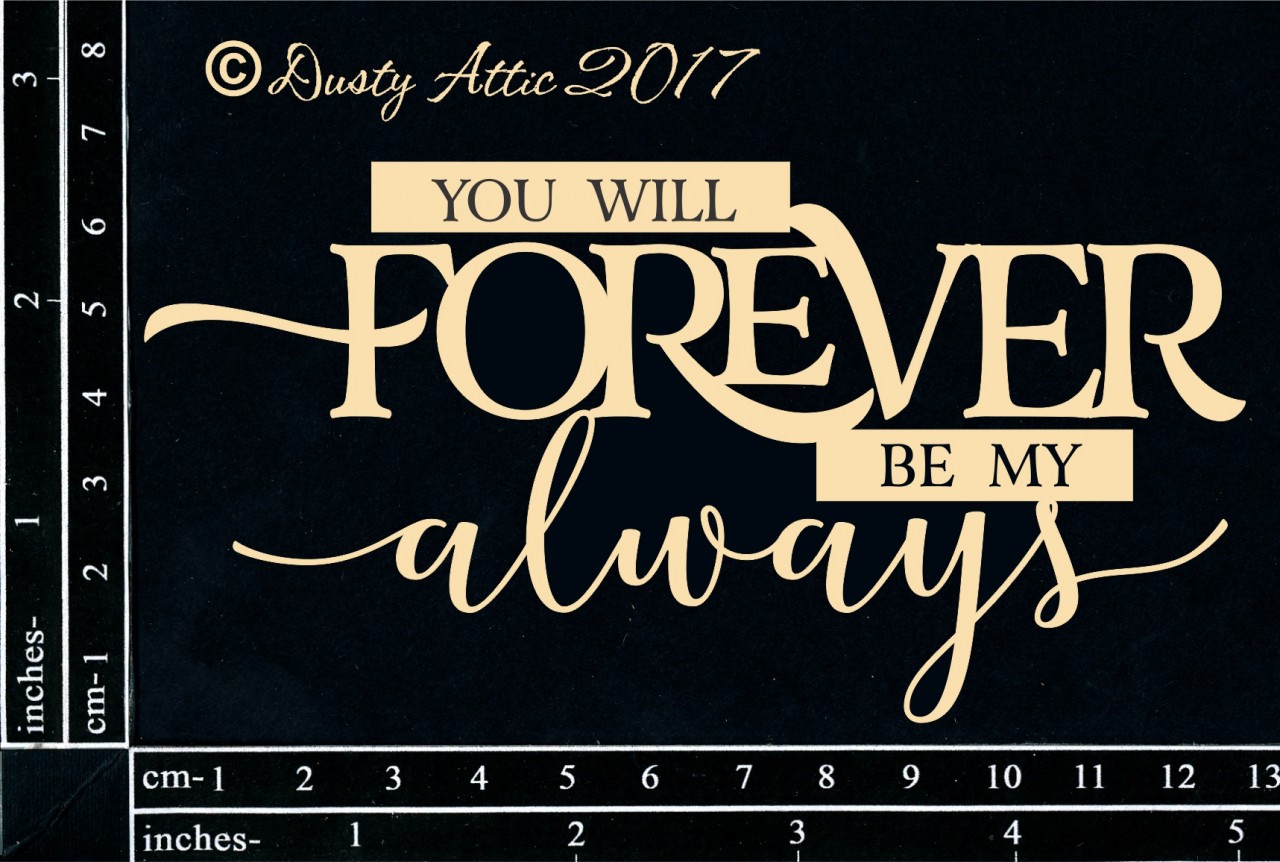
"You will FOREVER be my Always"


I started with embossing the bottom layer of the decorative scroll with Antique bronze powder, then using a stamp pad have coloured the top layer of the scroll in a sage green, then adhered the two layers together.


Title

I have kept the title white and laid it over the top of the  photograph


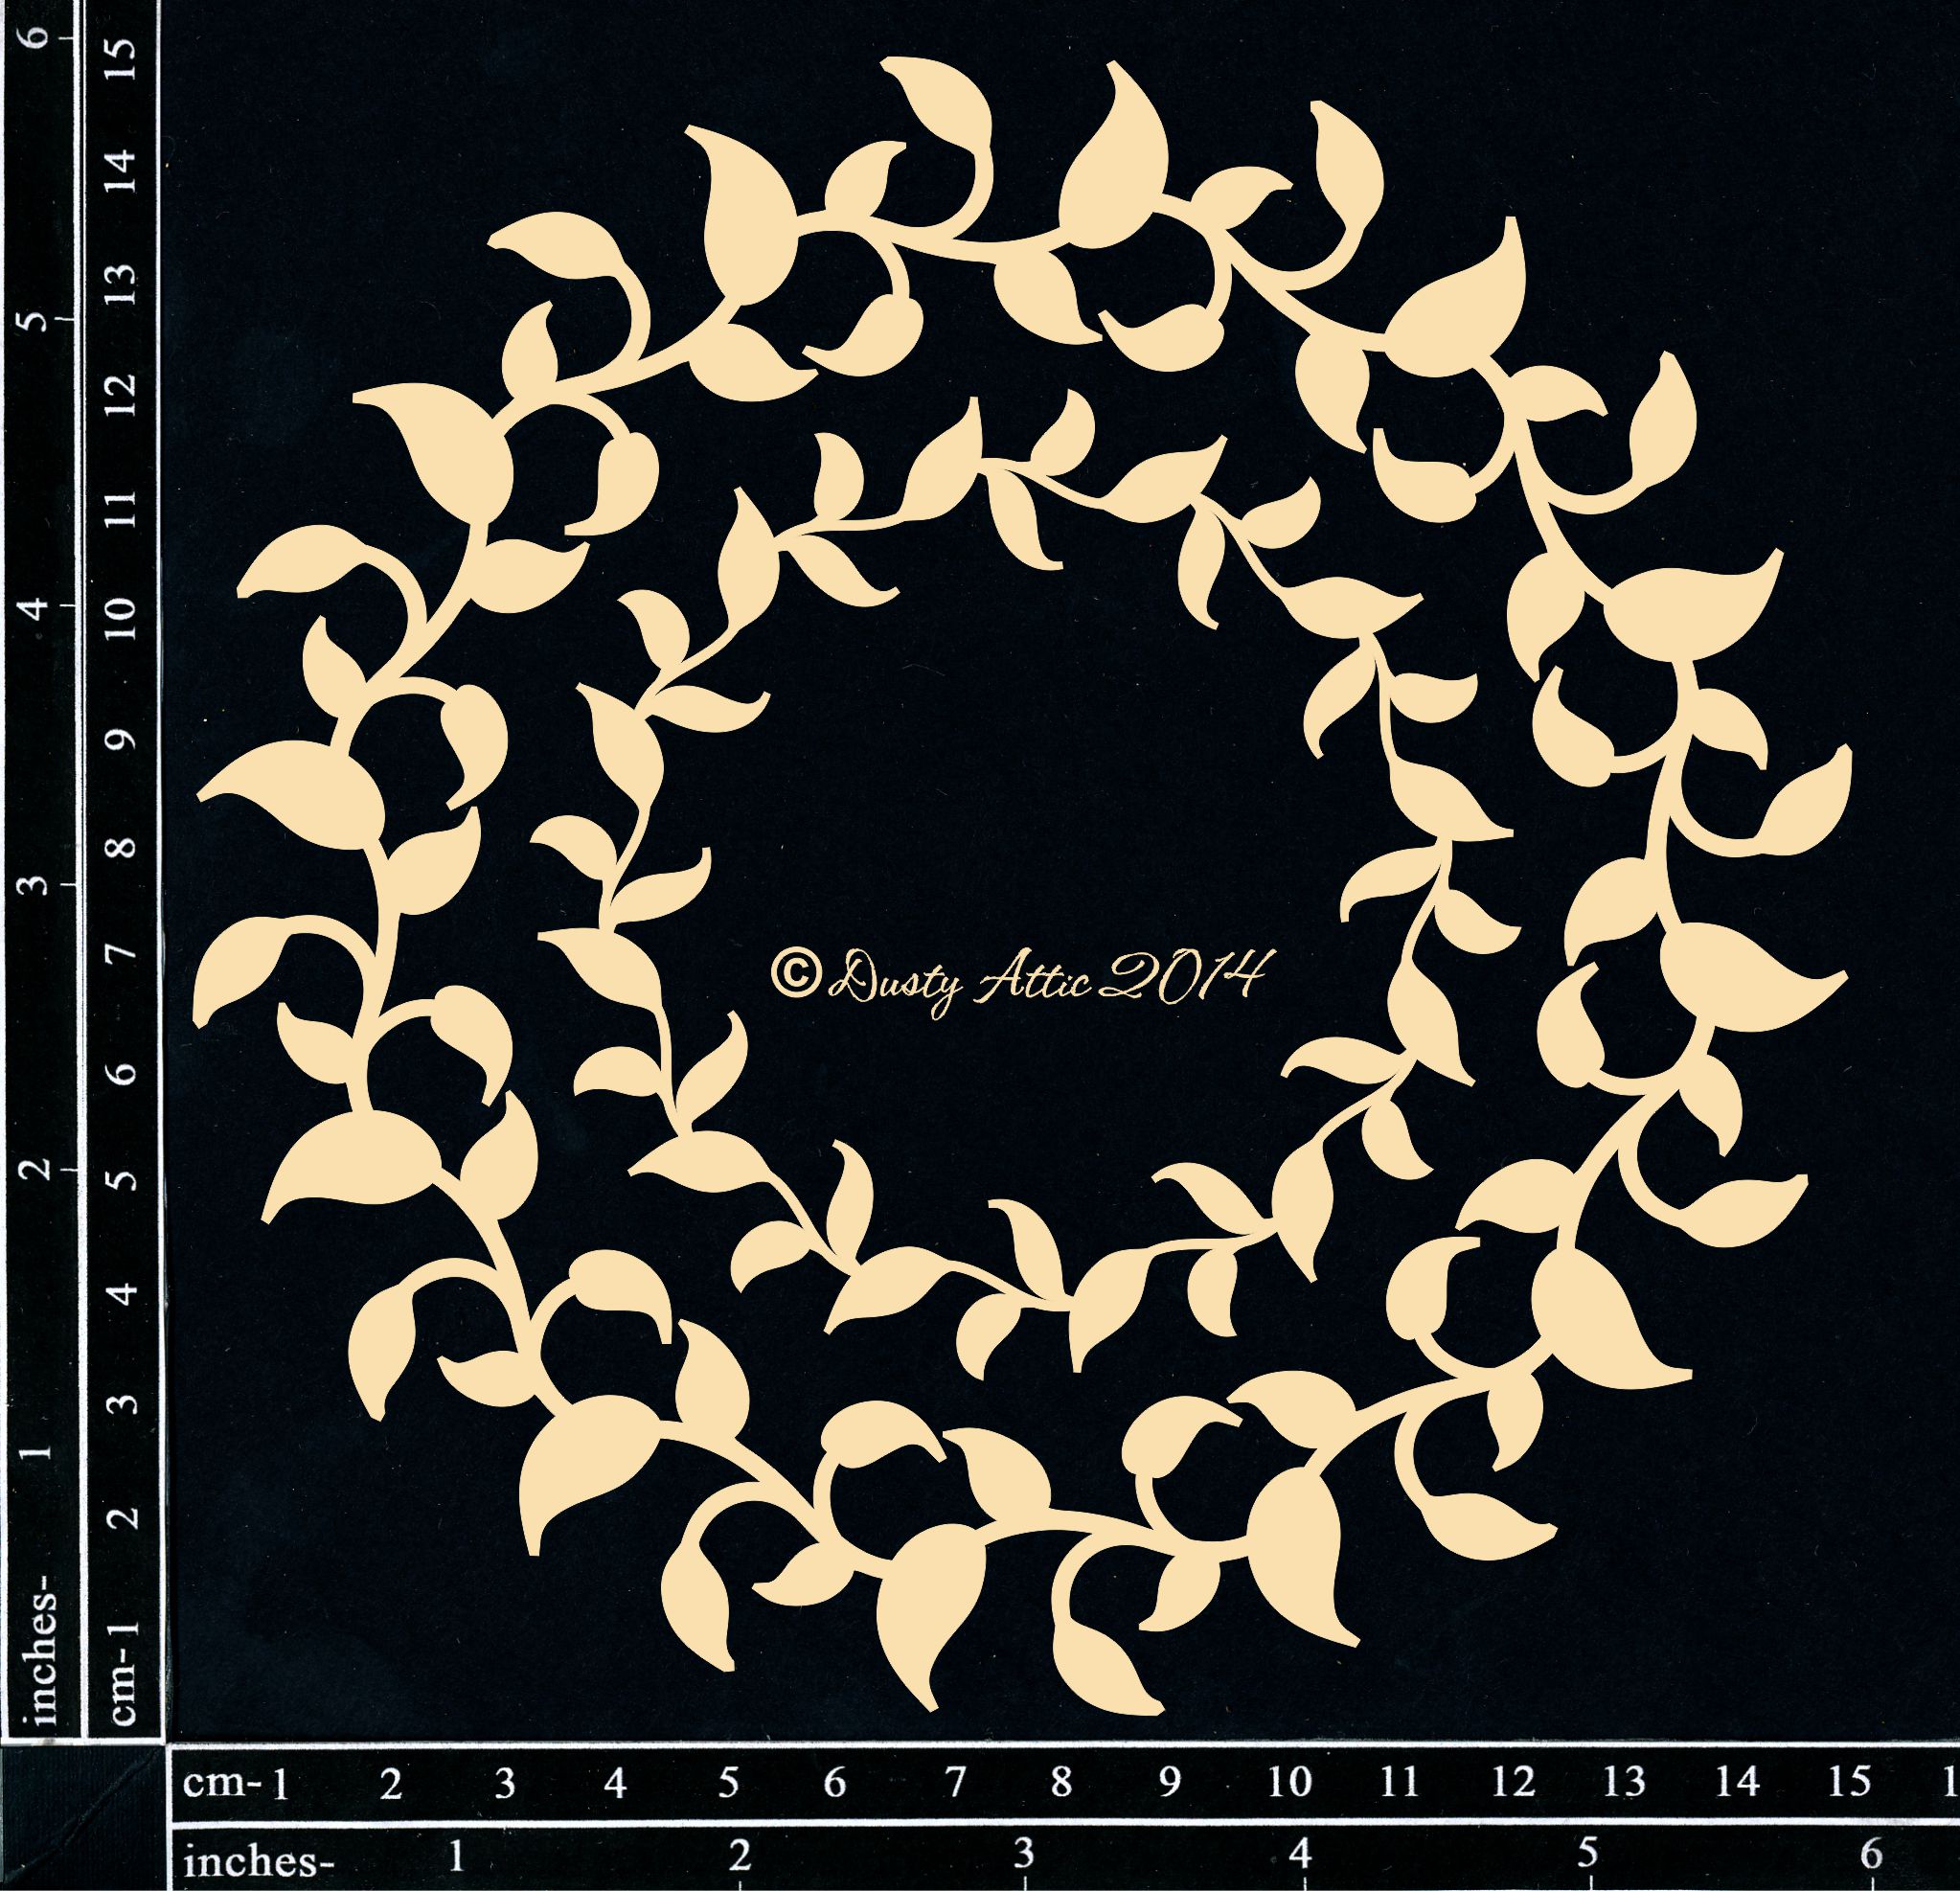
The Vine frame I have used at the side and top of the photo, this is the same frame, I have just cut it to fit at both sides.


I have also used a script stamp and embossed here and there with the same embossing powder as the chipboard.


This is my second layout to share with you today and it is in the CORAL range.

"Beautiful Moments"


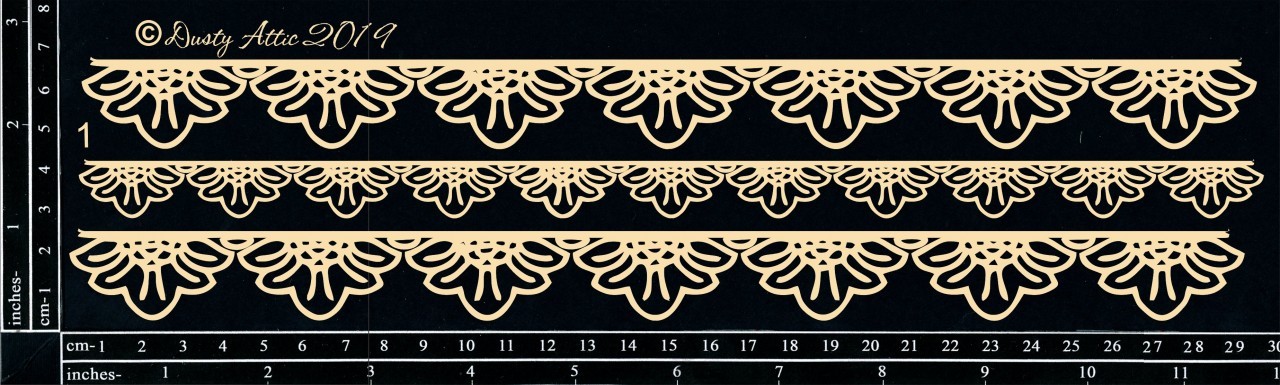
I have layered the Border with the lace laser cuts in the paper pack, keeping the chipboard white to make it pop against the coral and cream.


The title I had made up from different pieces of chipboard I had loose in my "stash" the Moments was from this title 


I have also kept this piece white however before adhering it to the layout I have picked out the flower sections and added gloss accents (let dry overnight and don't put your finger in it !) to add some extra dimension.

I hope you have loved my layouts as much as I did creating them, and I will be back next month with some more from this magical amazing day.


Jen Burns