
Hi everyone! Some more boy layout
inspiration today from me.

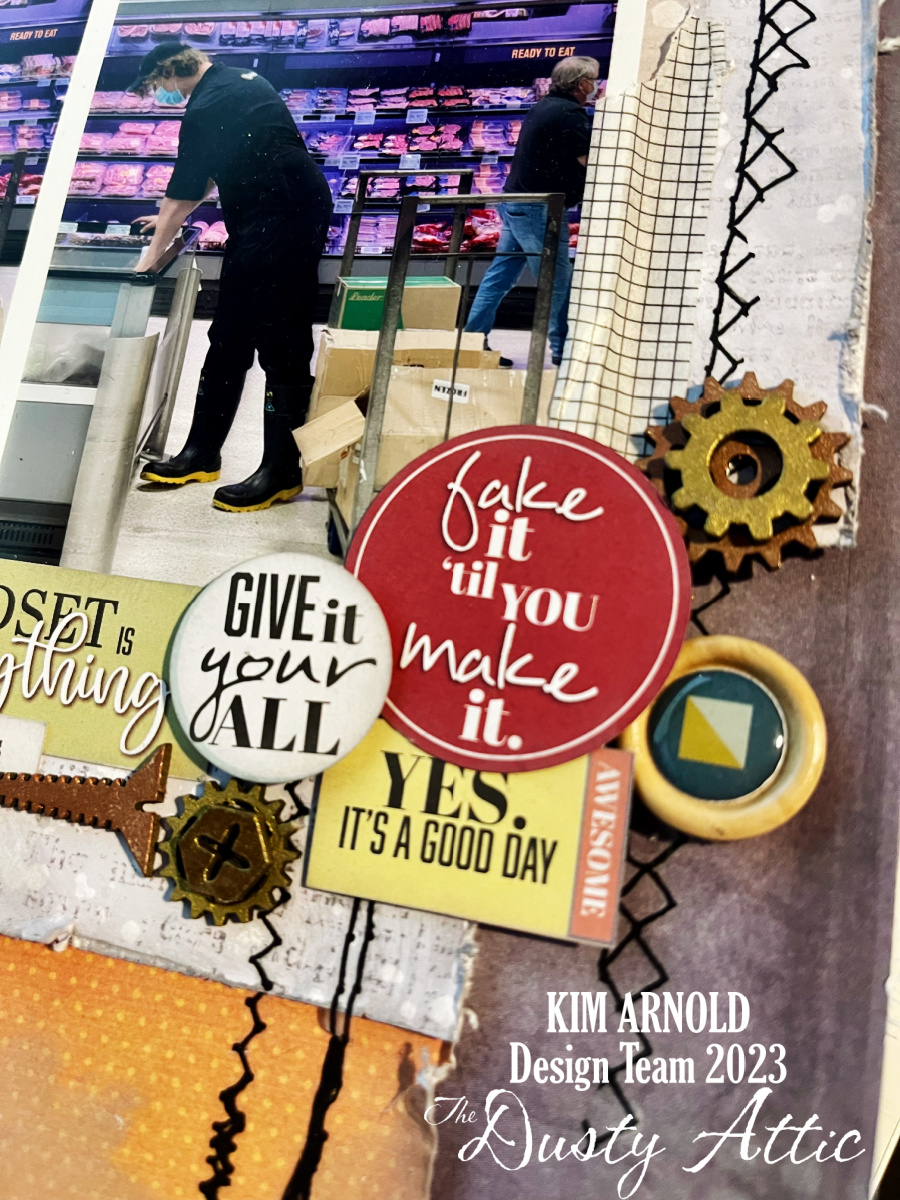
I have created a teenage boy layout documenting
my son’s first part time job using lots of industrial Dusty Attic chipboard and
I will take you through what I have used and what techniques I applied.

Starting with the Industrial boarder #1, I
have used a dark grey wax to give it a metallic look.

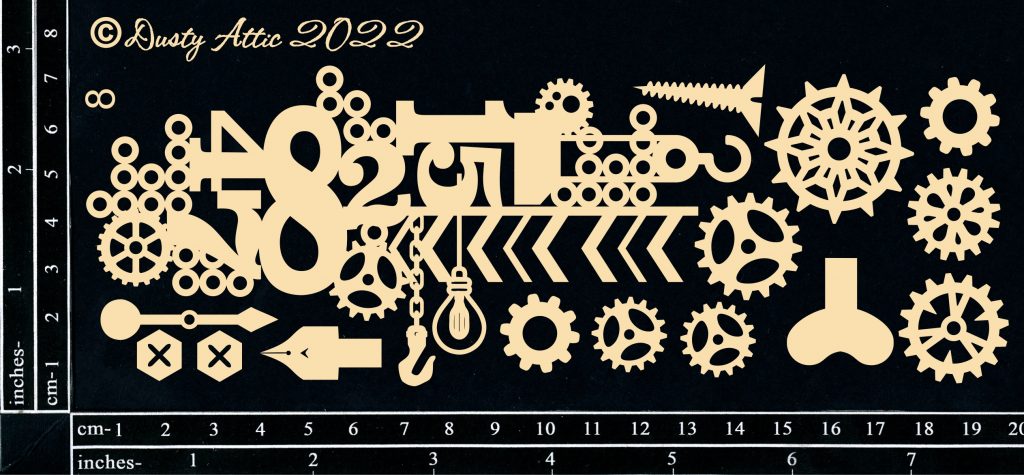
I love the various Industrial Clusters that
are available and for this layout I used all of the bits and pieces that come
with set #8, but let the actual cluster piece for another layout.
I finished each of the elements in the
cluster with copper and vintage gold waxes, so that when the various pieces
were layered over the boarder piece I was not layering the same coloured
pieces. I layered up these pieces over the border piece to give it dimension
and interest.

I then coloured the industrial globes using
the same dark grey wax as the border piece for the top of the globes and the
vintage gold wax on the filament. For the edge of the globe I used the sparkly
prima paint in copper and then touched bits of gold wax on it once the paint was
dry. I added the three globes on various places on the border piece so it
looked like the globes were hanging from it.


Don’t be afraid to mix up some chipboard
pieces with other embellishments. For this layout I have mixed some of the
small chipboard elements in with sticker, diecut and wooden embellishments to
create an interesting cluster at the bottom right of the photos.
I hope you have a chance to get some
creative time in soon.

Dusty attic products:
Industrial Globes –
Dusty Attic – Australian owned and operated Laser Cutting business
Industrial Border
#1 – Dusty Attic – Australian owned and operated Laser Cutting business
Industrial
Cluster #8 – Dusty Attic – Australian owned and operated Laser Cutting business
No comments:
Post a Comment