
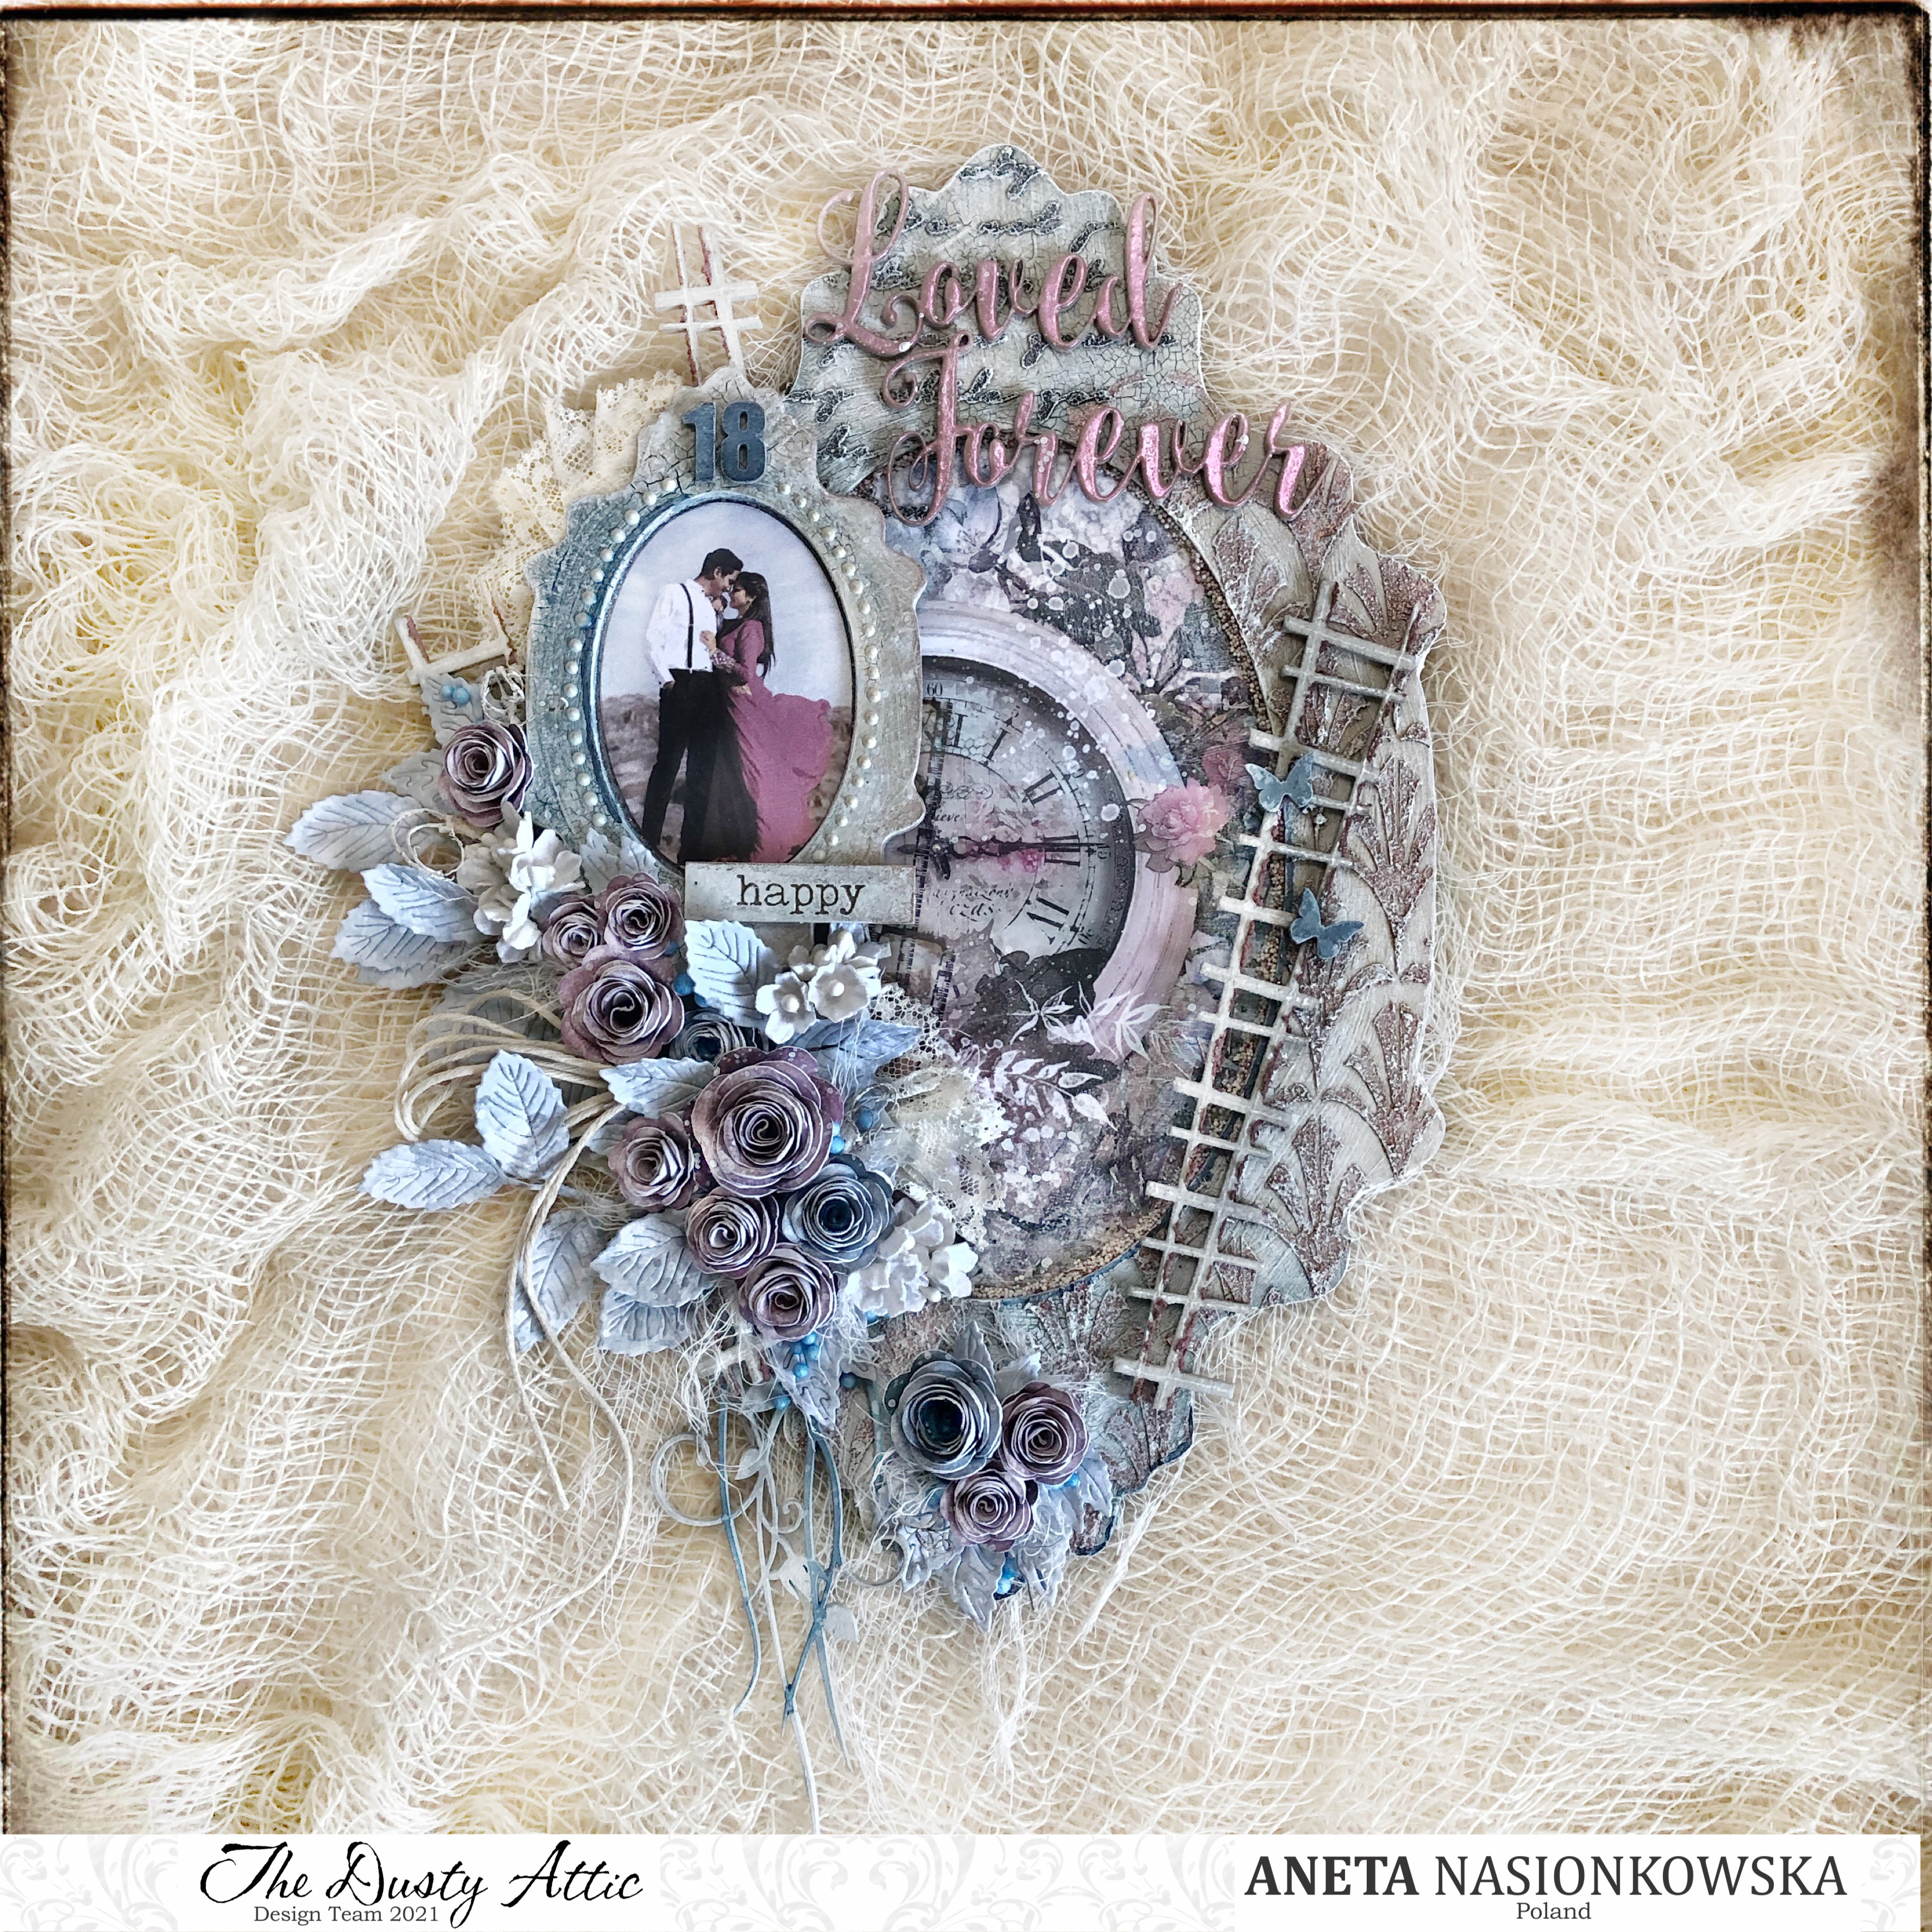
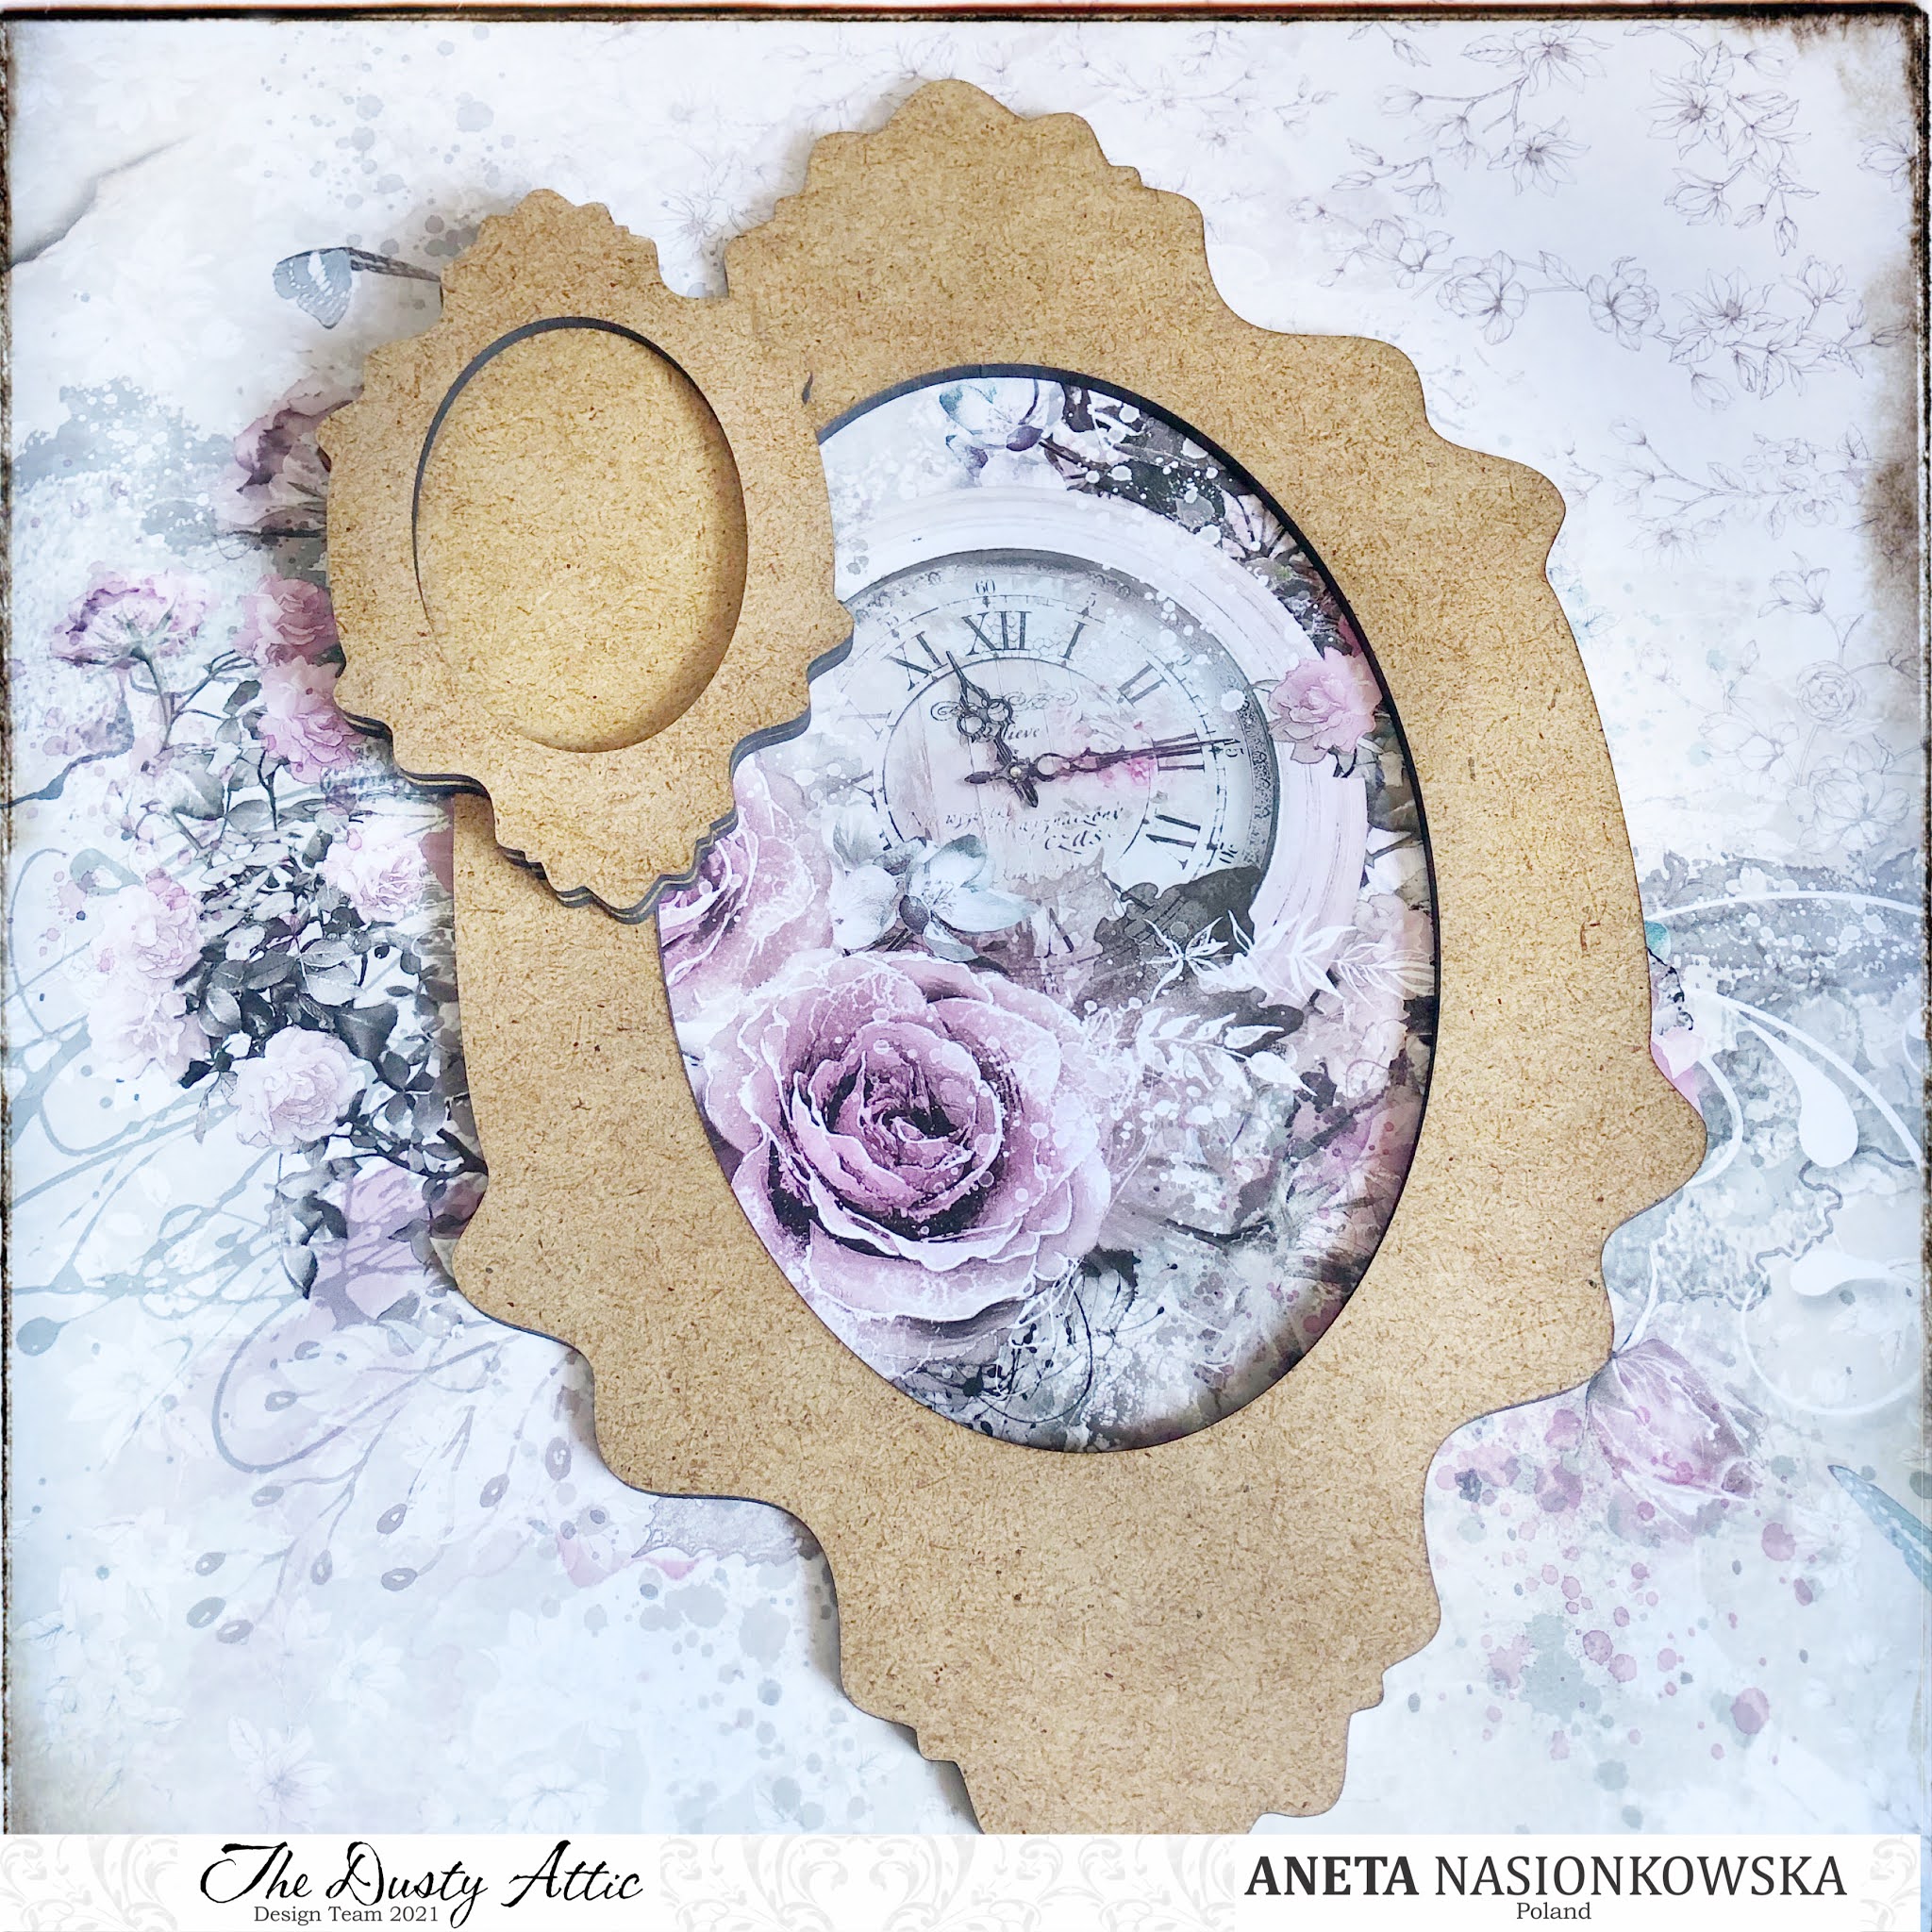
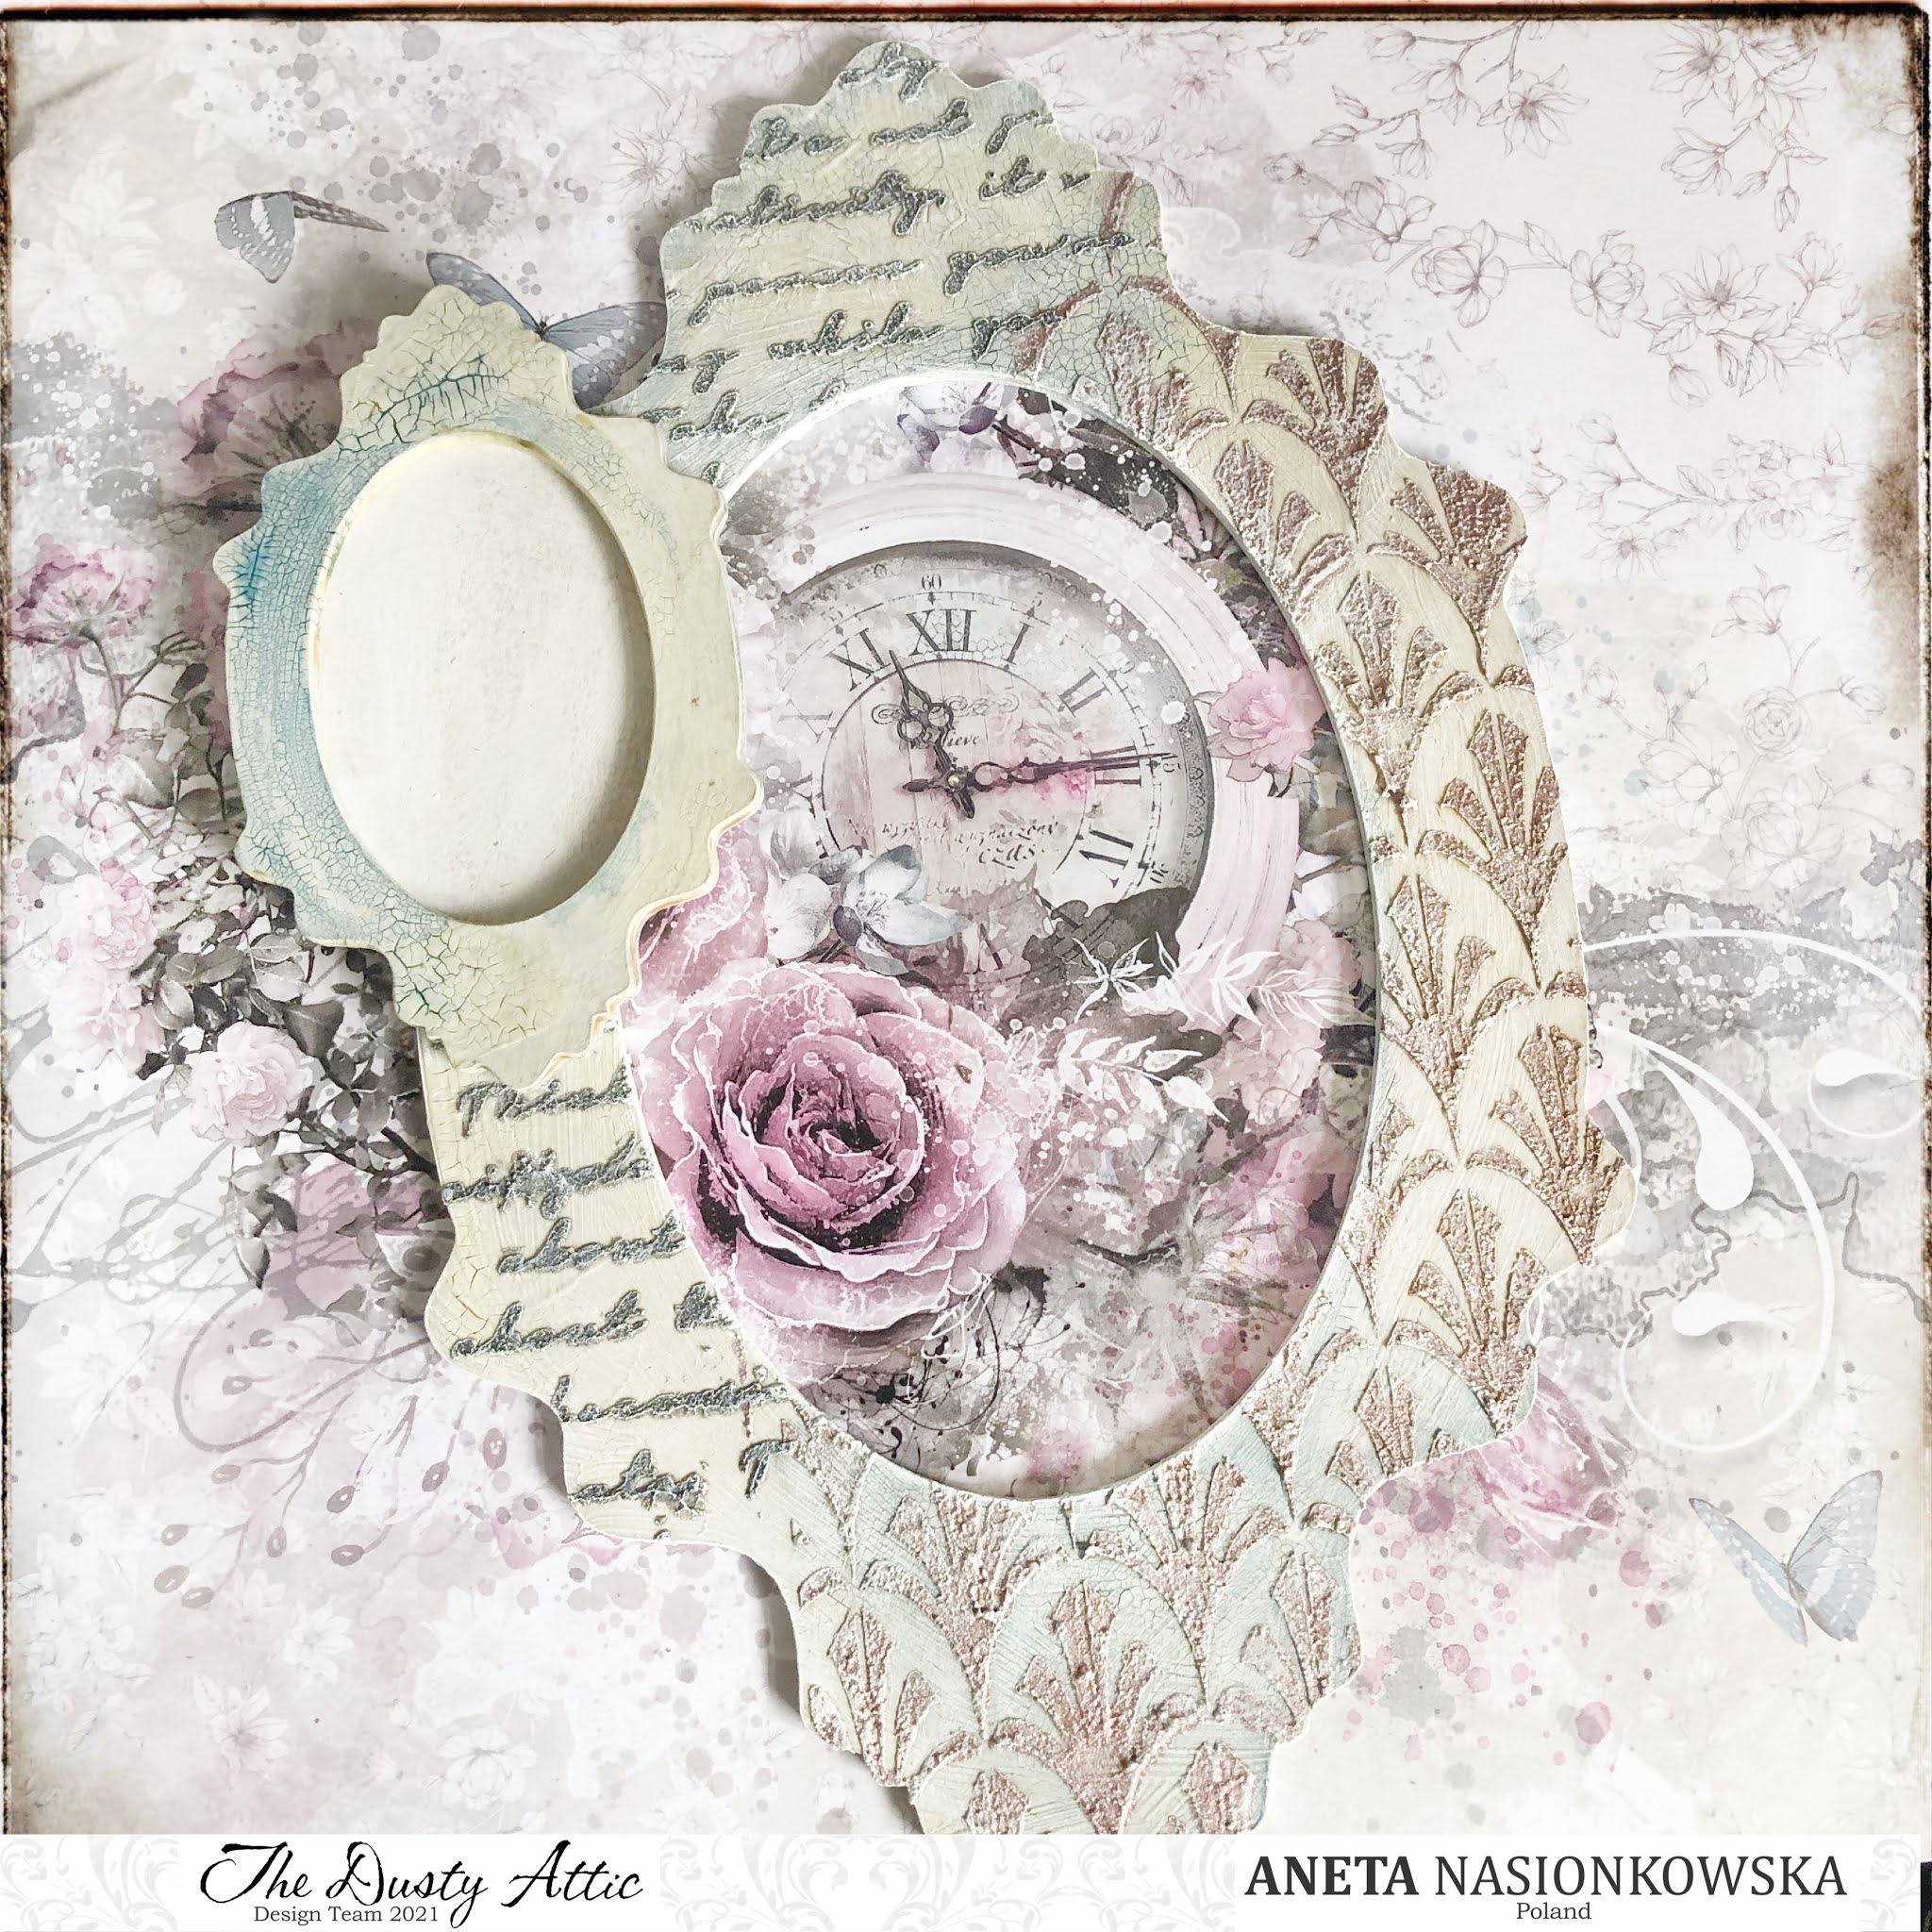
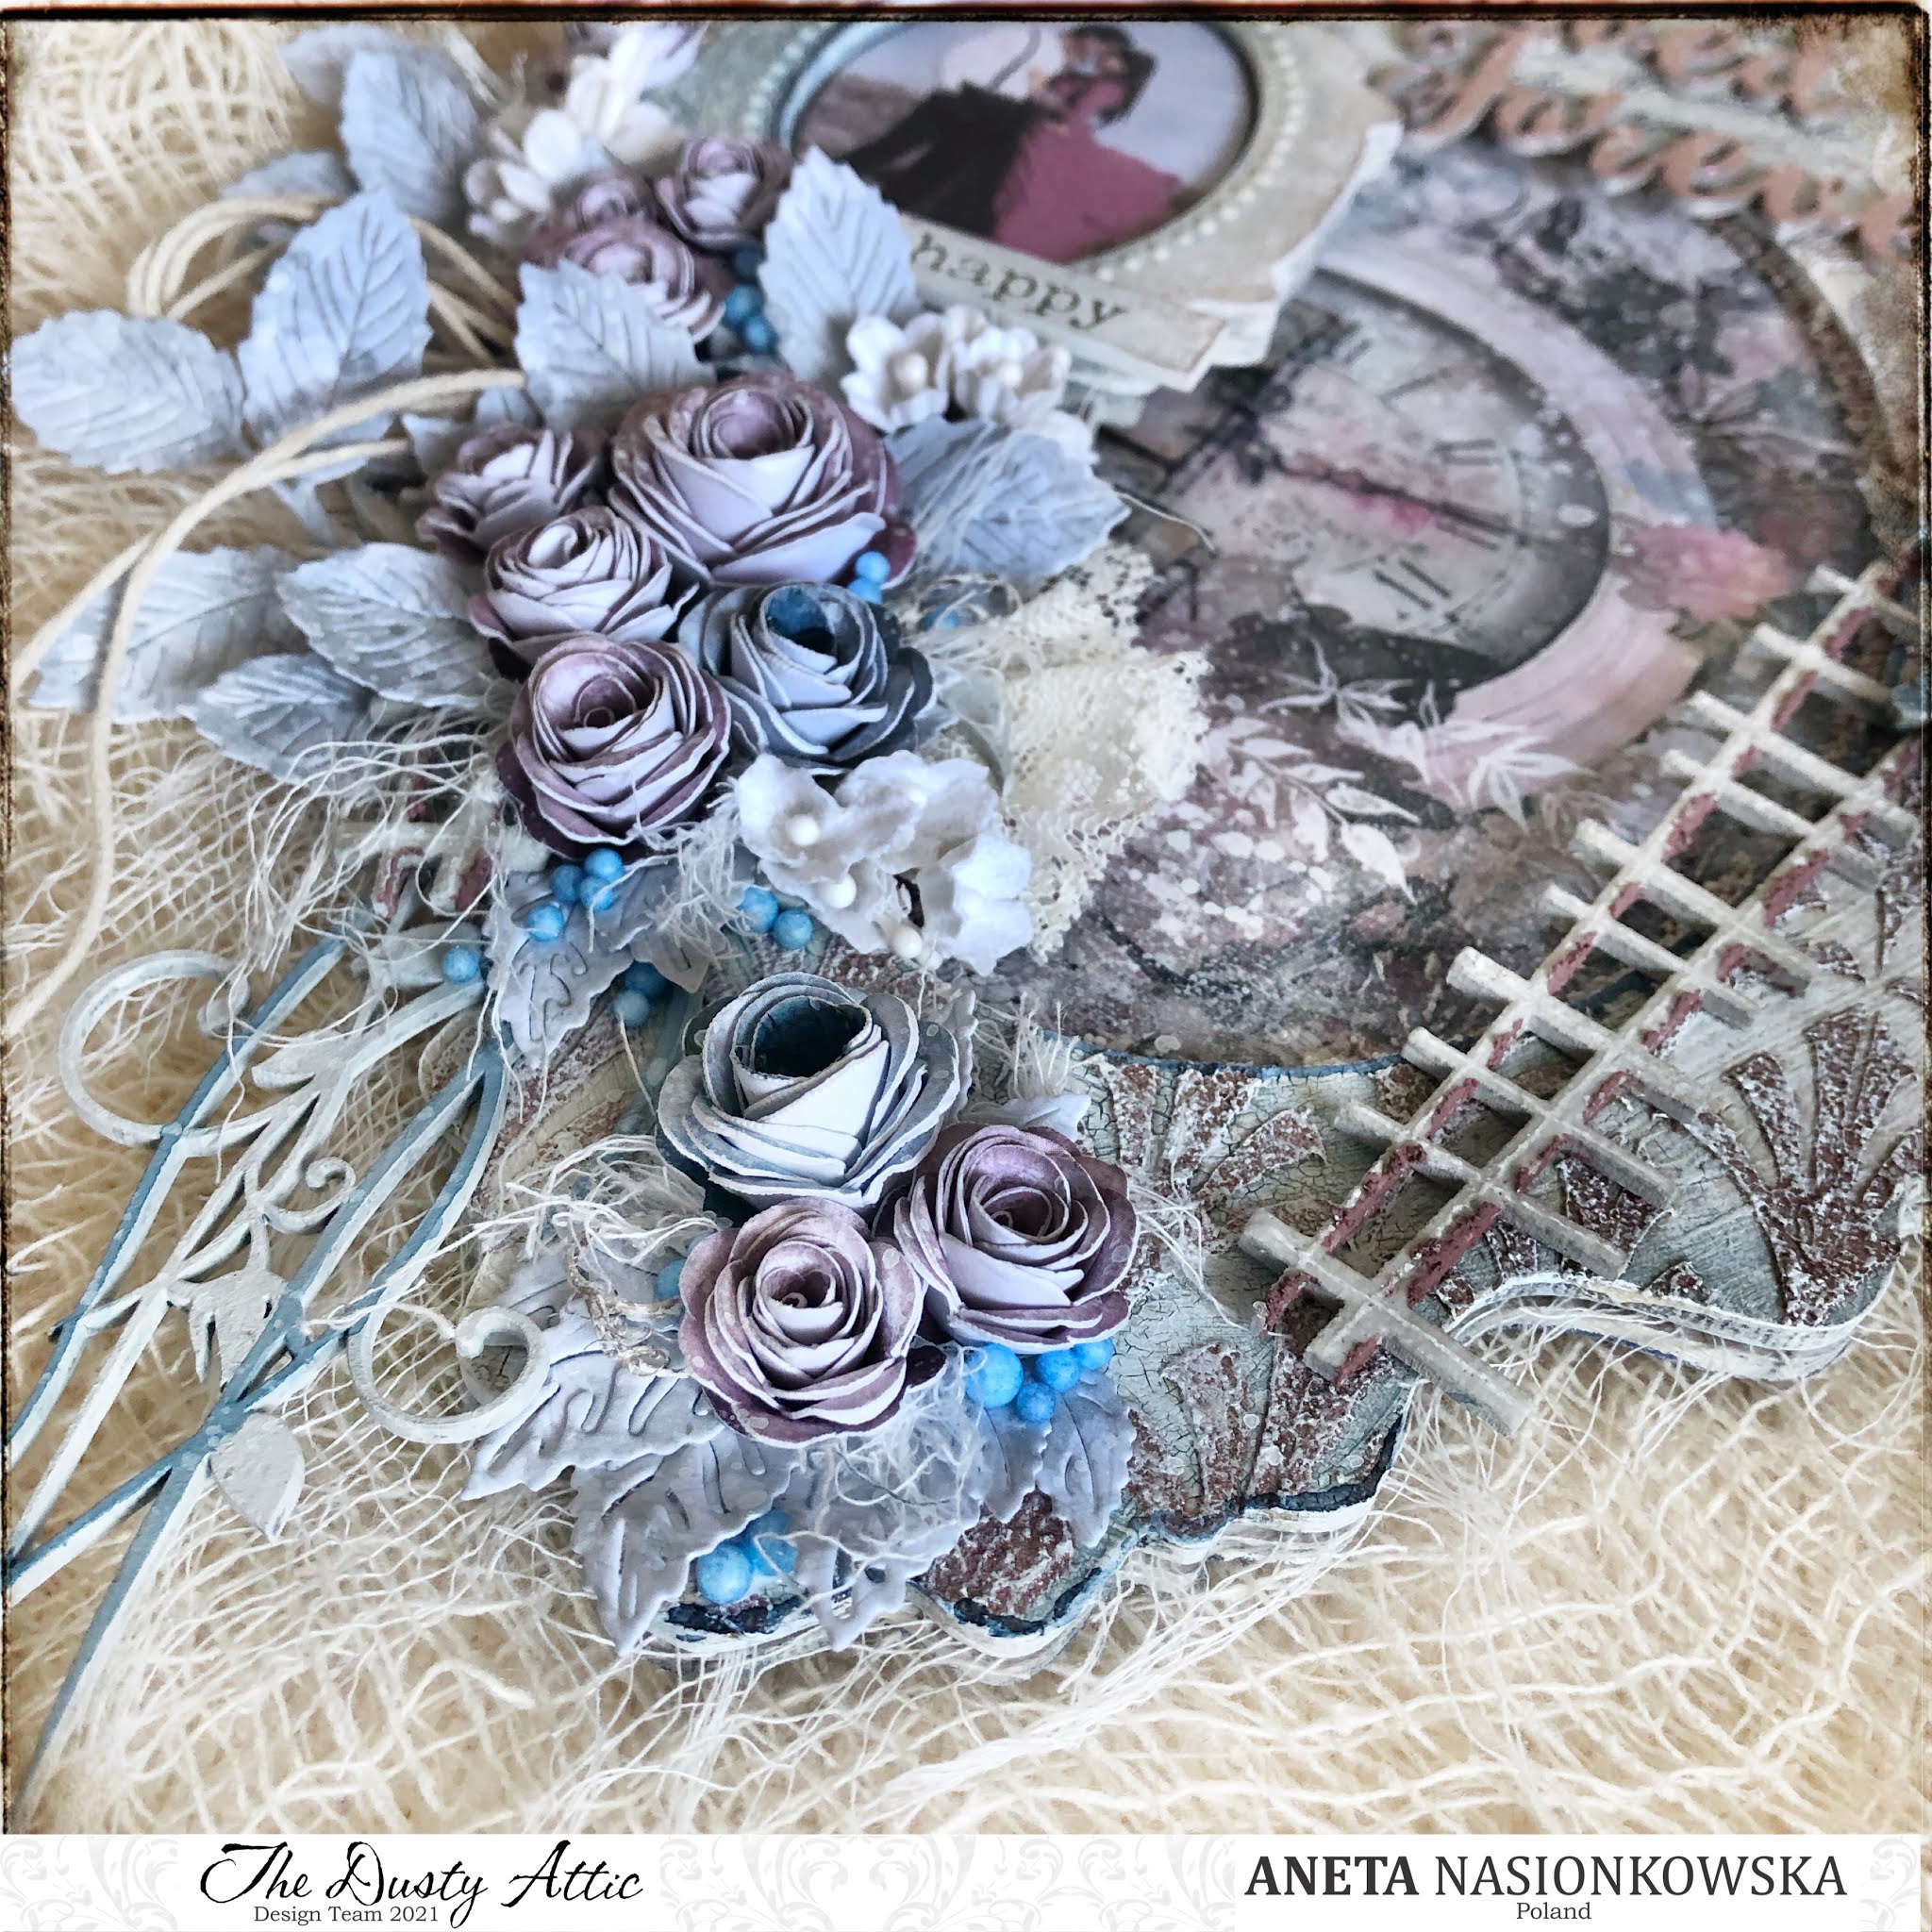
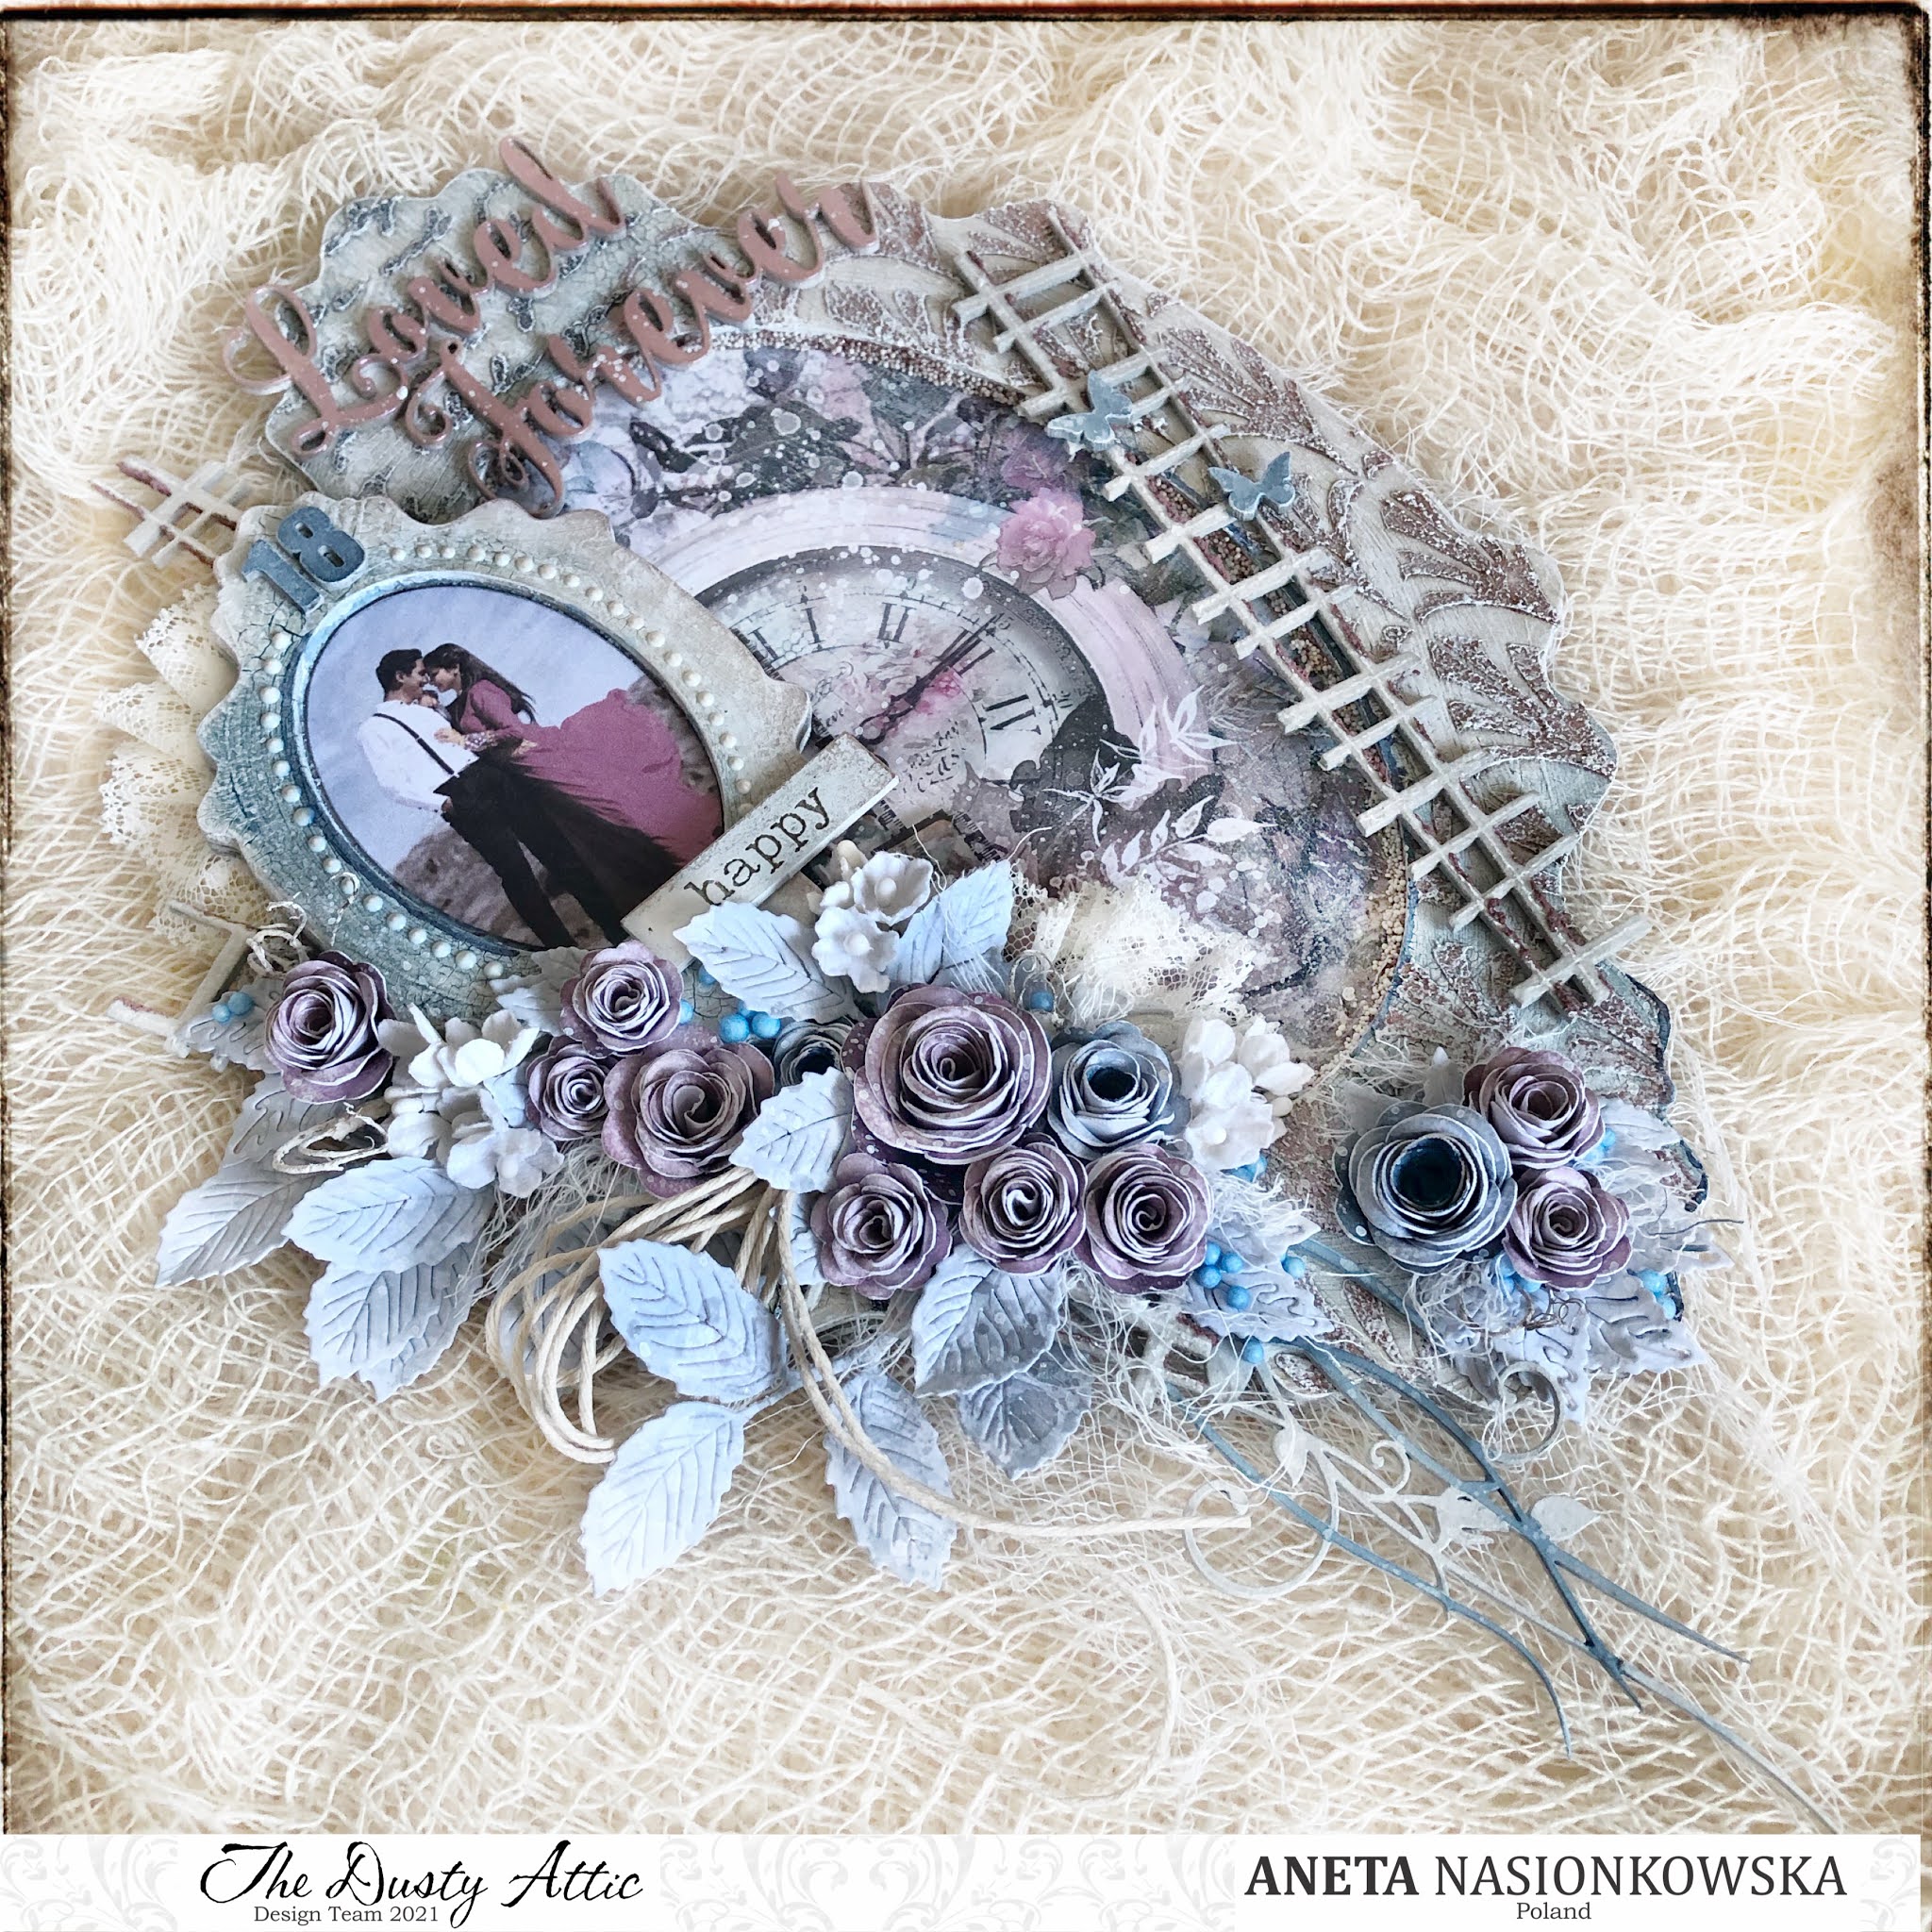
I secured the paper with a clear gesso, and then just on the border of the connection with the frame, I applied the Fan stencil pattern with Jewel paste in the Rose Quartz shade and the Creative Script stencil with the structural paste in the graphite shade. Both pastes are from Finnabair, the graphite one is phenomenal! Soft, fluffy and spreads wonderfully. After drying with a heater, I removed some color from several elements at art work, using a dry brush and white acrylic paint. Where you see a white finish around the edges, that's the effect of this method. Around the frame from the inside, I put the same Jewel paste and put micro balls on it. I secured all the cardboard with white gesso on all sides and the next steps are described below.
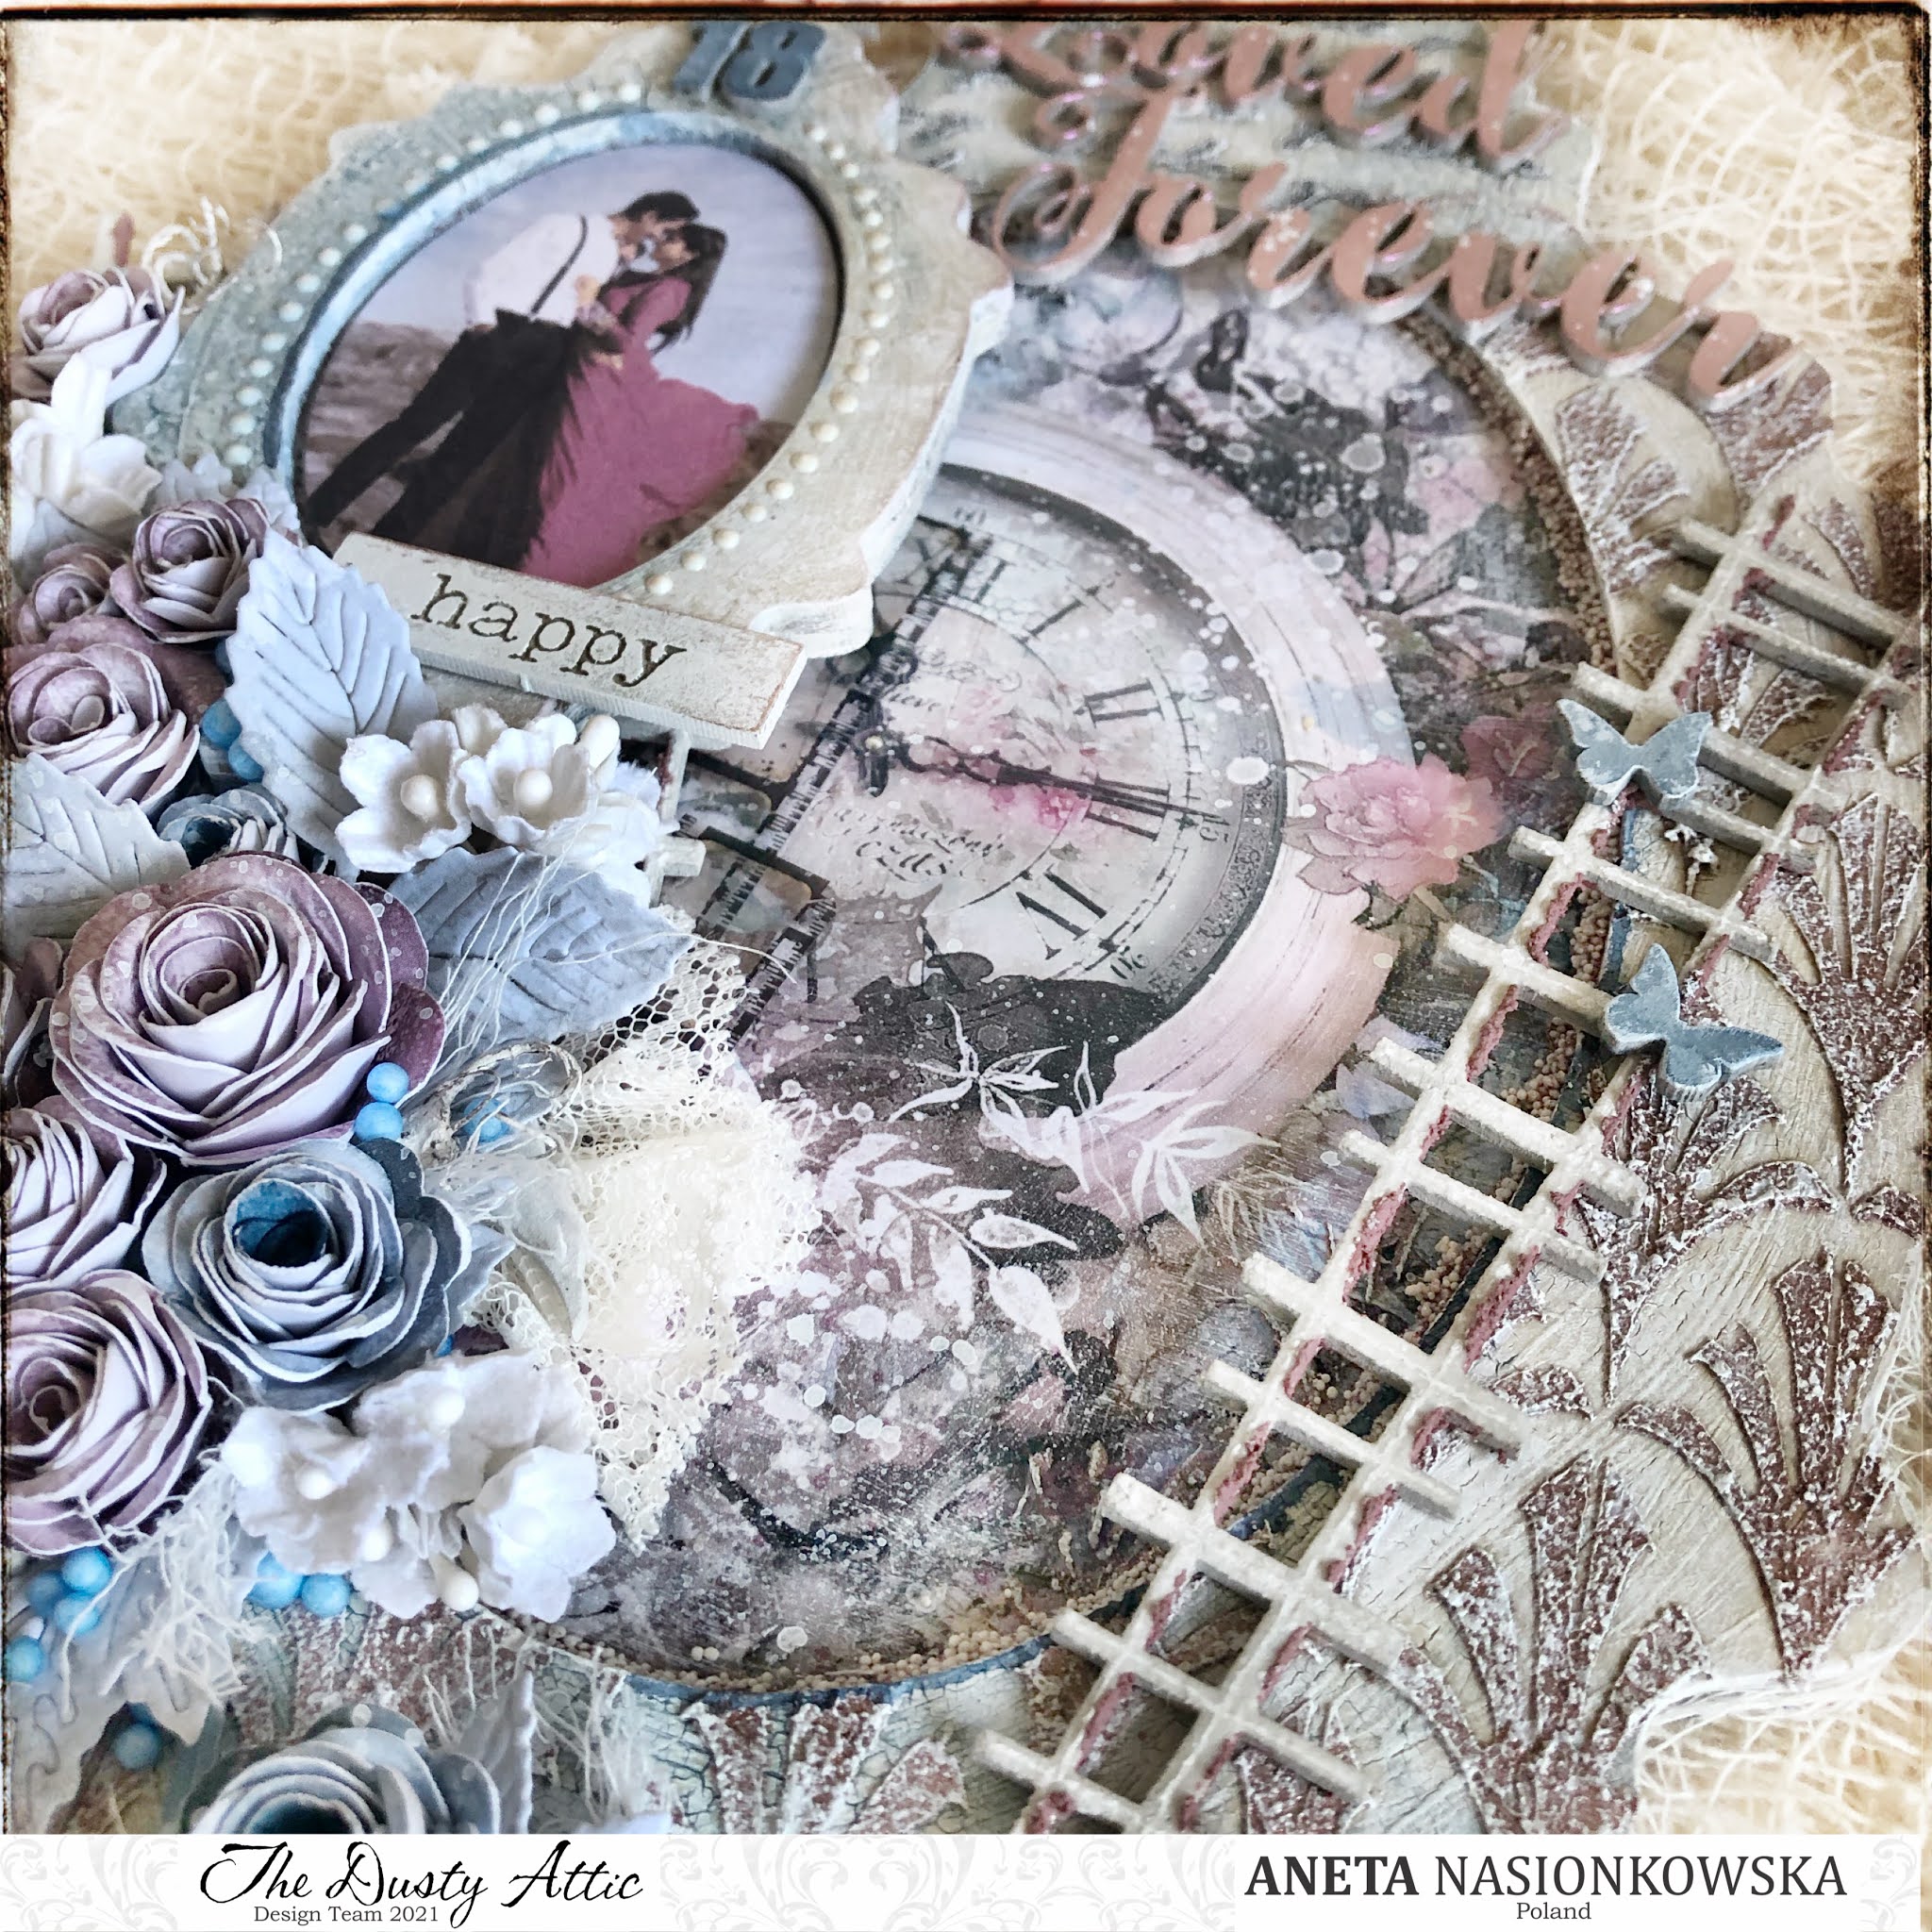
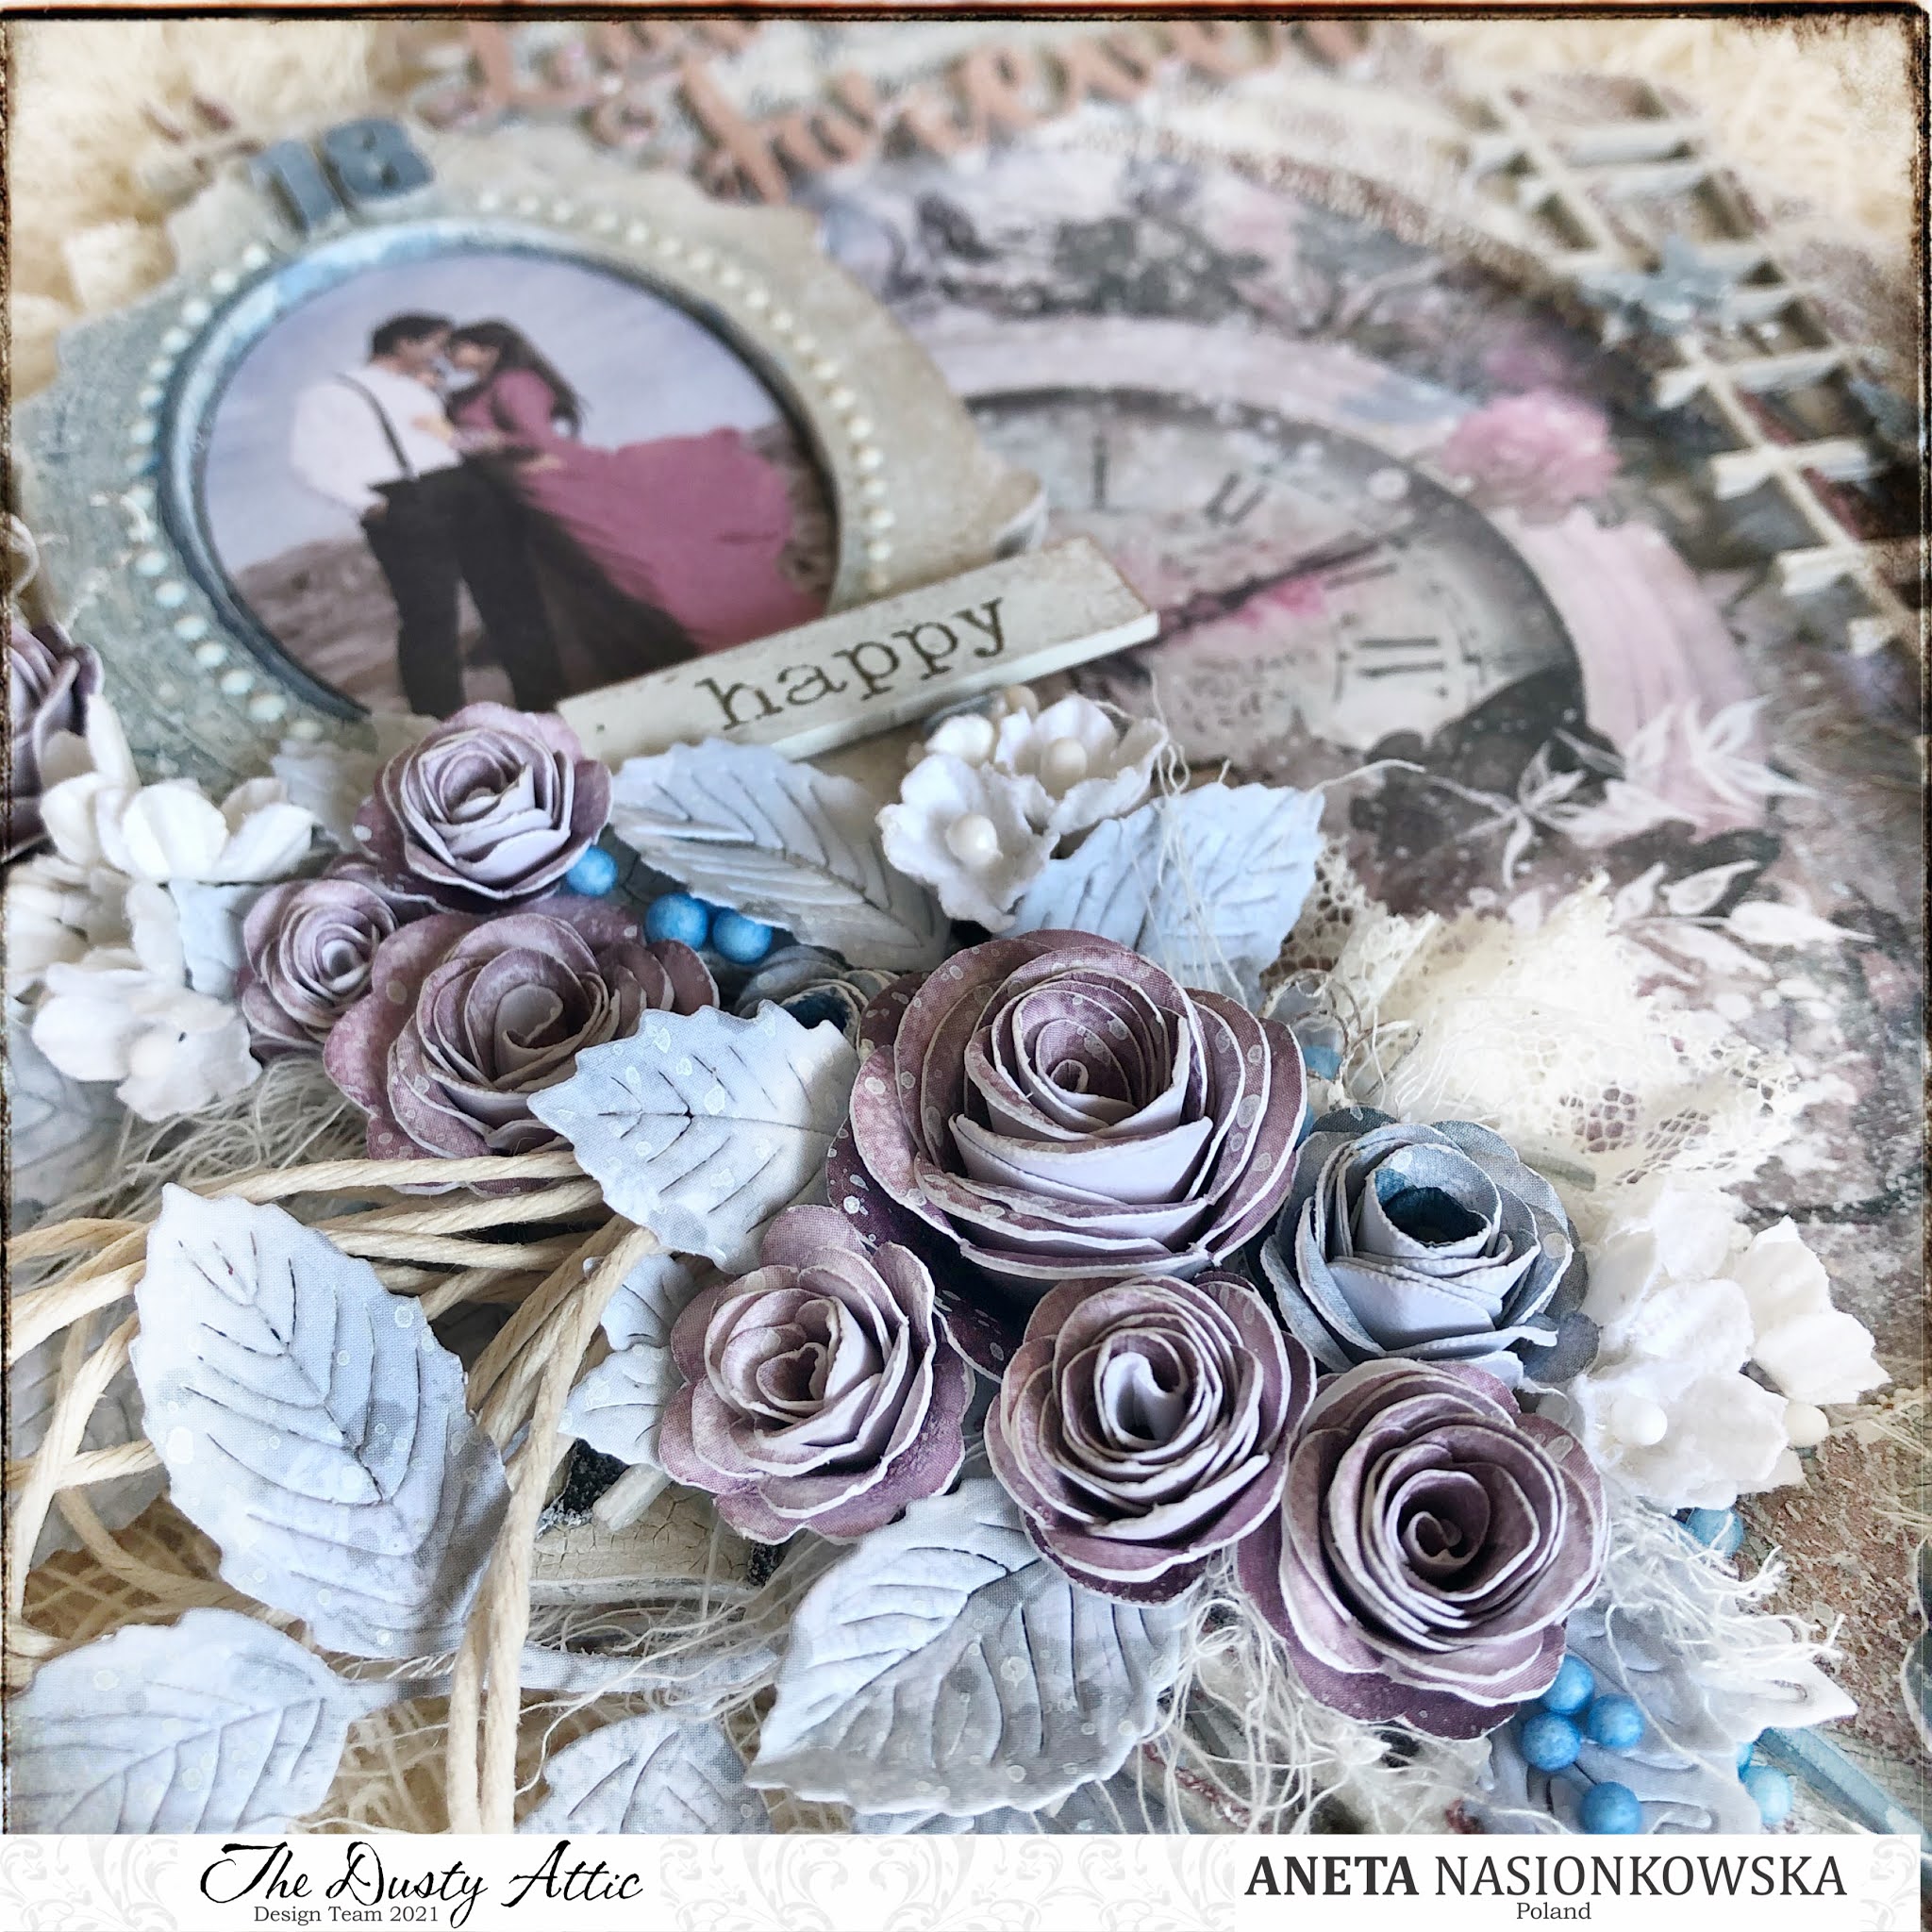
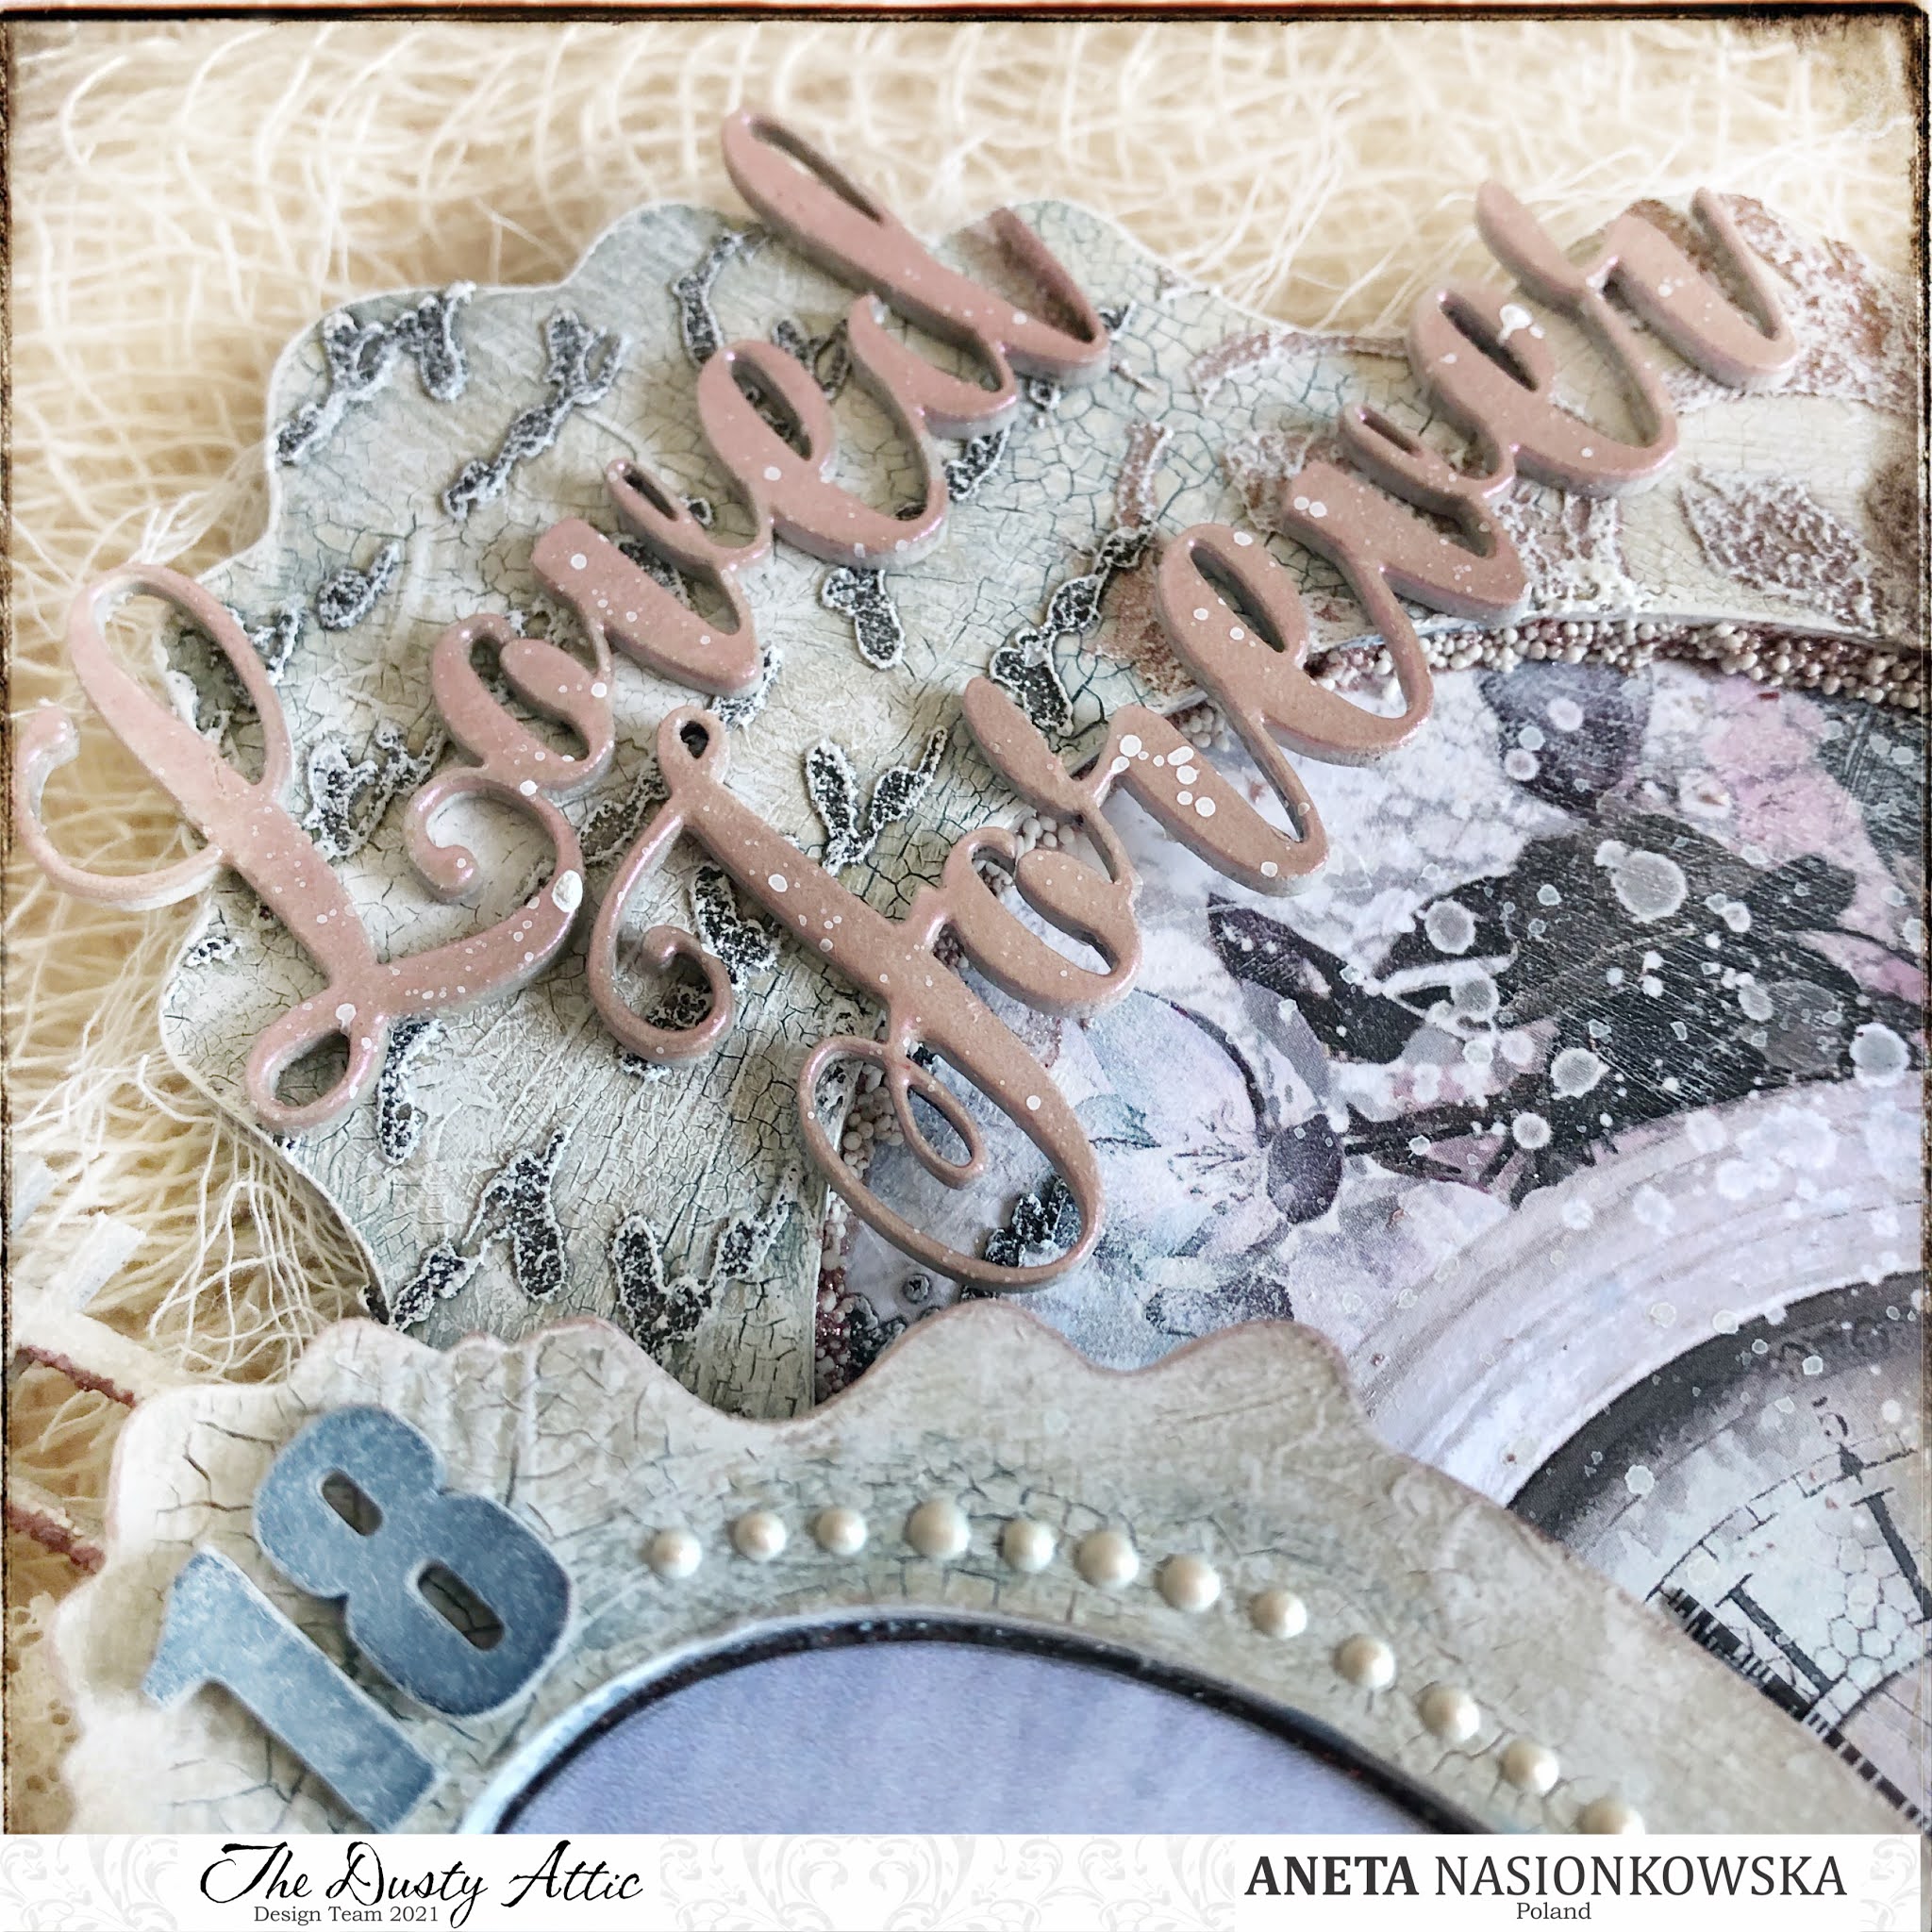
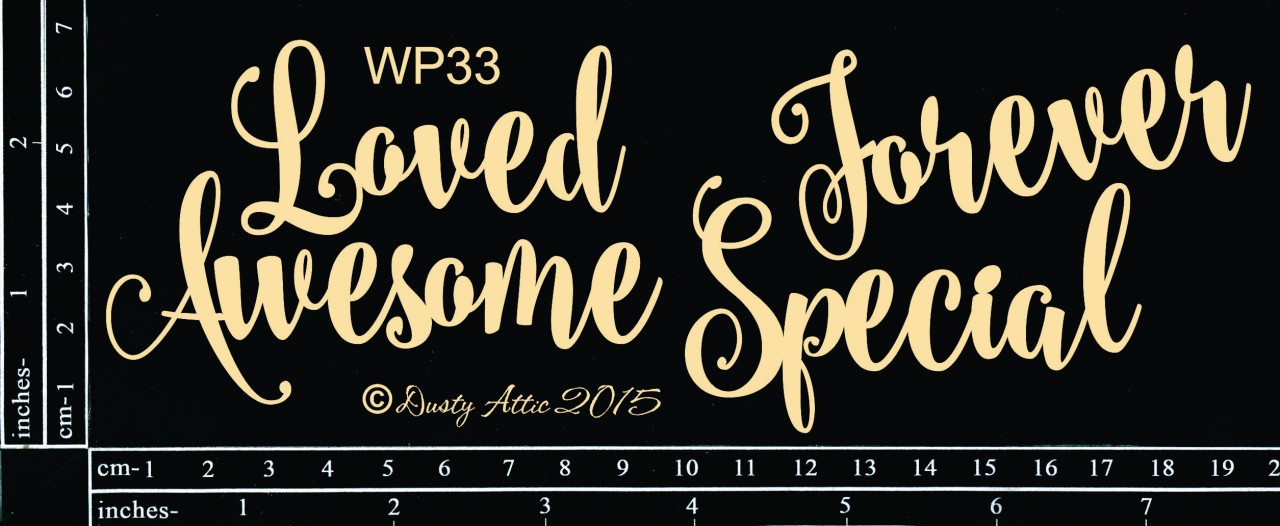
On the smaller frame, I used Nuvo 3D pearls in the Chalk Stick shade - in my opinion, this product is worth the price. The pearls come out shapely, dry quickly and the application is very easy. For now, I have three shades, but I already know that I have to have more choice. The small frame is decorated with the word "happy", painted with white acrylic paint and stained at the edges with wax in a shade of Rose Gold. The number 18 is from a set of mini numbers, the shade of navy blue is due to the mist in Denim. At the top, I put the words loved forever The color is gorgeous and changes depending on the angle of the light thanks to the Sturdust Candy Embossing Powder by Moon Glow. I am very pleased with the embossing glue in the form of dabber, it makes the application very easy - I hardly use a glue pad anymore.
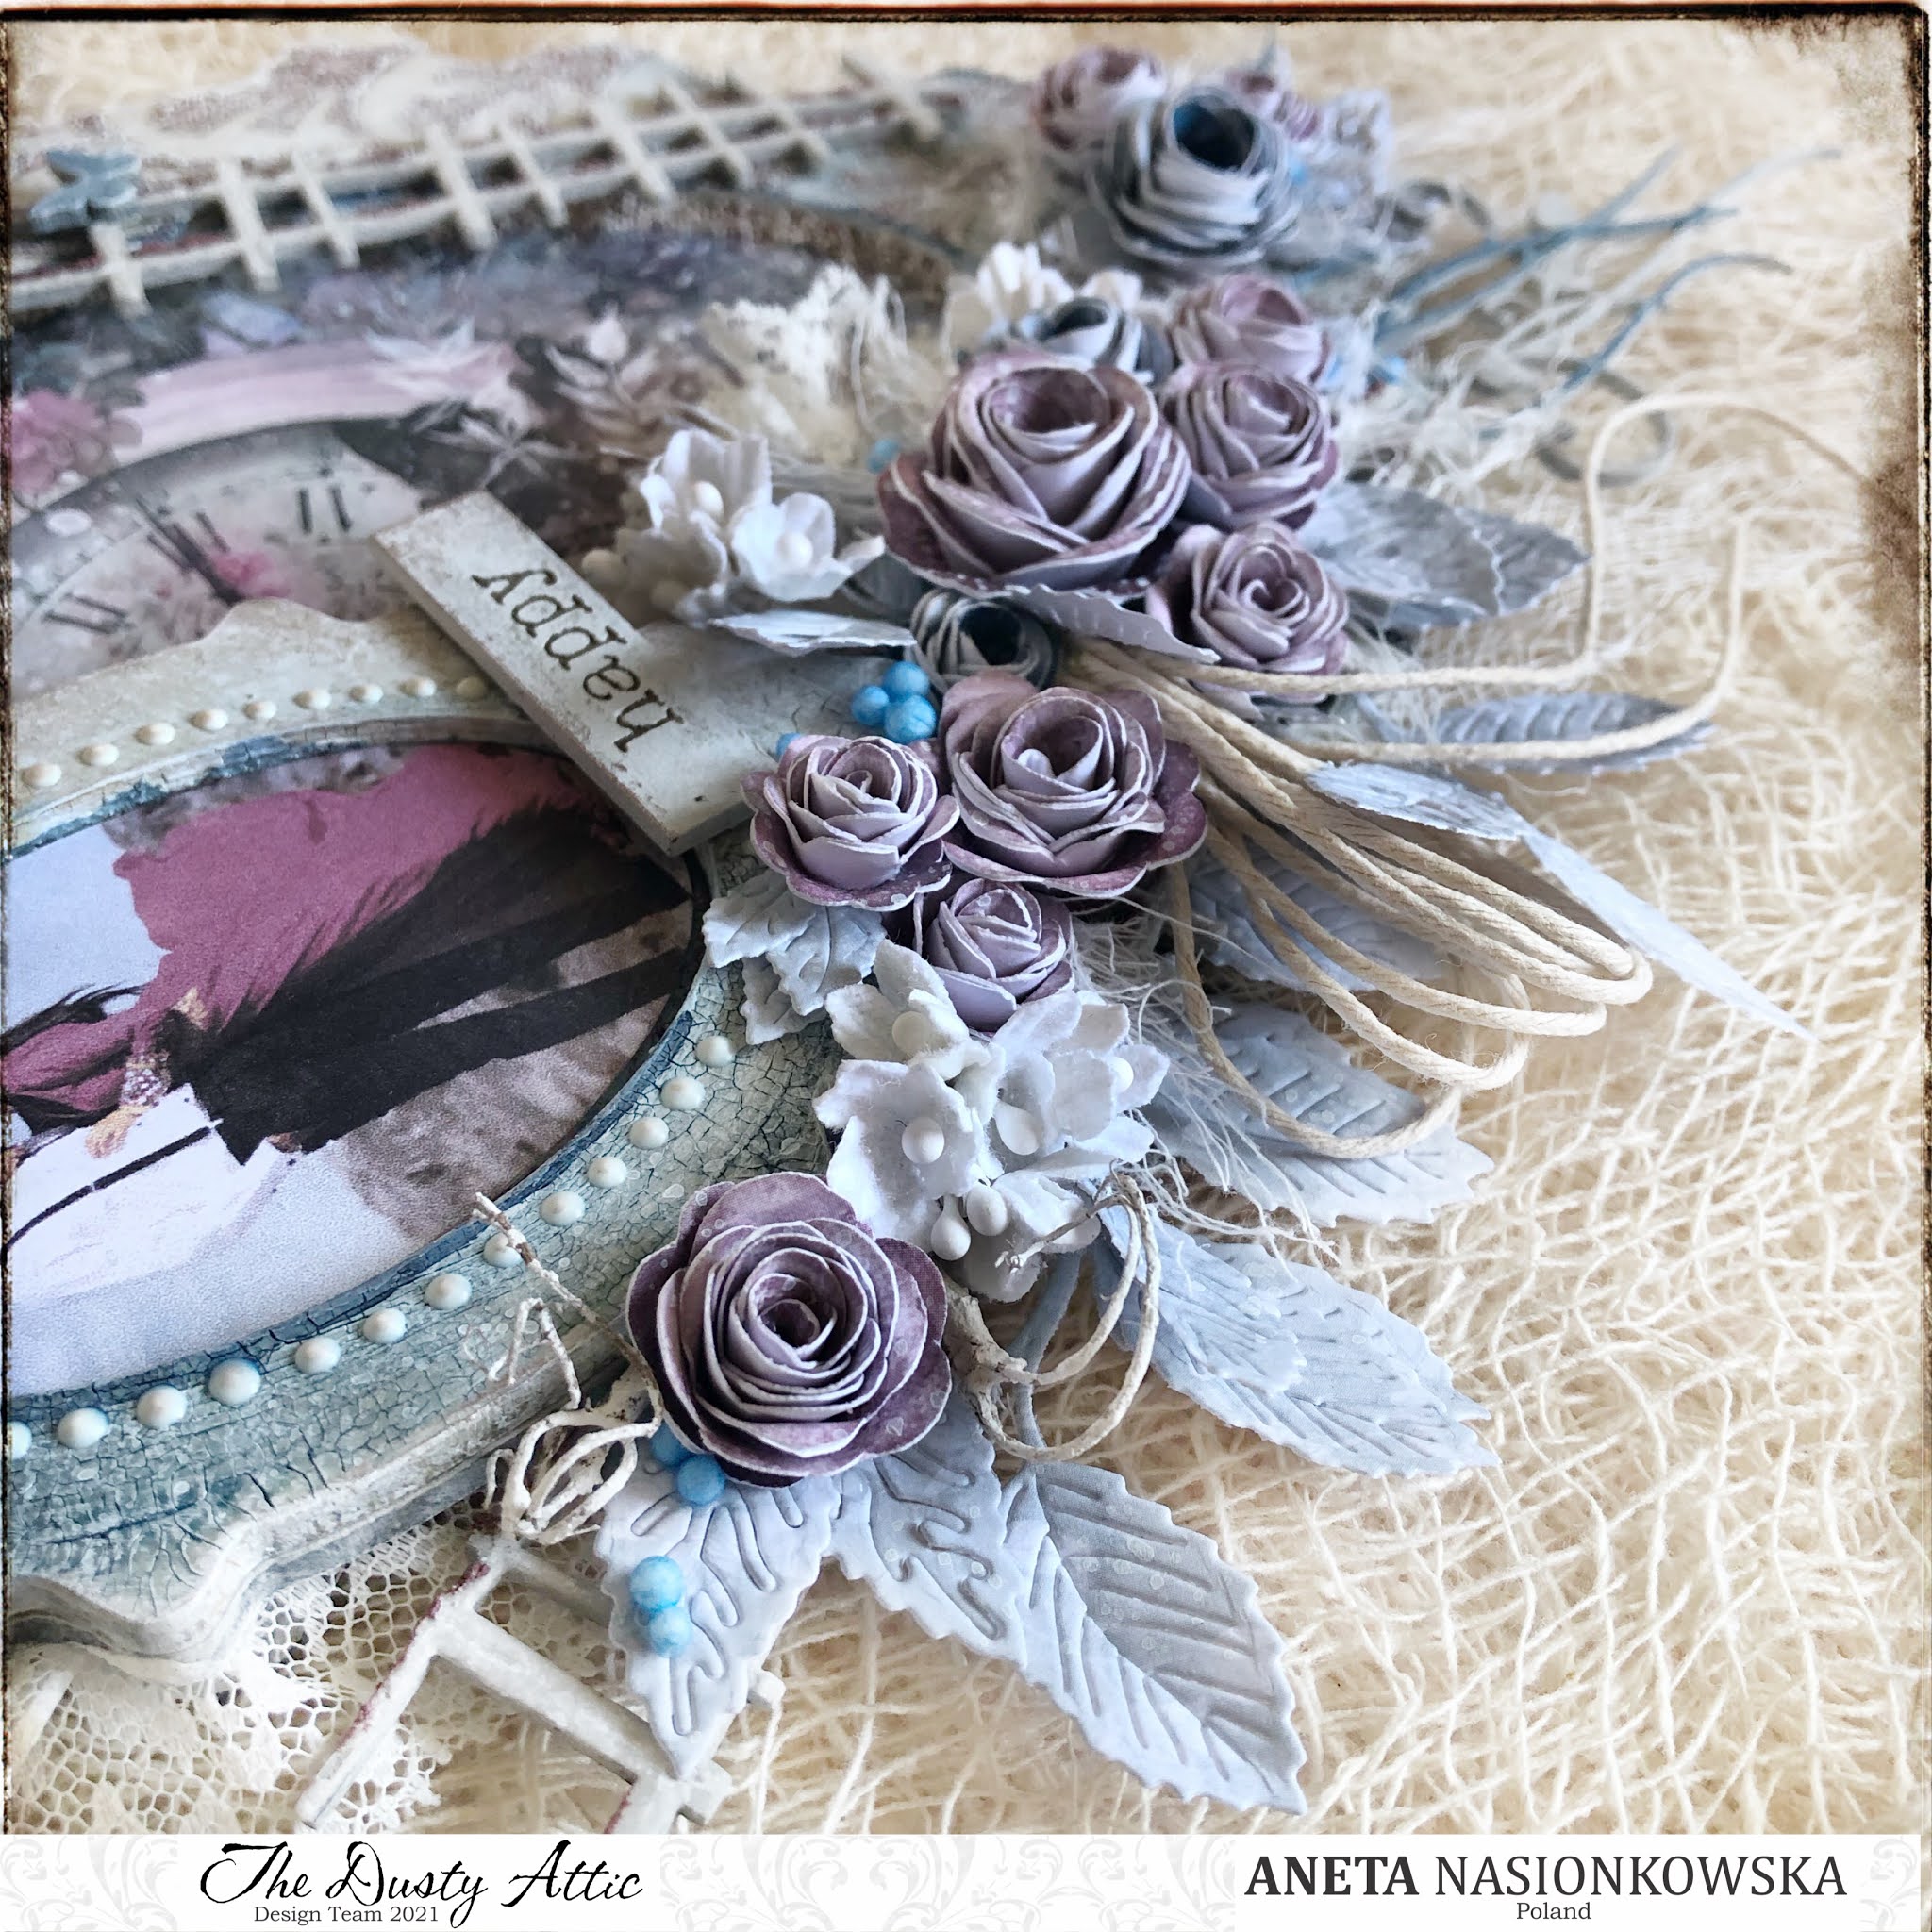
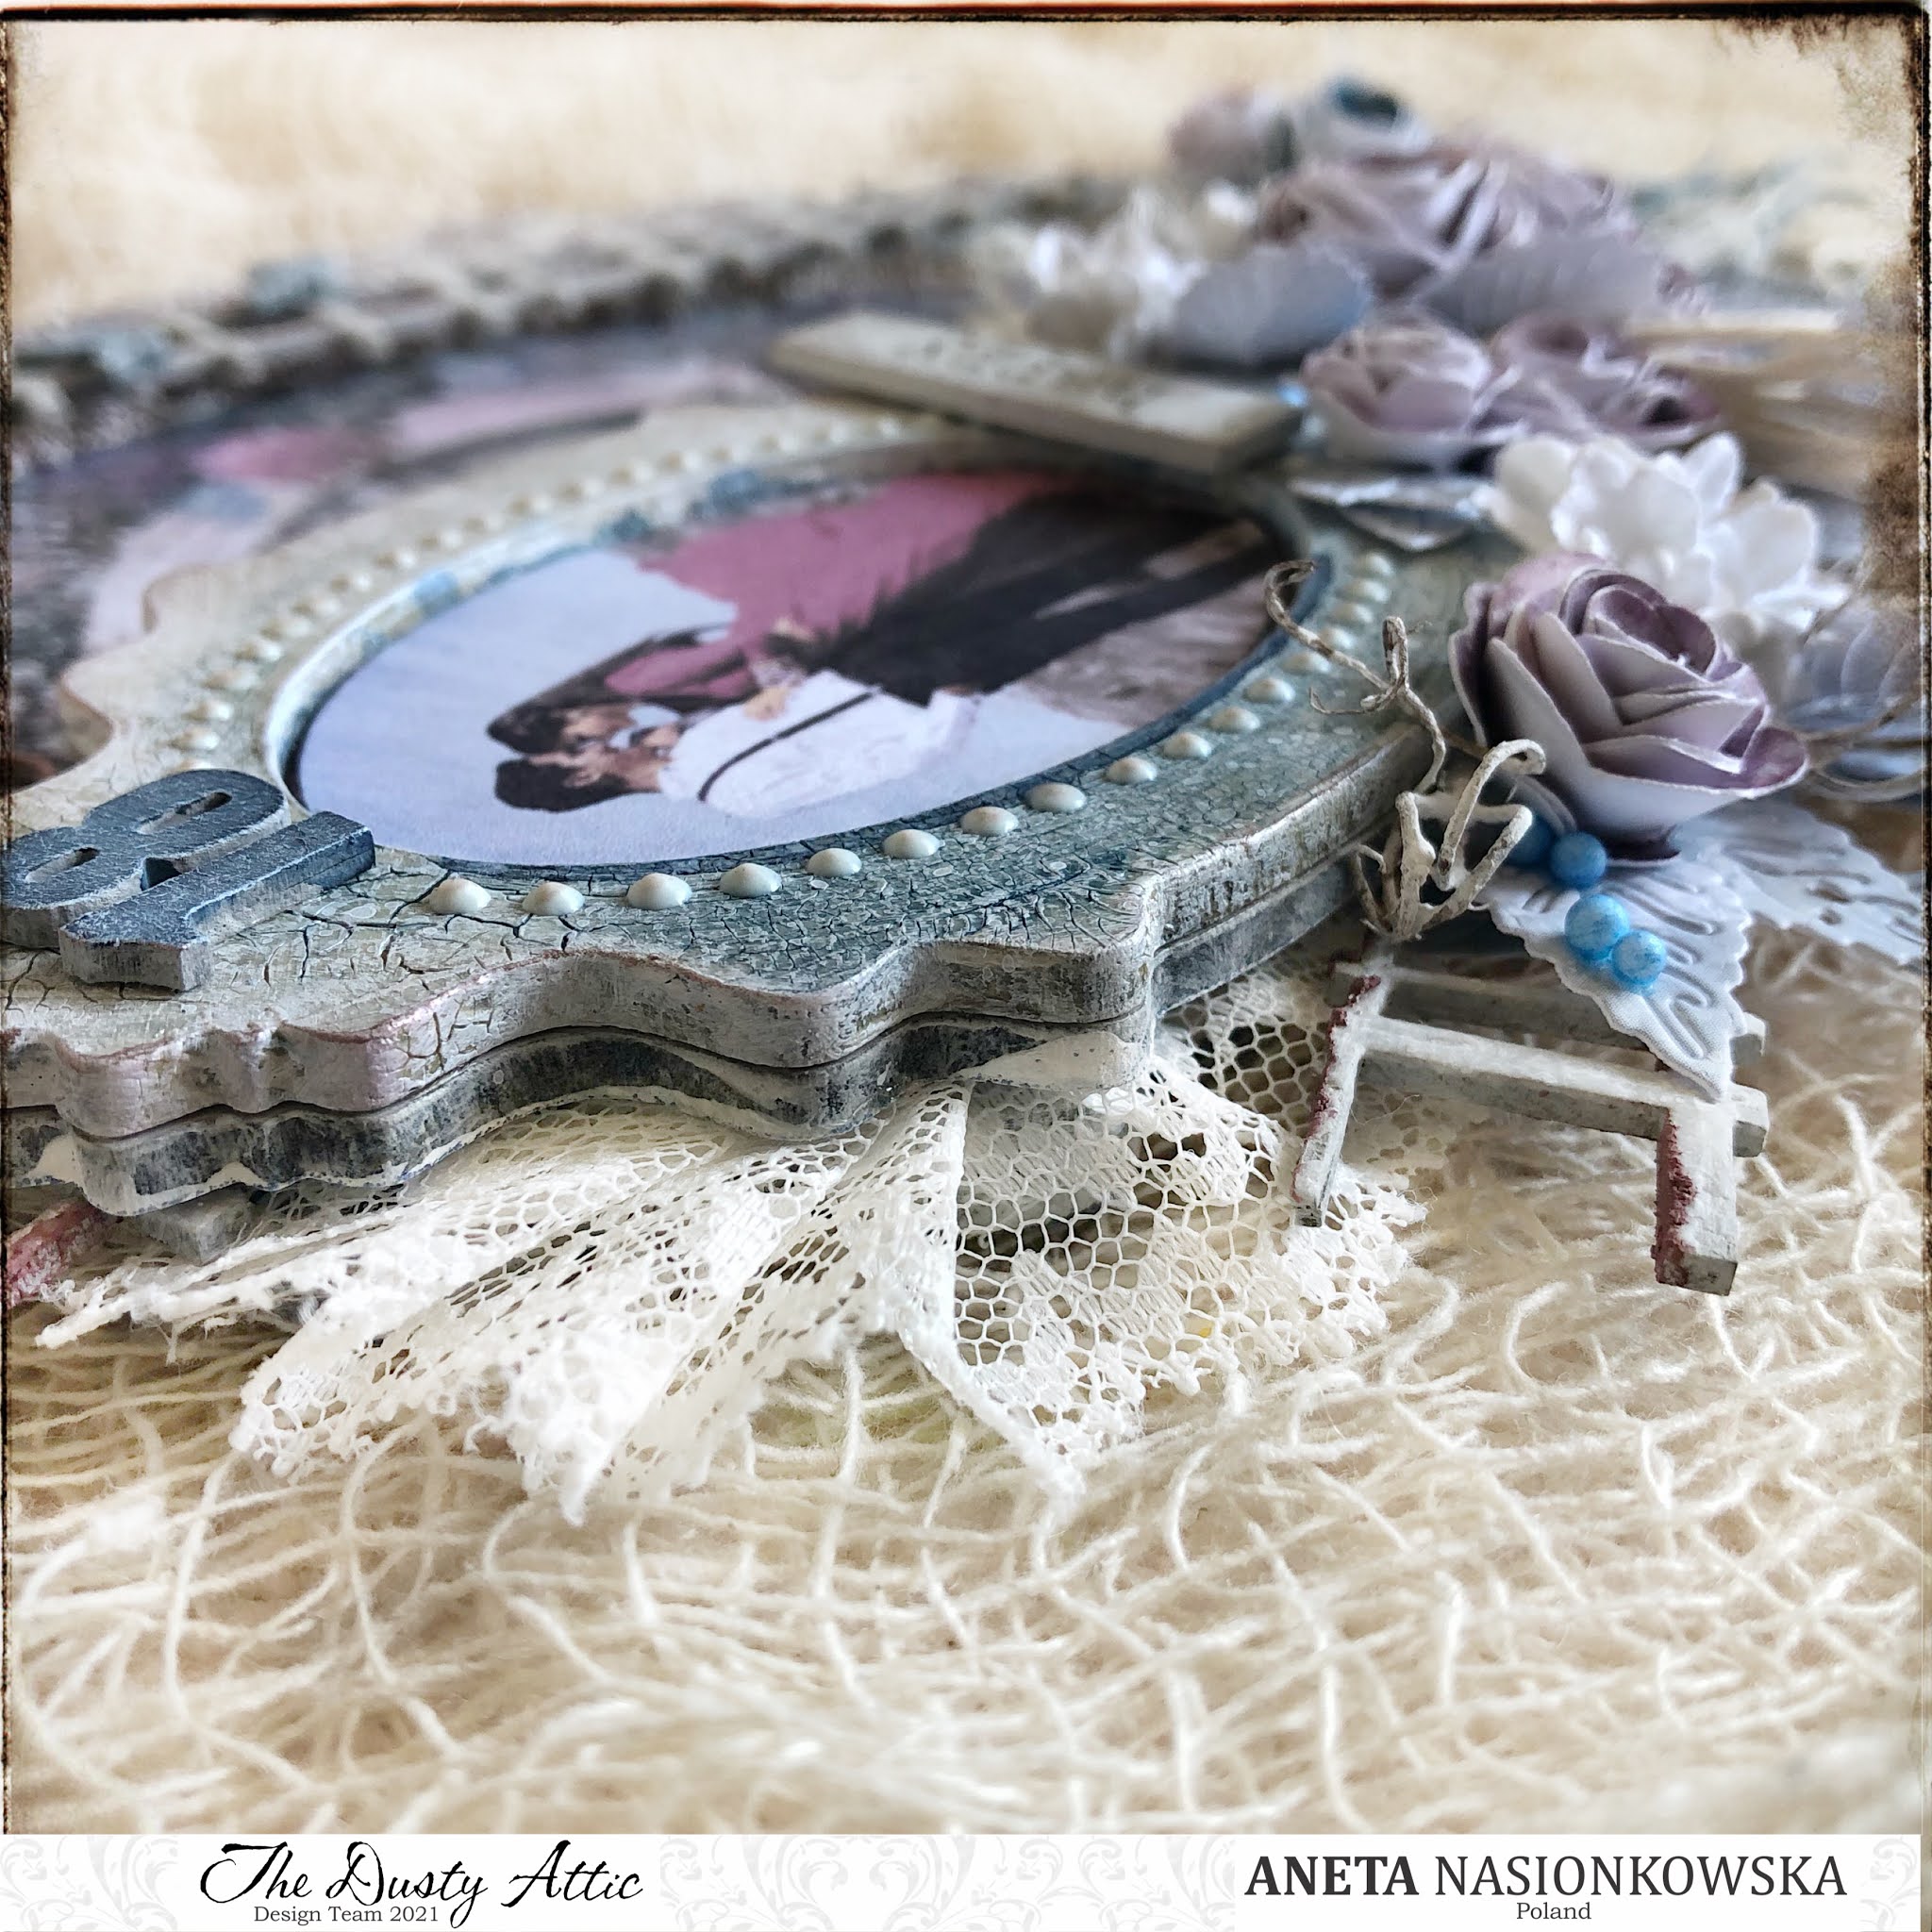

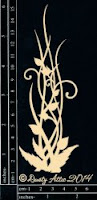
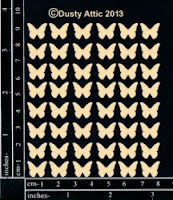
In three places you can see a garden grate, on one of them are roses, on the other - my beloved butterflies, the third one protrudes from under the frame. This is a panel that I cut to this shape. It is painted with a white Gelly Roll pen and on the edges covered with a texture paste in the shade of Rosa Taupe. I made the butterflies in the same way as the number 18. I made the roses myself from a die from Marianne Design and paper from the same "Love me Tender" collection, the small white flowers are designed by Tim Holtz, and the leaves are also from a die. On the left side, I tucked a string bow under the flowers. In the lower part of the composition, a wonderful filigree swirl protrudes from under the flowers, adding delicacy to the work. I sprinkled some blue polystyrene balls around the flowers, here and there I put small white roots. On both sides of the larger frame there is a delicate white lace, a piece of film tape by Tim Holtz and the whole work is finally splashed with white acrylic paint. I am looking for a way to splash so that the entire desk is not dotted. Do you know any way to do this? After each project, I have the entire work area to wash and recently I went to school to pick my daughters up with dots on my face! Crafters everyday life... :)

This is where we will end the post today. If you have any questions, I missed something or you're just curious about something, let me know in the comment and I will be happy to answer.
Products used this time:
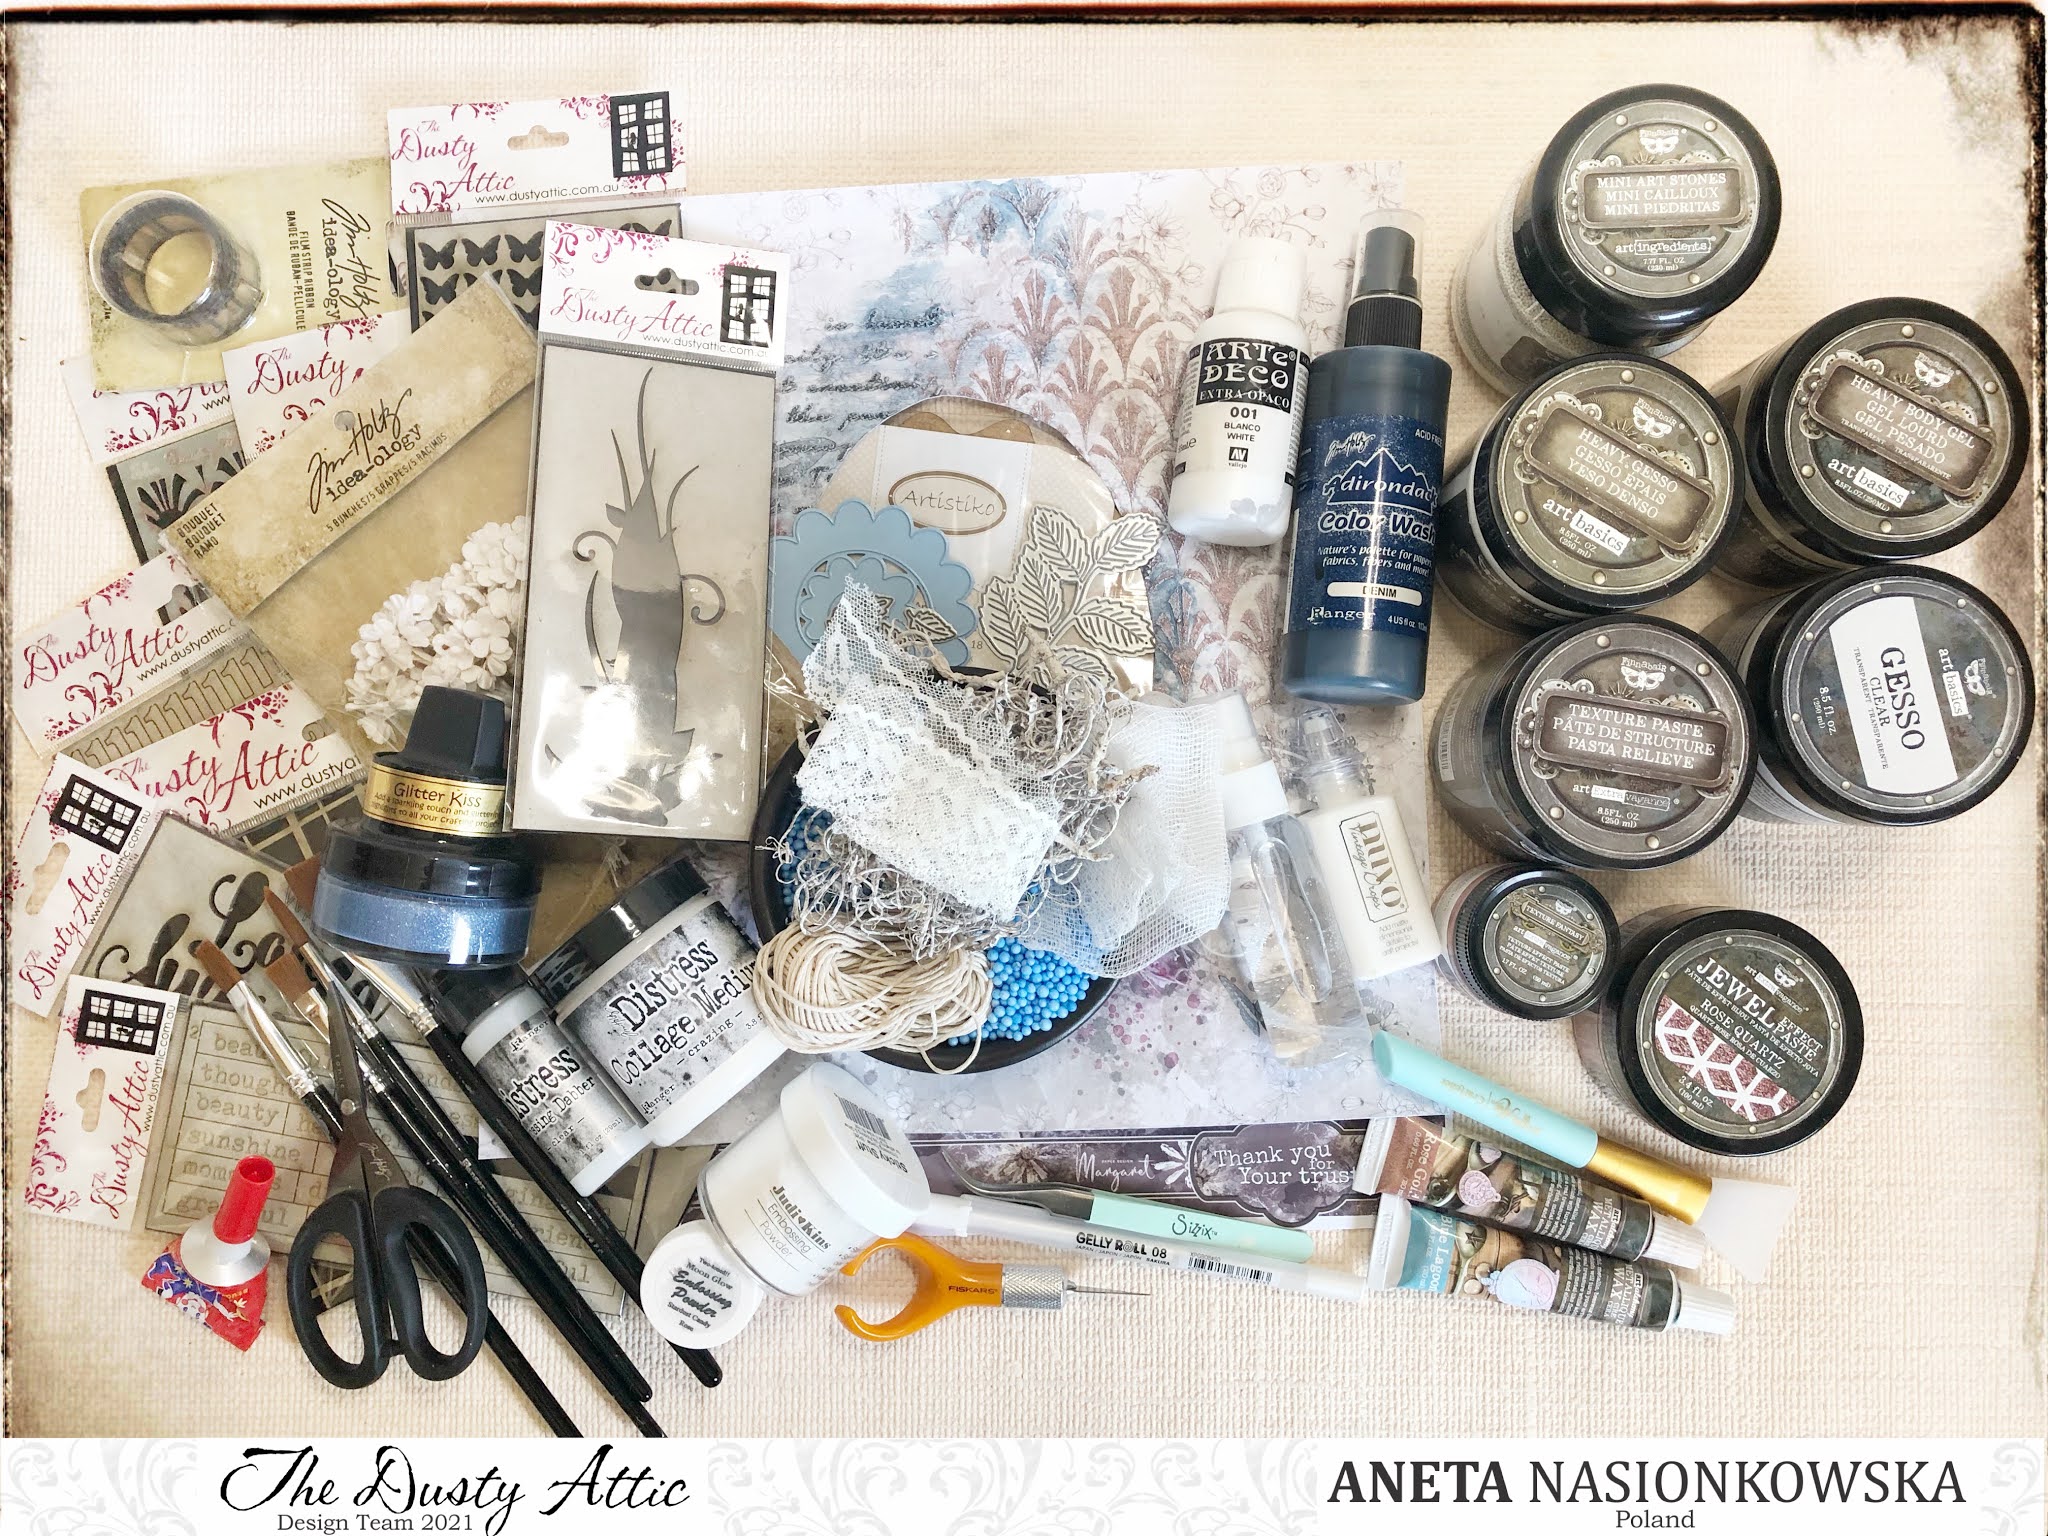
Dusty Attic products:

No comments:
Post a Comment